
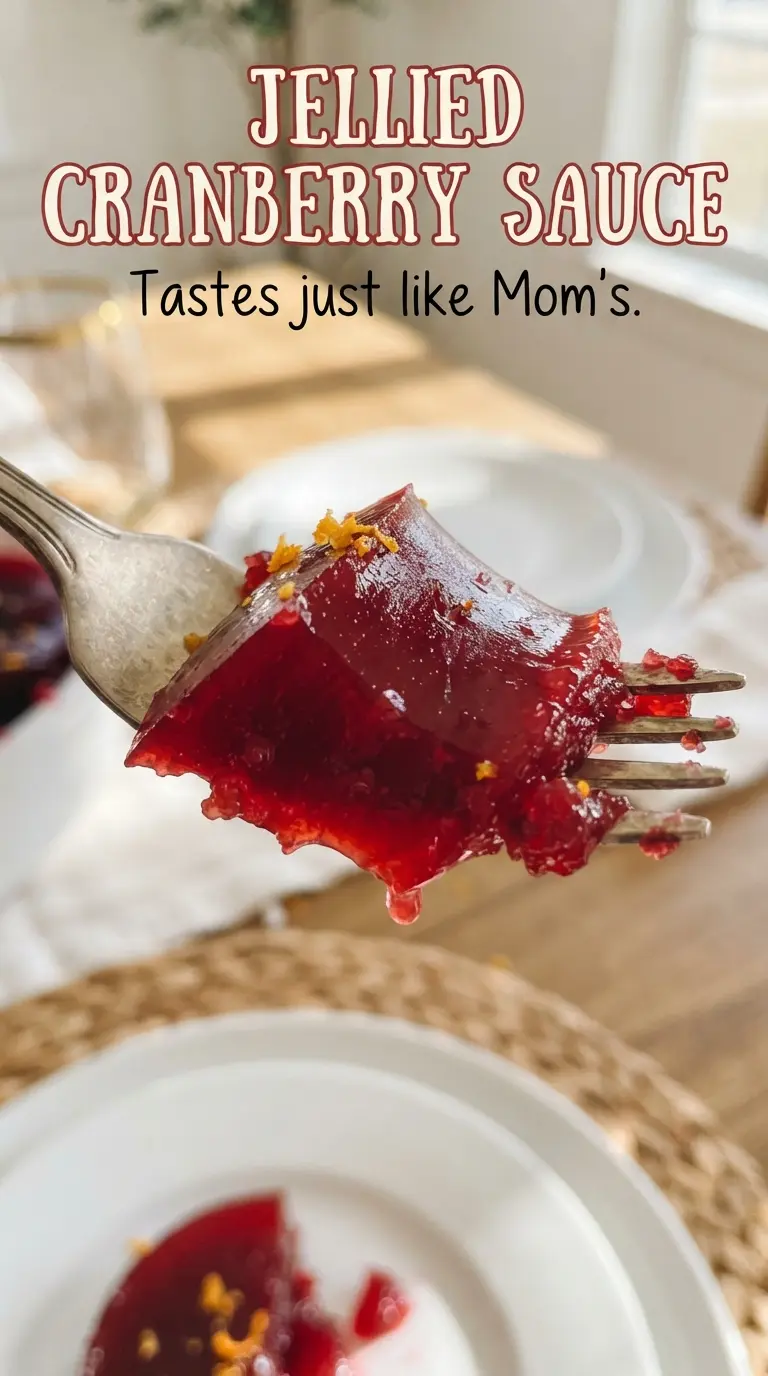
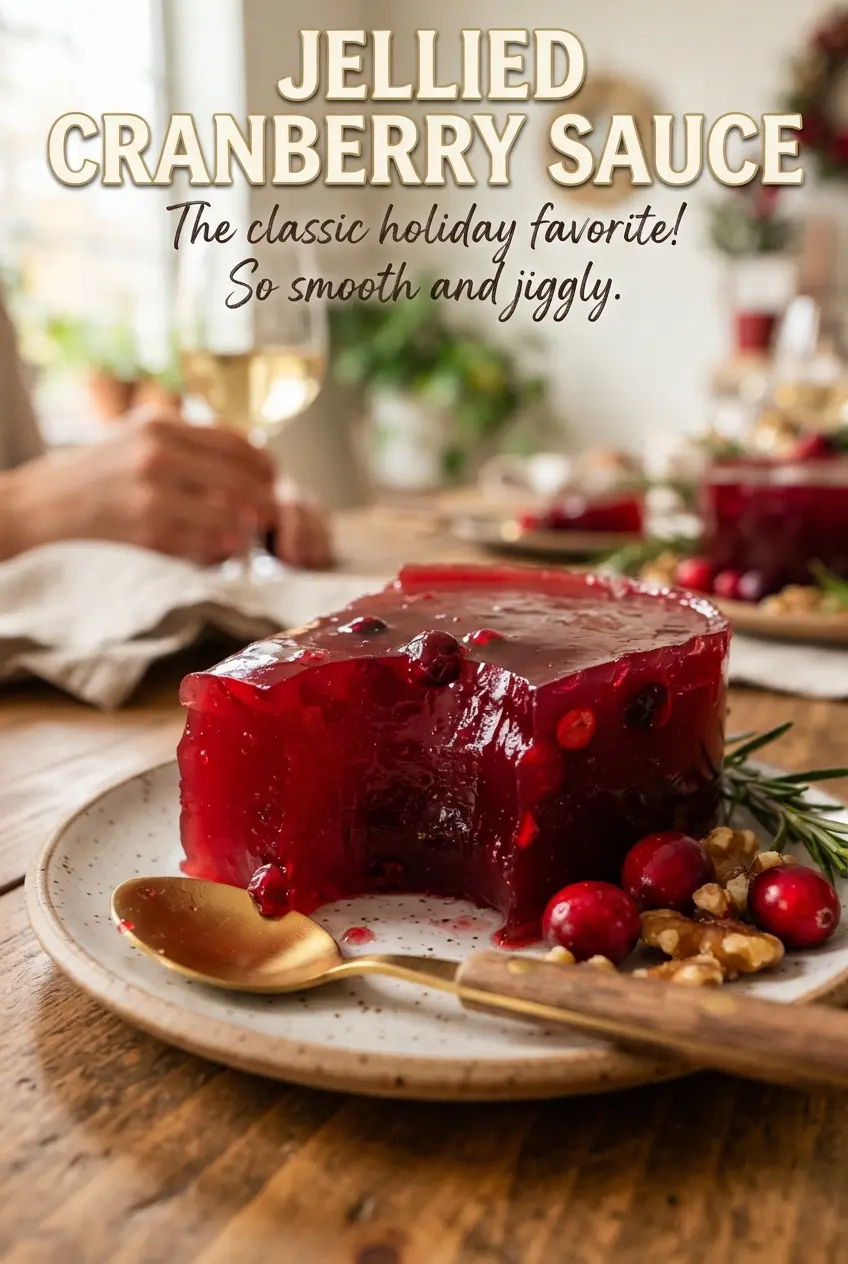
Jellied cranberry sauce sets up into that glossy, sliceable mold that holds its shape on the plate and still tastes bright, tart, and clean. The texture is the whole point here: smooth enough to slice in neat rounds, firm enough to unmold, and soft enough that it doesn’t eat like candy. When it’s done right, it cuts with almost no resistance and gives you that classic can-style shape people either grew up loving or always meant to make from scratch.
The trick is cooking the cranberries long enough to fully burst, then working the puree through a fine-mesh strainer while it’s still hot. That’s what gives you the silky finish instead of a jam with bits of skin floating through it. The second short boil with lemon juice matters too. It tightens the mixture just enough for a clean set and keeps the flavor from tasting flat or heavy.
Below, I’m walking through the points that matter most: how to know when the mixture is ready to strain, why the chill time matters more than the pan you use, and what to do if you want the cleanest possible unmolding. Once you’ve made it this way, it’s hard to go back.
The texture was spot-on — smooth, glossy, and it sliced cleanly after chilling overnight. I used a small loaf pan and it came out looking just like the classic cranberry mold I remember.
Like this smooth, sliceable jellied cranberry sauce? Save it to Pinterest for the holiday table when you want that classic ruby mold with clean edges.
The Part That Keeps Jellied Cranberry Sauce Smooth Instead of Grainy
The biggest mistake with jellied cranberry sauce is rushing the straining step. If you don’t press enough of the cooked fruit through the sieve, the sauce can set up with too little body or a dull, broken texture. You want the puree to look thick and glossy before it goes back in the pot, because that’s what becomes the clean slice once it chills.
The other place this can go wrong is the final boil. After straining, the mixture needs those extra few minutes on the heat to concentrate slightly and activate the set. Pull it too early and you’ll get something closer to spoonable sauce than a firm mold. Push it much longer and it can turn sticky and overly stiff once cold.
What the Cranberries, Sugar, and Lemon Are Each Doing
- Fresh cranberries — These bring the pectin that helps the sauce set, which is why frozen cranberries work too if that’s what you have. You don’t need them to be perfect, just intact and not dried out.
- Sugar — This isn’t only for sweetness. It balances the cranberries’ sharpness and helps the finished sauce hold that shiny, sliceable texture instead of tasting harsh.
- Lemon juice — A small amount wakes up the flavor and keeps the final sauce from tasting one-note. If you’re out, a tiny splash of orange juice can work, but it won’t have the same clean edge.
- Lightly oiled mold or loaf pan — The shape matters here if you want that classic unmolded slice. A loaf pan is the easiest everyday choice, and a clean can gives you the old-school molded look with those ridged sides.
Cooking the Berries Down, Then Setting the Mold
Boiling Until Every Berry Bursts
Start with the cranberries, sugar, and water in a saucepan and bring it to a full boil. Once it’s going, keep it at a steady simmer until every berry has popped and the liquid looks deeply red and slightly thickened, about 10 minutes. If you still see a lot of intact berries, the sauce won’t strain evenly and the final texture will be uneven.
Pressing Through the Strainer
Set a fine-mesh strainer over a bowl and press the hot mixture through with a spoon or spatula. Scrape the underside of the strainer as you work so the pulp doesn’t cling there while you’re throwing away the skins. This step is what creates that polished, smooth finish, so don’t stop too soon when the mixture starts looking dry in the sieve; there’s still a lot of good body left in the pulp.
The Short Final Boil
Return the strained puree to the pot with the lemon juice and salt, then boil it for 3 to 4 minutes while stirring. You’re looking for a thicker, glossy consistency that coats the spoon and mounds slightly when stirred. If it spits heavily or starts catching on the bottom, lower the heat a touch, because scorching at this stage gives the whole batch a cooked-off taste.
Chilling Until It Unmolds Cleanly
Pour the mixture into a lightly oiled mold, loaf pan, or clean can and let it cool, then chill it for at least 6 hours, though overnight is better. It needs that full set before you try to turn it out. Run a thin knife around the edge, invert it onto a plate, and give the pan a gentle shake; if it resists, hold it there for a few seconds and let gravity do the work.
Three Ways to Make This Fit Your Table
Clean Old-Fashioned Mold
Pour the finished mixture into a lightly oiled can or decorative mold for the classic ridged shape. This version unmolds with the most nostalgia and gives you neat slices, but the pan has to be lightly oiled or the edges can cling when you turn it out.
Loaf Pan Shortcut
A standard loaf pan is the easiest option if you want tidy slices without hunting for a special mold. Line the bottom with a strip of parchment if you want extra insurance, but keep the sides lightly oiled so the cranberry loaf releases cleanly.
Lower-Sugar Version
You can cut the sugar a little, but don’t reduce it too far or the sauce will turn tarter and may not set as firmly. Start by reducing it by 1/4 cup at most, then chill a test spoonful if you want to judge the texture before committing to the full batch.
Make-Ahead for the Holiday Table
This is a great make-ahead side dish. The flavor deepens after a night in the fridge, and the unmolded loaf slices more cleanly when it’s fully cold, so making it a day ahead is actually better than last-minute chilling.
Storage and Reheating
- Refrigerator: Store covered for up to 1 week. The texture stays firm and sliceable, though the surface may weep slightly if it sits uncovered.
- Freezer: It freezes, but the texture can become a little less polished after thawing. Wrap it tightly and freeze for up to 2 months if needed, then thaw overnight in the refrigerator.
- Reheating: This is meant to be served cold or cool. If you want it softer for spooning, let a slice sit at room temperature for 15 to 20 minutes rather than microwaving it, which can collapse the set.
Answers to the Questions Worth Asking
Jellied Cranberry Sauce
Ingredients
Equipment
Method
- Bring fresh cranberries, sugar, and water to a boil in a pot over medium-high heat, then immediately reduce to a steady simmer for 10 minutes until all the berries burst and the mixture looks syrupy.
- Keep the simmer consistent for the full 10 minutes, stirring occasionally so the sugar dissolves and the berries break down.
- Pour the hot mixture through a fine-mesh strainer and press the pulp through thoroughly, scraping to push all the puree through while discarding the skins.
- Return the strained puree to the pot and boil for 3-4 minutes with lemon juice and salt, stirring often, until slightly thickened and glossy.
- Pour the hot cranberry mixture into a lightly oiled mold, loaf pan, or clean can, and let it cool slightly before chilling.
- Chill for at least 6 hours or overnight until firm, so it slices cleanly.
- Run a knife around the edge, invert onto a plate, and slice into rounds to serve.


