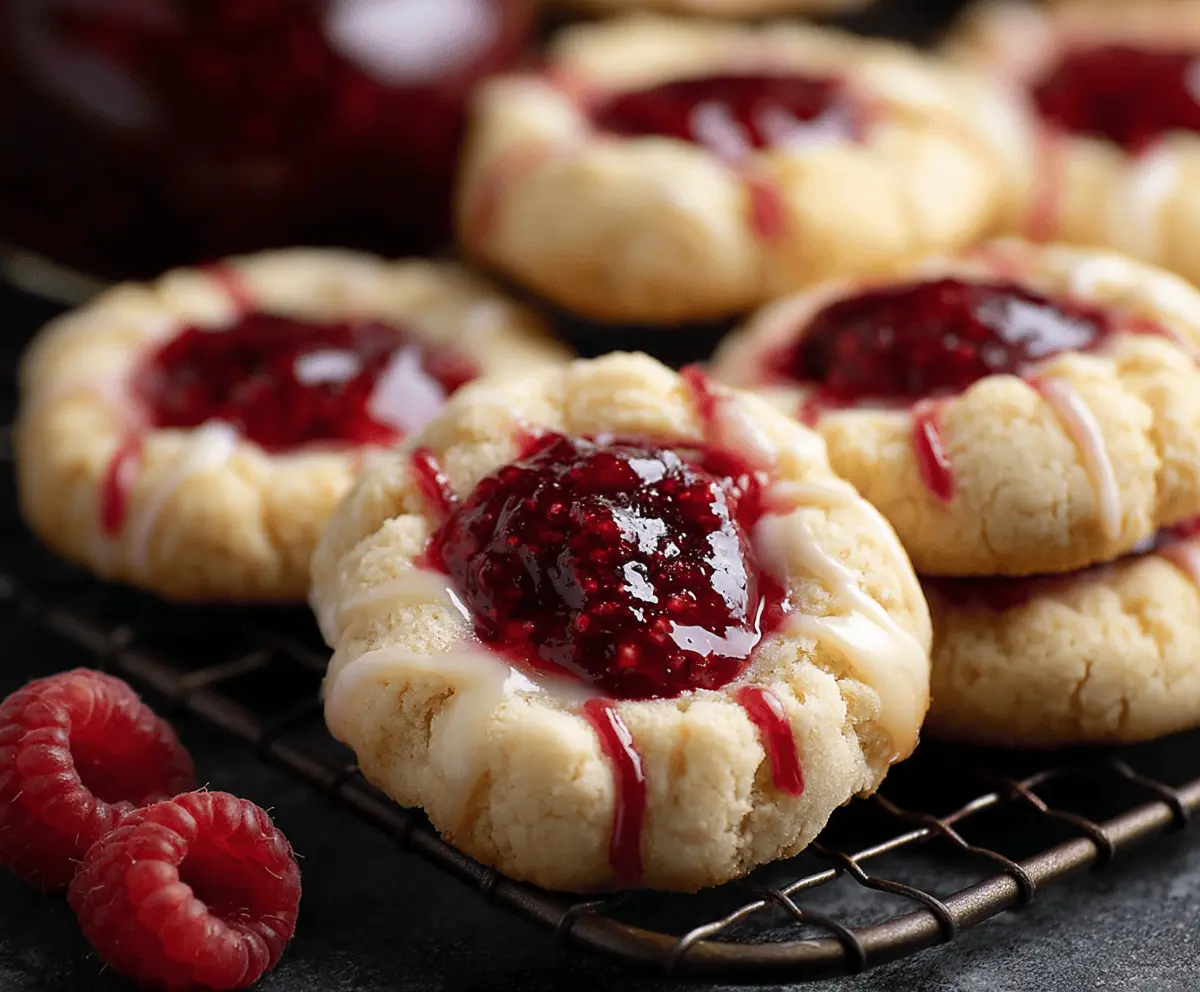

These Raspberry Cheesecake Thumbprint Cookies are a lovely twist on classic cookies! With a creamy cheesecake filling and a sweet raspberry center, they’re both tasty and pretty.
Making these cookies feels like a little celebration. You get the creamy cheesecake goodness in a cookie form—perfect for sharing or just treating yourself! 😊
I love how easy they are to whip up! Plus, they look adorable on a plate, making them a hit at any gathering. Just grab a cup of tea, and enjoy these delightful bites!
Key Ingredients & Substitutions
Butter: Unsalted butter gives you better control over the sweetness. If you’re in a pinch, you can use margarine or coconut oil, but I love the rich flavor that butter adds!
Cream Cheese: This is the heart of the cheesecake flavor. If you want a lighter option, try using Neufchâtel cheese. It works similarly and has less fat while still being creamy.
Raspberry Jam: Feel free to swap out raspberry jam for other flavors like strawberry or blueberry, depending on your preference. You could also use fresh fruit, though the texture will differ.
Powdered Sugar: If you’re out of powdered sugar for the glaze, you can make your own by blending granulated sugar until fine. It may take a little extra time, but it works!
How Do I Make Sure My Cookies Have the Perfect Thumbprint?
Creating a perfect thumbprint might sound tricky, but it’s really about pressure and timing. After you roll the dough into balls, use your thumb to gently press into the center. Just be firm enough to create a well but not too hard that it flattens the cookie.
- Try to do this right after placing the dough balls on the baking sheet to keep their shape.
- If the dough is too soft, chill it in the fridge for about 30 minutes before forming the thumbprints.
This way, your cookies will hold their shape beautifully while baking!
What’s the Best Way to Drizzle the Glaze?
Drizzling the glaze can add that professional touch to your cookies! Once the cookies are fully cooled, grab a fork or a small whisk for ease.
- Transfer your glaze into a sandwich bag, snip a tiny corner, and squeeze it out for a neat drizzle.
- Practice on some parchment paper first if you want to get the hang of it!
This method gives you great control over the thickness and placement of your glaze, ensuring it looks as good as it tastes!

Raspberry Cheesecake Thumbprint Cookies
Ingredients You’ll Need:
For the Cookies:
- 1 cup (2 sticks) unsalted butter, softened
- 8 oz cream cheese, softened
- 1 cup granulated sugar
- 1 large egg
- 1 teaspoon vanilla extract
- 2 1/4 cups all-purpose flour
- 1/4 teaspoon salt
For the Raspberry Filling:
- 1/2 cup raspberry jam or preserves (seeded or whole, depending on preference)
- Fresh raspberries (optional, for garnish)
For the Drizzle Glaze:
- 1/2 cup powdered sugar
- 1-2 tablespoons milk or cream
- 1/4 teaspoon vanilla extract
- Optional: a teaspoon of raspberry puree or a few drops of red food coloring (for color)
How Much Time Will You Need?
This recipe takes about 20 minutes to prepare and around 16 minutes to bake. After baking, allow the cookies to cool for about 5 minutes on the baking sheet before transferring them to a wire rack. Overall, budget about 1 hour including prep, baking, and cooling time!
Step-by-Step Instructions:
1. Preheat and Prep:
Start by preheating your oven to 350°F (175°C). While that’s heating up, line a baking sheet with parchment paper or a silicone mat. These will prevent your cookies from sticking!
2. Make the Cookie Mixture:
In a large bowl, cream together the softened butter, cream cheese, and granulated sugar until the mixture is light and fluffy. This should take about 2-3 minutes with a hand mixer. Then, beat in the egg and vanilla extract until everything is fully combined.
3. Add the Dry Ingredients:
In a separate bowl, whisk together the flour and salt. Gradually add the dry ingredients to the wet mixture, stirring just until combined to form a soft dough.
4. Form the Cookies:
Scoop tablespoon-sized portions of dough and roll them into balls. Place them spaced apart on the prepared baking sheet. Use your thumb or the back of a small spoon to gently press an indentation into the center of each ball, creating a thumbprint shape.
5. Add the Raspberry Jam:
Fill each thumbprint with about 1/2 teaspoon of raspberry jam. Don’t overfill them—just enough to fill the well you made!
6. Baking Time!
Bake the cookies in your preheated oven for 14-16 minutes, or until the edges are lightly golden and the cookies are set. The smell will be fantastic!
7. Cool the Cookies:
When they’re done baking, remove them from the oven and let them cool on the baking sheet for about 5 minutes. Then, gently transfer the cookies to a wire rack to cool completely.
8. Make the Drizzle Glaze:
To prepare the glaze, whisk together the powdered sugar, milk or cream, and vanilla extract until smooth. If you want, you can add raspberry puree or a few drops of red food coloring to give it a fun pink tint!
9. Drizzle & Serve:
Once the cookies are completely cool, drizzle the glaze over the top for a beautiful finishing touch. Optionally, add fresh raspberries on top or around the cookies when serving.
Enjoy your delightful Raspberry Cheesecake Thumbprint Cookies — creamy, fruity, and perfect for any occasion!
Can I Use a Different Type of Jam?
Absolutely! While raspberry jam is delicious, feel free to experiment with other flavors like strawberry, blueberry, or even apricot. Just make sure the jam is thick enough to hold its shape in the thumbprint.
How Should I Store Leftover Cookies?
Store any leftover cookies in an airtight container at room temperature for up to 3 days. If you want to keep them longer, you can freeze them for up to a month. Just make sure to separate layers with parchment paper to prevent sticking!
Can I Make These Cookies Gluten-Free?
Yes, you can! Substitute the all-purpose flour with a gluten-free flour blend that is suitable for baking. Just ensure that the blend contains xanthan gum or another binding agent to help maintain the cookie’s texture.
What If My Dough Is Too Sticky?
If your cookie dough is too sticky to handle, chill it in the refrigerator for about 30 minutes. This will make it easier to scoop and roll without sticking to your hands!


