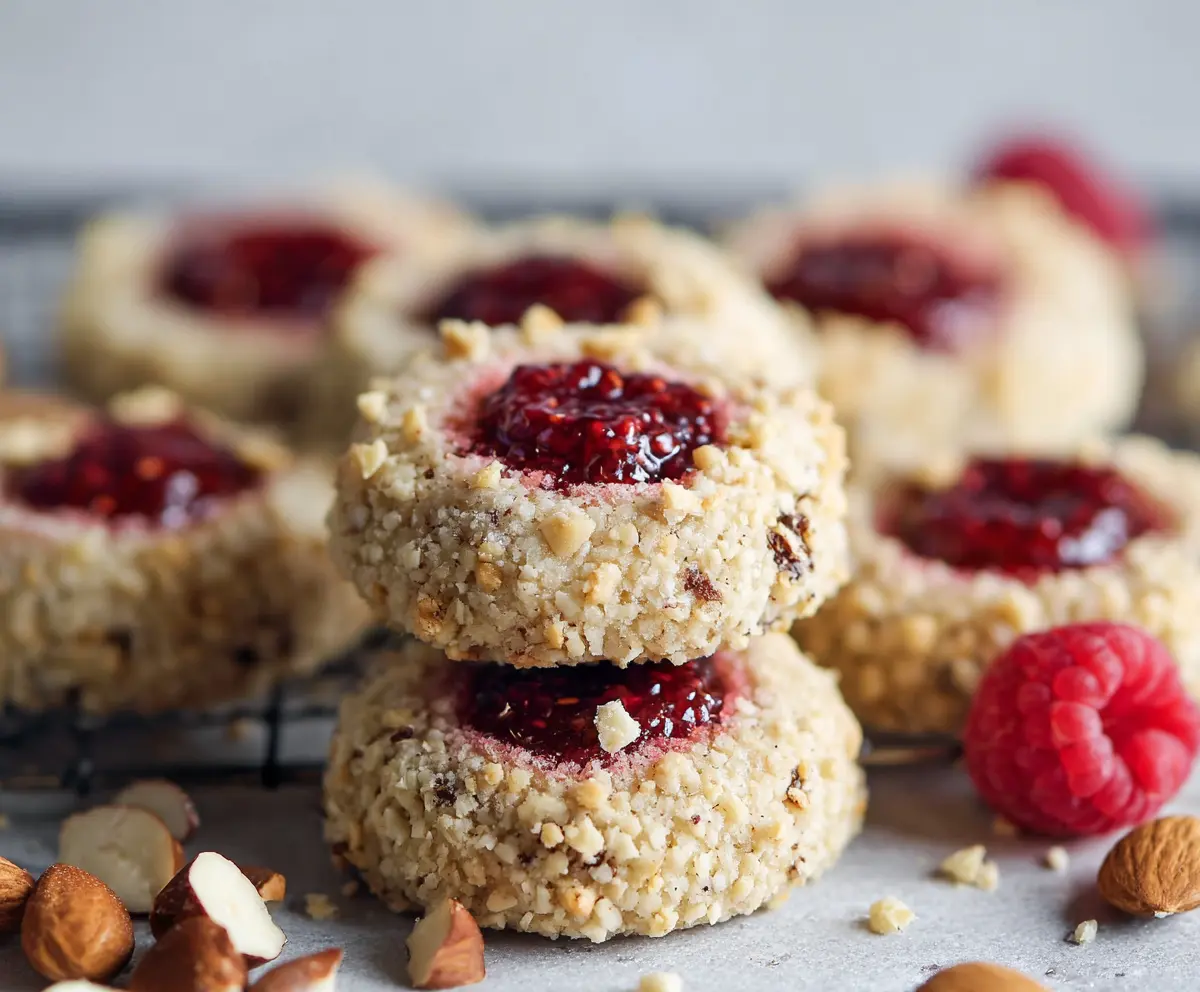

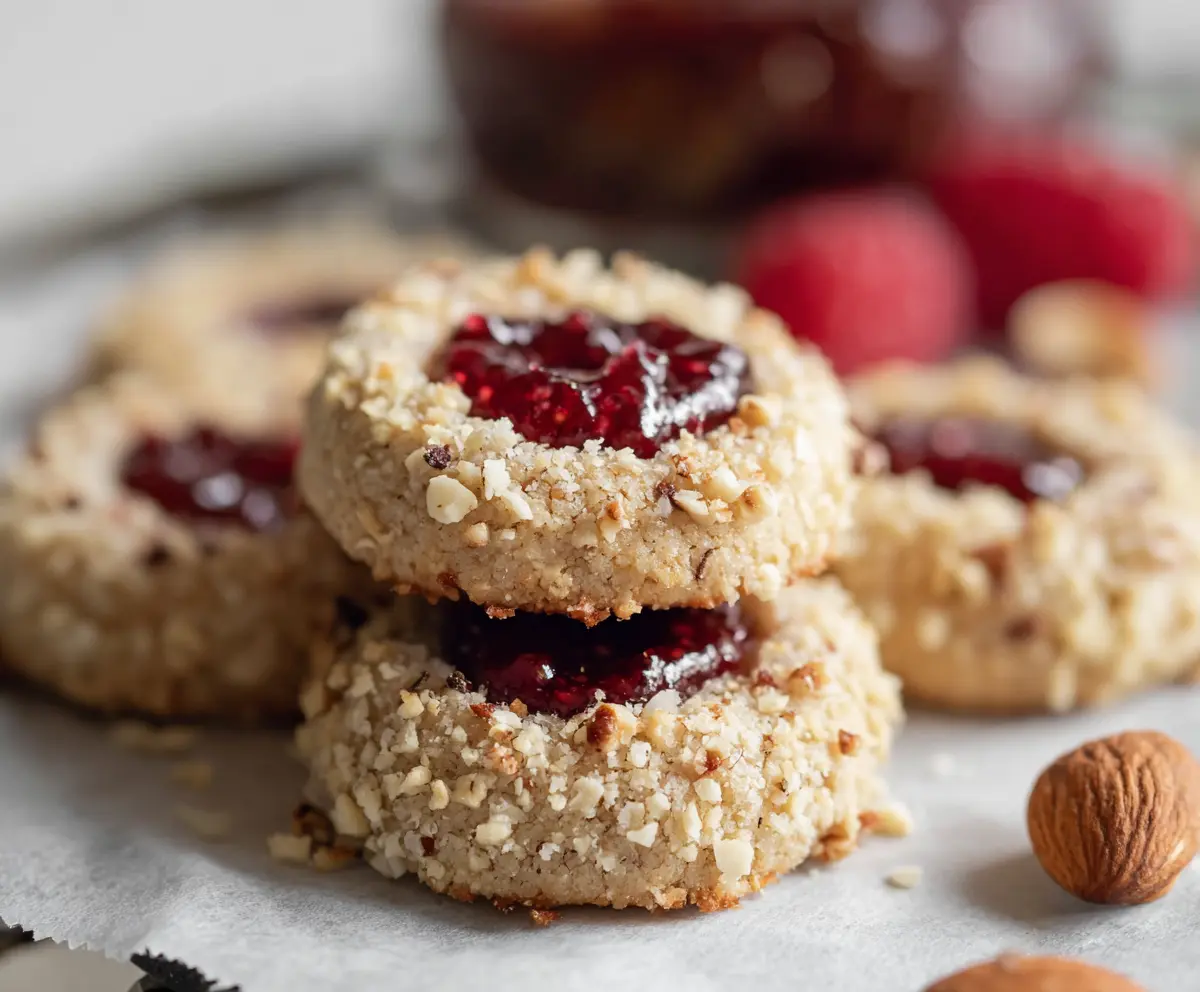
These Raspberry and Hazelnut Thumbprint Cookies are cute little treats that taste amazing! With a nutty flavor and sweet raspberry jam in the center, they are perfect for any cookie lover.
Making these cookies is like giving your taste buds a hug! I love how the crunchy hazelnut pairs with the fruity jam. Plus, they make a great gift—if you can keep them around that long! 😄
Key Ingredients & Substitutions
Hazelnuts: Finely chopped or ground hazelnuts give a wonderful nutty flavor. If you’re allergic or can’t find hazelnuts, almonds or walnuts work as good alternatives. Just remember to adjust cooking time slightly based on the nut used!
Butter: Unsalted butter keeps the flavors balanced. If you’re dairy-free, you can substitute with vegan butter or coconut oil. The texture might change a bit, but the flavor will still be delightful.
Raspberry Jam: This is key for the thumbprint filling. You can use any fruit jam you like, such as apricot, strawberry, or even concentrated fruit puree. Homemade jam adds a personal touch too!
How Do You Create the Perfect Thumbprint?
Making perfectly shaped thumbprints in the cookies is easy! Here are some tips:
- After rolling the dough into balls, press down gently with your thumb or the back of a spoon. Don’t press too hard—just enough to make a small dip that holds the jam.
- To avoid sticking, lightly grease your thumb or spoon with water or cooking spray before making the indentation.
- If you want a deeper well, you can use the tip of a measuring spoon after forming the initial dip—the cookies can hold more jam that way!
These small adjustments can really enhance the final look and taste of your thumbprint cookies. Enjoy baking!
Raspberry and Hazelnut Thumbprint Cookies
Ingredients You’ll Need:
Dry Ingredients:
- 1 cup hazelnuts, finely chopped or ground
- 1 cup all-purpose flour
- 1/2 teaspoon baking powder
- 1/4 teaspoon salt
Wet Ingredients:
- 1/2 cup unsalted butter, softened
- 1/2 cup granulated sugar
- 1 large egg yolk
- 1 teaspoon vanilla extract
Filling:
- 1/2 cup raspberry jam (seeded or whole, depending on texture preference)
How Much Time Will You Need?
This recipe takes about 20 minutes to prepare and 12-15 minutes to bake, with an additional 5 minutes for cooling on the baking sheet. So, in total, you will need about 35-40 minutes to make these delightful cookies!
Step-by-Step Instructions:
1. Preheat and Prepare:
Start by preheating your oven to 350°F (175°C) and lining a baking sheet with parchment paper. This will help prevent the cookies from sticking and make for easy cleanup!
2. Mix the Dry Ingredients:
In a medium bowl, whisk together the flour, baking powder, and salt. This ensures your dry ingredients are well combined and ready to mix with the wet ingredients.
3. Cream the Butter and Sugar:
In a larger bowl, cream the softened butter and granulated sugar together using a hand mixer or a whisk until the mixture is light and fluffy. This step is key for creating a airy texture in your cookies.
4. Add Egg Yolk and Vanilla:
Beat in the egg yolk and vanilla extract into the butter mixture until everything is well combined and creamy.
5. Combine Ingredients:
Gradually mix the dry ingredients into the wet ingredients, stirring gently until a soft dough forms. Don’t overmix—just combine well!
6. Incorporate Hazelnuts:
Fold half of the chopped hazelnuts into the dough, ensuring they are evenly distributed throughout the mixture.
7. Shape the Cookies:
Scoop tablespoon-sized portions of dough and roll them into balls in your hands. Then, roll each ball in the remaining chopped hazelnuts, pressing the nuts gently onto the surface for better sticking.
8. Prepare for Baking:
Place the nut-coated dough balls on the prepared baking sheet, making sure to space them about 2 inches apart to allow for spreading.
9. Create Thumbprints:
Use your thumb or the back of a small spoon to gently create an indentation in the center of each ball. Don’t press too hard; just enough to make a well for the jam!
10. Add the Raspberry Jam:
Fill each indentation with about 1/2 teaspoon of raspberry jam, ensuring not to overfill them so they don’t overflow while baking.
11. Bake the Cookies:
Bake in the preheated oven for 12-15 minutes or until the cookies are lightly golden around the edges. Keep an eye on them as baking times may vary!
12. Cool and Enjoy:
Once baked, allow the cookies to cool on the baking sheet for 5 minutes, then transfer them to a wire rack to cool completely. Store them in an airtight container at room temperature for up to one week—if they last that long!
Now, enjoy your delicious Raspberry and Hazelnut Thumbprint Cookies with a cup of tea or coffee—perfectly nutty with a sweet raspberry burst in the center!
Can I Use Skinned Hazelnuts for This Recipe?
Yes, you can use skinned hazelnuts! Just make sure to chop or grind them finely to maintain the right texture in your cookies. If using whole hazelnuts, you might want to toast them lightly for an added depth of flavor.
Can I Substitute the Raspberry Jam?
Absolutely! You can substitute raspberry jam with other fruit jams like apricot, strawberry, or blackberry, depending on your preference. Just ensure it’s a thick jam to prevent overflowing in the cookies.
How Should I Store Leftover Cookies?
Store any leftover cookies in an airtight container at room temperature for up to a week. If you want to keep them longer, you can freeze them for up to 3 months—just remember to layer them with parchment paper to prevent sticking!
What Should I Do If My Dough Is Too Sticky?
If your dough seems too sticky, try chilling it in the refrigerator for about 30 minutes. This will firm it up, making it easier to roll into balls. You can also dust your hands with a bit of flour when forming the cookies.


