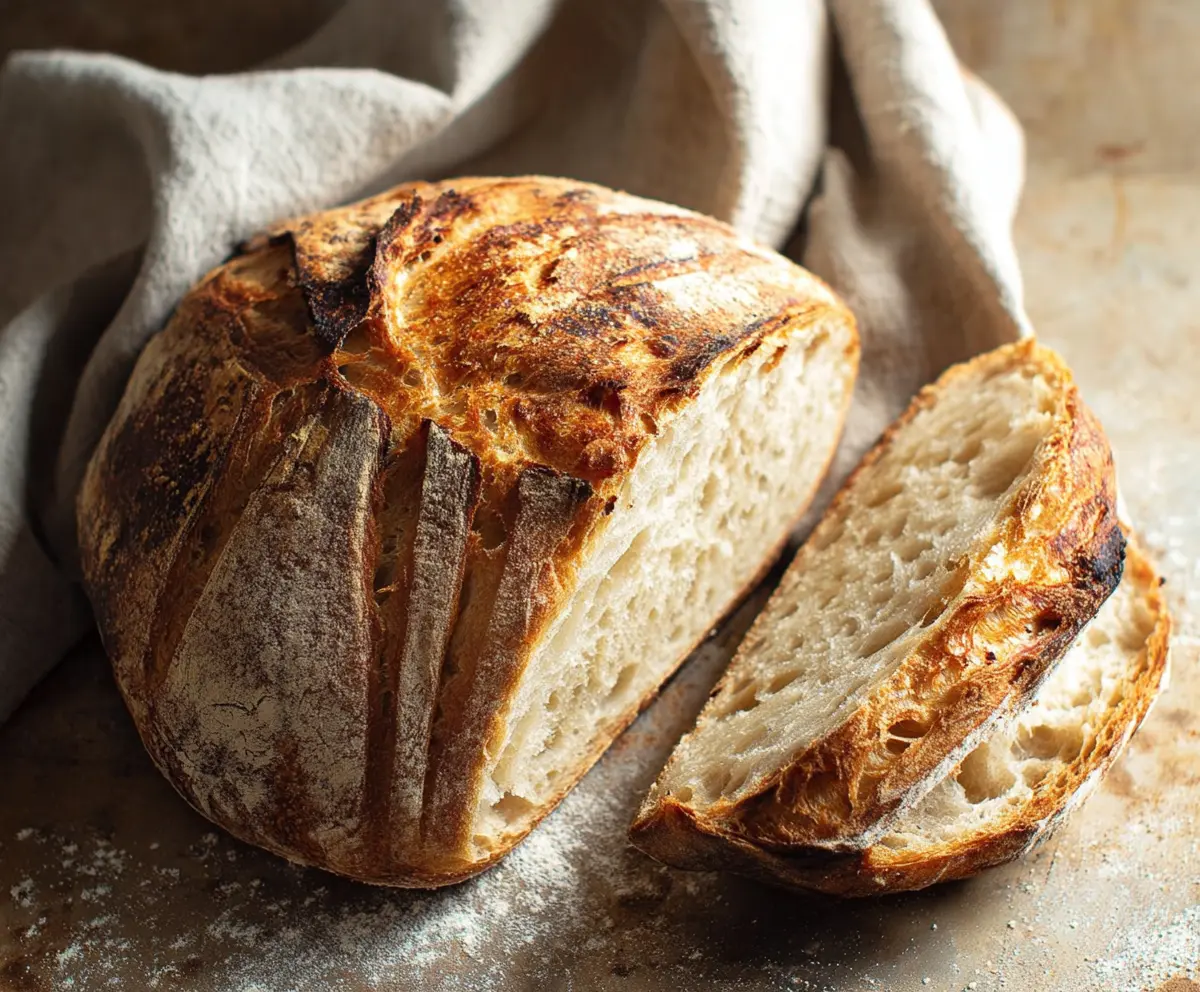

Artisan sourdough bread is a crusty loaf with a chewy inside that every bread lover dreams about! It’s made with simple ingredients: flour, water, salt, and a bit of time to rise.
Baking this bread can feel like a fun science experiment, especially when you watch the dough bubble and grow. I love to enjoy a slice with butter, or use it for a fancy sandwich. Yum!
Key Ingredients & Substitutions
Flour: Bread flour is ideal for its higher protein content which gives the bread structure. If you can’t find it, feel free to use all-purpose flour, but it may result in a softer loaf.
Sourdough starter: Make sure your sourdough starter is active and bubbly. If you’re in a pinch, you could use a store-bought sourdough starter or even a small packet of instant yeast, but it won’t have the same tangy flavor.
Water: Use room temperature water to encourage yeast activity. If your water is too hot or too cold, it can affect the fermentation process. Filtered water is a great option if your tap water has a strong smell.
Salt: Don’t skip the salt—it enhances flavor and strengthens gluten. You can replace it with sea salt or kosher salt if that’s what you have on hand, but avoid iodized salt for better taste.
How Can I Achieve Perfect Gluten Development?
A crucial technique in sourdough baking is developing gluten through stretch and folds. This helps to structure the dough without needing to knead it vigorously. Start with a relaxed dough and keep it at room temperature during the fermentation process.
- Perform stretch and folds every 30 minutes for the first 2 hours. Grab one edge of the dough, stretch it up, and fold it over itself. Turn the bowl a quarter turn and repeat until you’ve stretched all four sides.
- After the stretching, let the dough rest until it doubles in size, signaling that gluten has developed well. Be patient; it might take 4-6 hours!
How to Make Artisan Sourdough Bread
Ingredients You’ll Need:
- 500 grams (about 4 cups) bread flour or a mix of bread and all-purpose flour
- 350 grams (1 1/2 cups) water, room temperature
- 100 grams (about 1/2 cup) active sourdough starter (fed and bubbly)
- 10 grams (2 tsp) salt
How Much Time Will You Need?
This recipe takes about 30 minutes of hands-on time plus 4-6 hours for bulk fermentation (with some stretch and folds included) and around 12-18 hours for proofing your loaf in the fridge. Finally, baking will take about 40-45 minutes. So in total, plan for a day of fun baking!
Step-by-Step Instructions:
1. Mix the Dough:
In a large bowl, combine the bread flour and room temperature water. Mix it up using your hands or a wooden spoon until no dry flour remains. Cover the bowl with a kitchen towel or plastic wrap and let it rest for 30-45 minutes. This part is called autolyse, and it helps to hydrate the flour.
2. Add Starter and Salt:
Once the dough has rested, add your bubbly sourdough starter and salt. Use your hands to mix it all together until the starter and salt are fully incorporated into the dough.
3. Bulk Fermentation with Folds:
Let the dough rest at room temperature for about 4 to 6 hours. During this time, you’ll do stretch and folds to build gluten strength. Do this 3 to 4 times every 30 minutes for the first 2 hours. To stretch and fold, grab one edge of the dough, stretch it up, and fold it over itself. Turn the bowl a bit and repeat until you’ve stretched all parts of the dough.
4. Shape the Dough:
Carefully turn the dough out onto a lightly floured surface. Gather the edges of the dough towards the center, creating a tight round shape. Flip the dough seam-side down, and let it relax for 15 minutes.
5. Proof the Dough:
Now it’s time to let your shaped dough rise! Place it seam-side up in a well-floured banneton or a bowl lined with a floured kitchen towel. Cover with a cloth and place it in the fridge to proof for 12-18 hours (overnight works great!).
6. Preheat Oven and Dutch Oven:
About 45 minutes before you’re ready to bake, preheat your oven to 475°F (245°C). Place a heavy Dutch oven inside the oven as it heats. This helps create steam, which is essential for a crusty loaf!
7. Score the Bread:
Carefully remove the dough from the fridge. Gently turn it out onto a piece of parchment paper. With a sharp knife or bread lame, score the top of the dough to allow it to expand in the oven.
8. Bake:
Transfer the dough on the parchment into the hot Dutch oven. Cover it with the lid and bake for 20 minutes. After that, remove the lid and bake for an additional 20-25 minutes, until the loaf is deep golden brown and crusty.
9. Cool:
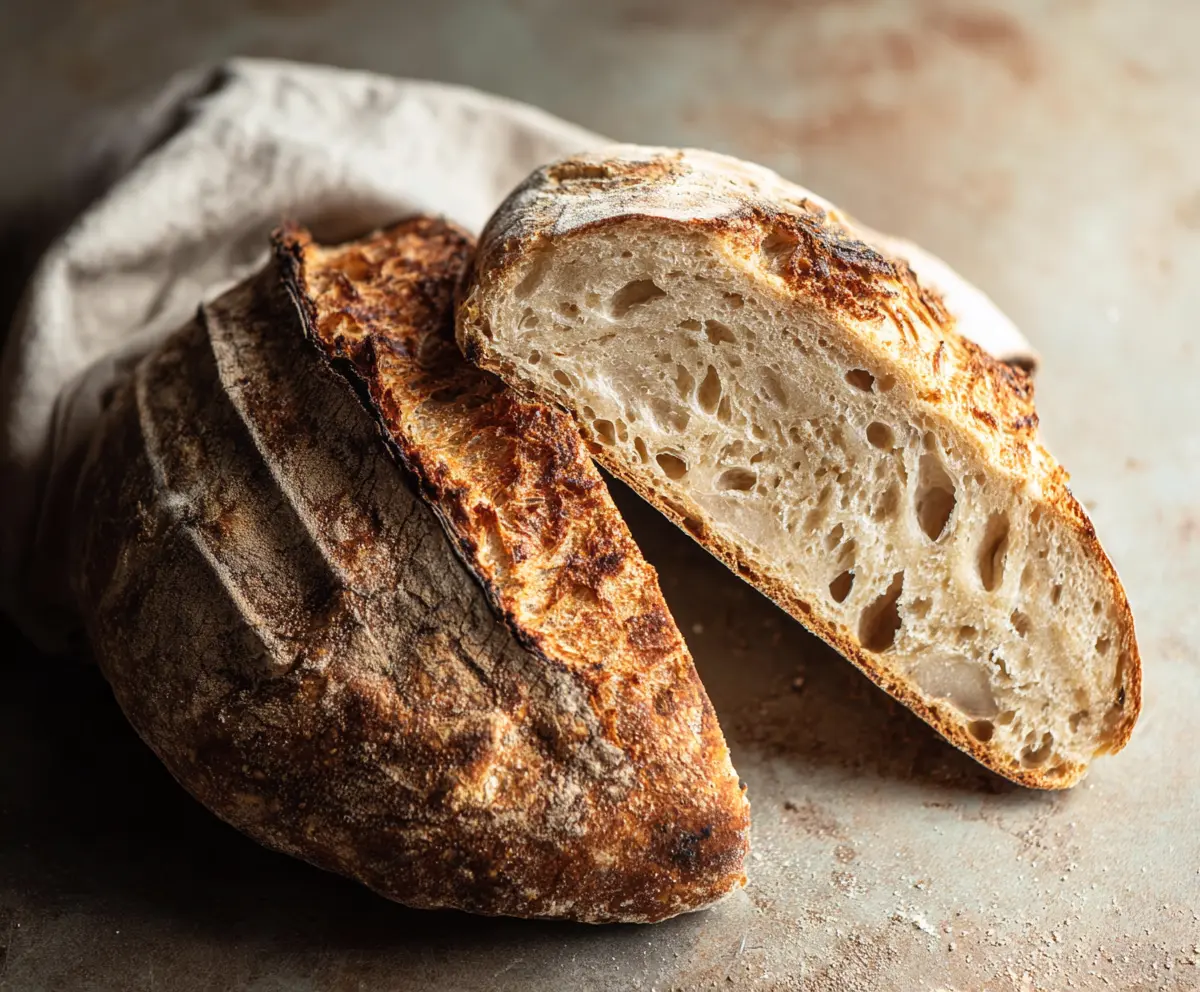
Once baked, remove the bread from the oven and place it on a wire rack to cool completely. This cooling period lets the inside set up nicely, making it easy to slice.
Congratulations! You’ve made a beautiful, crusty artisan sourdough loaf. Enjoy your fresh bread with butter, olive oil, or your favorite toppings!
Can I Use Whole Wheat Flour Instead of Bread Flour?
Yes, you can substitute whole wheat flour, but for the best results, consider using half whole wheat and half bread flour to maintain a good structure and flavor. Whole wheat can make the bread denser, so adjusting the hydration slightly may also be necessary.
What If My Dough Doesn’t Rise?
If your dough isn’t rising, it’s possible that your sourdough starter is not active enough. Make sure it’s fed within the last few hours before starting the recipe. If it hasn’t risen after the recommended fermentation time, give it a little longer at room temperature. Warmer conditions encourage yeast activity!
How Can I Tell When My Bread Is Done Baking?
Your bread is done when it has a golden brown crust and sounds hollow when tapped on the bottom. You can also check the internal temperature; it should reach around 200-210°F (93-99°C) for a perfectly baked loaf.
How Should I Store My Sourdough Bread?
To store your sourdough bread, place it in a paper bag or wrap it in a kitchen towel to keep the crust crispy. If you need to keep it longer, slice the bread and store it in an airtight container or plastic bag in the freezer for up to a month. Just toast or reheat it when you’re ready to enjoy!


