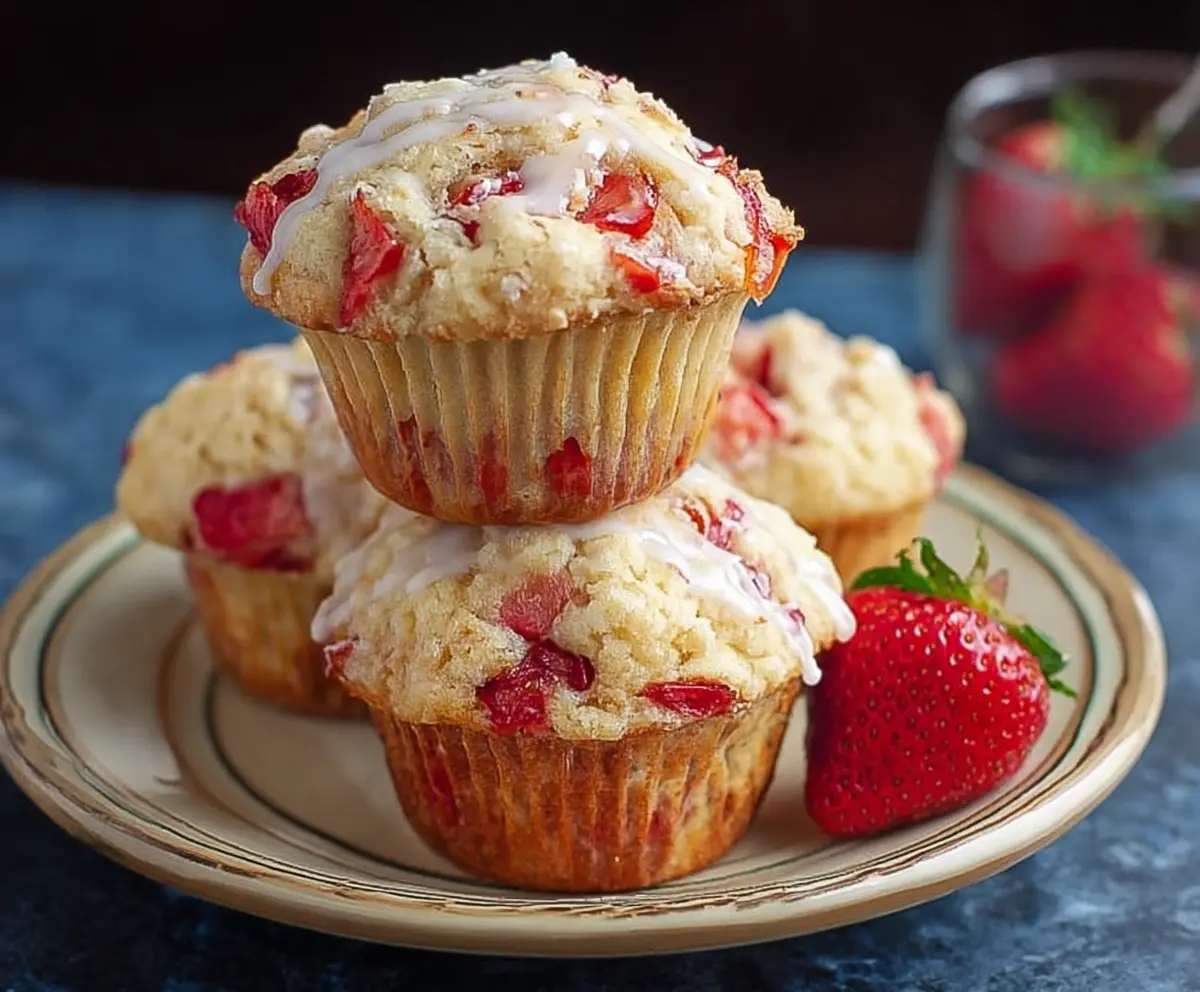

These Strawberry Shortcake Muffins are like little bites of happiness! They are soft, fruity, and just sweet enough to make your mornings bright.
Who can say no to fresh strawberries baked right inside? I love grabbing one for breakfast or as a snack. They’re so good, you might even want to share… but I won’t tell if you don’t! 😄
Key Ingredients & Substitutions
All-purpose flour: This is the base for the muffins. If you’re looking for a gluten-free option, you can use a gluten-free flour blend. I’ve found that it works well most of the time for muffins.
Granulated sugar: This gives sweetness to the muffins. You could substitute it with coconut sugar or brown sugar for a slightly richer flavor. Just remember that it might change the color a bit.
Butter: Unsalted butter is used to control the salt level. If you don’t have it, you can use salted butter but reduce the added salt a bit. Also, coconut oil could work as a dairy-free alternative!
Milk: Whole milk gives the muffins moisture. If you’re lactose intolerant, almond milk or oat milk can be great alternatives. I like oat milk for its creamy texture.
Strawberries: Fresh strawberries are key for flavor. If they’re out of season, try frozen strawberries, but thaw them and drain excess liquid before adding to the batter.
How Do You Get the Perfect Muffin Texture?
Getting that soft, fluffy muffin texture is all about mixing! Be gentle when combining the wet and dry ingredients. Overmixing can lead to tough muffins.
- Mix the dry ingredients well before adding wet ones to ensure even distribution of baking powder.
- When you add the wet mixture, stir just until you see no more flour pockets. It’s okay if the batter is slightly lumpy!
- Fold in strawberries gently to keep some pieces intact; this keeps them whole and adds bursts of fresh flavor in every bite.
How to Make Delicious Strawberry Shortcake Muffins
Ingredients You’ll Need:
For the Muffins:
- 2 cups all-purpose flour
- 1/2 cup granulated sugar
- 1 tbsp baking powder
- 1/2 tsp salt
- 1/2 cup unsalted butter, cold and cubed
- 2/3 cup whole milk
- 2 large eggs
- 1 tsp vanilla extract
- 1 1/2 cups fresh strawberries, chopped
For the Glaze:
- 1/4 cup powdered sugar
- 1-2 tbsp milk or lemon juice
How Much Time Will You Need?
This recipe takes about 15 minutes of preparation time and an additional 18-22 minutes for baking. After baking, allow some time for the muffins to cool before adding the glaze. So, in total, you can expect to spend around 40-45 minutes to enjoy a batch of these tasty muffins!
Step-by-Step Instructions:
1. Preheat the Oven and Prepare the Muffin Tin:
First, preheat your oven to 375°F (190°C). While that’s heating up, line a 12-cup muffin tin with paper liners, or grease it well so the muffins don’t stick. This step ensures easy removal and cleaner serving.
2. Mix the Dry Ingredients:
In a large mixing bowl, combine the all-purpose flour, granulated sugar, baking powder, and salt. Mix them together well to ensure the baking powder is evenly distributed, which helps your muffins rise perfectly!
3. Incorporate the Butter:
Next, take your cold, cubed butter and add it to the dry ingredients. Using a pastry cutter or a fork, work the butter into the mixture until it resembles coarse crumbs. This helps create tender muffins by keeping the butter in small pieces.
4. Combine the Wet Ingredients:
In a separate bowl, whisk together the whole milk, eggs, and vanilla extract until well blended. The wet ingredients will add moisture and flavor to your muffins, making them delightful!
5. Combine Wet and Dry Ingredients:
Now, pour the wet mixture into the bowl with the dry ingredients. Stir gently with a spatula or wooden spoon until just combined. It’s okay if the batter is a little lumpy; just don’t overmix, as this can make your muffins tough!
6. Add the Strawberries:
Carefully fold in the chopped fresh strawberries. Be gentle to avoid breaking them up too much; we want those lovely bits of fruit to stay intact for bursts of flavor in each bite.
7. Fill the Muffin Cups:
Divide the muffin batter evenly among the prepared muffin cups, filling each about 3/4 of the way full. This gives them room to rise and helps achieve that nice dome shape.
8. Bake the Muffins:
Place the muffin tin in your preheated oven and bake for 18-22 minutes. To check if they’re done, stick a toothpick into the center of a muffin—it should come out clean (or with just a few crumbs attached). If it’s still wet, give them a couple more minutes!
9. Cool the Muffins:
Once baked, remove the muffins from the oven and let them cool in the tin for about 5 minutes. Then, carefully transfer them to a wire rack to cool completely. This step helps keep the bottom from getting soggy.
10. Make the Glaze:
While the muffins cool, it’s time to make a simple glaze! In a small bowl, mix the powdered sugar with 1-2 tablespoons of milk or lemon juice until smooth. Adjust the consistency as needed—more liquid for a thinner glaze, less for a thicker one.
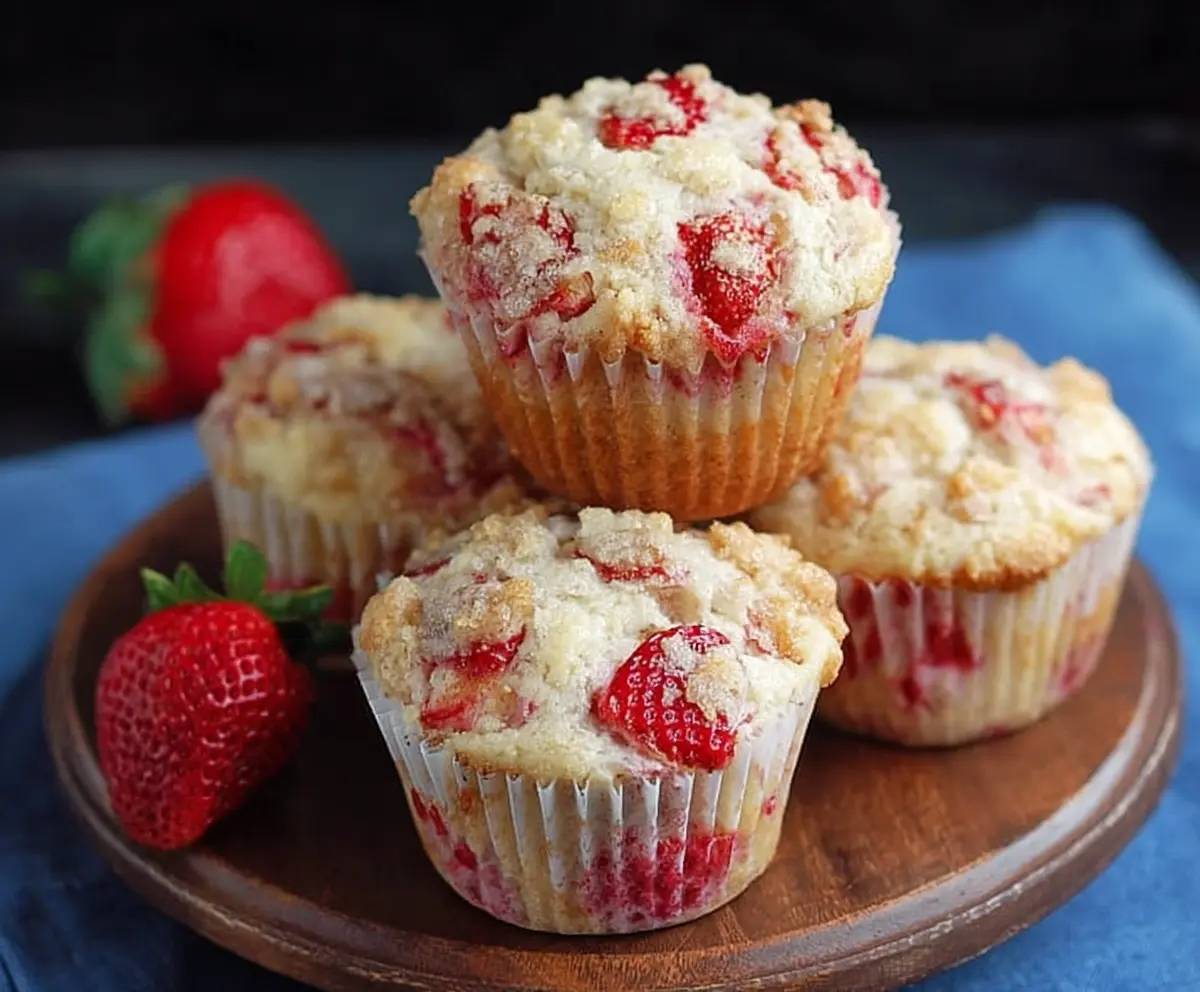
11. Drizzle and Enjoy:
Once your muffins have cooled, drizzle the glaze over each muffin. Now it’s time to serve and enjoy your delightful, soft muffins bursting with fresh strawberries and topped with a sweet glaze. Perfect for breakfast or a snack!
Can I Use Frozen Strawberries Instead of Fresh?
Yes! You can use frozen strawberries, but be sure to thaw them first and drain any excess moisture before adding them to the batter. This will help prevent your muffins from becoming soggy.
How Do I Achieve a Bakery-Style Muffin Top?
For a nice dome shape, make sure to fill the muffin cups about 3/4 full. Additionally, you can chill the batter for about 30 minutes before baking. This will help maximize the rise and create that lovely top.
Can I Substitute Non-Dairy Milk?
Absolutely! You can use any non-dairy milk, like almond milk or oat milk, in place of whole milk. Just make sure it’s unsweetened if you don’t want to alter the flavor of the muffins too much.
How Should I Store Leftover Muffins?
Store any leftover muffins in an airtight container at room temperature for up to 3 days. If you want them to last longer, you can freeze them for up to 3 months. Just thaw and reheat when you’re ready to enjoy!


