
Crispy baked tacos hit the table with the best kind of contrast: crunchy shells, juicy seasoned beef, and melted cheddar that holds everything together just long enough to get from pan to plate. Baking them upright gives you tacos that stay neat, heat evenly, and feel a little more special than the usual skillet-and-fill routine, even though the ingredients are everyday simple.
The trick is not overfilling the shells before they go into the oven. A modest amount of beef plus a blanket of cheese lets the shells stay crisp instead of turning soggy, and the short bake gives the filling time to heat through without drying it out. The seasoning mixture also needs that quick simmer with water; that’s what keeps the beef juicy and helps the spices cling instead of tasting dusty.
Below, you’ll find the one detail that keeps hard taco shells from toppling over, plus the best way to adapt these for different toppings and leftover filling.
The shells stayed crisp all the way through, and the beef had just enough sauce to stay juicy without making the bottoms soggy. I baked them exactly 11 minutes and the cheese melted into the filling perfectly.
Like these ground beef baked tacos? Save them to Pinterest for a crispy, cheesy weeknight dinner that comes together fast and bakes right in the dish.
The Trick to Keeping Hard Taco Shells Crispy in the Oven
The biggest mistake with baked tacos is loading them up so heavily that the shells steam instead of crisp. A little moisture from the beef is fine; puddles of filling are not. Once the meat is seasoned, it should look glossy and clump lightly when stirred, not soupy. That small amount of sauce is enough to flavor the beef without soaking into the shells.
The other part that matters is the baking setup. Standing the shells upright in a snug baking dish keeps them from tipping and lets hot air circulate around them, which is what gives you that crisp edge. If the shells don’t fit tightly, fold a piece of foil into long strips and tuck them beside the tacos to hold everything upright. It sounds fussy, but it keeps the whole batch looking clean when they come out of the oven.
What the Beef, Seasoning, and Cheese Are Each Doing Here
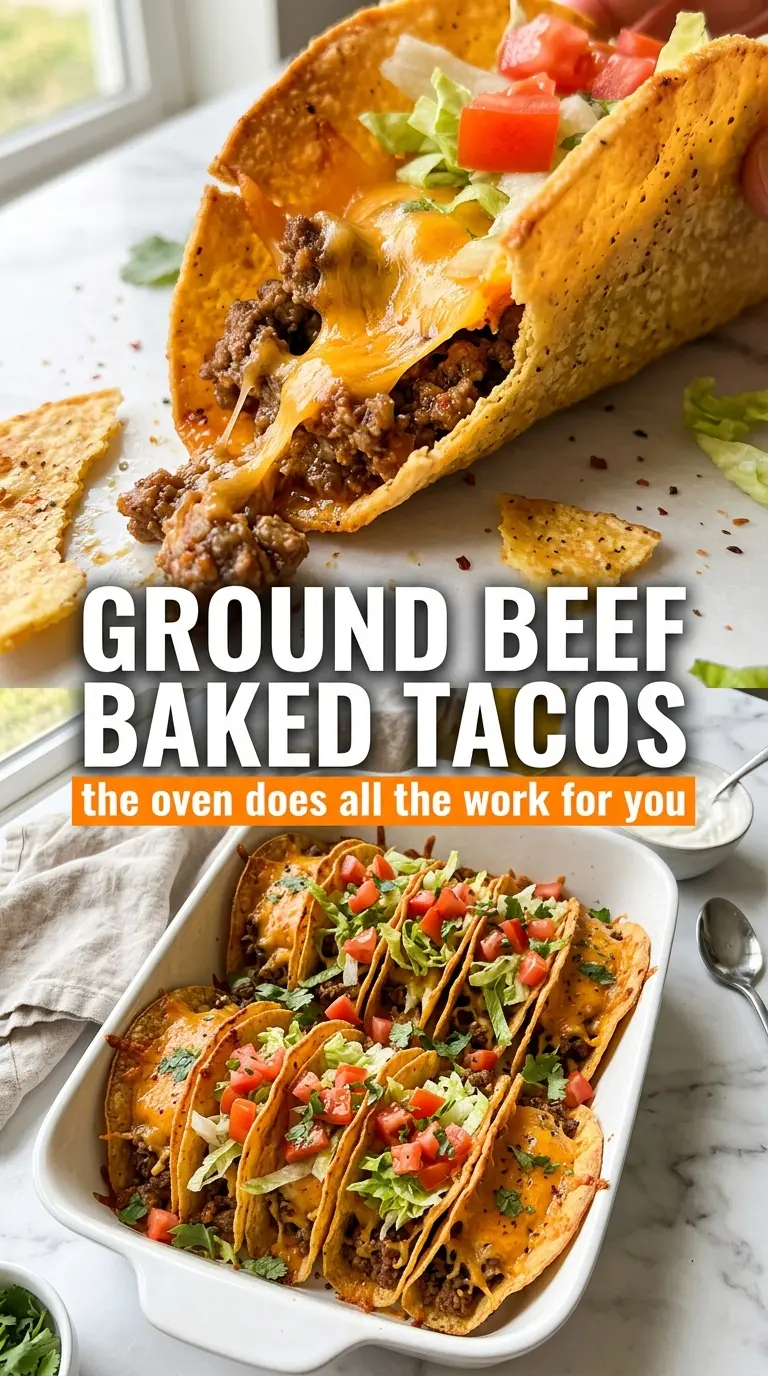
- Ground beef — Use a beef with enough fat to stay juicy, but drain it well after browning. Extra grease is what turns the bottom of the shells soft. Leaner beef works too, but if it’s very lean, don’t skip the water with the seasoning or the filling will taste dry.
- Taco seasoning — Store-bought seasoning is fine here because the oven bake is short and you want the flavor to be punchy. If you use homemade seasoning, add enough salt and a little chili powder so the beef doesn’t taste flat after baking.
- Water — This is what helps the seasoning dissolve and coat the beef instead of sitting in dry clumps. Broth can work in a pinch, but it adds extra salt and can muddy the taco flavor a little.
- Cheddar cheese — Sharp cheddar gives you the best contrast against the seasoned beef. Pre-shredded cheese melts fine, but freshly shredded cheese melts into a smoother blanket because it doesn’t carry the anti-caking starch that can make the top a little grainy.
Building the Filling Before the Oven Does the Rest
Browning the Beef
Cook the beef over medium-high heat and break it into small crumbles as it browns. You want the meat cooked through with a little color on the edges, not grey and wet. If there’s a lot of fat in the pan, drain it off before adding the seasoning, or the filling will slide around inside the shells instead of staying compact.
Turning the Seasoning Into a Sauce
Stir in the taco seasoning and water, then let the mixture simmer for 2 to 3 minutes. The liquid should reduce just enough to coat the meat and pool only lightly at the bottom of the pan. If it still looks watery, keep it on the heat for another minute or two; if you skip that reduction, the tacos will soften before they even hit the table.
Baking the Shells With the Filling
Set the shells upright in the baking dish and divide the beef evenly among them. Top with cheese before baking so it melts into the filling and helps lock everything in place. Bake just until the shells are crisp and the cheese is melted; if you leave them in too long, the edges can go from crisp to brittle and the filling dries out.
Finishing With Fresh Toppings
Add the tomatoes, lettuce, sour cream, and jalapeño after the tacos come out of the oven. That keeps the cool toppings fresh and the lettuce from wilting under the heat. Salsa goes on the side so each person can add as much as they want without softening the shells right away.
How to Adapt These Tacos Without Losing the Crunch
Ground turkey instead of beef
Turkey works well if you want a lighter filling, but it needs a little more help with seasoning because it has less built-in richness than beef. Use the same method, and don’t skip draining off any liquid the turkey releases before you add the taco seasoning.
Gluten-free hard shells
This recipe is easy to make gluten-free if you use certified gluten-free taco shells and seasoning. The texture stays the same, and the oven time doesn’t need to change, which makes this one of the simpler swaps in the whole recipe.
Dairy-free topping swap
Skip the cheddar and sour cream, then top the tacos with salsa, jalapeño, avocado, or a dairy-free crema. You’ll lose the melty top layer that helps hold the filling in place, so be a little gentler when moving them from the pan to the plate.
Storage and Reheating
- Refrigerator: Store the beef filling separately for up to 4 days. Assembled tacos will soften fast, so keep the shells, filling, and toppings apart if you want better texture.
- Freezer: The seasoned beef freezes well for up to 2 months. Don’t freeze the assembled tacos; the shells turn soft and the fresh toppings won’t hold up.
- Reheating: Warm the beef in a skillet over medium heat or in the microwave until hot, then fill fresh shells and bake for a few minutes to crisp them again. If you reheat assembled tacos, the shells usually lose their crunch.
Questions I Get Asked About This Recipe
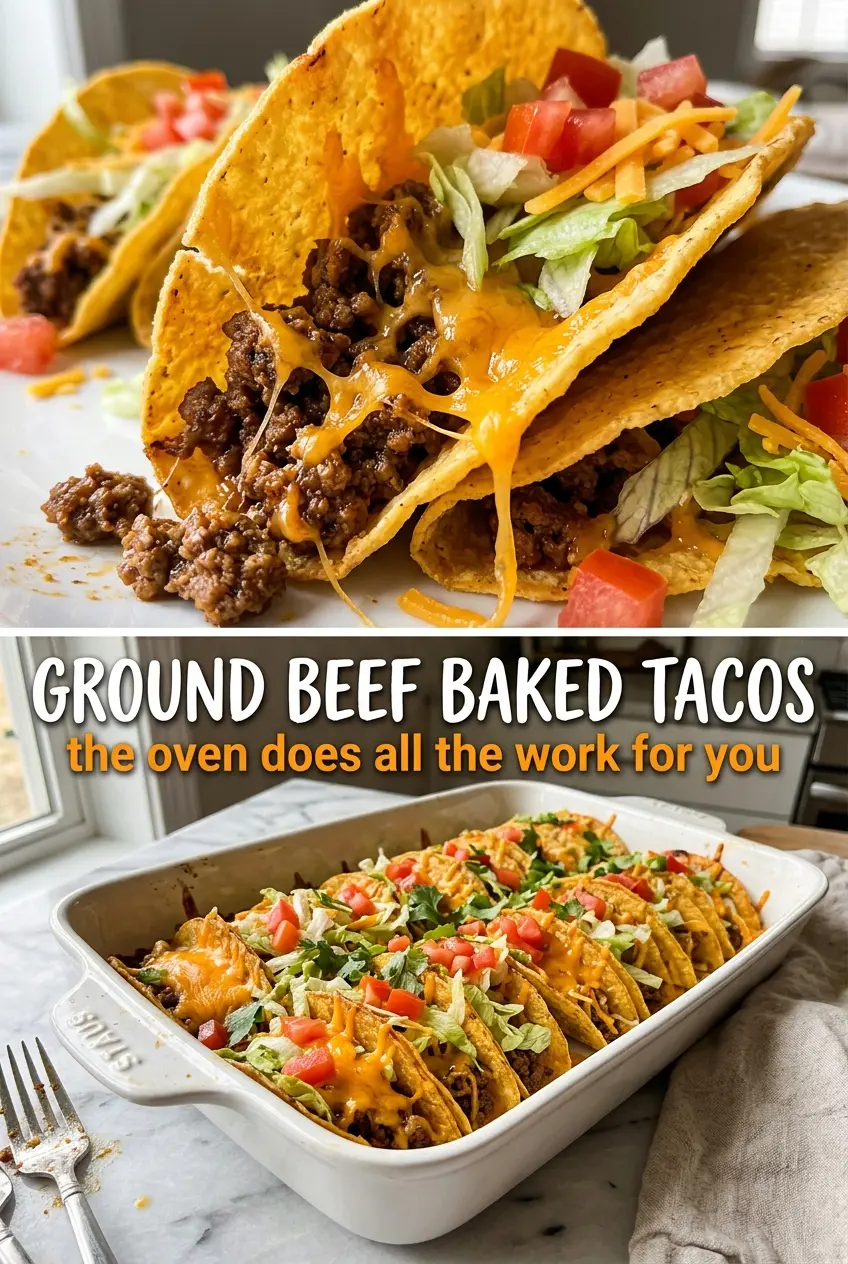
Ground Beef Baked Tacos
Ingredients
Equipment
Method
- Preheat the oven to 350°F. Set out a baking dish so the taco shells can be filled right after the beef is ready.
- Brown the ground beef in a skillet over medium-high heat, breaking it into crumbles as it cooks. Cook until no pink remains, then drain excess fat.
- Add taco seasoning and water to the beef, stirring to combine. Simmer for 2-3 minutes until the mixture thickens slightly, with a visible coating on the crumbles.
- Arrange the hard taco shells in a baking dish, standing them upright. Divide the seasoned beef among the shells so each one has a mound of filling.
- Sprinkle shredded cheddar cheese over each taco. Bake for 10-12 minutes until the shells look crisp and the cheese is fully melted and lightly bubbly.
- Top each taco with diced tomatoes, spreading them so you can see fresh red pieces on top. Add shredded lettuce over the tomatoes for a cool, crunchy layer.
- Add a dollop of sour cream and sprinkle diced jalapeño on top. Serve immediately with salsa on the side.


