
Caramelized BBQ chicken thighs hit that sweet spot between sticky, smoky, and crisp at the edges, with skin that turns deeply browned before the sauce even goes on. The dark meat stays juicy on the grill, and the final brush of sauce tightens into a glossy coating that clings instead of sliding off. This is the kind of chicken that disappears fast, especially when the skin has enough time over the heat to pick up real color.
The key is letting the thighs do their first stretch on the grill without saucing too early. BBQ sauce burns fast because of the sugar, so the chicken needs to cook through and crisp first, then finish with a few short bastes at the end. A little brown sugar in the sauce helps build that lacquered finish, while apple cider vinegar keeps it from tasting flat or heavy.
Below, I’ll walk through the part that matters most: when to sauce, how to keep the skin crisp, and what to watch for if your grill runs hot. I’ve also included a few smart swaps and the storage notes that make these thighs just as useful the next day.
The skin got properly crisp before the BBQ sauce went on, and the glaze turned sticky and caramelized instead of burning. My husband asked if I could put these on the grill again the next night.
Like this caramelized BBQ chicken? Save it for the nights when you want crispy skin, sticky glaze, and a fast grill dinner that actually tastes like effort.
The Reason the Sauce Goes On Last, Not First
The biggest mistake with BBQ chicken thighs is treating the sauce like a marinade. On the grill, sugar-heavy sauce can go from glossy to bitter in a minute, especially over direct heat. The chicken needs time to render the skin and pick up color first; once the thighs are close to done, the sauce turns into a glaze instead of a burnt coating.
Bone-in, skin-on thighs are the right cut here because they forgive a little extra grill time and stay juicy even after the exterior gets deeply caramelized. If the skin is flabby when it hits the heat, pat it dry before seasoning. Moisture is what keeps the skin from crisping, and crisp skin is what keeps the sauce from soaking in and turning tacky in the wrong way.
What Each Ingredient Is Actually Doing in These Thighs
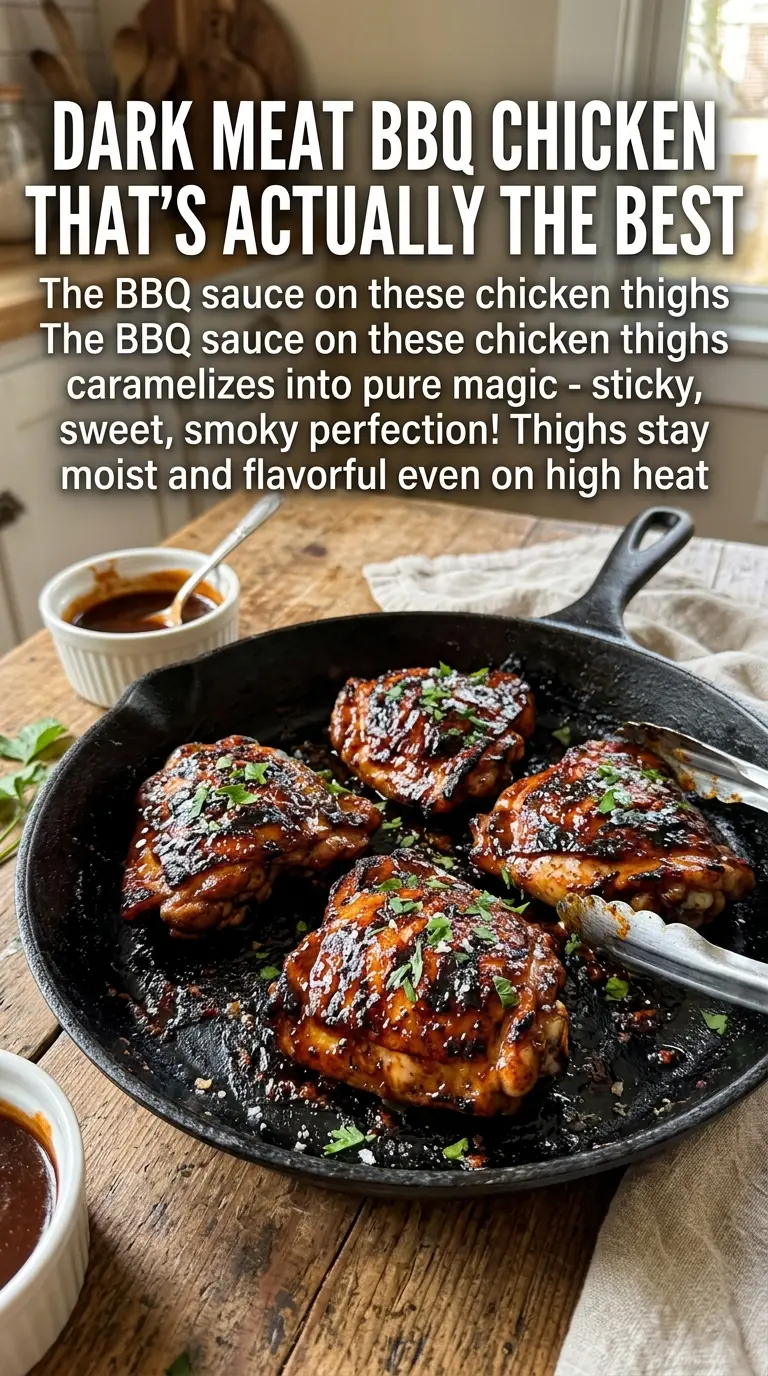
- Chicken thighs, bone-in and skin-on — This cut is the backbone of the recipe. The bone helps the meat cook more evenly, and the skin gives you the crisp edge that makes the glaze worth brushing on. Boneless thighs will cook faster, but they won’t give you the same grilled texture.
- BBQ sauce — Use a sauce you’d actually eat on its own, because the flavor concentrates as it caramelizes. A thinner sauce can work, but very thin sauce tends to run off before it sets. If yours is especially sweet, watch the heat even more closely.
- Brown sugar — This deepens the color and helps the sauce turn sticky at the end. It also gives the chicken that lacquered finish people expect from caramelized BBQ. Don’t add more than listed unless you’re working very low and slow.
- Apple cider vinegar — This keeps the sauce from tasting one-note. The acid cuts through the sweetness and helps the glaze taste brighter once it hits the hot chicken. White vinegar works in a pinch, but it tastes sharper.
- Smoked paprika — It adds smoke without needing a heavy-handed rub. If your grill doesn’t throw much smoke, this ingredient bridges that gap and gives the sauce a deeper, rounder finish.
Getting Crispy Skin Before the Glaze Turns Sticky
Seasoning and Prepping the Thighs
Start by patting the chicken dry, then season it with salt, pepper, and olive oil. The oil helps the skin conduct heat and brown more evenly, but the dry surface is what actually lets the skin crisp. If the thighs are wet going onto the grill, they’ll steam before they sear, and the sauce won’t have a strong base to cling to.
Mixing the Sauce
Stir the BBQ sauce, brown sugar, vinegar, and smoked paprika until the sugar dissolves as much as it can. You don’t need to cook it first, but you do want it smooth enough to brush on without clumps. If the sauce tastes too sharp, that usually settles once it caramelizes on the chicken.
Building the First Side of Color
Preheat the grill to medium heat and lay the thighs skin-side down. Leave them alone for 8 to 10 minutes so the fat can render and the skin can develop a deep golden crust. If you try to move them too early and they stick, give them another minute; properly browned skin releases more easily.
Finishing with the Glaze
Flip the thighs and cook the second side until they’re close to done, then brush on the sauce and return them to the grill. Keep the basting frequent but light. Thick layers of sauce burn before they set, while thin layers build the sticky finish you want. Pull the chicken when the internal temperature reaches 165°F and the glaze looks shiny and dark around the edges.
How to Adapt These BBQ Thighs Without Losing the Crunch
Make It Spicier
Add cayenne or a spoonful of hot sauce to the glaze. That gives you more heat without changing the way the sauce caramelizes, but keep the sugar balance in mind or the glaze can get too sharp.
Dairy-Free and Gluten-Free as Written
This recipe already fits both diets if your BBQ sauce is compliant. That’s where labels matter most, since bottled sauces sometimes hide gluten or dairy additives in the seasoning blend.
Use Chicken Drumsticks Instead
Drumsticks work with the same sauce, but they need a little more time on the grill. Keep the heat at medium and use the temperature of the thickest part, not the clock, because the skin can look done before the meat is fully cooked.
Stovetop Finish for Bad Weather
Sear the thighs skin-side down in a heavy skillet, then finish them in the oven and brush with sauce at the end. You’ll lose the grill marks, but you’ll keep the crispy skin and sticky glaze.
Storage and Reheating
- Refrigerator: Store leftovers in an airtight container for up to 4 days. The skin softens a bit, but the flavor holds up well.
- Freezer: Freeze the cooked thighs for up to 2 months. Wrap them tightly or use a freezer container, and thaw overnight in the fridge before reheating.
- Reheating: Warm them in a 350°F oven until heated through. The oven brings the skin back better than the microwave, which turns the glaze slick and the skin rubbery.
Answers to the Questions Worth Asking
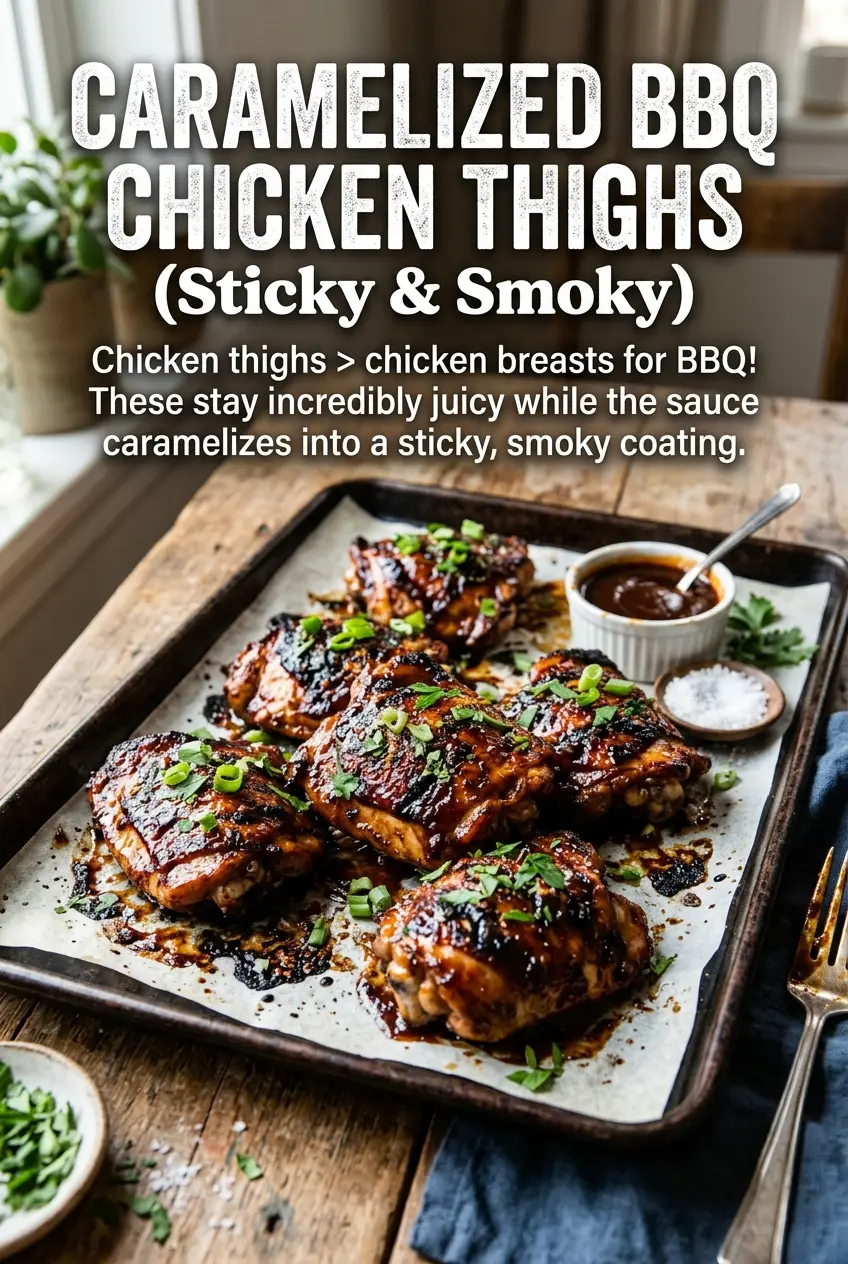
Caramelized BBQ Chicken Thighs
Ingredients
Equipment
Method
- Season chicken thighs with salt, pepper, and olive oil, making sure the skin is evenly coated. Lightly pat so seasoning adheres to the surface.
- Mix BBQ sauce, brown sugar, apple cider vinegar, and smoked paprika until the brown sugar dissolves. The mixture should look uniform and glossy.
- Preheat the grill to medium heat, targeting steady heat across the grates. Keep the lid closed between actions to maintain temperature.
- Grill chicken skin-side down for 8-10 minutes until crispy and deeply browned at the edges. Visual cue: the skin should look blistered and release easily from the grates.
- Flip and grill for another 8-10 minutes, until the thighs are well browned on the second side. Visual cue: grill marks should be visible and the meat should look set.
- Brush generously with BBQ sauce and grill for 5 more minutes per side, basting frequently to build a sticky glaze. Visual cue: the sauce should darken and caramelize without burning.
- Continue grilling until the internal temperature reaches 165°F and the sauce is caramelized. Visual cue: the glaze should cling in a thick layer with a tacky surface.


