
Fudgy chocolate ice cream with thick ribbons of peanut butter is one of those desserts that disappears fast because it hits every note at once: creamy, deep cocoa flavor, and little pockets of salty-sweet swirl in every bite. The best part is that it freezes up rich and scoopable without an ice cream maker, so you get that homemade texture without dragging out extra equipment.
What makes this version work is the balance. Whipped cream brings the volume, sweetened condensed milk keeps the base smooth, and cocoa powder gives the chocolate its backbone without watering anything down. Warm peanut butter swirls more cleanly than cold peanut butter, so it threads through the mixture instead of clumping on top.
Below, I’ll walk you through the one part that matters most: folding without knocking out all the air, then swirling the peanut butter in a way that gives you distinct ribbons instead of muddy streaks. That little bit of care is what makes this taste like a real ice cream shop dessert.
The chocolate base stayed unbelievably creamy, and the warm peanut butter swirled right through instead of turning into hard chunks. I froze it overnight and it scooped like a dream the next day.
Save this no-churn chocolate peanut butter ice cream for the nights when you want thick peanut butter ribbons and a fudgy chocolate base without using an ice cream maker.
The Trick That Keeps No-Churn Ice Cream Creamy Instead of Icy
No-churn ice cream gets grainy when the base is overmixed or under-aerated, and this recipe avoids both problems by treating the whipped cream like the structure it is. You want stiff peaks before anything else touches the bowl. If the cream is soft, the finished ice cream will freeze dense instead of light.
The other detail that matters is the folding. Once the condensed milk mixture is added, use a spatula and work in broad, slow sweeps from the bottom of the bowl. If you stir aggressively, the cream loses the air that gives the dessert its scoopable texture, and you end up with something closer to a frozen pudding.
What Each Ingredient Is Actually Doing in This Ice Cream
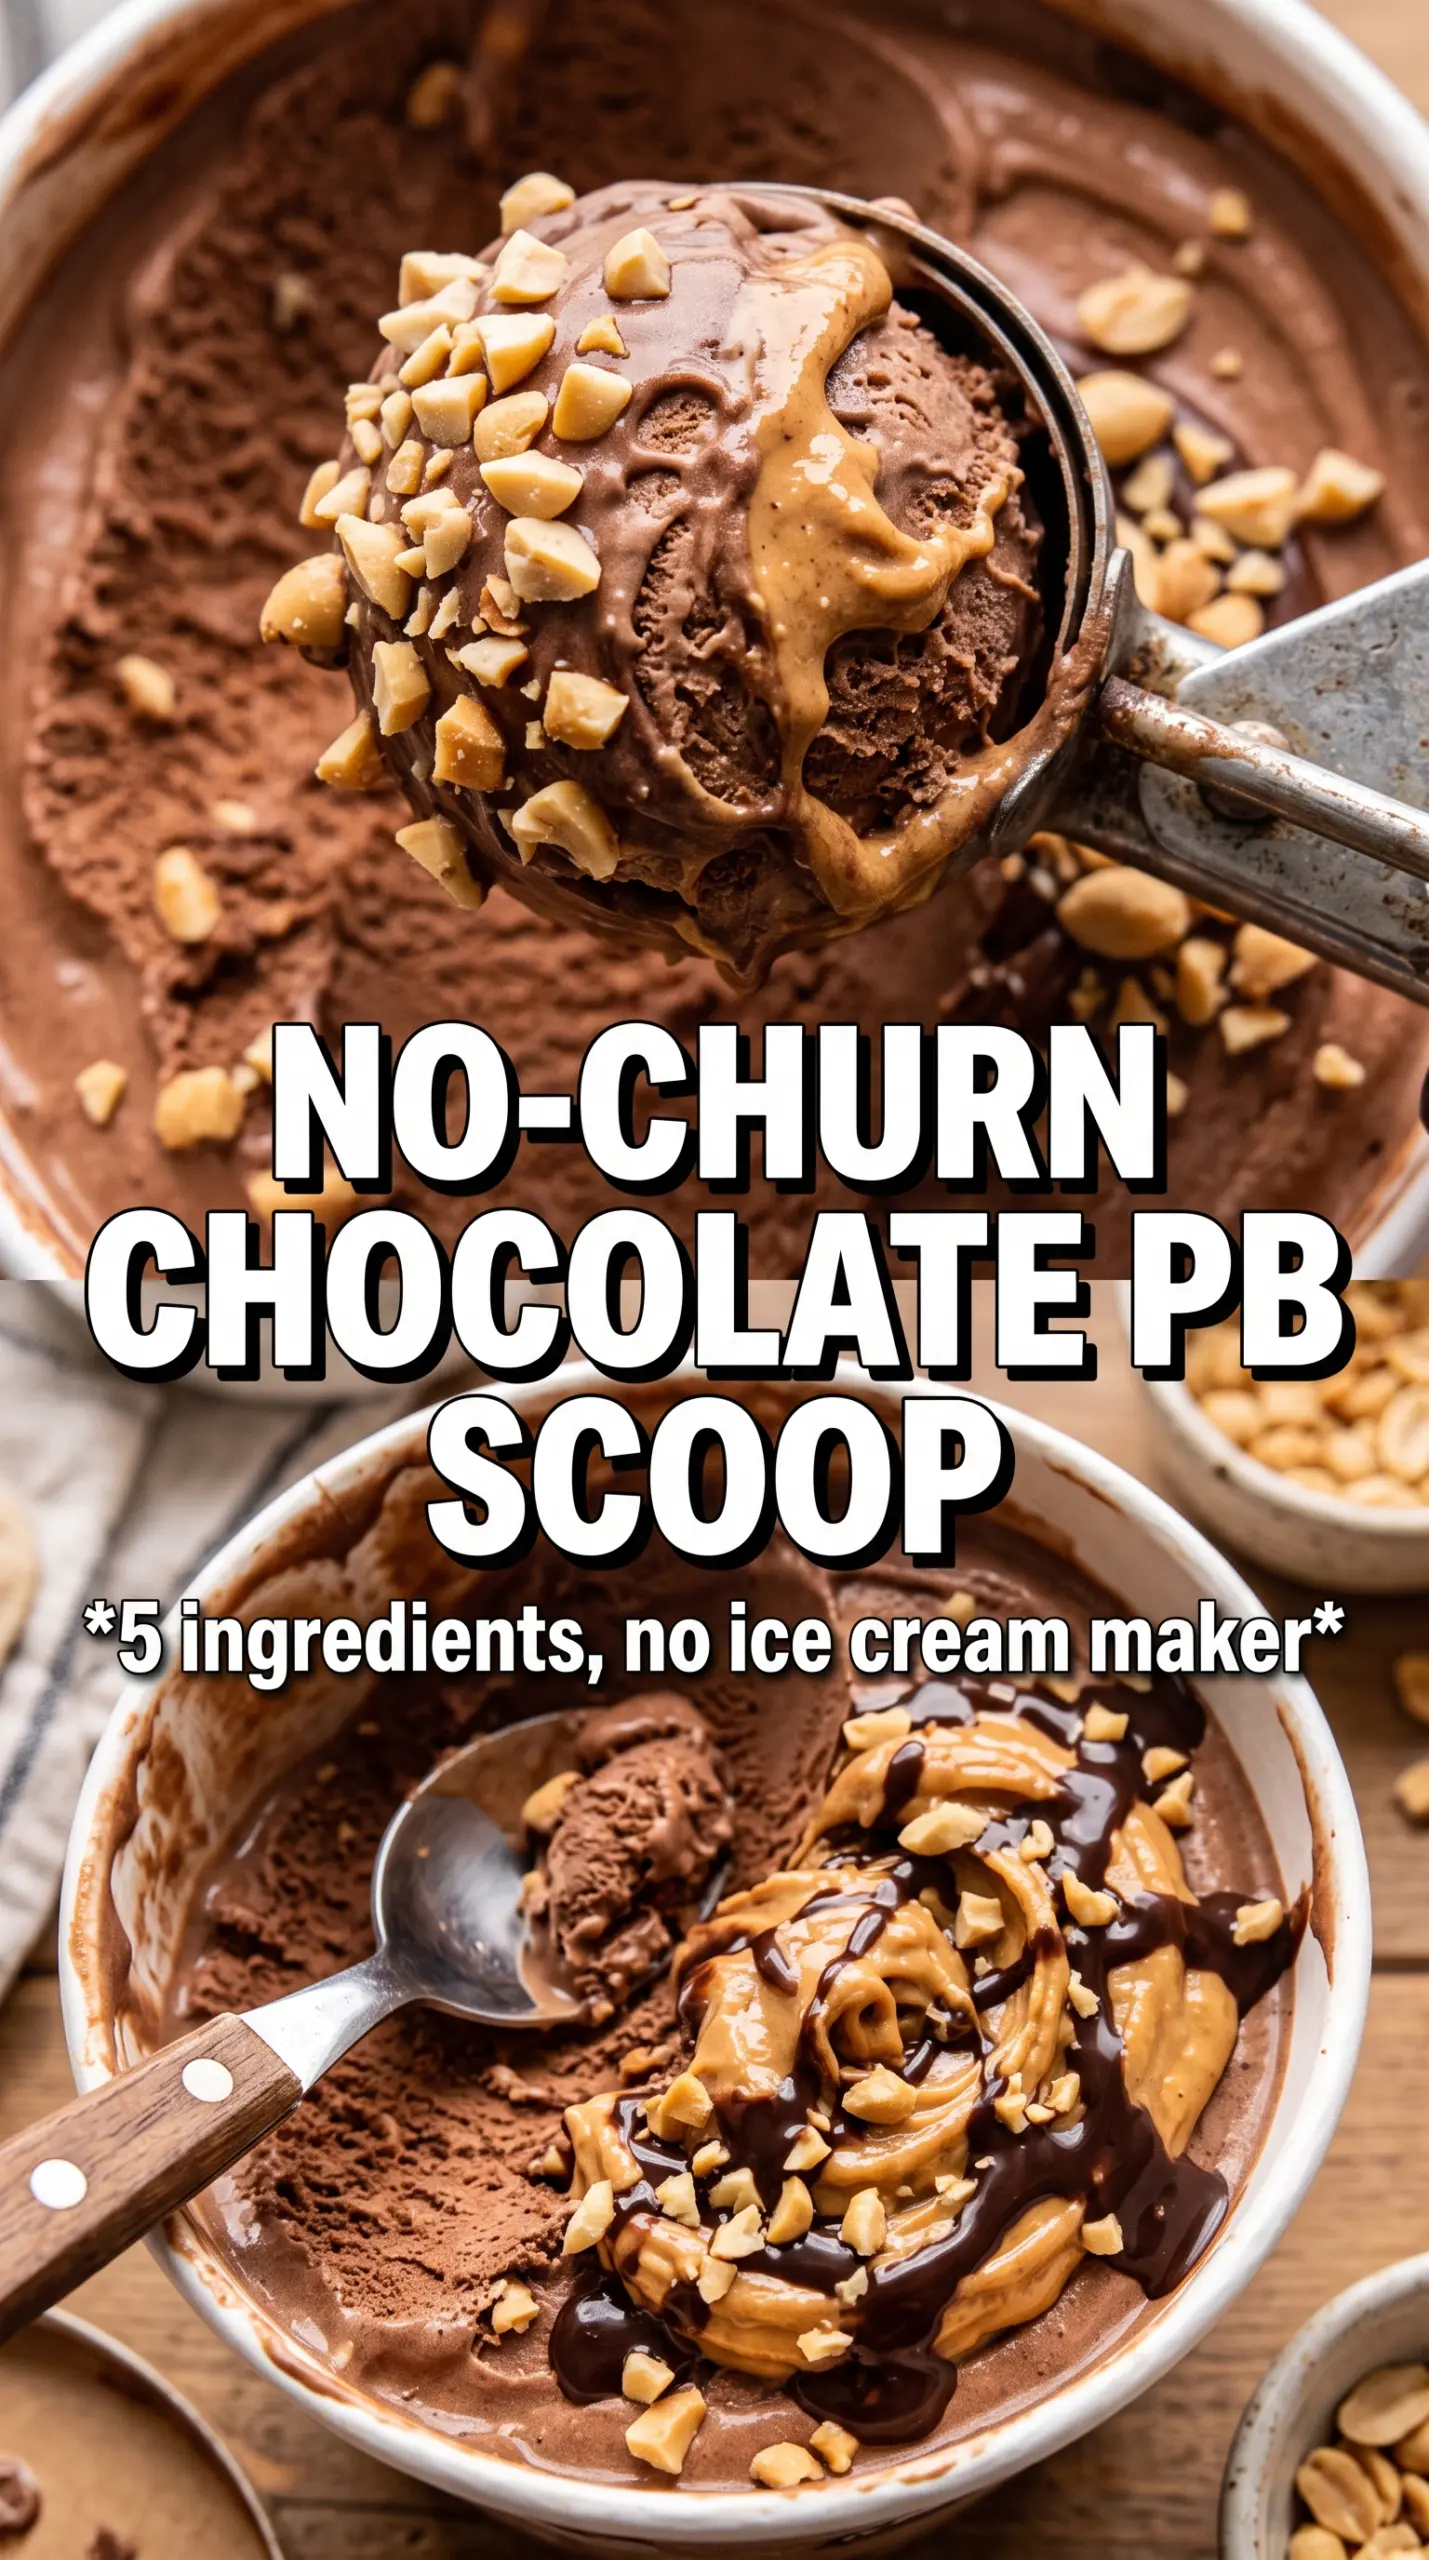
- Heavy cream — This is the structure and the lightness. It has to be heavy cream, not half-and-half or milk, because you need enough fat to whip into stable peaks that hold up in the freezer.
- Sweetened condensed milk — This keeps the base smooth and scoopable because sugar lowers the freezing point. There isn’t a true substitute that behaves the same way in a no-churn recipe, so this is not the place to improvise.
- Cocoa powder — Unsweetened cocoa gives the ice cream its deep chocolate flavor without thinning the base. A good Dutch-process cocoa makes the chocolate taste darker and rounder, but any unsweetened cocoa works.
- Peanut butter — Warm it just enough to loosen the texture so it drizzles and swirls. Natural peanut butter can work, but the swirl may set a little firmer and separate more as it freezes; conventional creamy peanut butter stays smoother.
- Vanilla and salt — Vanilla softens the cocoa and salt sharpens the peanut butter. That tiny bit of salt matters here because it keeps the dessert from tasting flat once frozen.
Building the Swirl Without Losing the Texture
Whipping the Cream to the Right Point
Start with cold cream and a cold bowl if you can. Beat it until stiff peaks stand up with just a slight curl at the tip, which means the cream can hold the air you just put into it. If you stop too early, the ice cream freezes heavy; if you go too far, the cream starts to look grainy and can break when folded.
Mixing the Chocolate Base Smooth
Whisk the condensed milk, cocoa powder, vanilla, and salt until the mixture looks glossy and no dry cocoa streaks remain. Cocoa clumps easily, especially when it hits the sticky condensed milk, so scrape the bottom of the bowl as you whisk. If you see small dark specks, keep whisking before the mixture goes into the cream.
Folding and Swirling in Layers
Fold the chocolate mixture into the whipped cream until just combined and stop as soon as the streaks disappear. Pour half into the loaf pan, drizzle on half the warm peanut butter, and drag a knife through once or twice for visible ribbons. Repeat with the remaining mixture, but don’t over-swirl or the peanut butter disappears into the chocolate and you lose that marbled look.
Freezing Until Firm
Press a piece of parchment or plastic wrap directly against the surface if you want to guard against freezer crystals, then freeze until firm, at least 6 hours. The ice cream should scoop cleanly but still have a little give at the edges. If it’s rock hard straight from the freezer, let it sit on the counter for 5 to 10 minutes before serving.
How to Adapt This for Different Kitchens and Different Cravings
Dairy-Free Version
Use a whipped coconut cream base and a dairy-free sweetened condensed milk alternative if you can find one that behaves similarly. The texture will be slightly less rich and the coconut flavor will come through, but the swirl and frozen scoopability still work.
Extra Peanut Butter Forward
Swap half of the swirl for chopped peanut butter cups if you want more texture and less clean marbling. You’ll get little pockets of candy throughout, but the base will still freeze smoothly as long as the cups are folded in gently.
Less Sweet Chocolate
Add an extra tablespoon or two of cocoa powder and a pinch more salt if you want the chocolate to taste darker and less candy-like. That adjustment makes the base taste more like fudgy chocolate mousse once frozen.
Storage and Reheating
- Refrigerator: Don’t store this in the fridge; it will melt into a loose cream mixture within an hour or two.
- Freezer: It keeps well for about 2 weeks in a tightly covered loaf pan or airtight container. After that, the texture starts to pick up more ice crystals.
- Reheating: Not applicable. For the best scoop, let it sit at room temperature for 5 to 10 minutes before serving so the peanut butter swirls soften slightly.
Questions I Get Asked About This Recipe
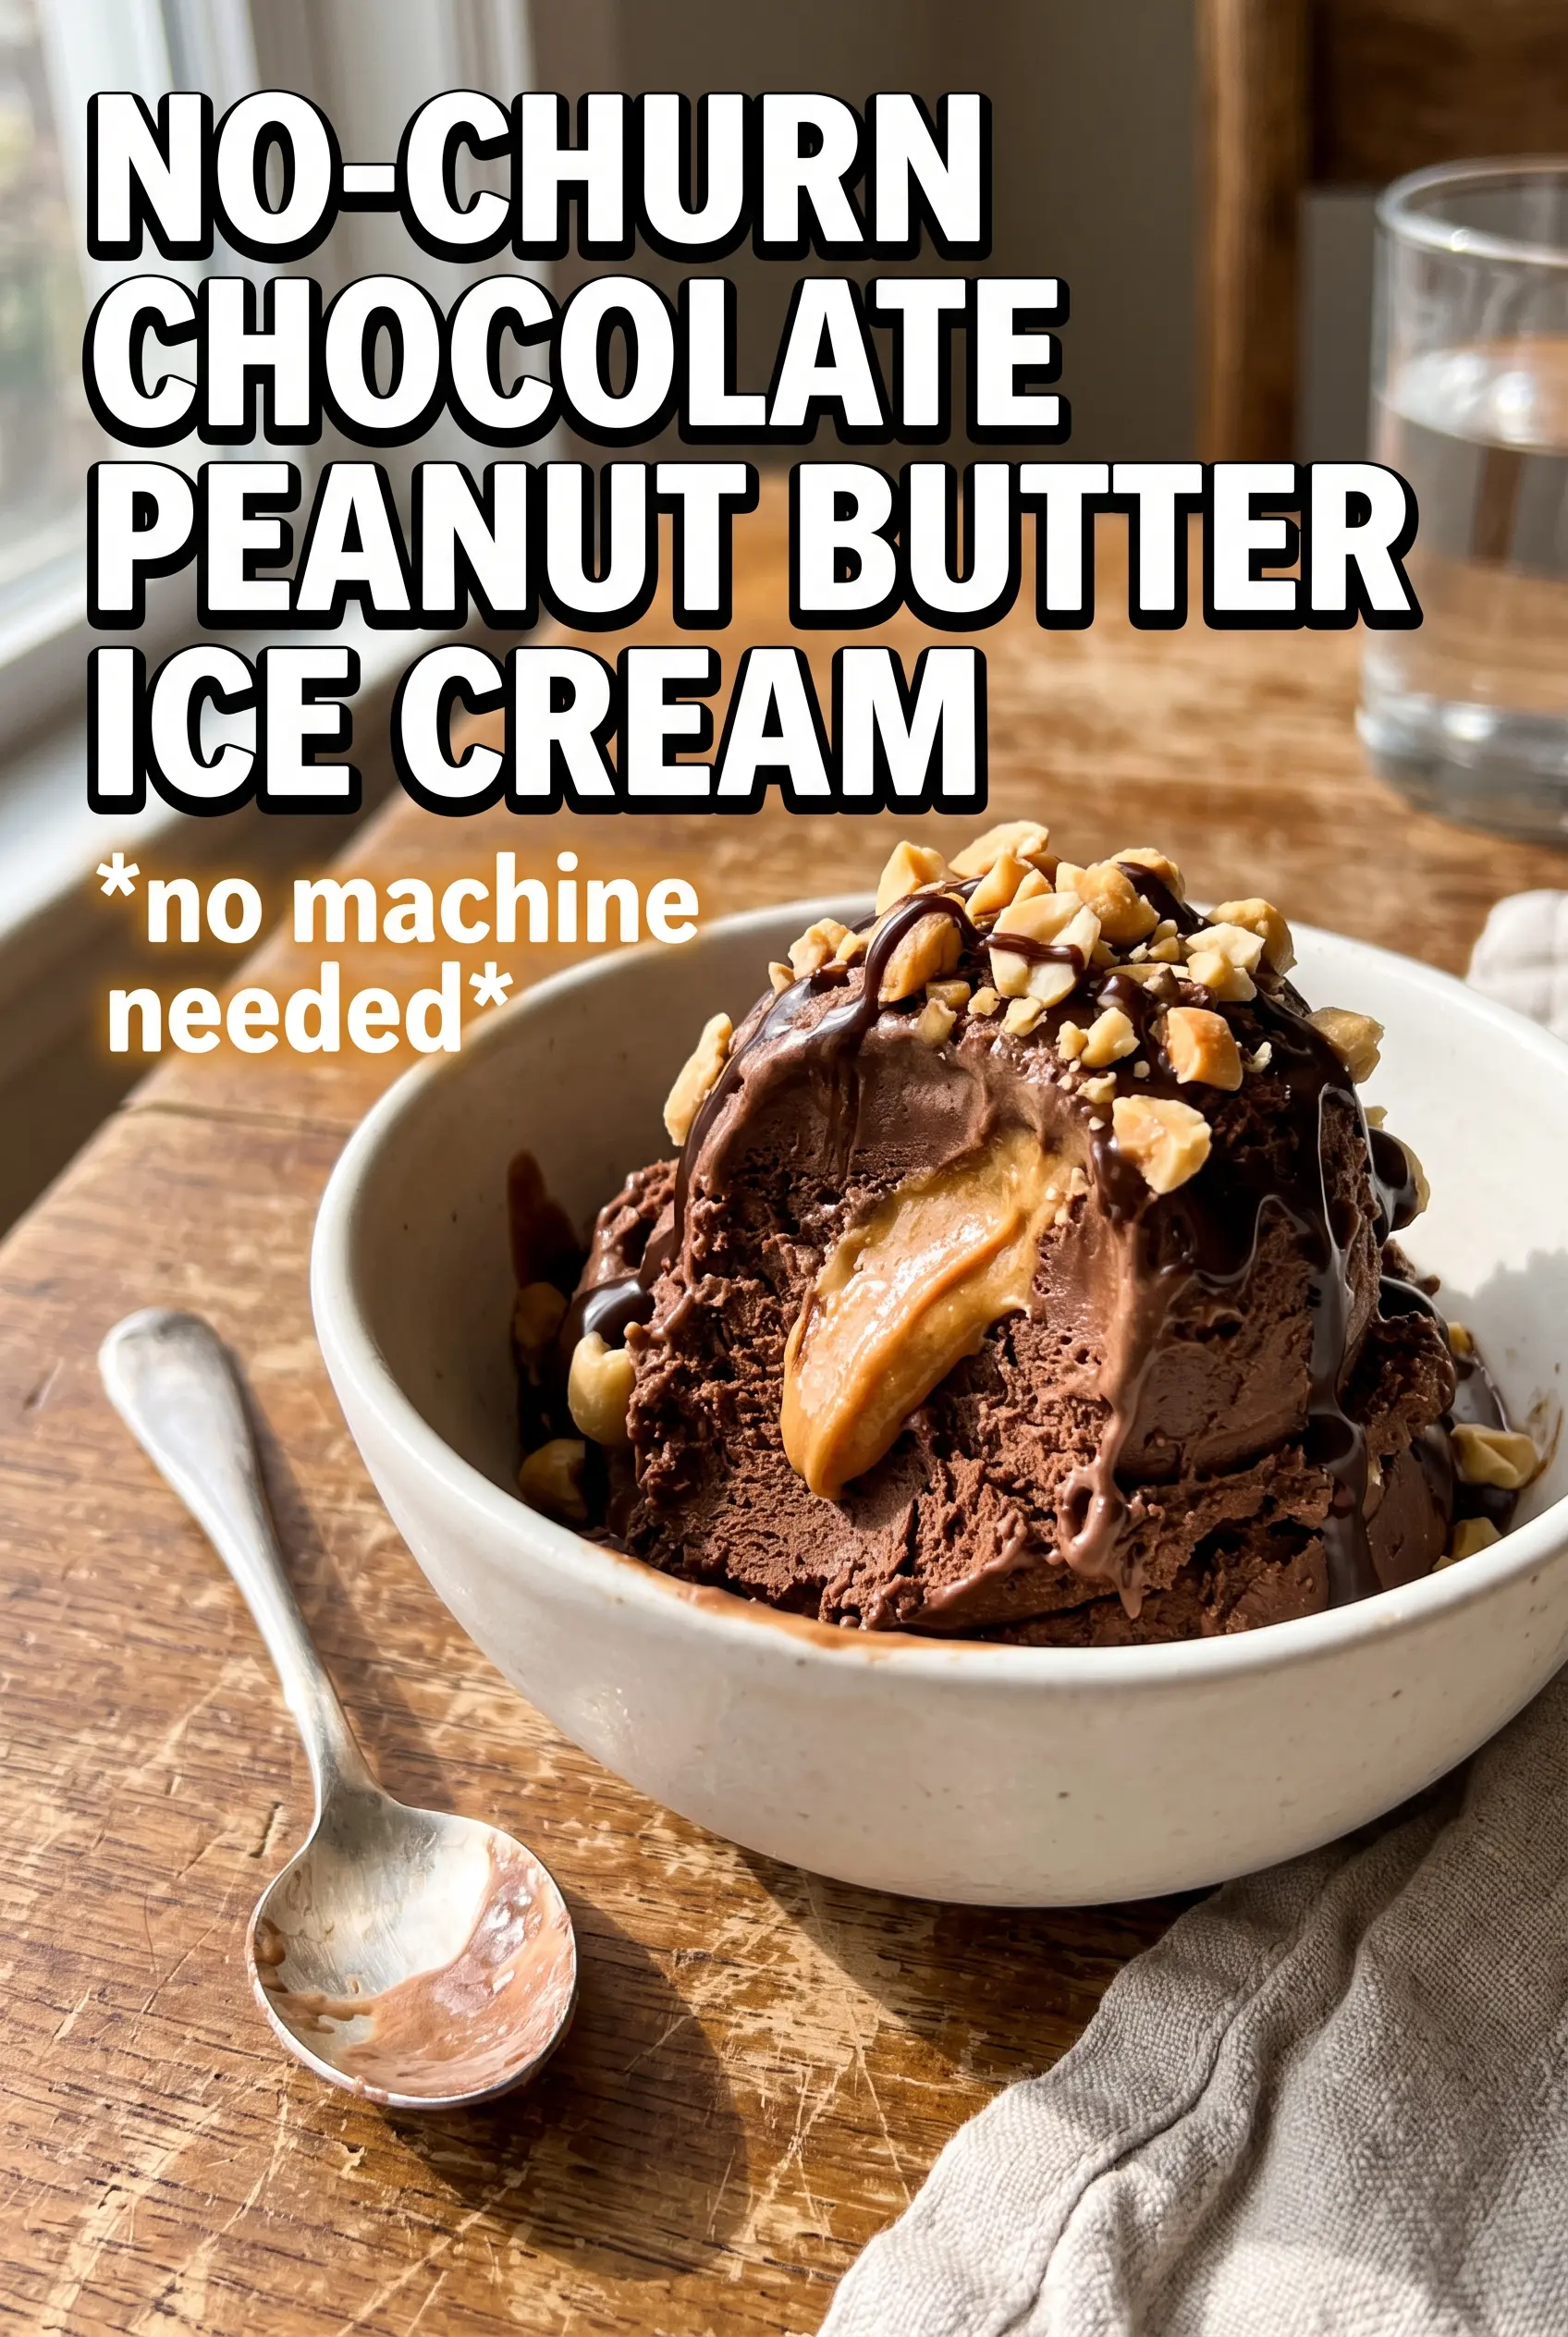
No-Churn Chocolate Peanut Butter Ice Cream
Ingredients
Equipment
Method
- Whip heavy cream in a large bowl to stiff peaks so it holds sharp ridges. This should look thick and cloud-like when you lift the whisk.
- Whisk sweetened condensed milk, unsweetened cocoa powder, vanilla extract, and salt until smooth. The mixture should look uniformly chocolate-brown with no cocoa streaks.
- Gently fold the condensed milk mixture into the whipped cream until just combined without deflating. Stop as soon as no dry streaks remain to keep the texture airy.
- Pour half the mixture into a 9x5 loaf pan and drizzle with half the warm peanut butter. Swirl with a knife once or twice for thick ribbons.
- Pour the remaining ice cream mixture over the first layer and top with the remaining peanut butter. Swirl again lightly with a knife so the ribbons stay visible.
- Freeze the loaf pan for at least 6 hours or overnight until firm. It should slice cleanly and look set through the center.


