
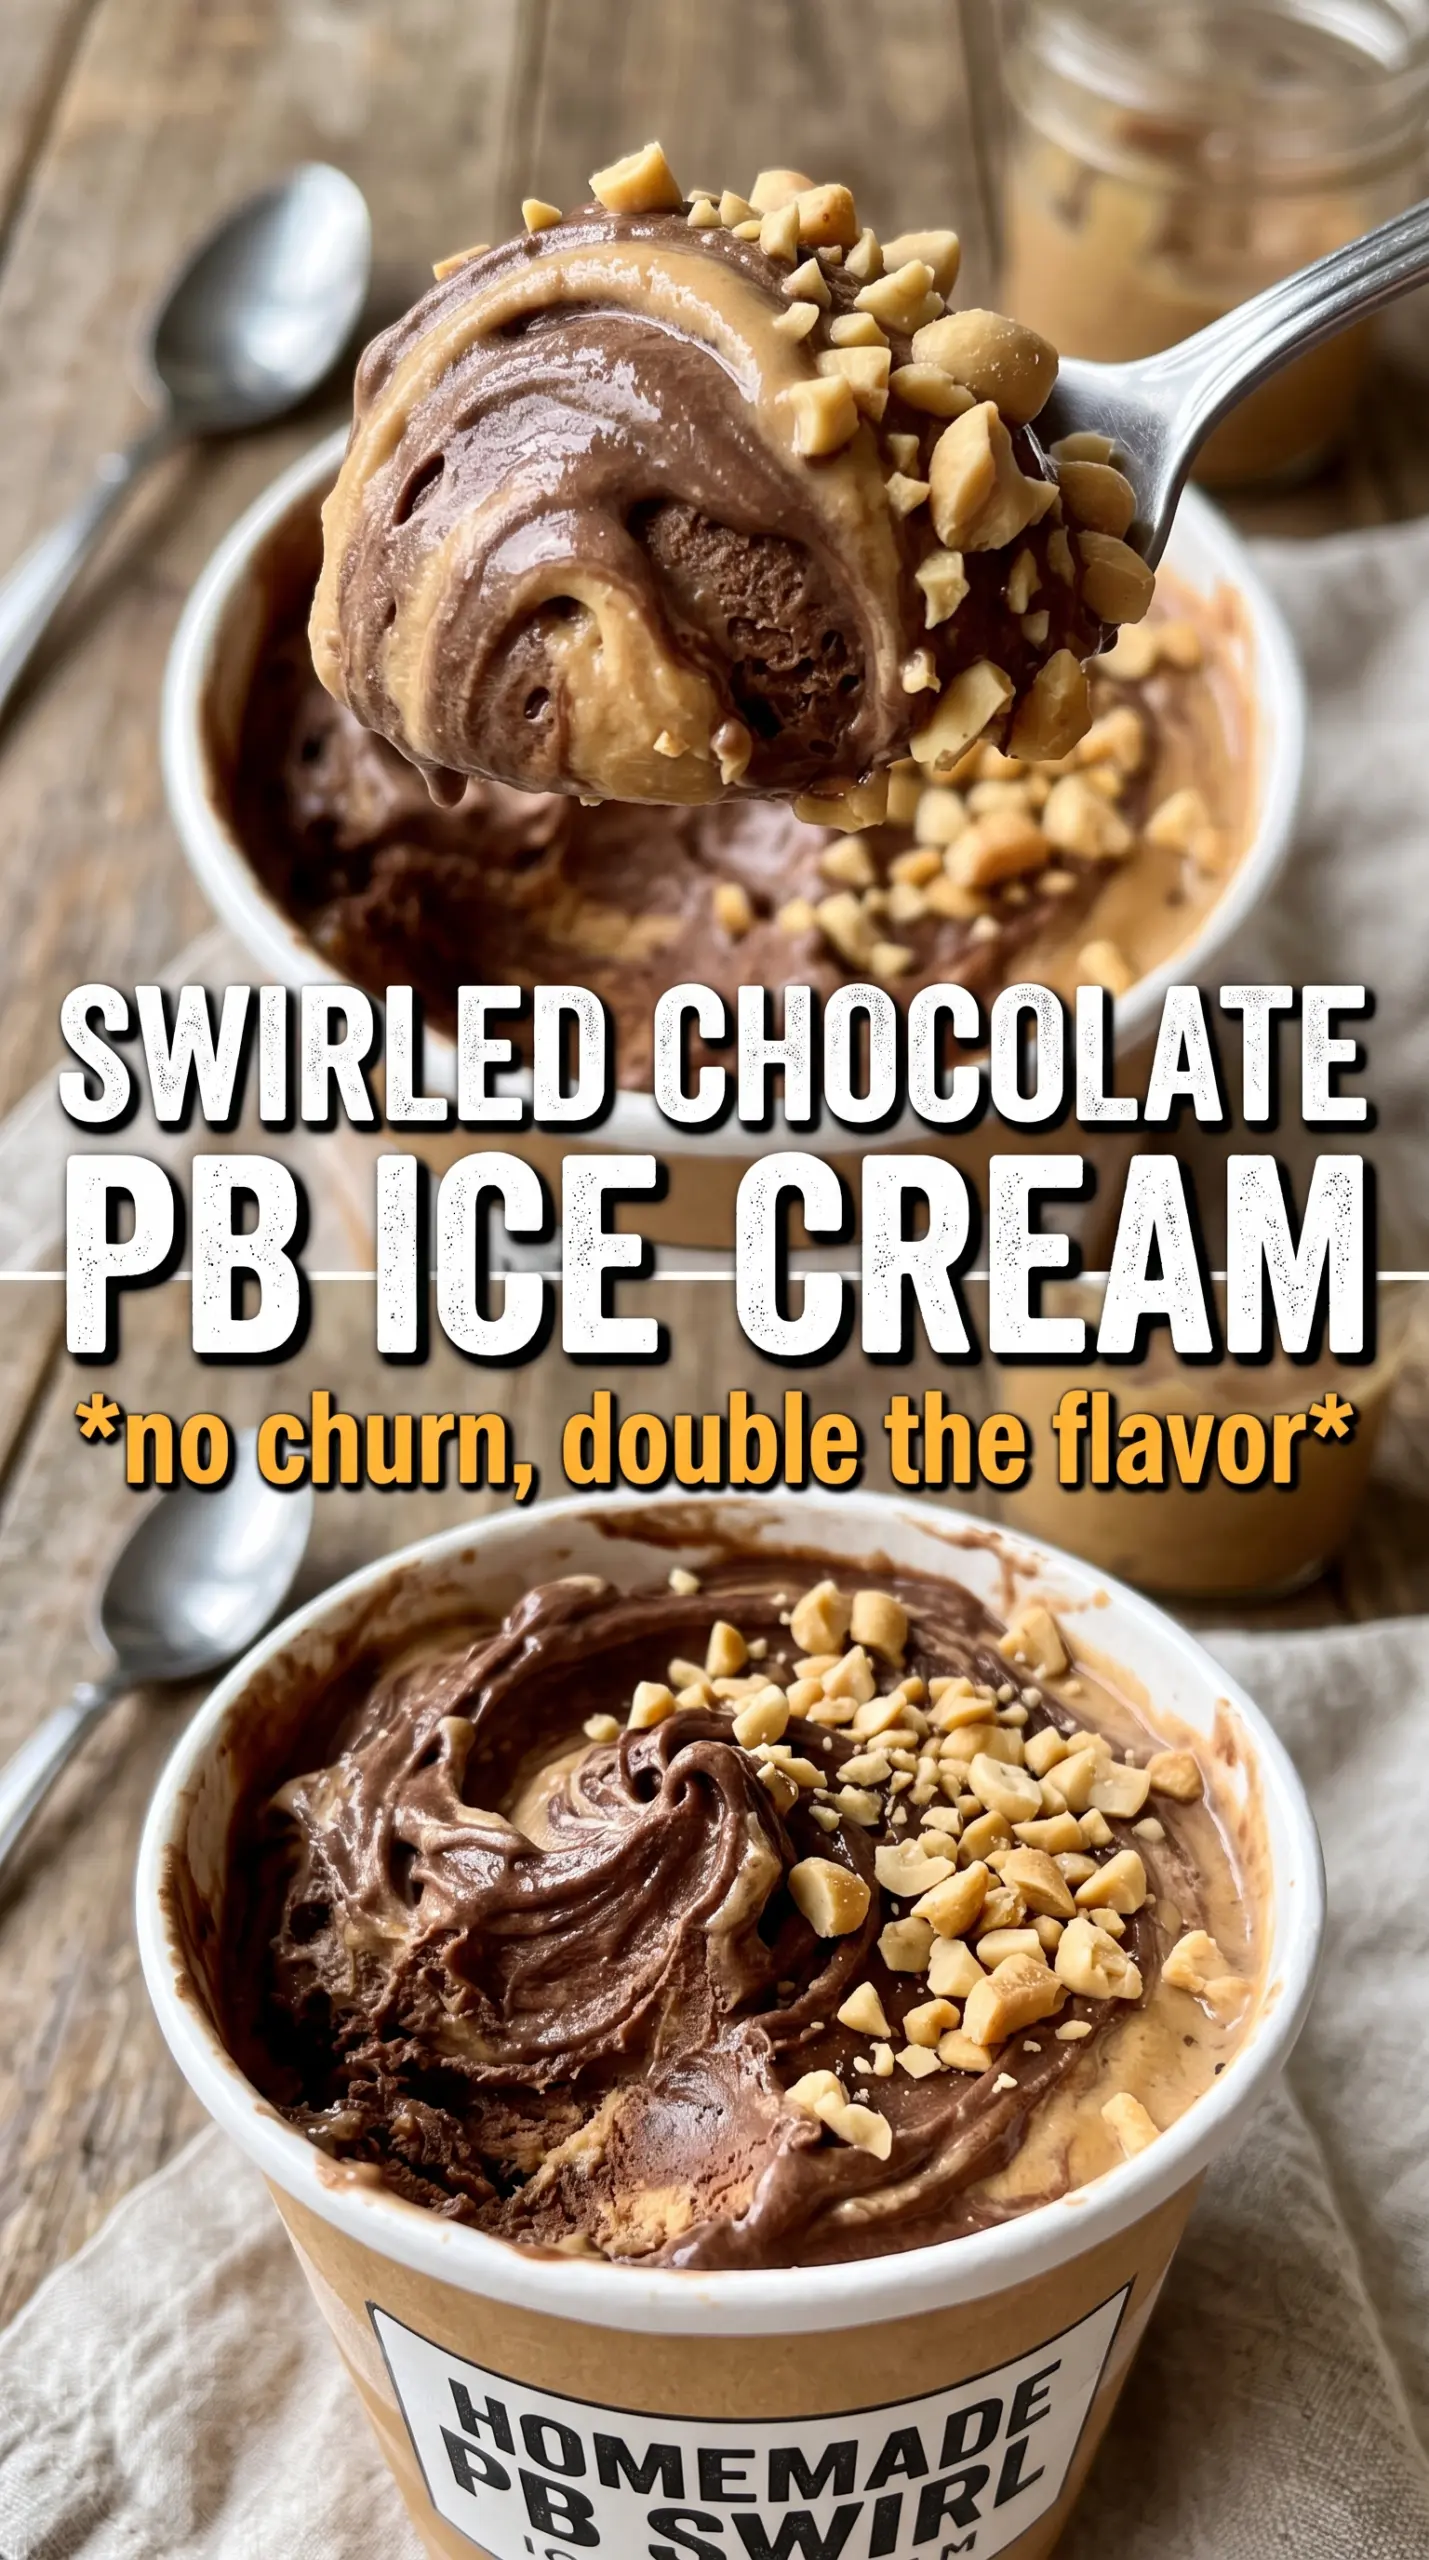
Deep chocolate ice cream with thick ribbons of creamy peanut butter running through every scoop earns its place in the freezer fast. The base tastes rich and grown-up, with enough cocoa and dark chocolate to stay intensely chocolatey even after freezing, while the peanut butter swirls keep each bite soft, salty, and a little messy in the best way. It’s the kind of dessert that disappears from the container before it ever makes it to a bowl.
The trick is building the custard carefully so the chocolate stays smooth and the yolks don’t scramble. Cocoa gets whisked into the dairy first, which keeps dry pockets from clumping later, and the custard is cooked just to 175°F so it thickens without turning eggy. The peanut butter goes in warm at the very end, after churning, so it ribbons instead of disappearing into the base.
Below, I’m walking through the small details that make the texture stay creamy instead of icy, plus the swirl method that gives you those dramatic peanut butter streaks all the way through.
The custard came out silky, and the peanut butter stayed in perfect ribbons instead of sinking. My kids kept asking for “just one more scoop” because the chocolate stayed rich even after freezing overnight.
Like this chocolate peanut butter ice cream? Save it for the nights when you want bold chocolate, creamy peanut butter swirls, and a churned dessert that feels special without being fussy.
The Custard Has to Stay Smooth Before the Swirl Even Starts
A lot of homemade ice cream goes grainy because the base gets cooked too hard or the chocolate never fully melts into the dairy. This recipe avoids both problems by heating the cream and milk just until steaming, then whisking in the chocolate while the liquid is still hot enough to melt it cleanly. Once the yolks go in, the heat needs to stay moderate and controlled. If the custard boils, the eggs tighten too fast and you end up with tiny bits instead of a velvety base.
The other thing that matters is the chill. Ice cream base needs to be fully cold before it goes into the machine, or the churn takes longer and the texture turns denser. Four hours is the minimum here, and overnight is even better if you’ve got the time. The base should taste a little too sweet and a little too dark before freezing; that balance softens once the cold hits it.
What Each Ingredient Is Actually Doing in This Ice Cream
- Heavy cream — This is what gives the ice cream body and that lush, scoopable texture. You need the fat here; swapping in lower-fat dairy makes the finished ice cream icier and thinner.
- Whole milk — It loosens the base just enough so it churns cleanly. Half-and-half can work in a pinch, but the texture gets a little heavier and less balanced.
- Unsweetened cocoa powder — Cocoa brings the deep chocolate backbone. It also helps the chocolate flavor stay bold after freezing, which is important because cold mutes flavor.
- Dark chocolate — The chopped chocolate melts into the custard and gives it depth cocoa alone can’t match. Use a bar you’d actually eat on its own; cheap baking chocolate can taste flat here.
- Egg yolks — They thicken the custard and keep the finished ice cream smooth instead of icy. Don’t skip the tempering step, or you’ll end up with scrambled bits in the bowl.
- Creamy peanut butter — Warmed peanut butter is the swirl. It needs to be pourable so it ribbons through the churned ice cream instead of breaking into clumps.
Building the Swirl Without Losing the Ribbon
Melting the Chocolate Into the Dairy
Whisk the cocoa into the cream and milk before the heat gets too high, then warm the mixture until it’s steaming. That keeps the cocoa from floating in dry streaks and gives the chocolate a chance to melt evenly. Once the chopped chocolate goes in, whisk until the base looks glossy and completely smooth. If you still see little specks, keep whisking off the heat for another minute.
Tempering the Yolks Slowly
Whisk the yolks and sugar until they look pale and slightly thickened. Then stream in the hot chocolate mixture slowly, whisking the whole time so the eggs warm up gradually instead of seizing. This is the moment that protects the custard texture. If you dump the hot liquid in all at once, the eggs will curdle before they can thicken the base.
Cooking to the Right Point
Return the custard to the saucepan and cook it just until it reaches 175°F. The mixture should coat the back of a spoon and feel slightly thickened, not pudding-thick. Pull it off the heat before it starts to bubble hard. If you wait for a boil, the yolks overshoot and the finished ice cream tastes eggier than it should.
Churning and Layering the Peanut Butter
Chill the custard completely before churning, then freeze it in your ice cream maker according to the machine’s instructions. The ice cream should look like soft-serve when it comes out. Layer it into a container and drizzle warm peanut butter between each layer, then drag a knife through once or twice for visible swirls. If you overmix, the peanut butter disappears into the chocolate instead of giving you those bold ribbons.
Three Ways to Keep This Recipe Working for Your Kitchen
Dairy-Free Version
Use full-fat coconut milk in place of the cream and milk, and expect a faint coconut note in the background. The texture will still be rich, but it won’t have quite the same custard-style finish because the egg-and-dairy balance changes.
Extra Peanut Butter Forward
If you want a stronger peanut butter hit, stir a pinch of salt into the warmed peanut butter before swirling it in. That sharpens the peanut flavor without making the base sweeter, and it gives the swirl a more pronounced candy-bar taste.
More Chunky, More Candy-Bar Style
Fold in chopped peanut butter cups after churning if you want more texture. Add them at the very end so they stay distinct instead of softening into the base, and keep the pieces small enough to scoop cleanly.
Storage and Reheating
- Refrigerator: Not recommended once churned; ice cream will melt and lose its structure.
- Freezer: Store in an airtight container for up to 2 weeks for the best texture. After that, it can still be eaten, but the peanut butter swirl and base may pick up ice crystals.
- Reheating: Let the container sit at room temperature for 5 to 10 minutes before scooping. The most common mistake is trying to force a scoop from rock-hard ice cream, which shatters the swirl and makes the texture seem tougher than it is.
Questions I Get Asked About This Recipe
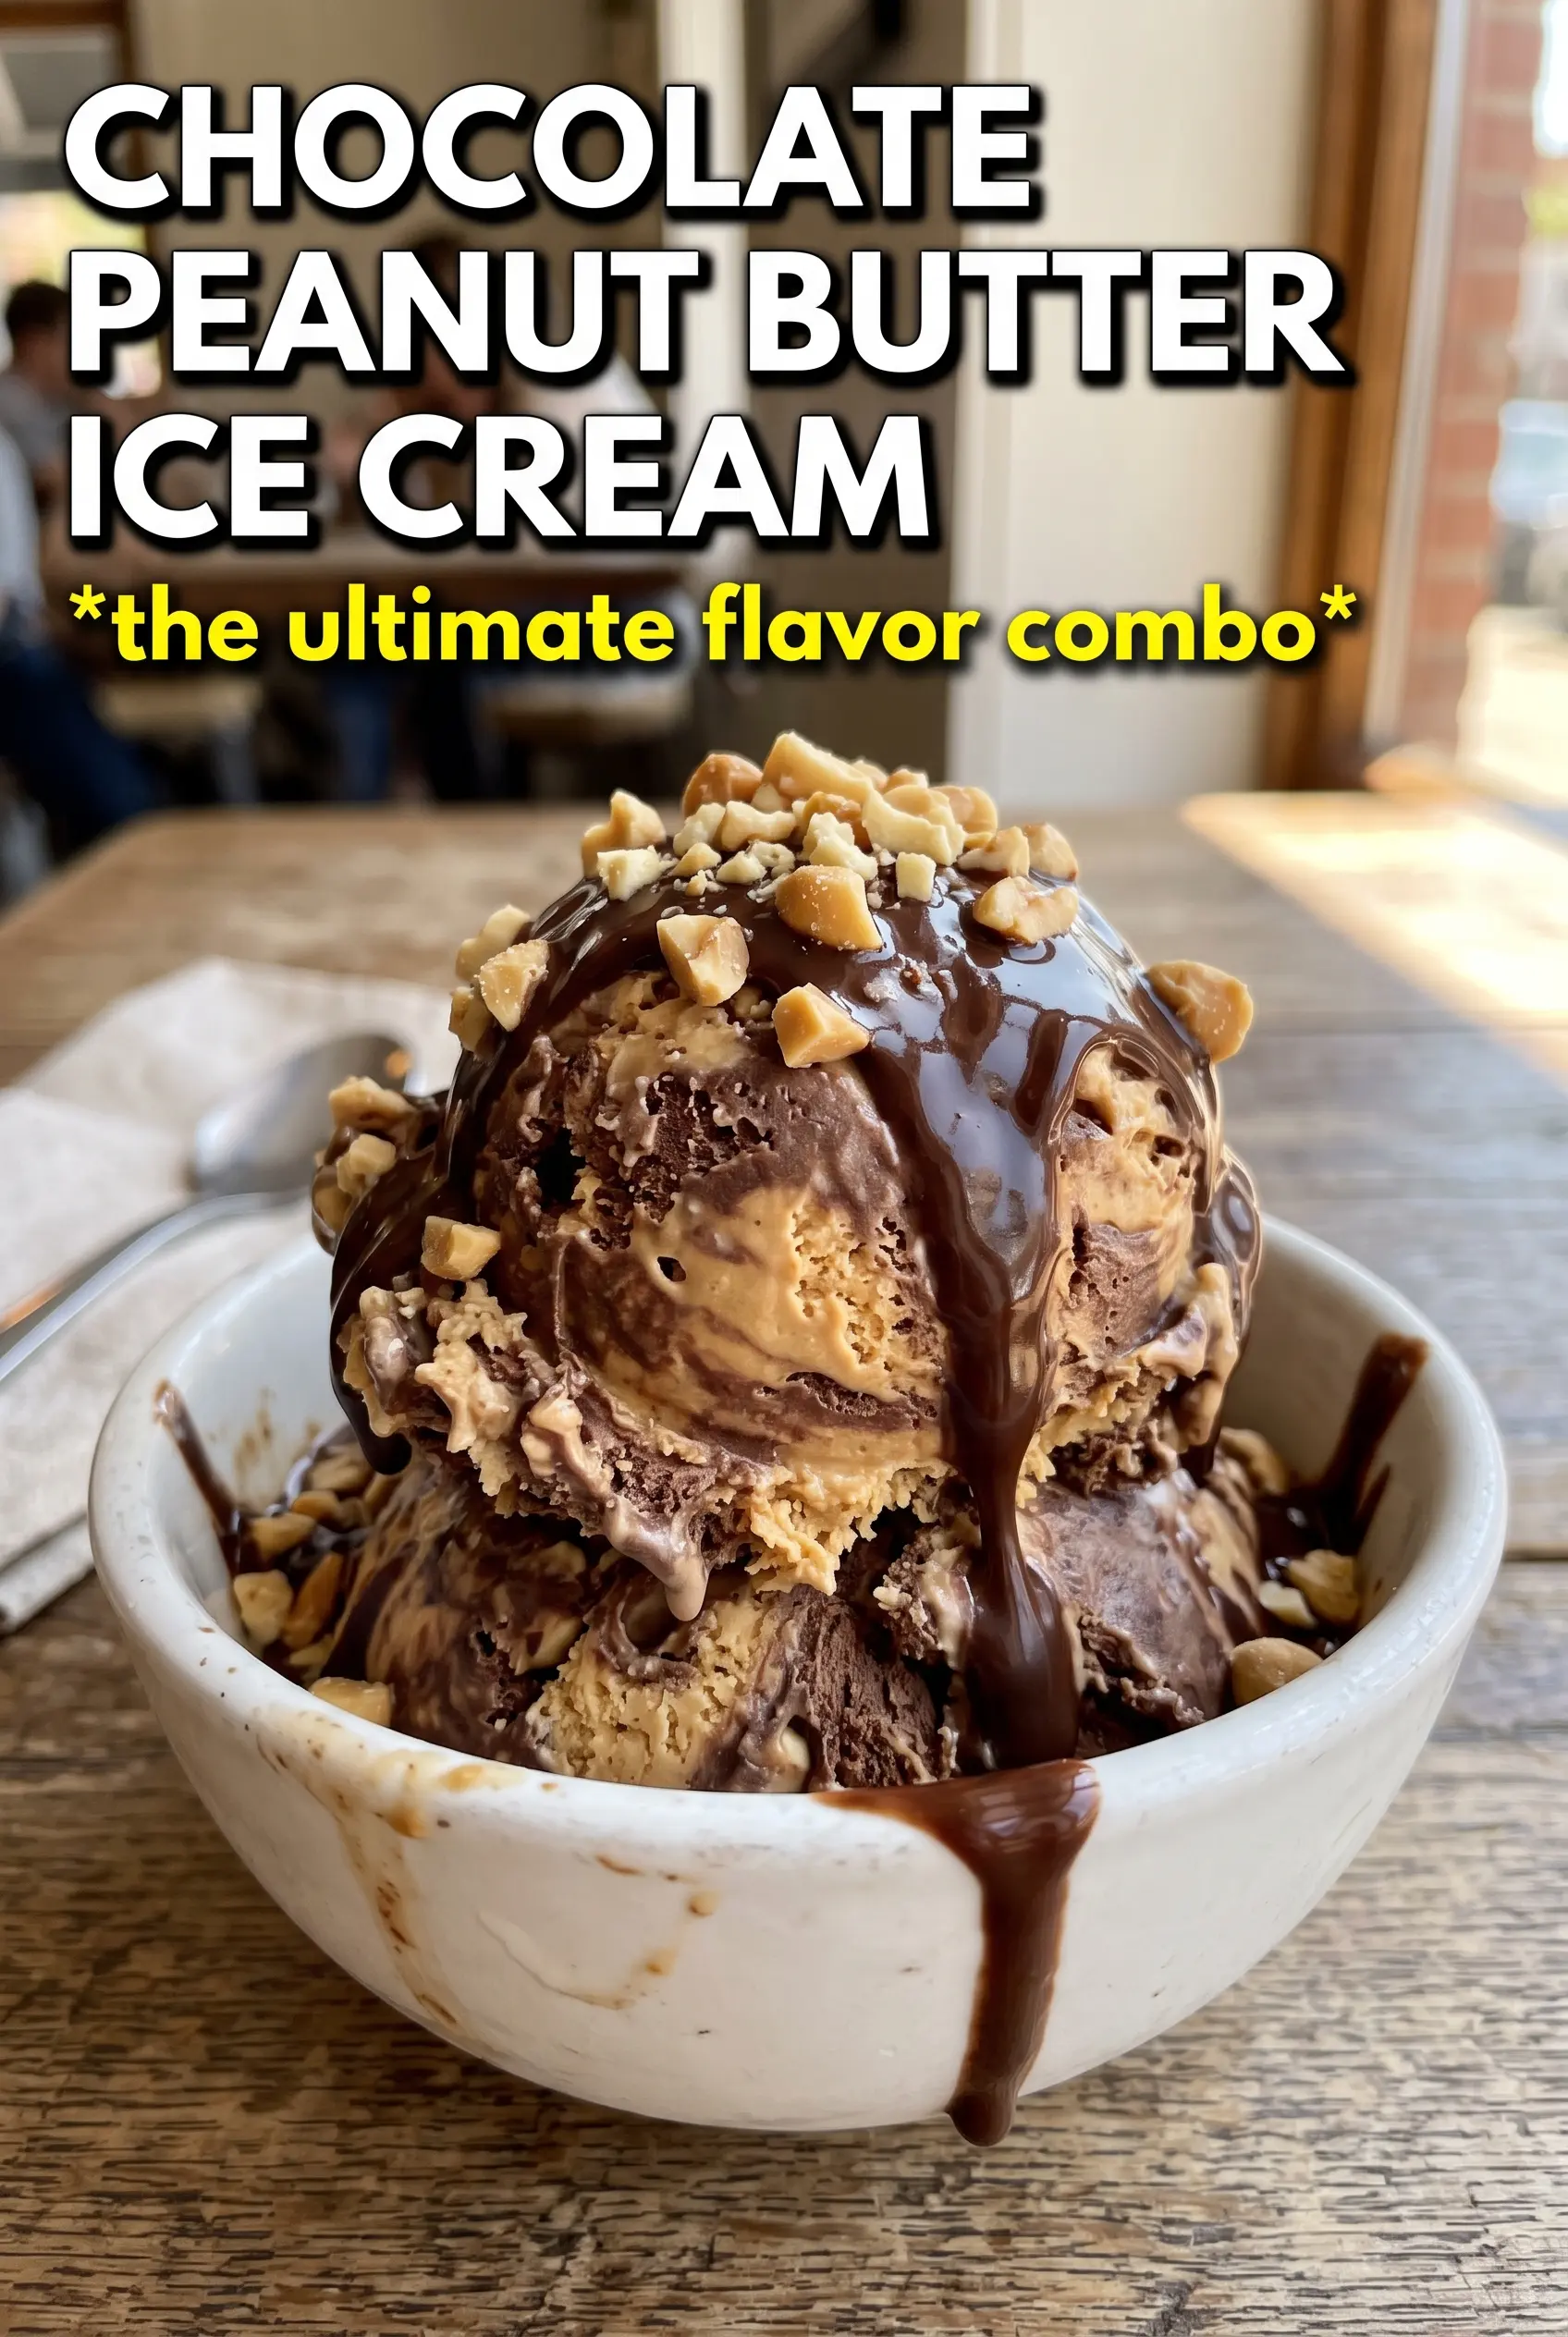
Chocolate Peanut Butter Ice Cream
Ingredients
Equipment
Method
- Whisk the cocoa powder into the heavy cream and whole milk in a Dutch oven, then heat over medium until the mixture is steaming with small bubbles around the edges.
- Add the chopped dark chocolate and whisk constantly until the chocolate melts completely and the mixture turns glossy and smooth.
- In a bowl off the heat, whisk the egg yolks and granulated sugar until pale and slightly thickened.
- Slowly whisk the hot cocoa cream into the egg yolk mixture to temper, keeping the stream steady so it doesn’t scramble.
- Return everything to the Dutch oven and cook, stirring constantly, until the custard reaches 175F and coats the back of a spoon.
- Strain the custard into a clean container, then whisk in vanilla extract and salt; cool to room temperature until it no longer feels hot.
- Cover and refrigerate at least 4 hours until thoroughly chilled through.
- Churn the chilled custard in an ice cream maker according to the manufacturer’s directions until thick and soft-serve like, with a visible change from liquid to creamy.
- Layer the churned ice cream into a freezer-safe container, drizzle warmed creamy peanut butter between each layer, and swirl using a knife for thick ribbons.
- Freeze at least 2 hours until firm and scoopable, with the surface becoming set and the swirl holding its shape.


