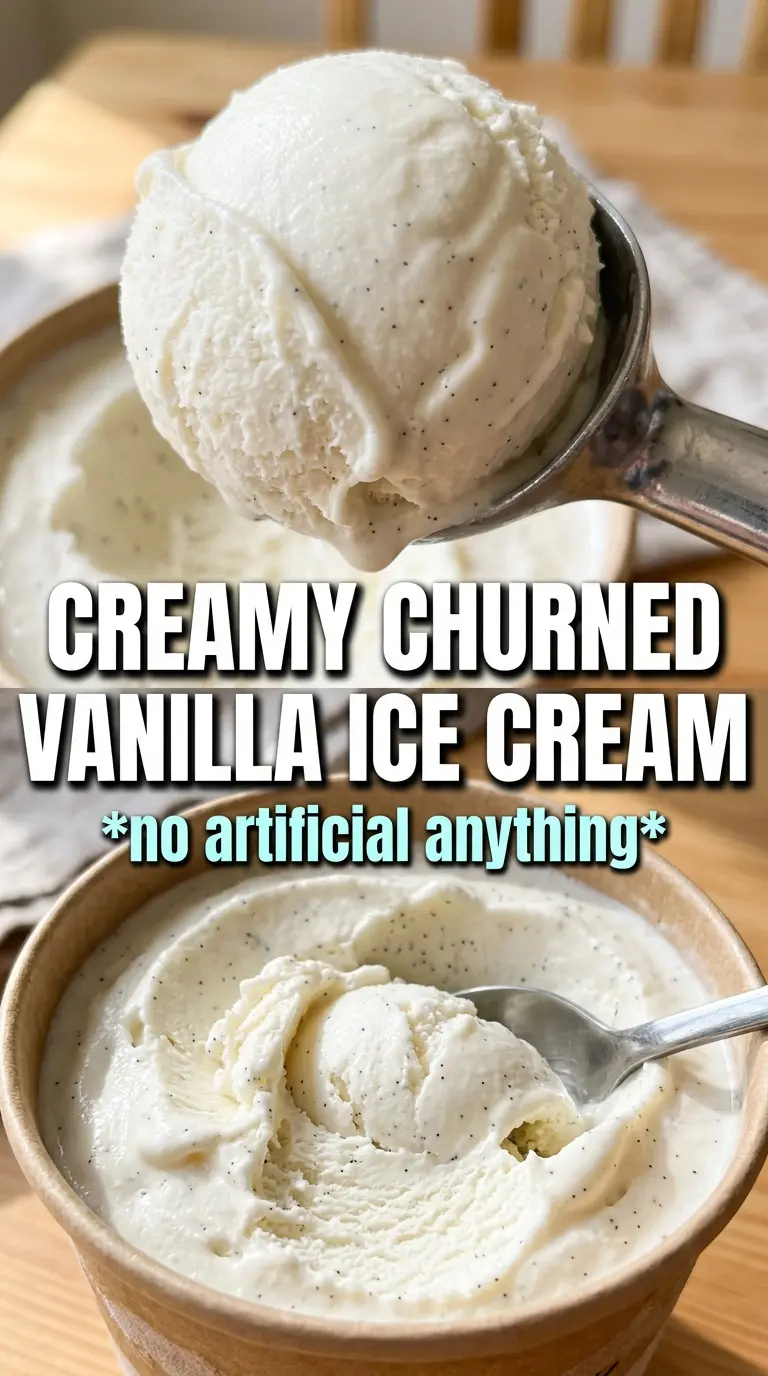
Pale, scoopable vanilla ice cream with a custard base has a richness you can taste before the bowl even hits the table. The texture is dense and silky instead of airy and fluffy, and the flavor lands with that deep, old-school vanilla note that makes store-bought versions seem thin by comparison. A good batch should hold its shape on the spoon, melt slowly, and leave tiny vanilla bean specks in every bite.
What gives this version its character is the egg yolk custard. Those yolks bring body and a softer freeze, while the step of steeping the vanilla in the hot cream mixture pulls more flavor into the base before the churn even starts. The other thing that matters is cooking the custard gently enough to thicken it without scrambling the eggs. Once you learn that sweet spot, homemade ice cream stops being fussy and starts being repeatable.
Below, I’m walking through the part that matters most: how to keep the custard smooth, how to know when it’s thick enough, and what to change if you only have extract instead of a vanilla bean.
The custard thickened right on cue and the vanilla bean specks looked gorgeous after churning. Mine was creamy enough to scoop after about 6 hours in the freezer, and the flavor tasted like real vanilla instead of plain sweet cream.
Save this old-fashioned homemade vanilla ice cream for the nights when you want a custard-style scoop with real vanilla bean specks and a slow-melting finish.
Why the Custard Needs to Reach 175F Before You Freeze It
The most common mistake with old-fashioned ice cream is pulling the custard too early because it looks thick enough in the pan. It needs to coat the back of a spoon and reach about 175F so the yolks have fully thickened the base; if you stop too soon, the finished ice cream tastes icy and weak instead of rich and creamy. On the other hand, pushing the heat too high can scramble the eggs, which gives you a grainy base that no amount of churning will fix.
Keep the heat at medium-low once the custard goes back in the pan and stir constantly, scraping the bottom and corners. The mixture should move from thin and foamy to a smooth, nappe-like custard that clings to a spoon in a visible ribbon. If you see tiny curds, take it off the heat immediately and strain it right away to save what you can.
What Each Ingredient Is Doing in This Vanilla Custard Base
- Heavy cream — This gives the ice cream its lush, slow-melting texture. You need the fat here; swapping in lighter cream makes the finished base freeze harder and taste flatter.
- Whole milk — The milk keeps the custard from becoming heavy or greasy. You can replace part of it with more cream, but the ice cream will lose the balanced, scoopable texture that makes this recipe work.
- Egg yolks — These are what turn the base into a true custard ice cream. They thicken the mixture, add body, and help it stay smoother in the freezer. Whole eggs won’t give the same velvety result.
- Vanilla bean — A split bean brings the deepest vanilla flavor and those visible specks that make the ice cream feel classic. If you use extract instead, stir it in after cooking, off the heat, so the flavor stays bright instead of boiling off.
- Sugar — Sugar does more than sweeten; it softens the freeze and keeps the ice cream from turning into a block. Cutting it too far changes the texture fast.
- Salt — A small amount sharpens the vanilla and keeps the custard from tasting one-note. Don’t skip it.
Cooking the Custard Without Scrambling the Yolks
Steeping the Vanilla Into the Dairy
Split the vanilla bean, scrape out the seeds, and add both seeds and pod to the cream and milk before heating. Bring the mixture just to steaming and the first tiny edge of a simmer, then take it off the heat and let it sit for 15 minutes. That steeping step pulls more flavor from the bean and gives you a deeper vanilla base; if you skip it, the finished ice cream tastes less layered.
Tempering the Yolks Slowly
Whisk the yolks and sugar until they look pale and thick, then pour the warm dairy in a slow stream while whisking constantly. This is where people rush and end up with sweet scrambled eggs. The goal is to raise the yolks’ temperature gradually so the custard stays smooth, and the whisking matters because it keeps the mixture moving as the heat spreads through it.
Thickening the Custard to the Right Point
Return everything to the saucepan and cook over medium-low heat, stirring constantly with a spatula or wooden spoon. The custard is ready when it coats the back of the spoon and leaves a clear line when you drag a finger through it. If the heat is too high, it will curdle at the edges first; if it’s too low, it may never thicken enough and the ice cream will freeze loose and watery.
Chilling Before the Churn
Strain the custard through a fine-mesh sieve, stir in the salt, and cool it over an ice bath before refrigerating. This is the step that gives you a clean, silky base and stops the cooking fast enough to keep the texture soft. Don’t churn it while it’s still warm — the machine can’t do its job well, and the base will take longer to freeze with a less creamy finish.
Vanilla Extract Instead of a Bean
Use 2 teaspoons of pure vanilla extract and stir it in after the custard comes off the heat. You’ll lose the visible specks and some of the deep, floral vanilla from the bean, but the ice cream still tastes excellent if the extract is good.
Dairy-Free Version
Use full-fat canned coconut milk in place of the cream and whole milk, but expect a coconut note and a firmer freeze. The custard still needs gentle cooking, though the texture won’t be quite as rich or clean as the dairy version.
Extra-Bean Flecked Ice Cream
If you want a stronger vanilla look, scrape the bean very thoroughly and let the pod steep the full 15 minutes. The flavor gets more aromatic and the finished scoop has more visible specks, which makes the custard-style texture stand out even more.
Storage and Reheating
- Refrigerator: Keep the chilled custard base up to 2 days before churning. Once churned, the ice cream stays best for about 1 week in the freezer before ice crystals start to show.
- Freezer: This freezes well, but it firms up a lot after the first day. Press parchment or plastic wrap directly on the surface before covering the container to help prevent freezer burn.
- Reheating: For serving, let it sit at room temperature 5 to 10 minutes until the edges soften enough to scoop. If it’s rock-hard, the problem is usually overfreezing or too little sugar, not the serving time alone.
Questions I Get Asked About This Recipe

Old-Fashioned Homemade Vanilla Ice Cream
Ingredients
Equipment
Method
- Split the vanilla bean and scrape the seeds; add the pod and seeds to a saucepan with the heavy cream and whole milk.
- Heat the cream mixture over medium heat until steaming and just beginning to simmer; remove from heat and let steep 15 minutes, then remove the pod.
- Whisk the egg yolks and granulated sugar together until pale and thick.
- Slowly pour the warm cream into the yolks while whisking constantly to temper the eggs.
- Return the mixture to the saucepan and cook over medium-low heat, stirring constantly, until the custard thickens to coat the back of a spoon (175F).
- Strain the custard through a fine mesh sieve, stir in the salt, and cool over an ice bath.
- Refrigerate at least 4 hours or overnight until fully chilled.
- Churn the chilled custard in an ice cream maker according to the manufacturer’s instructions.
- Transfer the churned ice cream to a freezer-safe container and freeze until firm.