
Sticky brown sugar pineapple chicken is the kind of skillet dinner that disappears fast because every bite hits that sweet-salty-tangy balance with a glossy glaze that clings to the chicken instead of pooling at the bottom of the pan. The pineapple caramelizes around the edges, the sauce turns dark amber and spoonable, and the whole dish tastes like it took more effort than it did.
What makes this version work is the order: the chicken gets a hard sear first, then the glaze builds in the same pan so all those browned bits flavor the sauce. Pineapple juice gives the sauce body and brightness, while the cornstarch slurry turns it from thin and sugary into an actual glaze. The ketchup may look small on the ingredient list, but it rounds out the acidity and helps the sauce cling.
Below you’ll find the trick to getting the glaze thick before the chicken goes back in, plus a few swaps and storage notes that help this recipe hold up for real weeknight cooking.
The glaze turned thick and shiny in just a few minutes, and the pineapple chunks stayed juicy instead of getting mushy. I served it over rice and my husband went back for seconds immediately.
Save this brown sugar pineapple chicken for a sticky skillet dinner with caramelized glaze and juicy pineapple chunks.
The Reason the Glaze Stays Sticky Instead of Turning Watery
The biggest mistake with pineapple chicken is rushing the sauce while the pan is still too hot. If the liquid boils hard before the cornstarch has a chance to hydrate, you can end up with a thin, glossy syrup that never really coats the chicken. This version fixes that by bringing the glaze to a steady simmer first, then adding the slurry and giving it a couple of minutes to thicken into a proper spoon-coating sauce.
Using pineapple juice in the glaze and pineapple chunks at the end gives you two different textures from the same fruit. The juice seasons the sauce from the inside, while the chunks stay intact and pop against the sticky glaze. Let the chicken go back into the pan only after the sauce looks slightly thicker than you want it to be; it loosens a little once the chicken and juices go back in.
What Each Ingredient Is Actually Doing in This Skillet
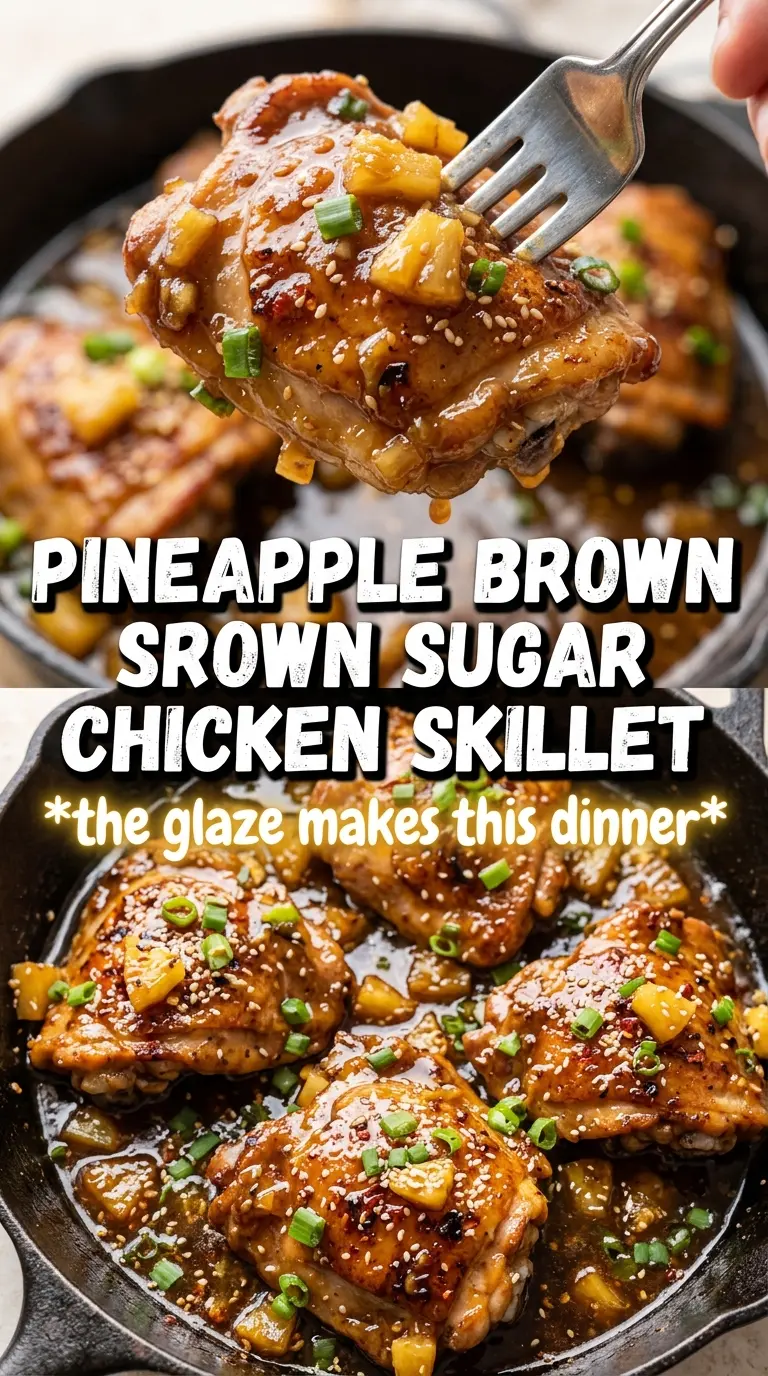
- Chicken breasts — Boneless, skinless breasts give you a lean base that soaks up the glaze without making the dish heavy. Pound them to an even thickness if one side is much thicker than the other; that keeps the sear and the cook time consistent.
- Pineapple juice — This is the backbone of the sauce. Fresh juice isn’t necessary here, but it does need to be real pineapple juice, not a cocktail blend, or the flavor gets muddy and too sweet.
- Brown sugar — It deepens the glaze and helps it caramelize around the edges of the pan. Packed light brown sugar works best because the molasses note gives the sauce its warm, sticky finish.
- Soy sauce — This keeps the glaze from tasting flat. If you need a gluten-free version, use tamari and keep the amount the same.
- Ketchup — It sounds surprising, but it gives the sauce body, a little acid, and a gentle tomato sweetness that helps everything cling to the chicken.
- Cornstarch slurry — This is what turns the sauce into a glaze instead of a thin simmering liquid. Stir it in after the sauce is at a simmer, not before, so it activates evenly and doesn’t clump.
- Pineapple chunks — Add these at the end so they stay bright and juicy. If they cook for too long, they collapse and the sauce loses that clean pineapple bite.
Getting the Sear and Glaze Working in the Right Order
Seasoning and Searing the Chicken
Season the chicken well on both sides with salt, pepper, garlic powder, and smoked paprika, then sear it in hot olive oil until the surface is deeply golden. You’re looking for a crust that releases cleanly from the skillet; if it sticks, give it another minute instead of forcing it. The chicken should be cooked through to 165°F before it comes out, because it won’t be in the sauce long enough to finish from raw.
Building the Pineapple Glaze
Keep the same skillet and pour in the pineapple juice, brown sugar, soy sauce, ketchup, garlic, and ginger. Scrape up every browned bit from the bottom because that’s where the best savory flavor lives. Let the mixture come to a gentle simmer; if it boils hard, the sugar can get harsh and the sauce can reduce too fast before the cornstarch goes in.
Thickening Without Turning Gluey
Stir the cornstarch and water together until smooth, then whisk it into the simmering sauce in a thin stream. Give it 2 to 3 minutes to thicken, watching for the sauce to turn glossy and just start to mound on a spoon. If it still looks thin, keep simmering for another minute; if you add the chicken too early, the glaze stays loose and slides right off.
Finishing the Chicken in the Pan
Add the pineapple chunks, then return the chicken and turn it through the sauce until every piece is coated. Two minutes in the glaze is enough to warm the chicken back through and let the sauce cling. Finish with sesame seeds and green onions for a little crunch and color, then serve it right away over rice while the glaze is still shiny.
Three Ways to Make This Dinner Fit What You Have
Make it gluten-free
Swap the soy sauce for tamari or coconut aminos. Tamari gives the closest savory flavor, while coconut aminos tastes a little sweeter and lighter, so you may want to reduce the brown sugar by a teaspoon or two.
Use chicken thighs instead of breasts
Boneless thighs stay juicier and are more forgiving if your heat runs a little high. They usually need a few extra minutes in the skillet, but they give you a richer, softer bite that stands up well to the sticky glaze.
Make it a little less sweet
Cut the brown sugar back to 3 tablespoons and add an extra teaspoon of soy sauce or a splash of rice vinegar. That keeps the glaze balanced and gives the pineapple more room to taste bright instead of candy-like.
Turn it into a meal prep bowl
Slice the chicken before storing it with rice so the glaze coats each piece more evenly when reheated. The sauce thickens a bit in the fridge, which is exactly what you want for bowls and packed lunches.
Storage and Reheating
- Refrigerator: Store in an airtight container for up to 4 days. The glaze will thicken as it chills, and the chicken will still hold up well.
- Freezer: It freezes well for up to 2 months, though the pineapple chunks soften a little after thawing. Freeze the chicken and sauce together in a flat layer for the best texture.
- Reheating: Warm gently in a skillet over low heat with a splash of water or pineapple juice. High heat can make the glaze catch on the pan before the chicken is hot through.
Answers to the Questions Worth Asking
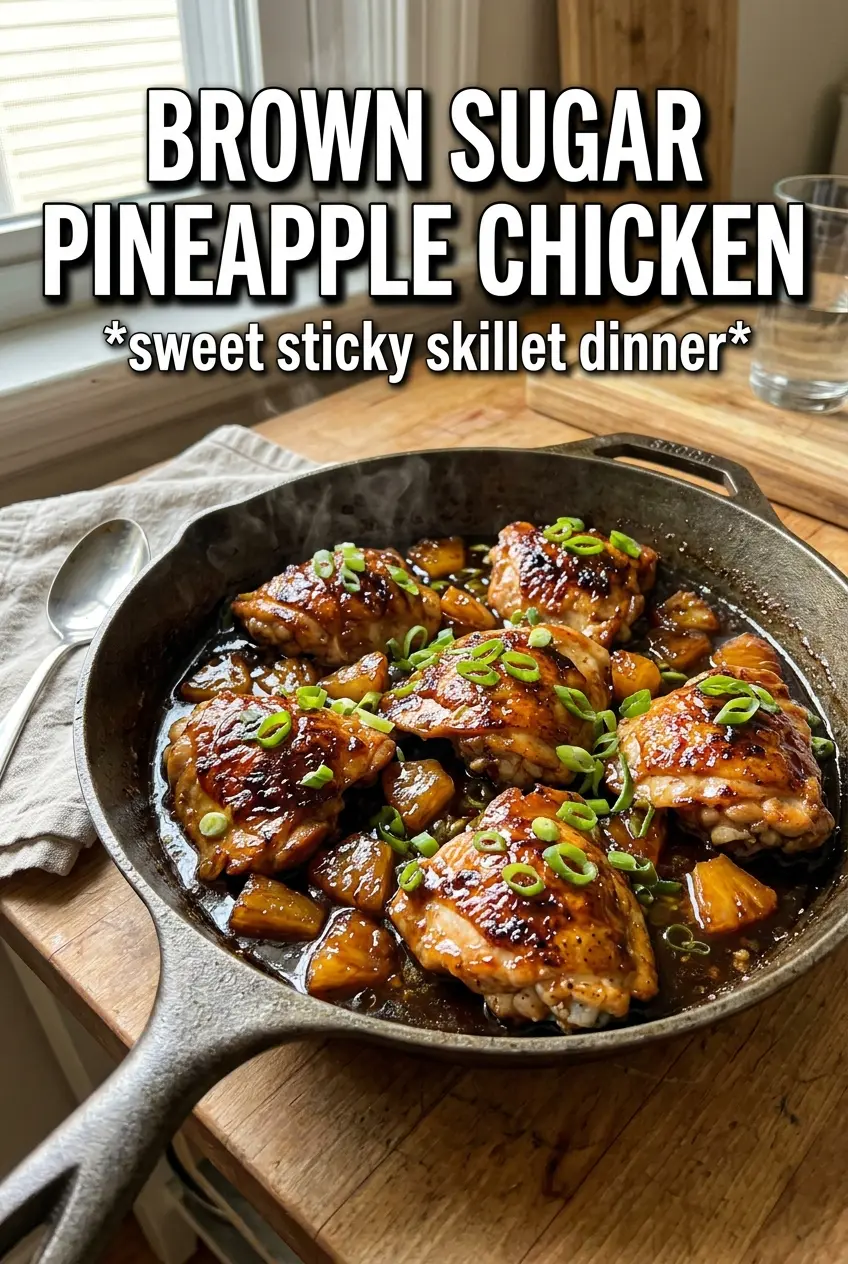
Brown Sugar Pineapple Chicken
Ingredients
Equipment
Method
- Season the chicken breasts with salt, pepper, garlic powder, and smoked paprika. Let the seasoned chicken rest for 20 minutes to marinate while you prep the glaze ingredients.
- Heat the olive oil in a large cast iron skillet over medium-high heat. Add the chicken and sear 5-6 minutes per side until golden and cooked through to 165°F, then remove the chicken.
- Whisk pineapple juice, brown sugar, soy sauce, ketchup, garlic, and ginger in the same pan. Bring the mixture to a simmer over medium heat.
- Stir in the cornstarch slurry and cook 2-3 minutes until the sauce thickens into a glaze. Add the pineapple chunks and let them warm in the thickened sauce.
- Return the chicken to the pan and turn to coat in the glaze. Cook 2 more minutes to caramelize the glaze on the chicken.
- Garnish with sesame seeds and sliced green onions. Serve the brown sugar pineapple chicken over steamed rice.


