
Silky homemade coconut ice cream has a dense, custardy body that scoops like a dream and tastes like pure toasted coconut in frozen form. The coconut milk gives it that rich, creamy mouthfeel even before the churn, and the toasted coconut folded in at the end adds little chewy bites that keep each spoonful interesting.
What makes this version work is the custard base. Egg yolks add stability and that classic ice-cream richness, while cooking the mixture just until it reaches 175°F keeps it smooth instead of grainy. The coconut extract stays in the background, but it sharpens the coconut flavor enough that every bite tastes fuller without turning perfumy.
If you’ve ever had coconut ice cream that froze hard as a brick or tasted flat, the details below will help. I’ve also included the one swap I’d use when you want to keep it dairy-free and the reheating-style trick that makes scooping easier after a night in the freezer.
The custard came out unbelievably smooth, and the toasted coconut stayed chewy instead of icy. I let it chill overnight and it churned up thick and creamy on the first try.
Love this toasted coconut ice cream? Save it for the next time you want a creamy custard-style dessert with tropical coconut flavor.
The Custard Needs Gentle Heat, Not a Boil
The biggest mistake with coconut ice cream is rushing the custard. Coconut milk looks forgiving, but once the yolks go in, high heat will scramble them fast and leave you with tiny bits instead of a smooth base. Keep the heat at medium-low and stir constantly until the mixture lightly coats the back of a spoon and hits 175°F.
That temperature matters. It’s hot enough to thicken the custard and help the ice cream churn with a creamier body, but not so hot that the eggs tighten into curds. If you see steam and small bubbles around the edge, that’s your cue to keep moving but not to crank the burner higher.
What Each Ingredient Is Doing in This Coconut Ice Cream
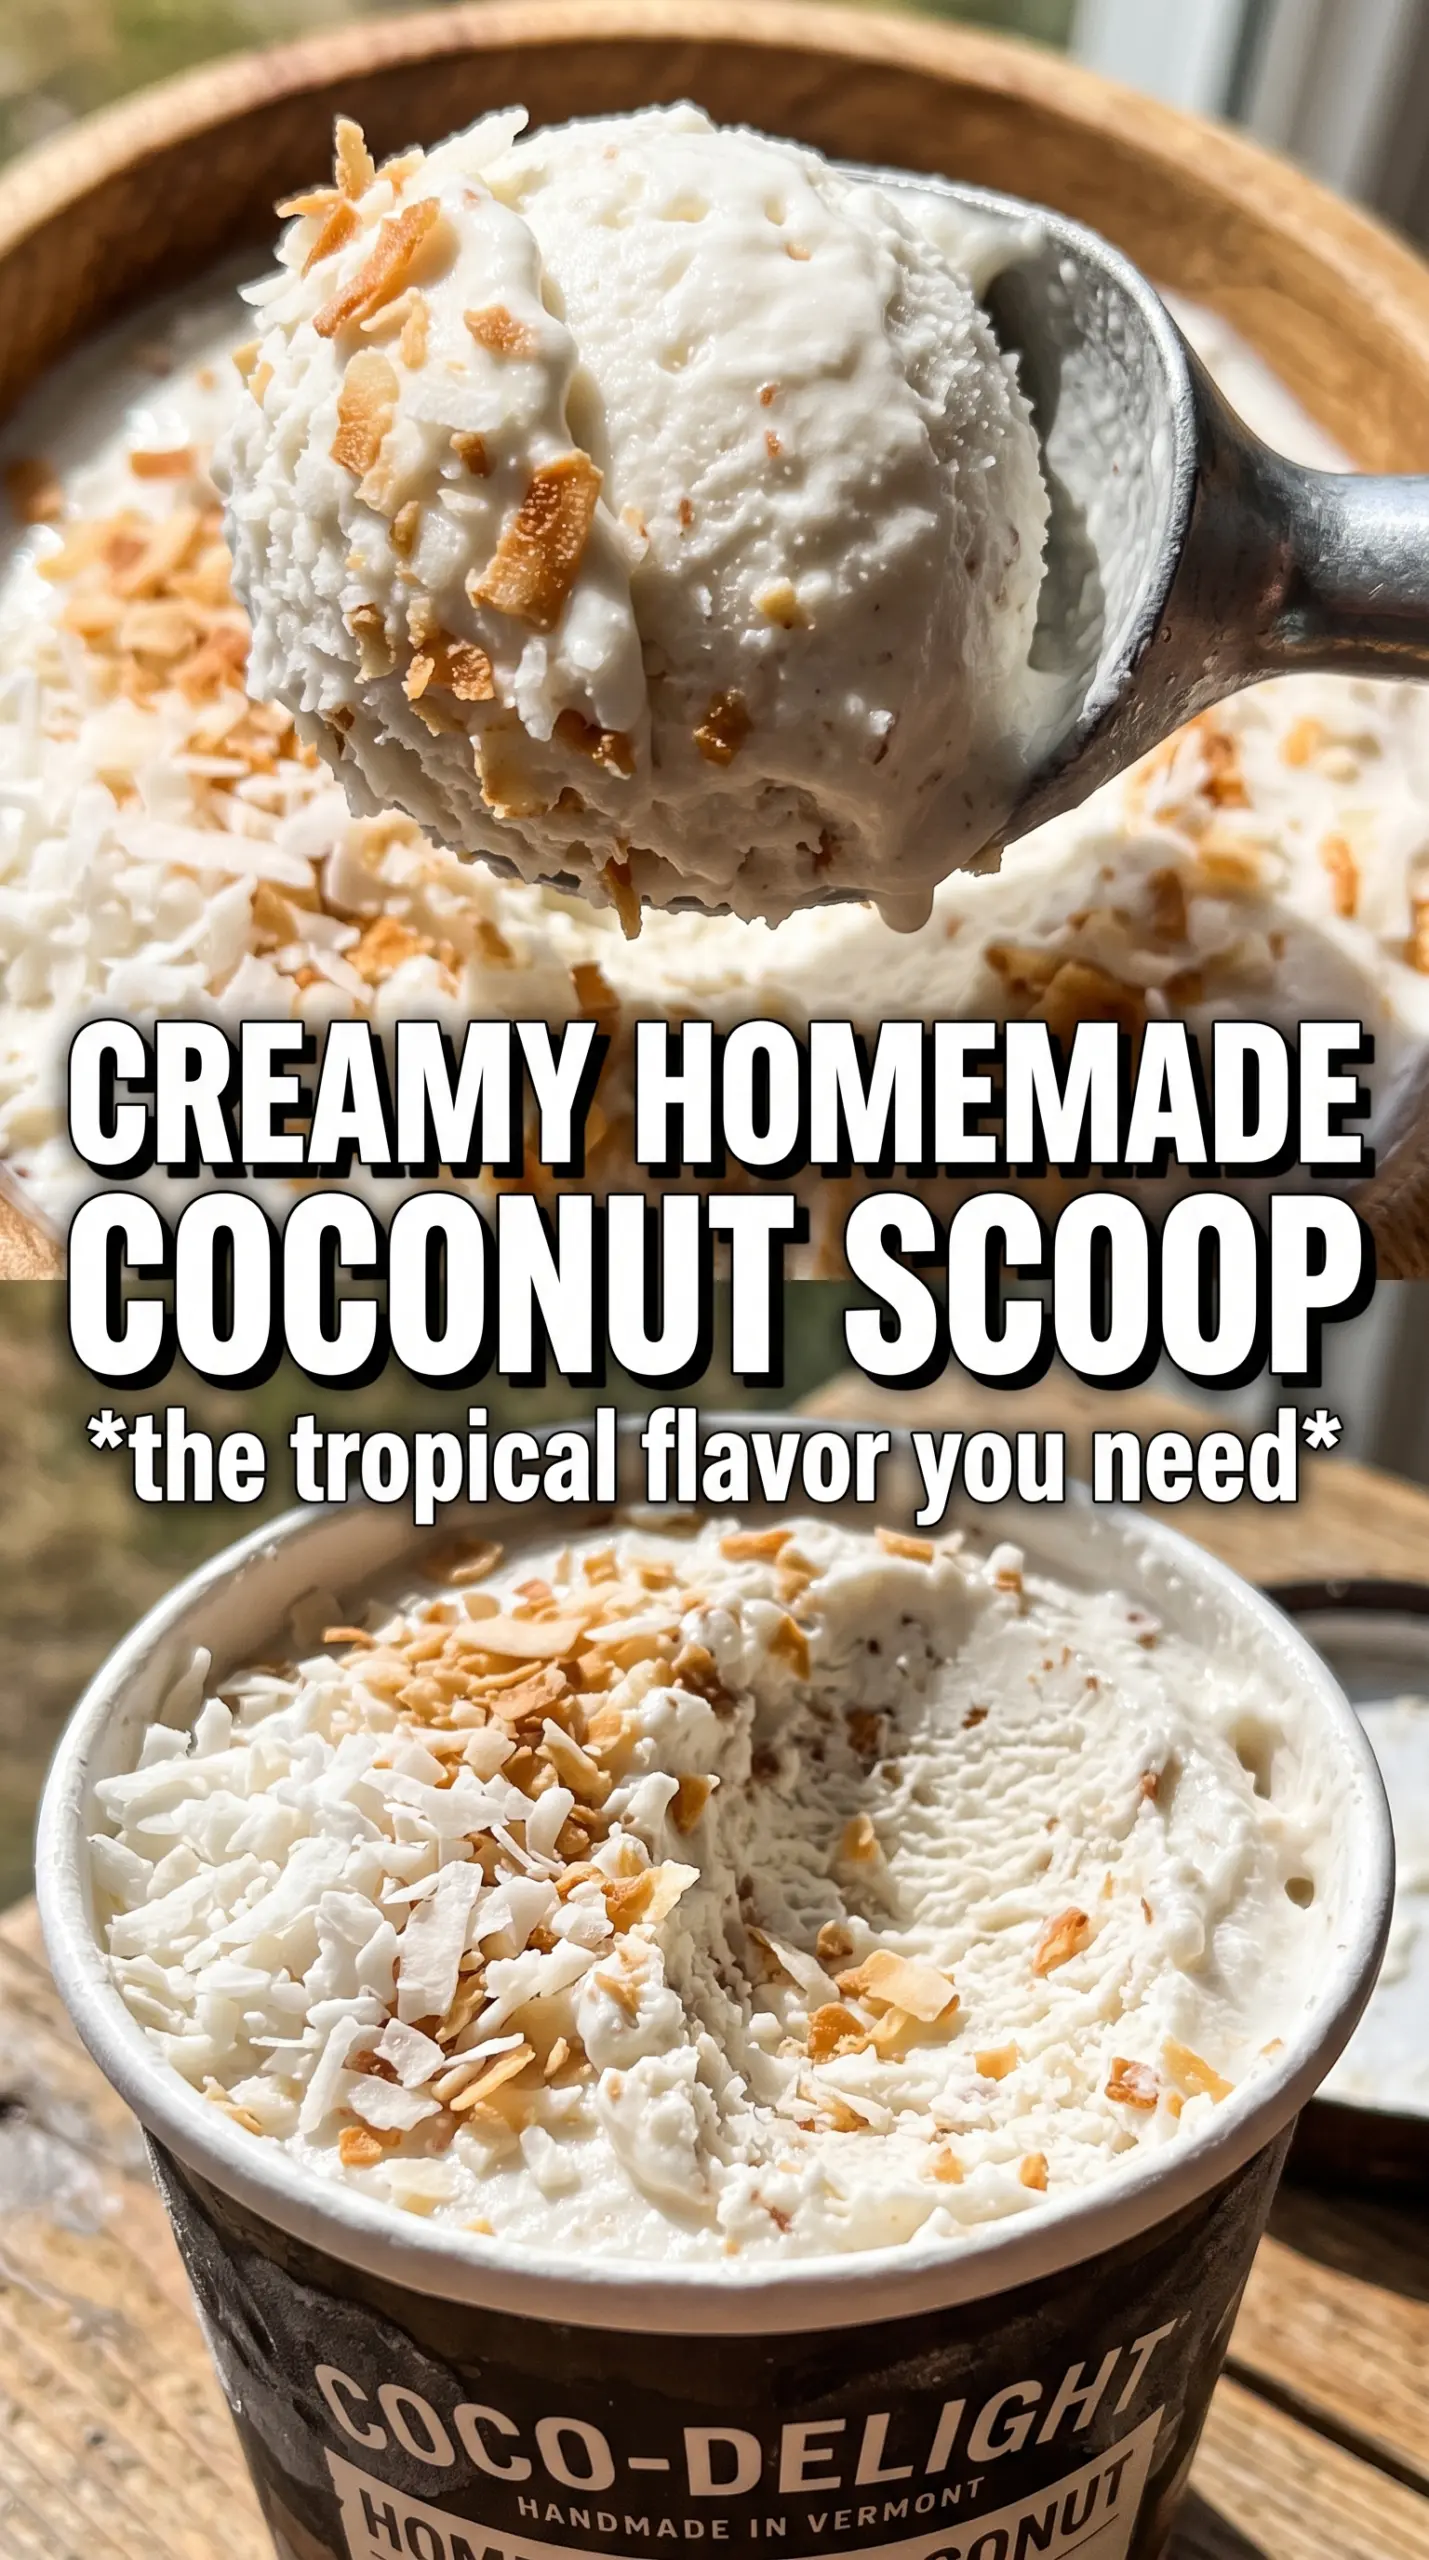
- Full-fat coconut milk — This is the base of the whole recipe, and full-fat is nonnegotiable if you want a scoopable, creamy result. Light coconut milk will freeze icier and thinner. Shake the cans before opening, then whisk the contents well so the fat and liquid are evenly distributed.
- Egg yolks — Yolks give the ice cream its custard texture and help keep it from freezing into a hard slab. There isn’t a true one-to-one substitute here if you want the same body, but you can make an egg-free version by using an ice cream base designed for no-churn recipes; it won’t taste quite as rich, but it will skip the tempering step.
- Granulated sugar — Sugar doesn’t just sweeten; it also softens the freeze so the ice cream stays scoopable. Cutting it too much makes the texture harder, even if the flavor still tastes good.
- Vanilla extract and coconut extract — Vanilla rounds out the coconut, while coconut extract pushes the flavor where your nose expects it to go. The coconut extract is potent, so measure carefully. Too much turns the ice cream artificial fast.
- Toasted sweetened coconut — Toasting changes everything here. It adds a nutty edge and keeps the coconut flavor from tasting flat. Fold it in at the end so it stays distinct instead of disappearing into the base.
How to Turn the Base into Ice Cream Without Breaking It
Warming the Coconut Milk
Warm the coconut milk with the sugar until the sugar dissolves and the mixture is steaming, not boiling. You’re just loosening everything so the yolks can blend in smoothly. If you skip this and dump cold milk into the eggs too quickly, the custard takes longer to thicken and you’re more likely to get streaks or curdling.
Tempering the Yolks
Whisk the hot coconut milk into the yolks slowly at first, then keep adding in a thin stream until the yolks are warmed through. This is the step that protects the eggs from scrambling. If the bowl looks foamy and smooth, you’re in good shape; if you see little flecks starting to form, strain them out before the custard goes back on the stove.
Cooking to the Right Thickness
Return the mixture to the saucepan and stir constantly over medium-low heat until it thickens enough to coat the back of a spoon. The custard should look glossy and leave a clean track when you drag a finger through the coating on the spoon. Pull it off the heat at 175°F. Go much higher and the yolks can turn grainy, which shows up after freezing.
Cooling, Churning, and Folding in the Coconut
Strain the custard, stir in the vanilla, coconut extract, and salt, then chill it completely before churning. A warm base won’t freeze properly in the machine, and the texture will stay loose instead of creamy. Fold in the toasted coconut during the last couple of minutes so it stays evenly distributed without sinking to the bottom or turning soggy.
Three Ways to Adjust This Ice Cream Without Losing the Creaminess
Dairy-Free and Naturally Rich
This recipe already skips dairy, so the main thing to watch is the coconut milk quality. Use full-fat canned coconut milk, not carton coconut beverage, and don’t reduce the sugar too far or the texture will freeze too hard. The result is still rich and custardy, with no milk or cream needed.
Extra Toasted Coconut Crunch
If you want more texture, toast 1 1/2 cups coconut instead of 1 cup and reserve a handful for the top after churning. The flavor gets nuttier and the final ice cream feels a little more substantial, but too much coconut mixed in can make scooping harder, so keep some of it as garnish.
Less Sweet, More Coconut Forward
You can trim the sugar a little if you prefer a less sweet dessert, but don’t cut it by half. Sugar controls both flavor and texture in ice cream, and too little will make it icy. If you want a cleaner coconut flavor, keep the sugar where it is and increase the coconut extract by just a few drops.
Storage and Freezer Timing
- Refrigerator: Store the chilled base up to 2 days before churning. After churning, the ice cream belongs in the freezer, not the fridge.
- Freezer: Freeze in an airtight container for up to 2 weeks. It will firm up more after the first day, and the texture is best in the first week.
- Reheating: Let the container sit at room temperature for 5 to 10 minutes before scooping. If you try to dig in straight from the freezer, the edges can be hard enough to crumble while the center still feels dense.
Answers to the Questions Worth Asking
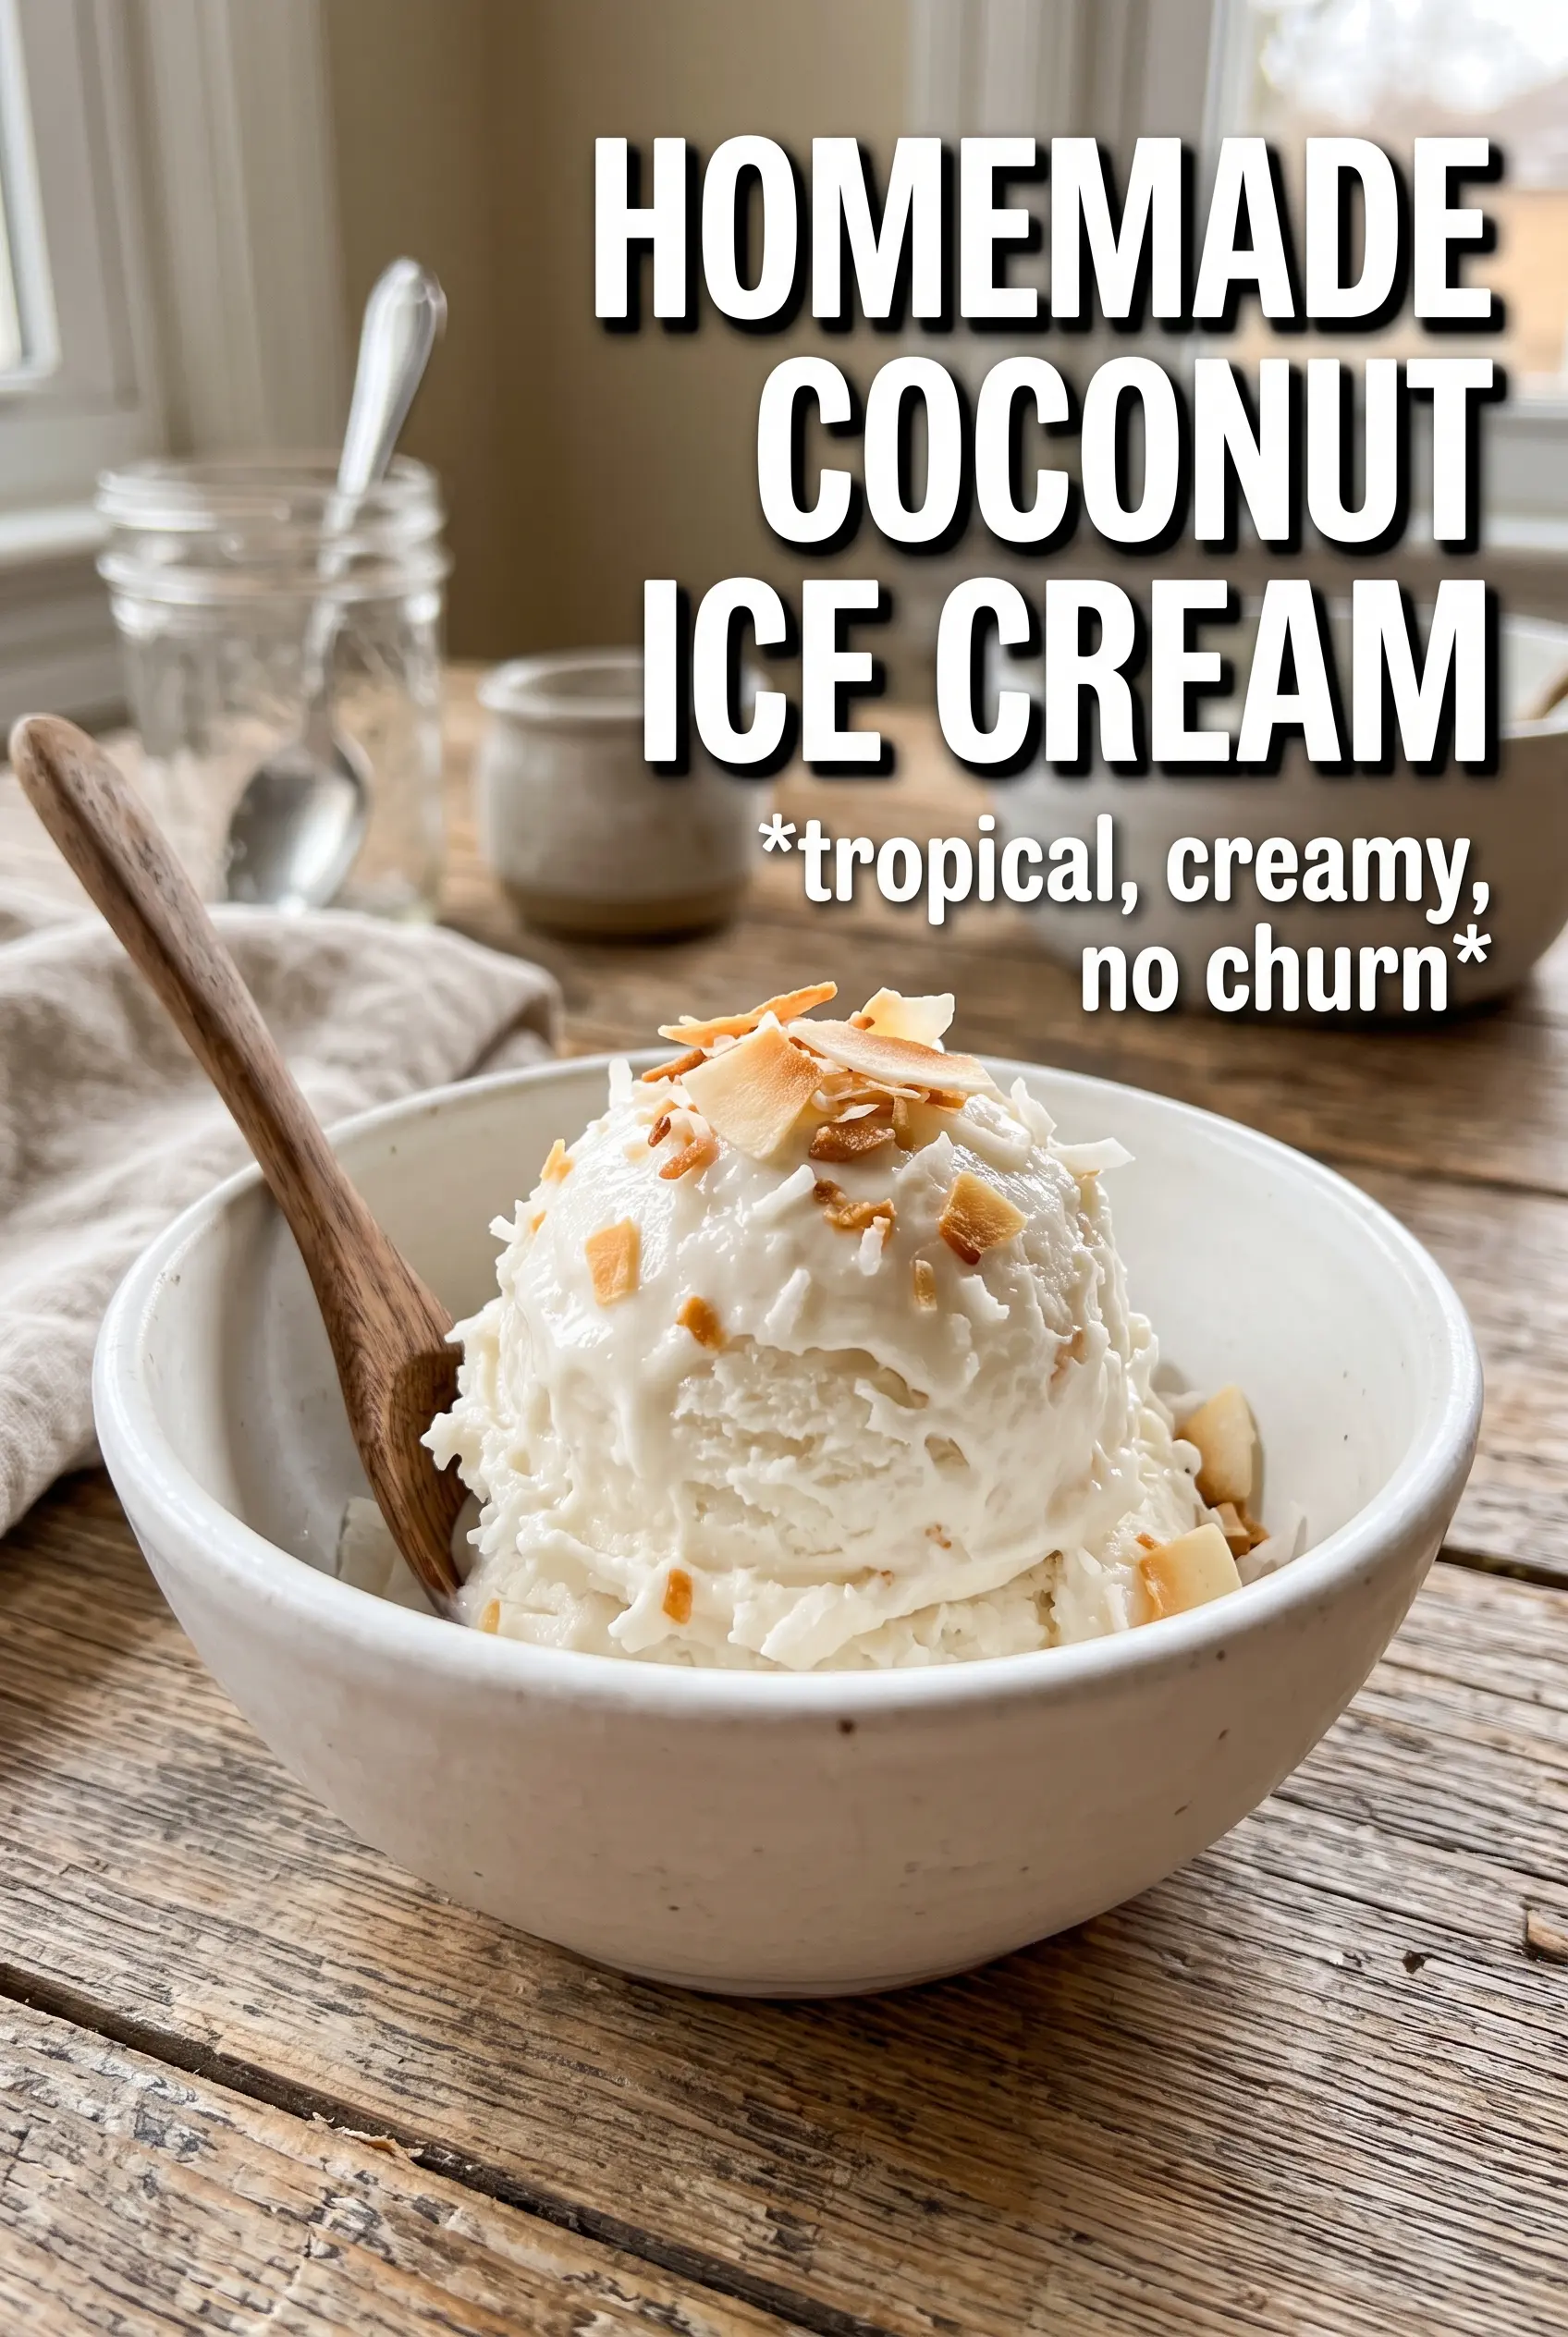
Homemade Coconut Ice Cream
Ingredients
Equipment
Method
- Heat the full-fat coconut milk and granulated sugar in a saucepan over medium heat until the mixture steams and the sugar dissolves, about 5 minutes. Visual cue: the surface should show small wisps of steam and no visible sugar crystals.
- Whisk the egg yolks until smooth in a bowl, about 30 seconds. Visual cue: the yolks should look glossy and uniform with no streaks.
- Slowly whisk the hot coconut milk into the egg yolks to temper them. Visual cue: keep the stream steady to prevent scrambling.
- Return the mixture to the saucepan and cook over medium-low heat, stirring constantly, until the custard reaches 175F and coats the back of a spoon, about 10 minutes. Visual cue: run a finger through the coating—it's ready if the line holds.
- Strain the custard and stir in vanilla extract, coconut extract, and salt, then cover and cool completely at room temperature before chilling. Visual cue: it should be smooth and thickened-looking after stirring.
- Refrigerate for at least 4 hours until very cold. Visual cue: the custard should feel firm and chilled when the container is touched.
- Churn the chilled custard in an ice cream maker until it reaches soft-serve consistency, about 20 to 30 minutes. Visual cue: it should look airy, pale ivory, and hold ridges.
- Fold in toasted shredded sweetened coconut during the last 2 minutes of churning, then transfer to a container and freeze until firm. Visual cue: the flakes should be evenly distributed with some visible on the surface.


