
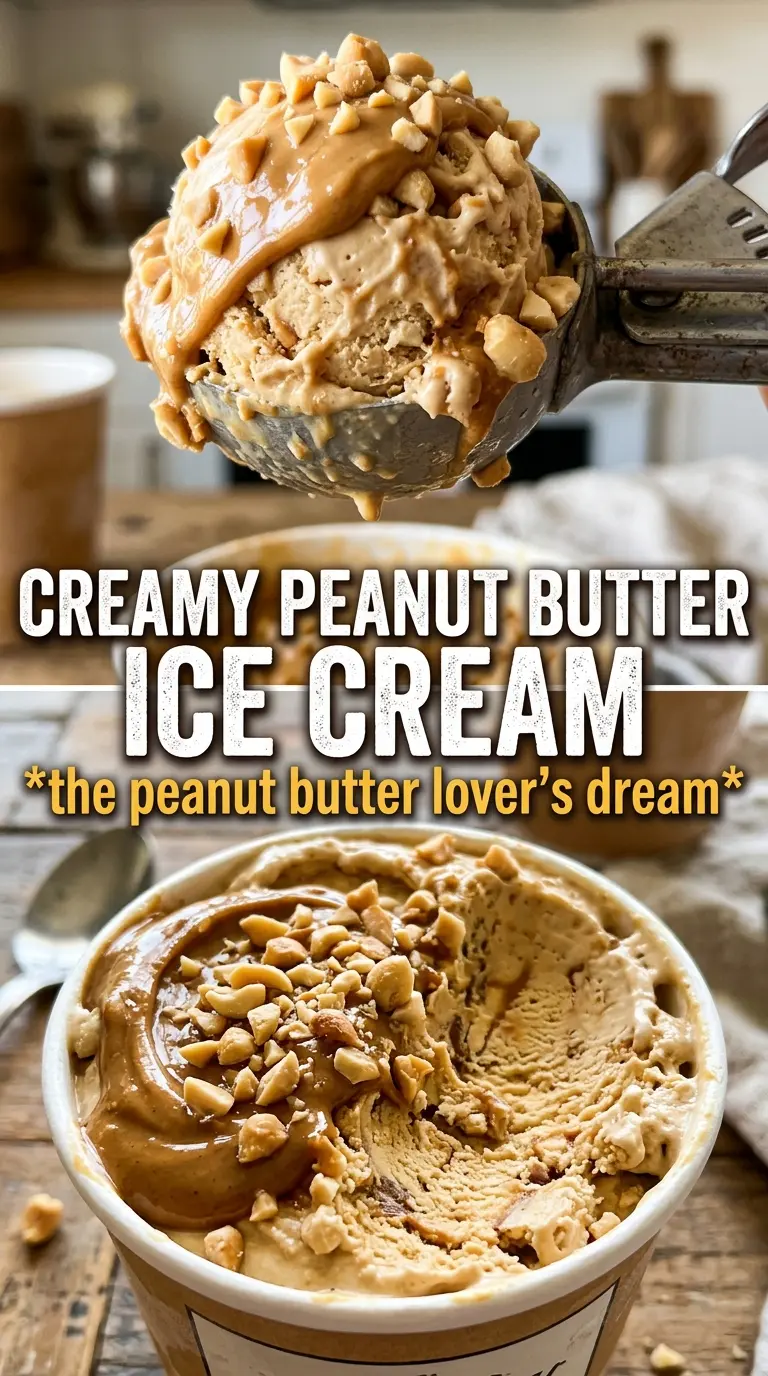
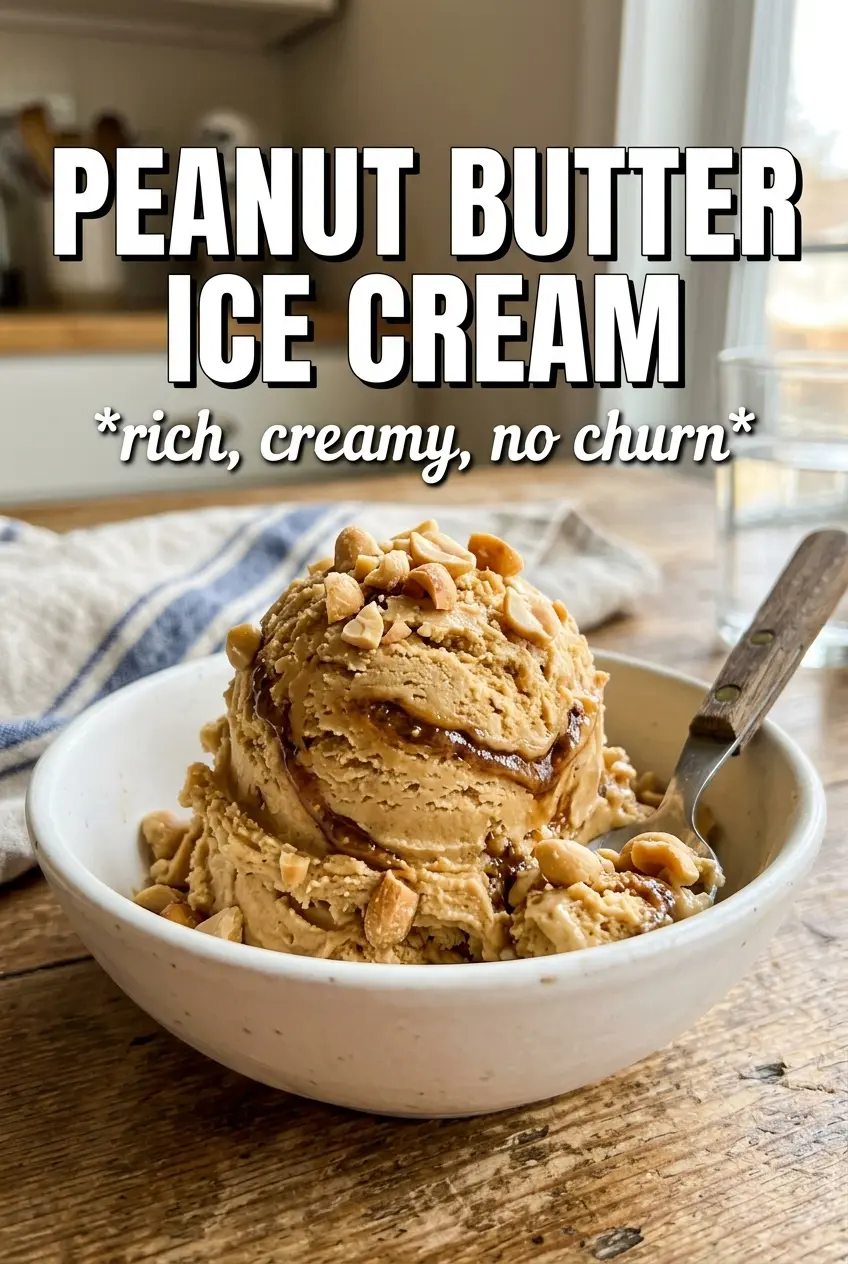
Peanut butter ice cream lands with a dense, creamy spoonful that tastes deeper and more roasted than the store-bought version, with enough body to hold its shape but still melt cleanly on the tongue. The peanut butter doesn’t just flavor the base here; it gives the custard a full, almost satiny richness that makes every scoop taste like the center of the pint.
The trick is building a real custard first, then whisking the peanut butter in off the heat so it stays smooth instead of turning grainy. Egg yolks give the ice cream that lush texture you want from a churned base, while whole milk keeps the finish from getting heavy. A little salt matters more than people think in a peanut butter dessert; it sharpens the nuttiness and keeps the sweetness in check.
Below you’ll find the exact temperature to watch for, the one step that keeps the base silky, and a few smart ways to adapt this homemade peanut butter ice cream for different diets and serving styles.
The custard stayed silky and the peanut butter mixed in without any graininess. I chilled it overnight and it churned up thick and scoopable, just like the ice cream shop kind.
Save this peanut butter ice cream for the nights when you want a rich, custard-style churn with deep peanut flavor and a perfectly creamy scoop.
Why the Custard Has to Stay Gentle
Ice cream turns grainy or eggy when the base gets pushed too hard. With this recipe, the goal is not a rolling boil or even an active simmer; it’s a slow cook over medium-low heat until the custard reaches 175F and lightly coats the back of a spoon. That temperature is high enough to thicken the yolks and low enough to keep them smooth.
The other mistake is dumping peanut butter into a hot custard too early and stirring it over heat. Peanut butter blends best once the pan is off the burner, when the custard is thick but not raging hot. That keeps the fat emulsified and gives you a base that churns into a clean, creamy scoop instead of a sandy one.
- Egg yolks — These are what give the ice cream its custard body. Whole eggs won’t give the same richness, and skipping them means a thinner, icier result.
- Cream and whole milk — The cream brings the plush texture, while the milk keeps the final ice cream from tasting greasy. Using only cream makes the base heavier and less balanced.
- Creamy peanut butter — Use a smooth peanut butter that stirs easily. Natural peanut butter can work if it’s fully emulsified, but it’s more likely to separate or leave tiny oily streaks.
- Salt — Don’t treat it like background noise. It pulls the peanut flavor forward and keeps the sweetness from flattening the whole dessert.
What Each Ingredient Is Actually Doing in This Ice Cream
- Base ingredient (cream, milk, or custard) — This provides the foundation and richness. Quality matters.
- Sweetener (sugar, honey, or condensed milk) — This sweetens and prevents ice crystals. The ratio is critical.
- Flavor element (vanilla, fruit, chocolate, or other) — This defines the ice cream personality. Use quality ingredients.
- Egg yolks (if making custard base) — These create richness and silky texture. Optional but elevates ice cream.
- Churning (if using ice cream maker) — This incorporates air and prevents ice crystals. Critical for smooth texture.
- Freezing temperature and time — Proper freezing prevents rock-hard texture. Store at 0°F or below.
- Mix-ins (chocolate, cookies, fruit, or swirls) — These add texture and prevent one-dimensional flavor. Add near end of churning.
- Serving temperature (slightly soft, not rock hard) — This provides creamy mouthfeel. Remove from freezer 5 minutes before serving.
Getting the Base Smooth Before It Ever Hits the Freezer
Warming the Dairy
Heat the cream and milk until they’re steaming and just starting to move around the edges. You don’t want bubbles racing across the surface. If the dairy gets too hot before it meets the yolks, the eggs can scramble instead of tempering cleanly, which gives you little bits you can’t whisk out.
Tempering the Yolks
Whisk the sugar into the yolks until the mixture turns pale and thick, then stream in the hot dairy slowly while whisking constantly. That gradual addition is what protects the eggs from shocking. If you pour too fast, the yolks seize in streaks and the custard gets lumpy before it even returns to the pan.
Cooking to 175F
Return the mixture to the saucepan and stir over medium-low heat until it reaches 175F. The custard should look slightly thicker and coat a spoon; run your finger across the back of the spoon and the line should hold. If it goes much hotter, the eggs can curdle, so pull it off the burner the moment it reaches the right temperature.
Blending in the Peanut Butter
Take the pan off the heat and whisk in the peanut butter until the base looks completely uniform and glossy. This is the moment that determines whether the ice cream tastes luxuriously smooth or faintly gritty. If you see little flecks, keep whisking; if needed, use a blender briefly before straining.
Chilling, Churning, and Freezing
Strain the custard, whisk in the vanilla and salt, and cool it over an ice bath before refrigerating for at least 4 hours. Cold base equals better churn and smaller ice crystals. Churn it according to your machine’s instructions, then freeze until firm enough to scoop; if you try to serve it straight from the churn, it’ll be soft enough to slump.
How to Adapt This Peanut Butter Ice Cream Without Losing the Creaminess
Dairy-Free Version
Swap the heavy cream and milk for full-fat coconut milk, using the thickest canned version you can find. The ice cream will still be creamy, but it will pick up a light coconut note and won’t taste quite as neutral as the original.
Less Sweet, More Peanutty
Drop the sugar by 2 tablespoons if you want the peanut flavor to come forward a little more. Don’t cut it too far, though, because sugar keeps ice cream softer in the freezer and helps the texture stay scoopable.
Peanut Butter Swirl Add-In
Warm a few spoonfuls of peanut butter until just pourable and ribbon it into the churned ice cream as it goes into the container. That gives you pockets of intense peanut flavor, but if you add it too early it can freeze in hard streaks instead of soft swirls.
Storage and Reheating
- Refrigerator: The churn base can sit in the fridge up to 24 hours before churning, and that rest actually improves the texture.
- Freezer: The finished ice cream keeps well for about 2 weeks in a tightly covered container. Press parchment or plastic wrap directly on the surface to limit ice crystals.
- Reheating: Let it stand at room temperature for 5 to 10 minutes before scooping. If it’s rock hard, people usually try to force the scoop too soon and end up tearing the surface instead of getting clean scoops.
Questions I Get Asked About This Recipe
Peanut Butter Ice Cream
Ingredients
Equipment
Method
- Heat heavy cream and whole milk in a saucepan until steaming, not boiling, about 5 minutes. Keep the surface gently steaming so the dairy won’t scorch.
- Whisk granulated sugar with egg yolks in a bowl until smooth. Pour the hot dairy in a thin stream while whisking to temper the yolks.
- Return the mixture to the saucepan and cook over medium-low heat, stirring constantly, until the custard reaches 175F, about 5 minutes. The custard should coat the back of a spoon when it’s ready.
- Remove from the heat and whisk in creamy peanut butter until completely smooth. Whisk until no pale streaks remain, and the mixture looks glossy.
- Strain the custard through a fine mesh sieve into a bowl. This removes any cooked egg bits for a silky texture.
- Add vanilla extract and salt, then cool the custard over an ice bath for about 10 minutes. The surface should feel cool to the touch before chilling.
- Refrigerate the custard at least 4 hours or overnight until thoroughly chilled. Cover to prevent a skin from forming.
- Churn in an ice cream maker according to its instructions until thick and scoopable. Stop when the texture looks like soft-serve.
- Transfer the churned ice cream to a container and freeze until firm. Freeze until it holds a shape during scooping, about 2 to 4 hours.


