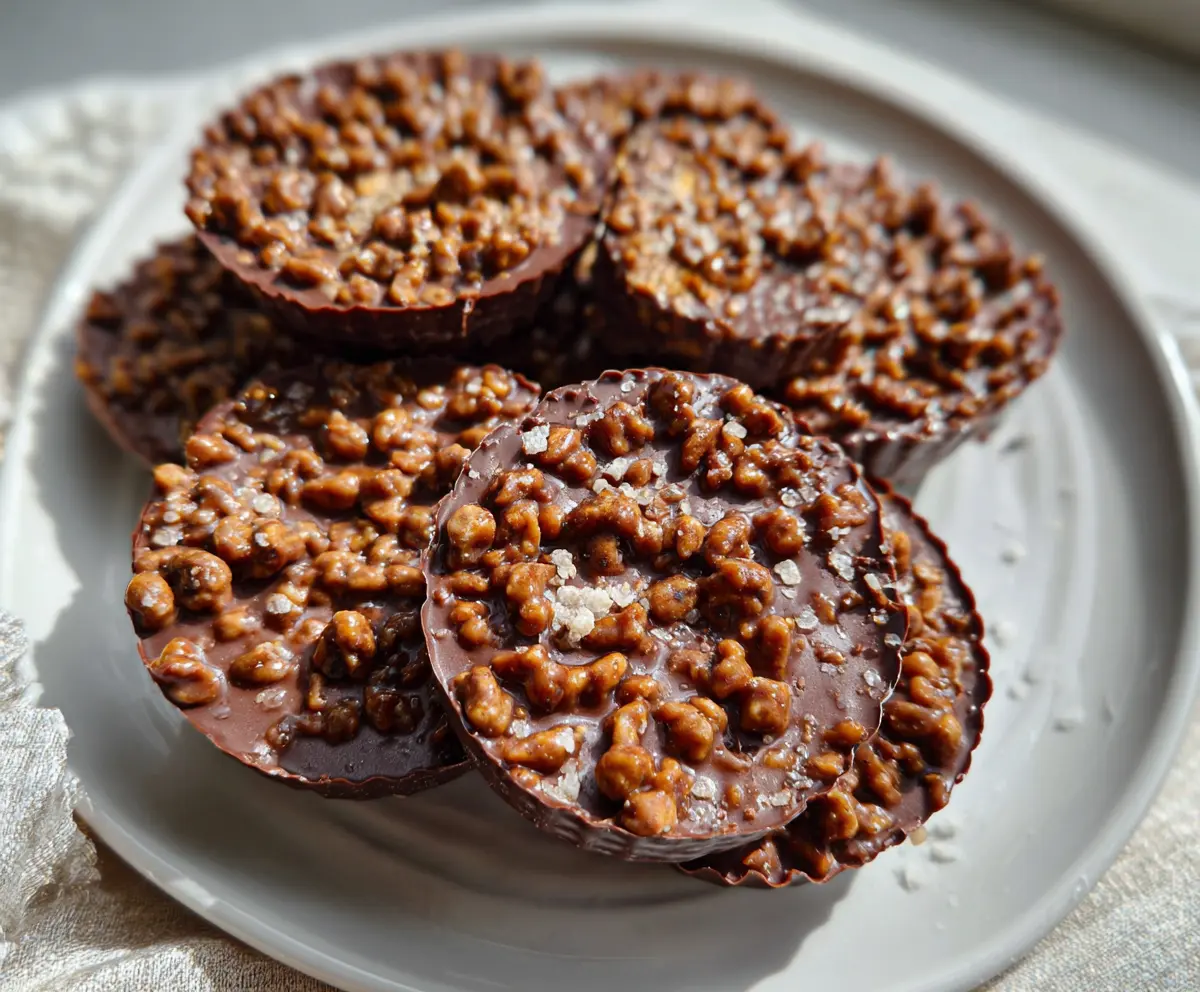
These Chocolate Peanut Butter Crunch Cups are a special treat! Filled with creamy peanut butter and surrounded by chocolate, they are both crunchy and smooth. Yum!
I like to make a batch and keep them in the fridge. They’re great for a quick snack or dessert anytime! Plus, who can resist that chocolate-peanut butter combo? 😋
Key Ingredients & Substitutions
Peanut Butter: Creamy peanut butter works best for this recipe. If you prefer crunchy, that can add an extra texture! For a nut-free option, try sunbutter or almond butter. Just ensure it’s creamy for best results.
Chocolate Chips: I love using semisweet or dark chocolate, but milk chocolate is fine if you want something sweeter. You can also play with flavored chocolate like salted caramel or even white chocolate, just adjust the sweetness accordingly.
Crispy Rice Cereal: This gives texture and crunch. If you can’t find it, try using crushed cornflakes or any puffed grain that’s light and crunchy. Gluten-free options are available if needed!
Coconut Oil: Adding coconut oil makes the chocolate smoother and easier to work with. You can use regular butter for a similar effect. Just a little bit goes a long way!
How Do I Melt Chocolate Without Burning It?
Melting chocolate can be tricky, but here are some tips to get it just right:
- Use a microwave-safe bowl. Start melting chocolate in 30-second intervals, stirring after each interval until it’s almost fully melted – then stir until smooth.
- If you prefer stovetop, use a double boiler method by placing a heatproof bowl over a pot of simmering water. This gently melts the chocolate without burning it.
- Keep a close eye, as chocolate can go from melted to burnt very quickly. Stir often!
By following these tips, you’ll have perfectly melted chocolate for your Crunch Cups every time!
Chocolate Peanut Butter Crunch Cups
Ingredients You’ll Need:
- 1 cup creamy peanut butter
- 2 cups semisweet or dark chocolate chips (can use milk chocolate if preferred)
- 1 cup crispy rice cereal
- 1 tablespoon coconut oil or butter (optional, for smoother chocolate)
- Flaky sea salt, for sprinkling on top (optional)
How Much Time Will You Need?
This delightful recipe will take about 15-20 minutes to prepare, plus 1 hour to chill in the refrigerator. It’s a simple process of melting, mixing, and layering the ingredients, making it a fun treat to whip up anytime!
Step-by-Step Instructions:
1. Prepare Your Molds:
Start by lining a muffin tin with paper cupcake liners. You can also use silicone molds if you have them. This will make it super easy to remove the cups once they are set!
2. Melt the Peanut Butter:
In a microwave-safe bowl, melt the creamy peanut butter for about 20-30 seconds. Stir it to ensure it becomes smooth and pourable. Once melted, set it aside to cool a bit.
3. Melt the Chocolate:
In another microwave-safe bowl, combine the chocolate chips and coconut oil (if using). Heat in the microwave in 30-second intervals, stirring in between until it’s fully melted and smooth.
4. Mix in the Cereal:
Once your chocolate is melted, stir in the crispy rice cereal until every piece is coated with that delicious chocolate. It should look nice and crunchy!
5. Create the Base Layer:
Take a spoon and scoop a small amount of the chocolate mixture into each liner. Spread it out evenly at the bottom. This will be the base for your cups!
6. Add the Peanut Butter:
Next, add a spoonful of the melted peanut butter on top of the chocolate base. Make sure to gently flatten it so it’s nice and even.
7. Top It Off:
Now, pour the rest of the chocolate and crispy rice mixture on top of the peanut butter, covering it fully. Press down gently to compact it all together.
8. Sprinkle Some Salt:
If you like a little extra flavor, sprinkle a tiny pinch of flaky sea salt on top of each cup. This adds a delightful contrast to the sweetness!
9. Chill to Set:
Pop the muffin tin in the fridge and let the cups chill for at least 1 hour. This will help them firm up nicely!
10. Enjoy Your Treats!
Once firm, carefully remove the cups from the liners and store them in an airtight container in the refrigerator. Enjoy these chocolate peanut butter crunch cups chilled whenever you crave something sweet!
These treats are rich, crunchy, and perfect for satisfying your sweet tooth! Enjoy every bite!
Can I Use Natural Peanut Butter Instead of Creamy Peanut Butter?
You can, but natural peanut butter tends to be a bit more runny and less sweet, which might affect the texture and flavor. If using natural peanut butter, you may want to adjust the sweetness or add a bit of honey or sugar to enhance the flavor.
How Do I Store Leftover Crunch Cups?
Store any leftover cups in an airtight container in the refrigerator. They’ll stay fresh for up to 1 week. For longer storage, you can freeze them, and they’ll last for up to 2 months. Just let them thaw in the fridge before enjoying!
What Can I Use Instead of Coconut Oil?
If you don’t have coconut oil, you can use unsalted butter or even vegetable oil. The coconut oil helps give a smoother texture, but butter will work just fine if you prefer that flavor.
Can I Add Other Mix-Ins?
Absolutely! Feel free to get creative by adding mini chocolate chips, chopped nuts, or even dried fruit like cranberries for added flavor and texture. Just be sure not to overload the mixture so it holds together well.