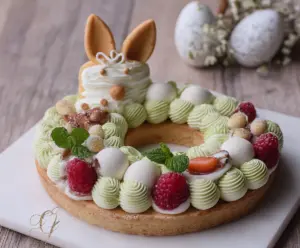
This fun Easter Bunny Cream Tart is a sweet treat that’s perfect for spring! With a lovely, creamy filling and a flaky crust, it looks adorable and tastes even better.
Honestly, who can resist a dessert that looks like a bunny? I love serving this at family gatherings, and it adds a festive touch to any celebration. Hop to the kitchen! 🐰
Key Ingredients & Substitutions
All-Purpose Flour: This is the base for your tart crust. If you’re gluten-free, try almond flour or a gluten-free flour blend. These alternatives change the taste and texture, but still create a yummy crust!
Matcha Green Tea Powder: Matcha adds a lovely green color and unique flavor. If you can’t find it, use regular green tea powder or simply skip it for vanilla cream. Just know that the tart’s flavor profile will change a bit.
Heavy Cream: Essential for the creamy textures. You can use whipping cream if that’s what you have. If you’re looking for lighter options, coconut cream works well for a dairy-free version.
Vanilla Extract: This enhances the flavor of the whipped cream. If you’re out, use another flavor extract like almond or maple. Just a tiny amount goes a long way!
How Do You Make the Perfect Tart Crust?
Making a tart crust can be tricky, but here are some simple steps to help you nail it! Start by ensuring your butter is cold. This helps create that flaky texture we love.
- Pulse the flour, powdered sugar, and salt until mixed. Then, add the cold butter and pulse until crumbly.
- Add the egg yolk and cold water gradually, only enough to bring it together without making it wet. Wrap and chill to relax the dough.
- Roll it out gently on a floured surface and fit it into your tart pan. Chill it again before baking to keep its shape.
What’s the Best Way to Whip Cream to Stiff Peaks?
Whipping cream can seem daunting, but with a few tips, you’ll get it right every time! Start with a chilled bowl and beaters. Cold equipment helps the cream whip faster.
- Begin with soft peaks by whipping at medium speed, then gradually increase to high speed.
- When nice and fluffy, sift in sugar and add flavors like vanilla. Keep beating until the cream holds stiff peaks where it stands tall.
With these tips and techniques, your Easter Bunny Cream Tart will turn out just delightful! Enjoy making it with your loved ones.
How to Make an Easter Bunny Cream Tart
Ingredients You’ll Need:
For The Tart Crust:
- 1 1/4 cups all-purpose flour
- 1/2 cup powdered sugar
- 1/4 tsp salt
- 1/2 cup unsalted butter, cold and diced
- 1 large egg yolk
- 1-2 tbsp cold water
For The Matcha (Green Tea) Cream:
- 1 cup heavy cream
- 2 tbsp powdered sugar
- 1 tsp matcha green tea powder
For The White Cream (Vanilla Whipped Cream):
- 1 cup heavy cream
- 2 tbsp powdered sugar
- 1/2 tsp vanilla extract
For Decorations:
- Fresh raspberries
- Small white meringue kisses or small round meringues
- Marzipan or fondant carrot shapes
- Edible sugar-coated nuts or small candies for eyes, nose, and other details
- Mint leaves
- Vanilla wafer cookies or similar for bunny ears
How Much Time Will You Need?
This recipe will take about 45 minutes to prepare, plus 1 hour to chill in the refrigerator. You’ll spend time making the crust, whipping the creams, and decorating, making this tart a fun activity for Easter celebrations!
Step-by-Step Instructions:
1. Make the Tart Crust:
Start by pulsing the flour, powdered sugar, and salt together in a food processor. Next, add the cold, diced butter and pulse again until the mixture looks like coarse crumbs. Add the egg yolk and pulse until everything is combined. If the dough feels too dry, add cold water a tablespoon at a time until it holds together. Shape the dough into a disk, wrap it in plastic wrap, and chill it in the fridge for at least 30 minutes. Preheat your oven to 350°F (175°C). Roll out the chilled dough on a floured surface to about 1/4 inch thick. Transfer it to a tart pan or create a ring shape on a baking sheet. Chill it for another 15 minutes, then bake for 20-25 minutes until it’s golden brown. Let it cool completely on a wire rack.
2. Prepare the Matcha Cream:
In a chilled bowl, whip together 1 cup of heavy cream until you achieve soft peaks. Sift in the matcha powder and powdered sugar, and continue whipping until you reach stiff peaks. Transfer this green cream to a piping bag, using a round or star tip for decorating later.
3. Prepare the Vanilla Whipped Cream:
In another chilled bowl, whip 1 cup of heavy cream with the powdered sugar and vanilla extract until it also forms stiff peaks. Once done, transfer this cream into a separate piping bag.
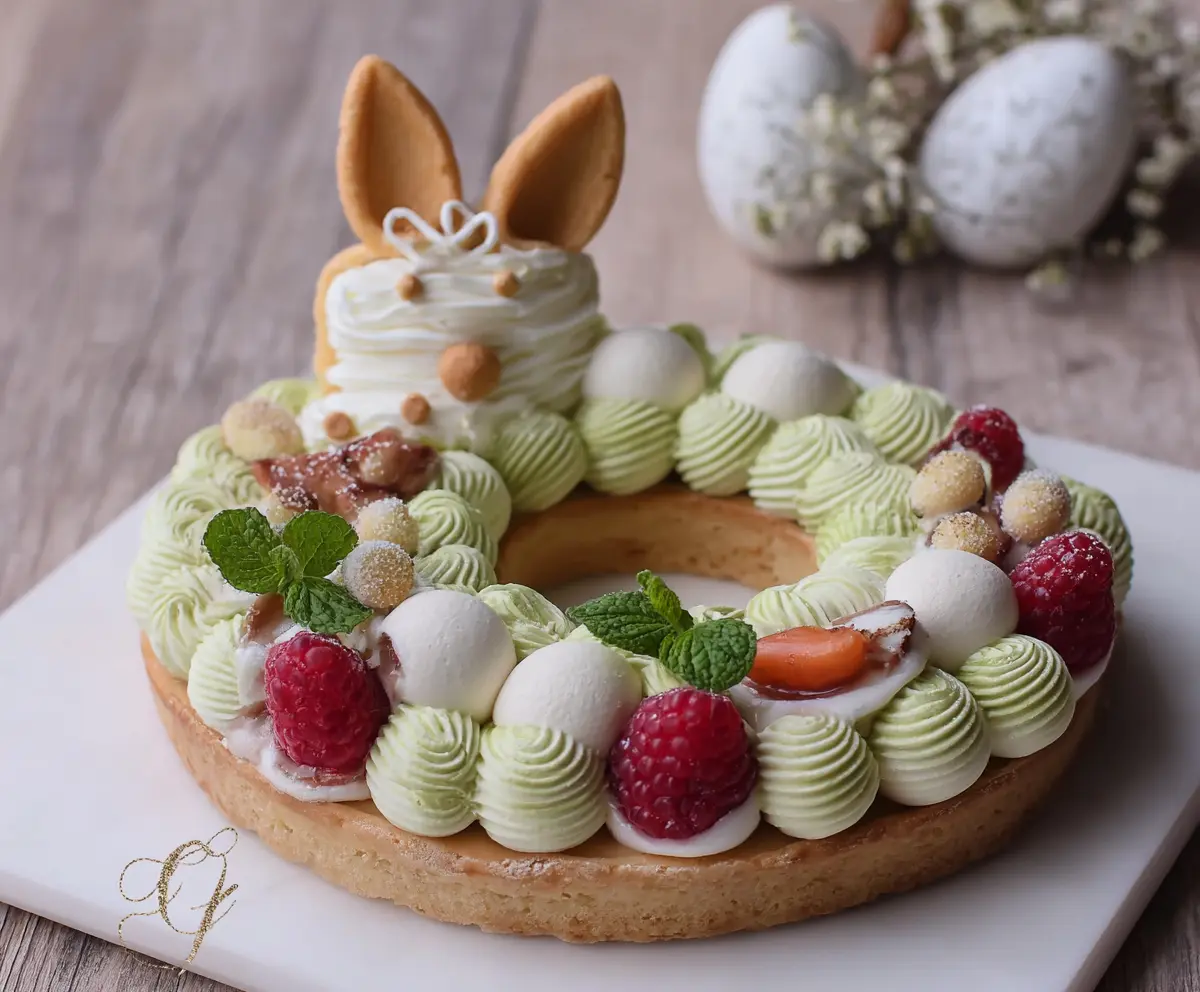
4. Assemble the Tart:
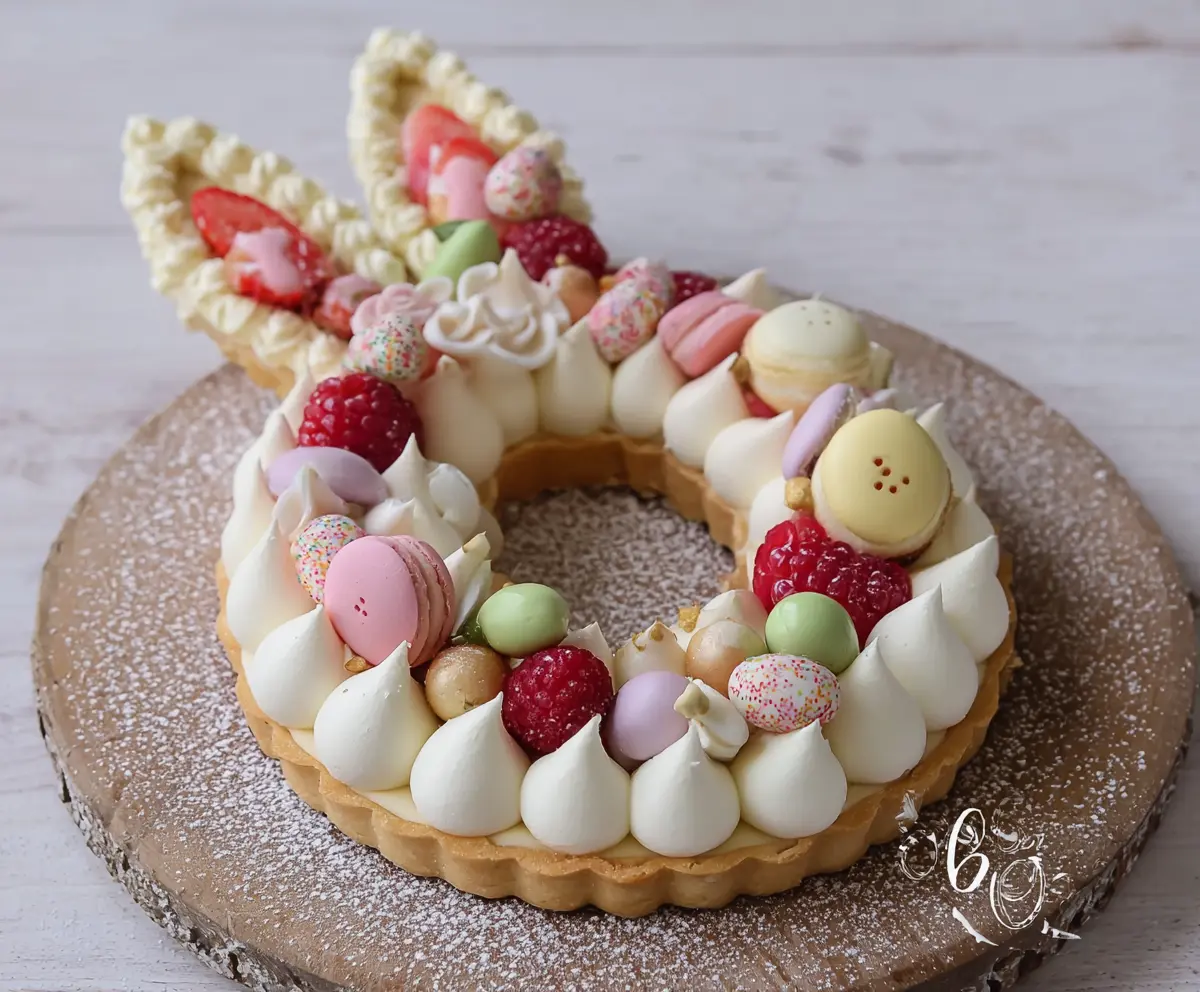
Now it’s time to create your tart masterpiece! Pipe alternating dollops of matcha and vanilla cream around the edge of the tart crust in a lovely circular pattern. Then, add fresh raspberries in between the dollops for a pop of color. Decorate with small white meringue kisses, marzipan carrots, and sugar-coated candies. Use mint leaves to garnish, giving it a fresh touch.
5. Create the Easter Bunny Face:
On one side of the tart, use the extra vanilla whipped cream to shape the bunny’s face. Pipe it in horizontal layers for a fluffy look. For ears, place two vanilla wafer cookies or similar on top. Jam small edible candies or nuts into the cream to create the eyes, nose, and whiskers, securing each piece firmly.
6. Final Touches:
If you’d like, dust the tart lightly with powdered sugar for a sweet finish. Chill the assembled tart in the refrigerator for at least 1 hour before serving so the creams can set. And there you have it—your beautiful and festive Easter Bunny Cream Tart is ready to enjoy!
Can I Use Different Flavors of Cream?
Absolutely! While matcha and vanilla are delightful, you can swap the matcha for other flavors like chocolate or coffee. Just ensure you adjust sweetness accordingly and use flavor extracts while whipping the cream.
How Do I Store Leftovers?
Store any leftovers in an airtight container in the fridge for up to 2 days. To maintain the best texture, cover it with plastic wrap to prevent the cream from drying out.
Can I Make the Tart Crust Ahead of Time?
Yes! You can prepare the tart crust a day in advance. Just bake and cool it completely, then wrap it tightly in plastic wrap and leave it at room temperature. Assemble the tart the next day for the freshest taste.
What Can I Use Instead of Meringue Kisses?
If you can’t find meringue kisses, try using mini marshmallows or whipped cream dollops as a cute alternative. They’ll still add a fun decorative touch to your tart!