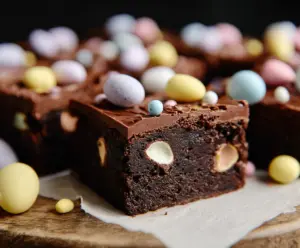
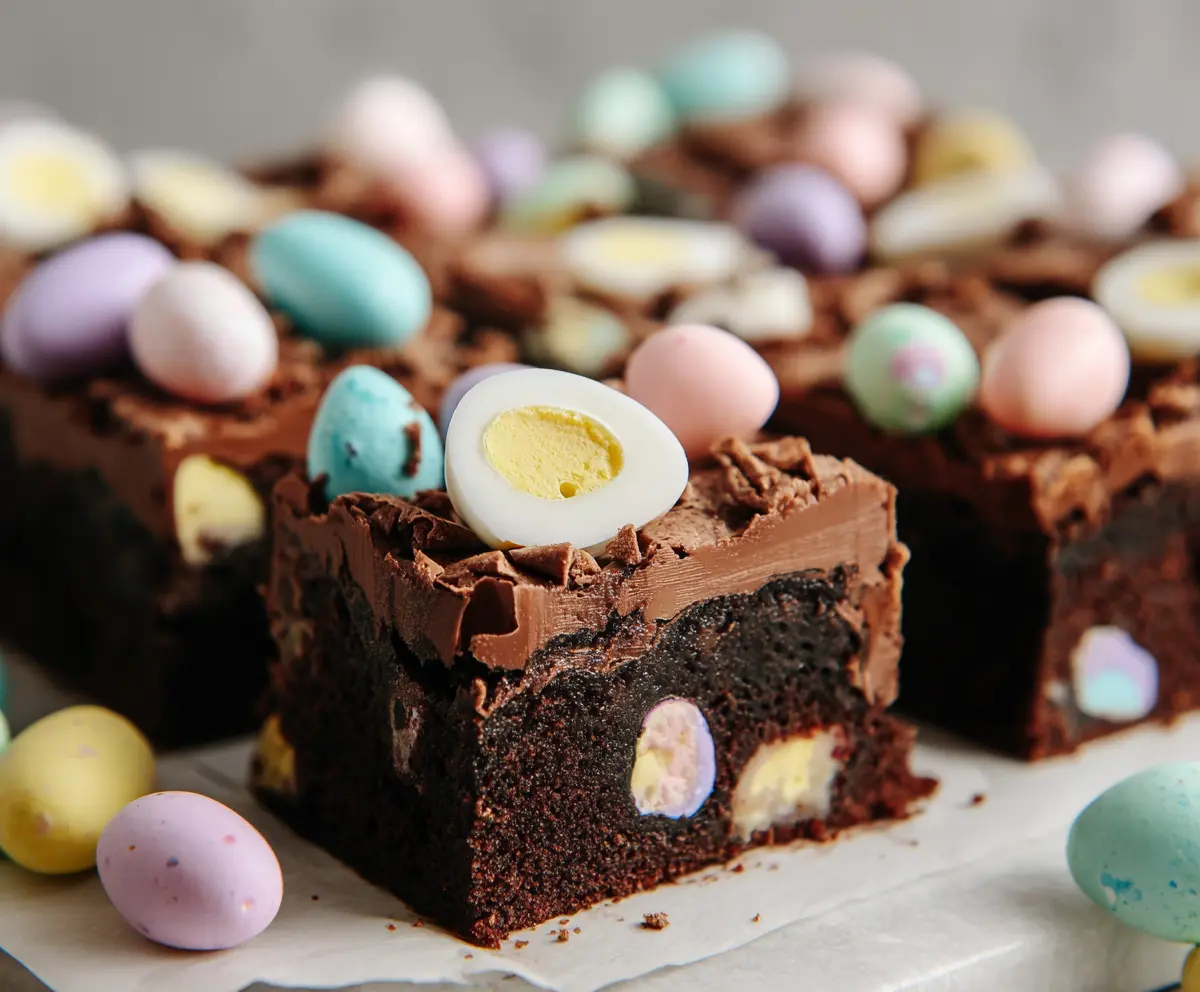
These Frosted Mini Egg Easter Brownies are a fun and sweet treat! Rich chocolate brownies are topped with creamy frosting and colorful Mini Eggs, making them perfect for spring celebrations.
Who can resist that crunchy candy shell? Every bite is like a mini party in your mouth! I love making these with family—it’s no surprise they disappear fast! 🎉
Key Ingredients & Substitutions
Unsalted Butter: This is key for richness. If you’re out of unsalted butter, you can use salted butter, just reduce the added salt a bit. You could also opt for coconut oil for a dairy-free version.
Granulated Sugar: Brown sugar can be a tasty alternative, giving your brownies a chewier texture. If you need a healthier option, try coconut sugar or a sweetener like honey, but be mindful of the moisture adjustments.
Eggs: If you’re vegan or allergic, use a flax egg (1 tbsp ground flaxseed + 3 tbsp water) or applesauce (1/4 cup per egg) instead. Just note it may change the texture slightly.
Cocoa Powder: It’s best to use unsweetened cocoa powder for the best chocolate flavor. In a pinch, Dutch-processed cocoa is fine but may alter the taste slightly.
Mini Chocolate Eggs: Cadbury eggs add fun and flavor, but you can use any chocolate-covered candy you like. For a healthier option, try chocolate-covered nuts.
How Can I Achieve the Perfect Brownie Texture?
Getting that delicious brownie texture is all about the mixing and baking time. You want a fudgy brownie with a bit of chew. Here’s how:
- Mix the butter and sugar until combined but don’t over-whisk. It’s okay if it’s slightly grainy.
- Add eggs one at a time, ensuring each one is fully mixed in before adding the next.
- When combining the dry and wet ingredients, fold gently to avoid overmixing. Overmixing can lead to tough brownies.
- Keep an eye on the baking time; start checking at 25 minutes. They should be set around the edges but slightly underbaked in the center for that gooey texture.
How to Make Frosted Mini Egg Easter Brownies
Ingredients You’ll Need:
For the Brownies:
- 1 cup (230g) unsalted butter
- 2 cups (400g) granulated sugar
- 4 large eggs
- 1 teaspoon vanilla extract
- 1 cup (125g) all-purpose flour
- 1 cup (85g) cocoa powder
- 1/2 teaspoon salt
- 1/2 teaspoon baking powder
- 1 cup (175g) mini chocolate eggs (like mini Cadbury Creme Eggs or similar), plus extra for decoration
For the Frosting:
- 6 oz (170g) semisweet or dark chocolate, chopped
- 1/4 cup (60ml) heavy cream or double cream
How Much Time Will You Need?
This delightful dessert requires about 15 minutes of prep time and 30-35 minutes to bake. Don’t forget to allow the brownies to cool completely and set before serving, which will take an additional 30 minutes. So, in total, you’ll invest about 1 hour and 15 minutes before enjoying your brownies!
Step-by-Step Instructions:
1. Prepping the Oven and Pan:
First, preheat your oven to 350°F (175°C). While the oven heats up, take a 9×9 inch (23×23 cm) square baking pan and line it with parchment paper. Make sure to leave some paper hanging over the edges—this will help you lift the brownies out later!
2. Melting the Butter:
In a medium saucepan over low heat, melt the butter completely. Once it’s melted, take it off the heat and stir in the granulated sugar until it’s well combined. This will give your brownies a nice sugary sweetness.
3. Adding Eggs and Vanilla:
Now, add the eggs to the butter and sugar mixture, one at a time. Mix well after each addition to ensure everything is nicely blended. Stir in the vanilla extract and give it a little mix.
4. Mixing Dry Ingredients:
In a separate bowl, sift together the all-purpose flour, cocoa powder, salt, and baking powder. Sifting helps to break up any clumps and makes for a smoother brownie mix!
5. Combining Wet and Dry Mixtures:
Gradually add the dry ingredients into the wet mixture, stirring until just combined. Be careful not to overmix; you want your brownies to be fudgy and delicious!
6. Adding Mini Chocolate Eggs:
Gently fold in the mini chocolate eggs, so they are evenly distributed throughout the batter. These little gems will add a fun surprise to each bite!
7. Pouring the Batter:
Pour your brownie batter into the prepared baking pan and spread it out evenly with a spatula. It’s looking good already!
8. Baking Time:
Now place the pan in the preheated oven and bake for 25-30 minutes. Keep an eye on them, and when a toothpick inserted near the center comes out with just a few moist crumbs, they’re done!
9. Cooling the Brownies:
Remove the brownies from the oven and let them cool completely in the pan on a wire rack. This cooling period is crucial for the best texture.
10. Making the Frosting:
While your brownies cool, let’s make the chocolate frosting! In a small saucepan, heat the heavy cream until it just starts to simmer. Pour the hot cream over the chopped chocolate in a bowl and let it sit for 2 minutes without stirring.
11. Mixing the Frosting:
After 2 minutes, stir the mixture until it’s smooth and glossy. Allow it to cool a bit until it thickens but remains spreadable.
12. Frosting the Brownies:
Once your brownies are completely cool, spread the prepared chocolate frosting evenly over the top. Look at that shine!
13. Decorating:
Now it’s time for a little fun—immediately decorate the frosted brownies with more mini chocolate eggs on top. Press them lightly into the frosting so they stick.
14. Setting the Frosting:
Let the frosting set for about 30 minutes before you slice the brownies into squares. This helps the frosting firm up a bit.
15. Serve and Enjoy!
Once your brownies are set, it’s time to dig in! Serve them up, and enjoy every delicious, festive bite of your Frosted Mini Egg Easter Brownies!
Can I Use Different Chocolate Eggs?
Absolutely! While mini Cadbury Creme Eggs are a popular choice, you can use any chocolate-covered candy you like, such as malted milk balls or even chocolate-covered nuts for a different twist.
How Should I Store Leftover Brownies?
Store any leftover brownies in an airtight container at room temperature for up to 3 days. If you need to keep them longer, they can be refrigerated for up to a week or frozen for up to 3 months. Just make sure to thaw them completely before enjoying!
What if I Don’t Have Heavy Cream for the Frosting?
If you don’t have heavy cream on hand, you can substitute it with half-and-half or whole milk, but the frosting may be a bit thinner. For a dairy-free option, try using coconut cream or a dairy-free heavy cream alternative.
Can I Make the Brownies Gluten-Free?
Yes! Simply substitute the all-purpose flour with a 1:1 gluten-free flour blend. Look for a blend that contains xanthan gum for the best texture.