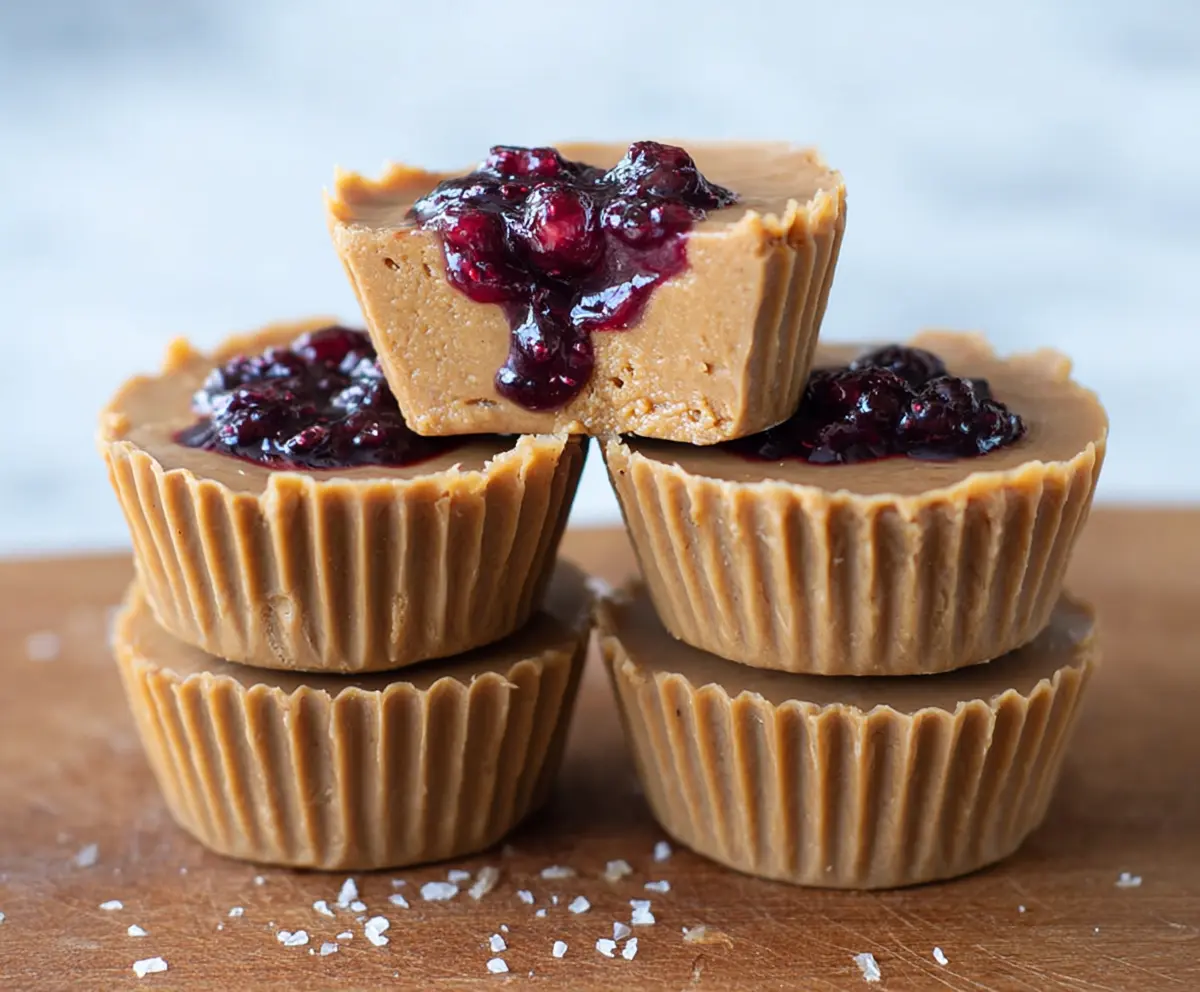
These Healthy Peanut Butter and Jelly Cups are a fun twist on the classic treat! With creamy peanut butter and sweet jelly, they’re simple to make and oh-so-tasty.
Let’s be real, who doesn’t love a good PB&J? These little cups are perfect for snacking or dessert, and they make me feel a bit like a kid again. I love packing them for lunch! 🥜🍇
Key Ingredients & Substitutions
Peanut Butter: Opt for natural creamy peanut butter with no added sugars. It gives a rich flavor while keeping things healthy. If you’re allergic, try almond butter or sunflower seed butter for similar creaminess.
Coconut Oil: This helps solidify the cups. If you don’t like coconut oil, you can use melted unsalted butter or even ghee. Just note that the flavor may change slightly.
Maple Syrup or Honey: These add a touch of sweetness. If you’re looking for a lower sugar option, you could use stevia or monk fruit sweetener, adjusting to taste as these can be sweeter than syrup.
Berry Jelly: For a healthier option, go for sugar-free jelly or low-sugar preserves. You could also make your own by simmering fresh berries and sweetening them lightly. If you want a different flavor, try using almond butter with raspberry jam!
How Do I Get the Perfect Layering in My Cups?
Layering is key to these cups looking great and tasting delicious. Here’s how you can achieve perfect layers:
- Start with a clean bowl for mixing. Make sure the peanut butter mixture is smooth for easy layering.
- When spooning the first layer, aim for an even spread at the bottom. A small offset spatula can help
- Add the jelly gently; too much can ooze out or mix into the peanut butter.
- Smooth the top layer with a little care to ensure it covers the jelly completely. Tap the mold lightly on the counter to settle everything.
- Chill the cups fully! This helps the layers to stay defined and firm up nicely.
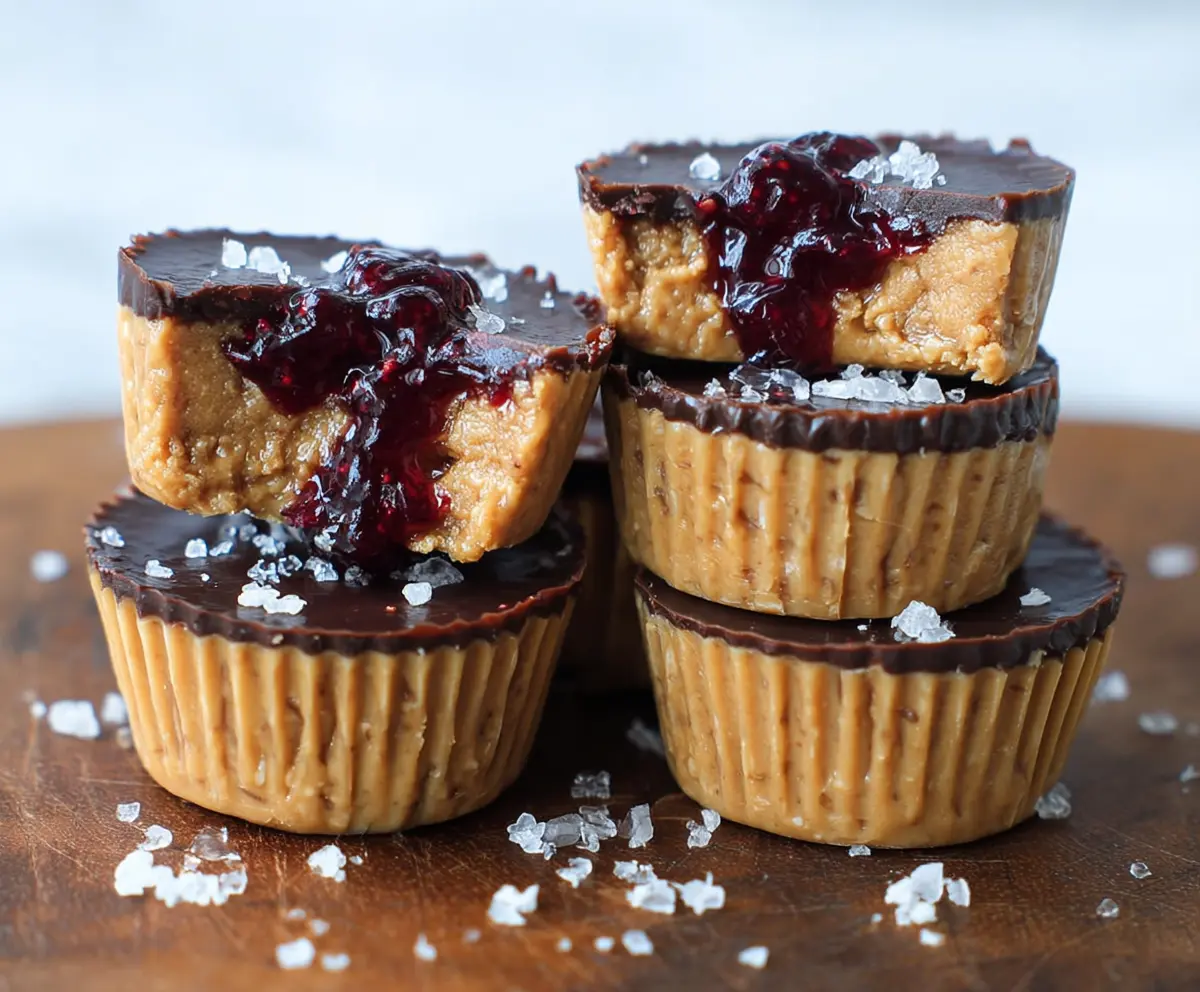
With these tips, you’ll have beautifully layered peanut butter and jelly cups that are not only tasty but visually appealing!
Healthy Peanut Butter And Jelly Cups
Ingredients You’ll Need:
- 1 cup natural creamy peanut butter (no added sugar or salt)
- 1/4 cup coconut oil, melted
- 2-3 tablespoons maple syrup or honey (optional for sweetness)
- 1/2 teaspoon vanilla extract
- Pinch of sea salt
- 1/3 cup sugar-free or low-sugar berry jelly or preserve (such as black currant or raspberry)
How Much Time Will You Need?
This recipe will take about 10 minutes of prep time, plus at least 1 hour to chill in the refrigerator or freezer. So, overall, you’re looking at around 1 hour and 10 minutes total to enjoy these delicious cups!
Step-by-Step Instructions:
1. Mix the Peanut Butter Mixture:
In a medium bowl, combine the creamy peanut butter, melted coconut oil, maple syrup (if using), vanilla extract, and a pinch of sea salt. Stir with a spoon or spatula until everything is smooth and blended well together. This will be the base for your cups!
2. Prepare Your Molds:
Grab a muffin tin or silicone mold and either line it with paper liners or give it a light spray with cooking oil. This will make it easier to remove the cups later!
3. Create the First Layer:
Scoop about one tablespoon of the peanut butter mixture into each cup. Use the back of the spoon or your fingers to spread it flat and evenly across the bottom of each cup. Let’s get that base ready!
4. Add the Jelly Layer:
Next, take about half a teaspoon of your berry jelly and gently drop it on top of the peanut butter layer in each cup. Try to keep it in the center as much as possible so it doesn’t overflow when you add the top layer.
5. Seal It Up:
Now, scoop another tablespoon of the peanut butter mixture and carefully place it on top of the jelly in each cup. Smooth out the surface with a spoon to ensure it evenly covers the jelly and edges.
6. Chill Out:
Pop the muffin tin into the refrigerator or freezer for at least 1 hour. This helps the cups firm up and makes them easier to handle when you’re ready to eat!
7. Serve and Enjoy:
Once they’re set, gently pull the cups out of the liners and serve them chilled. If you have leftovers, store them in an airtight container in the fridge, and they should last for about a week.
These Healthy Peanut Butter and Jelly Cups are quick to make, and you’ll love the combination of creamy and sweet flavors. Enjoy your tasty, nutritious treats!
Can I Use Different Nut Butters?
Absolutely! You can substitute the peanut butter with almond butter, cashew butter, or sunflower seed butter if you’re looking for alternative flavors or have a nut allergy. Just ensure the nut butter is creamy to maintain the right texture.
How Do I Make These Vegan?
To make these cups vegan, simply use maple syrup instead of honey, and ensure your jelly is also free of animal products. Most store-bought jellies are vegan, but it’s always good to check the label!
How Long Can I Store These Peanut Butter and Jelly Cups?
You can store them in an airtight container in the fridge for up to a week. If you want to keep them longer, they can also be frozen! Just thaw them in the fridge before enjoying.
Can I Add Extras Like Nuts or Seeds?
Definitely! Feel free to mix in some chopped nuts, seeds, or even chocolate chips into the peanut butter layer for added texture and flavor. Just remember to keep the proportions balanced so they set well!