
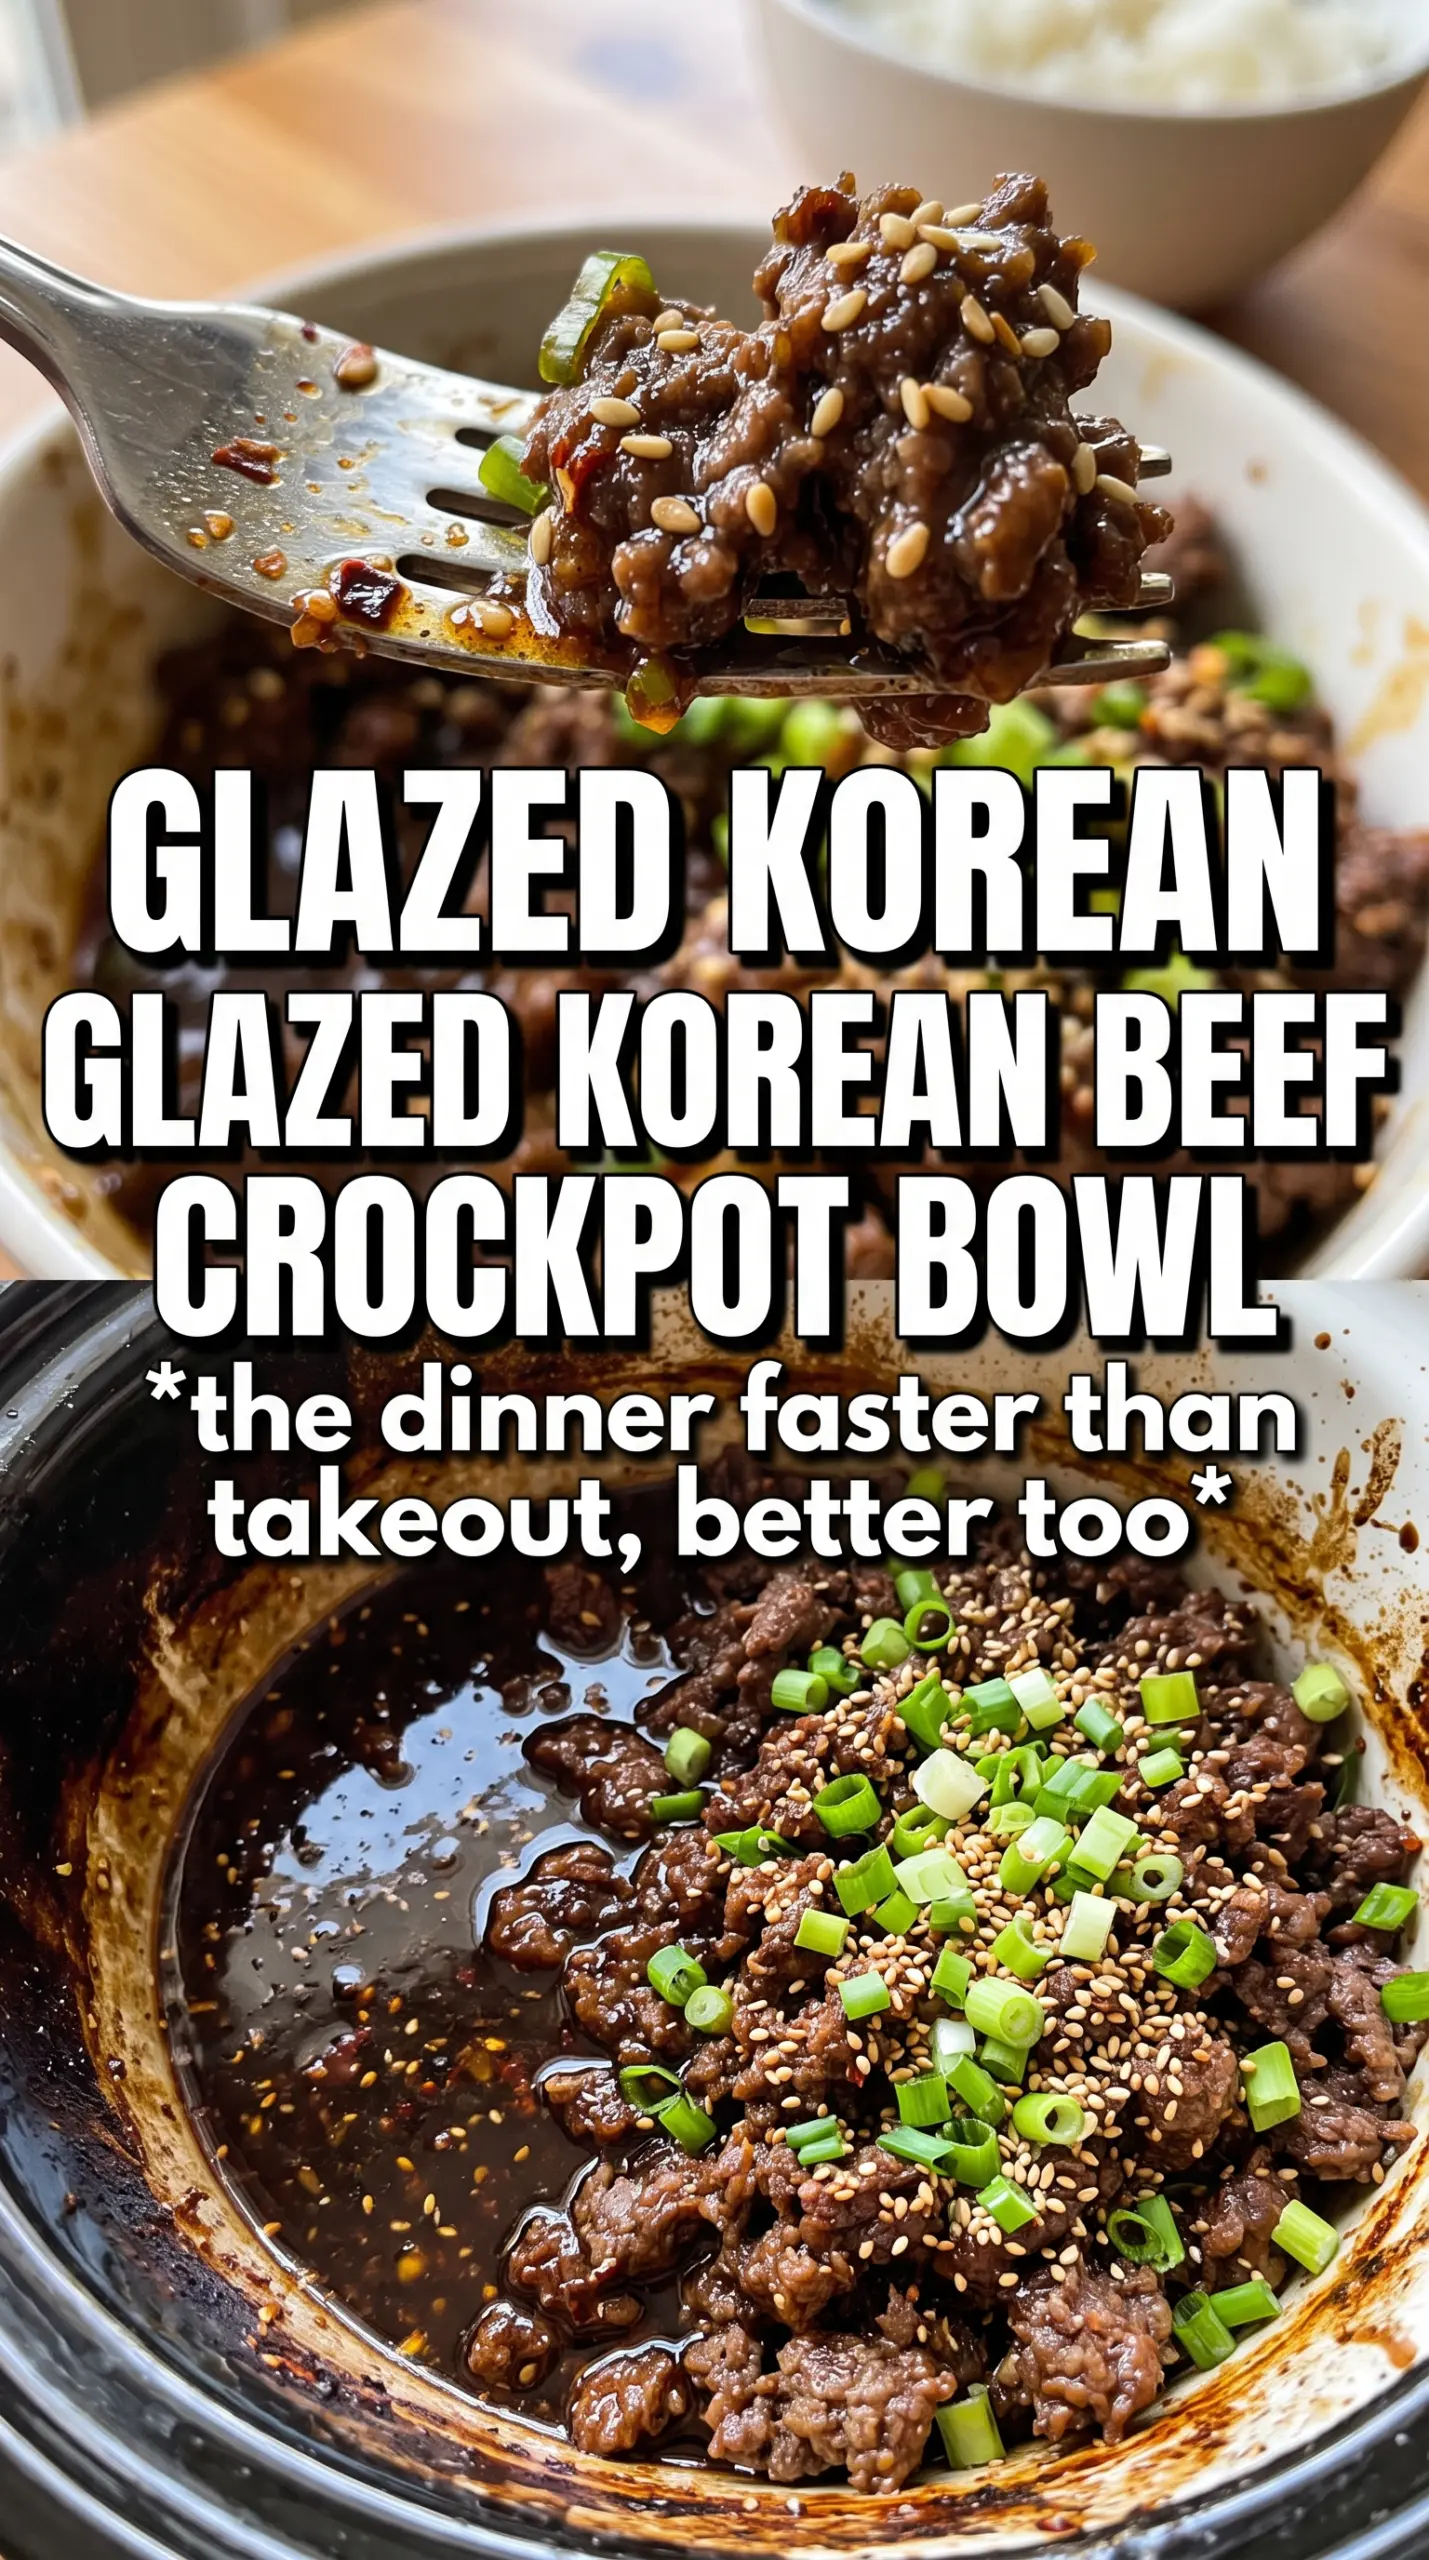
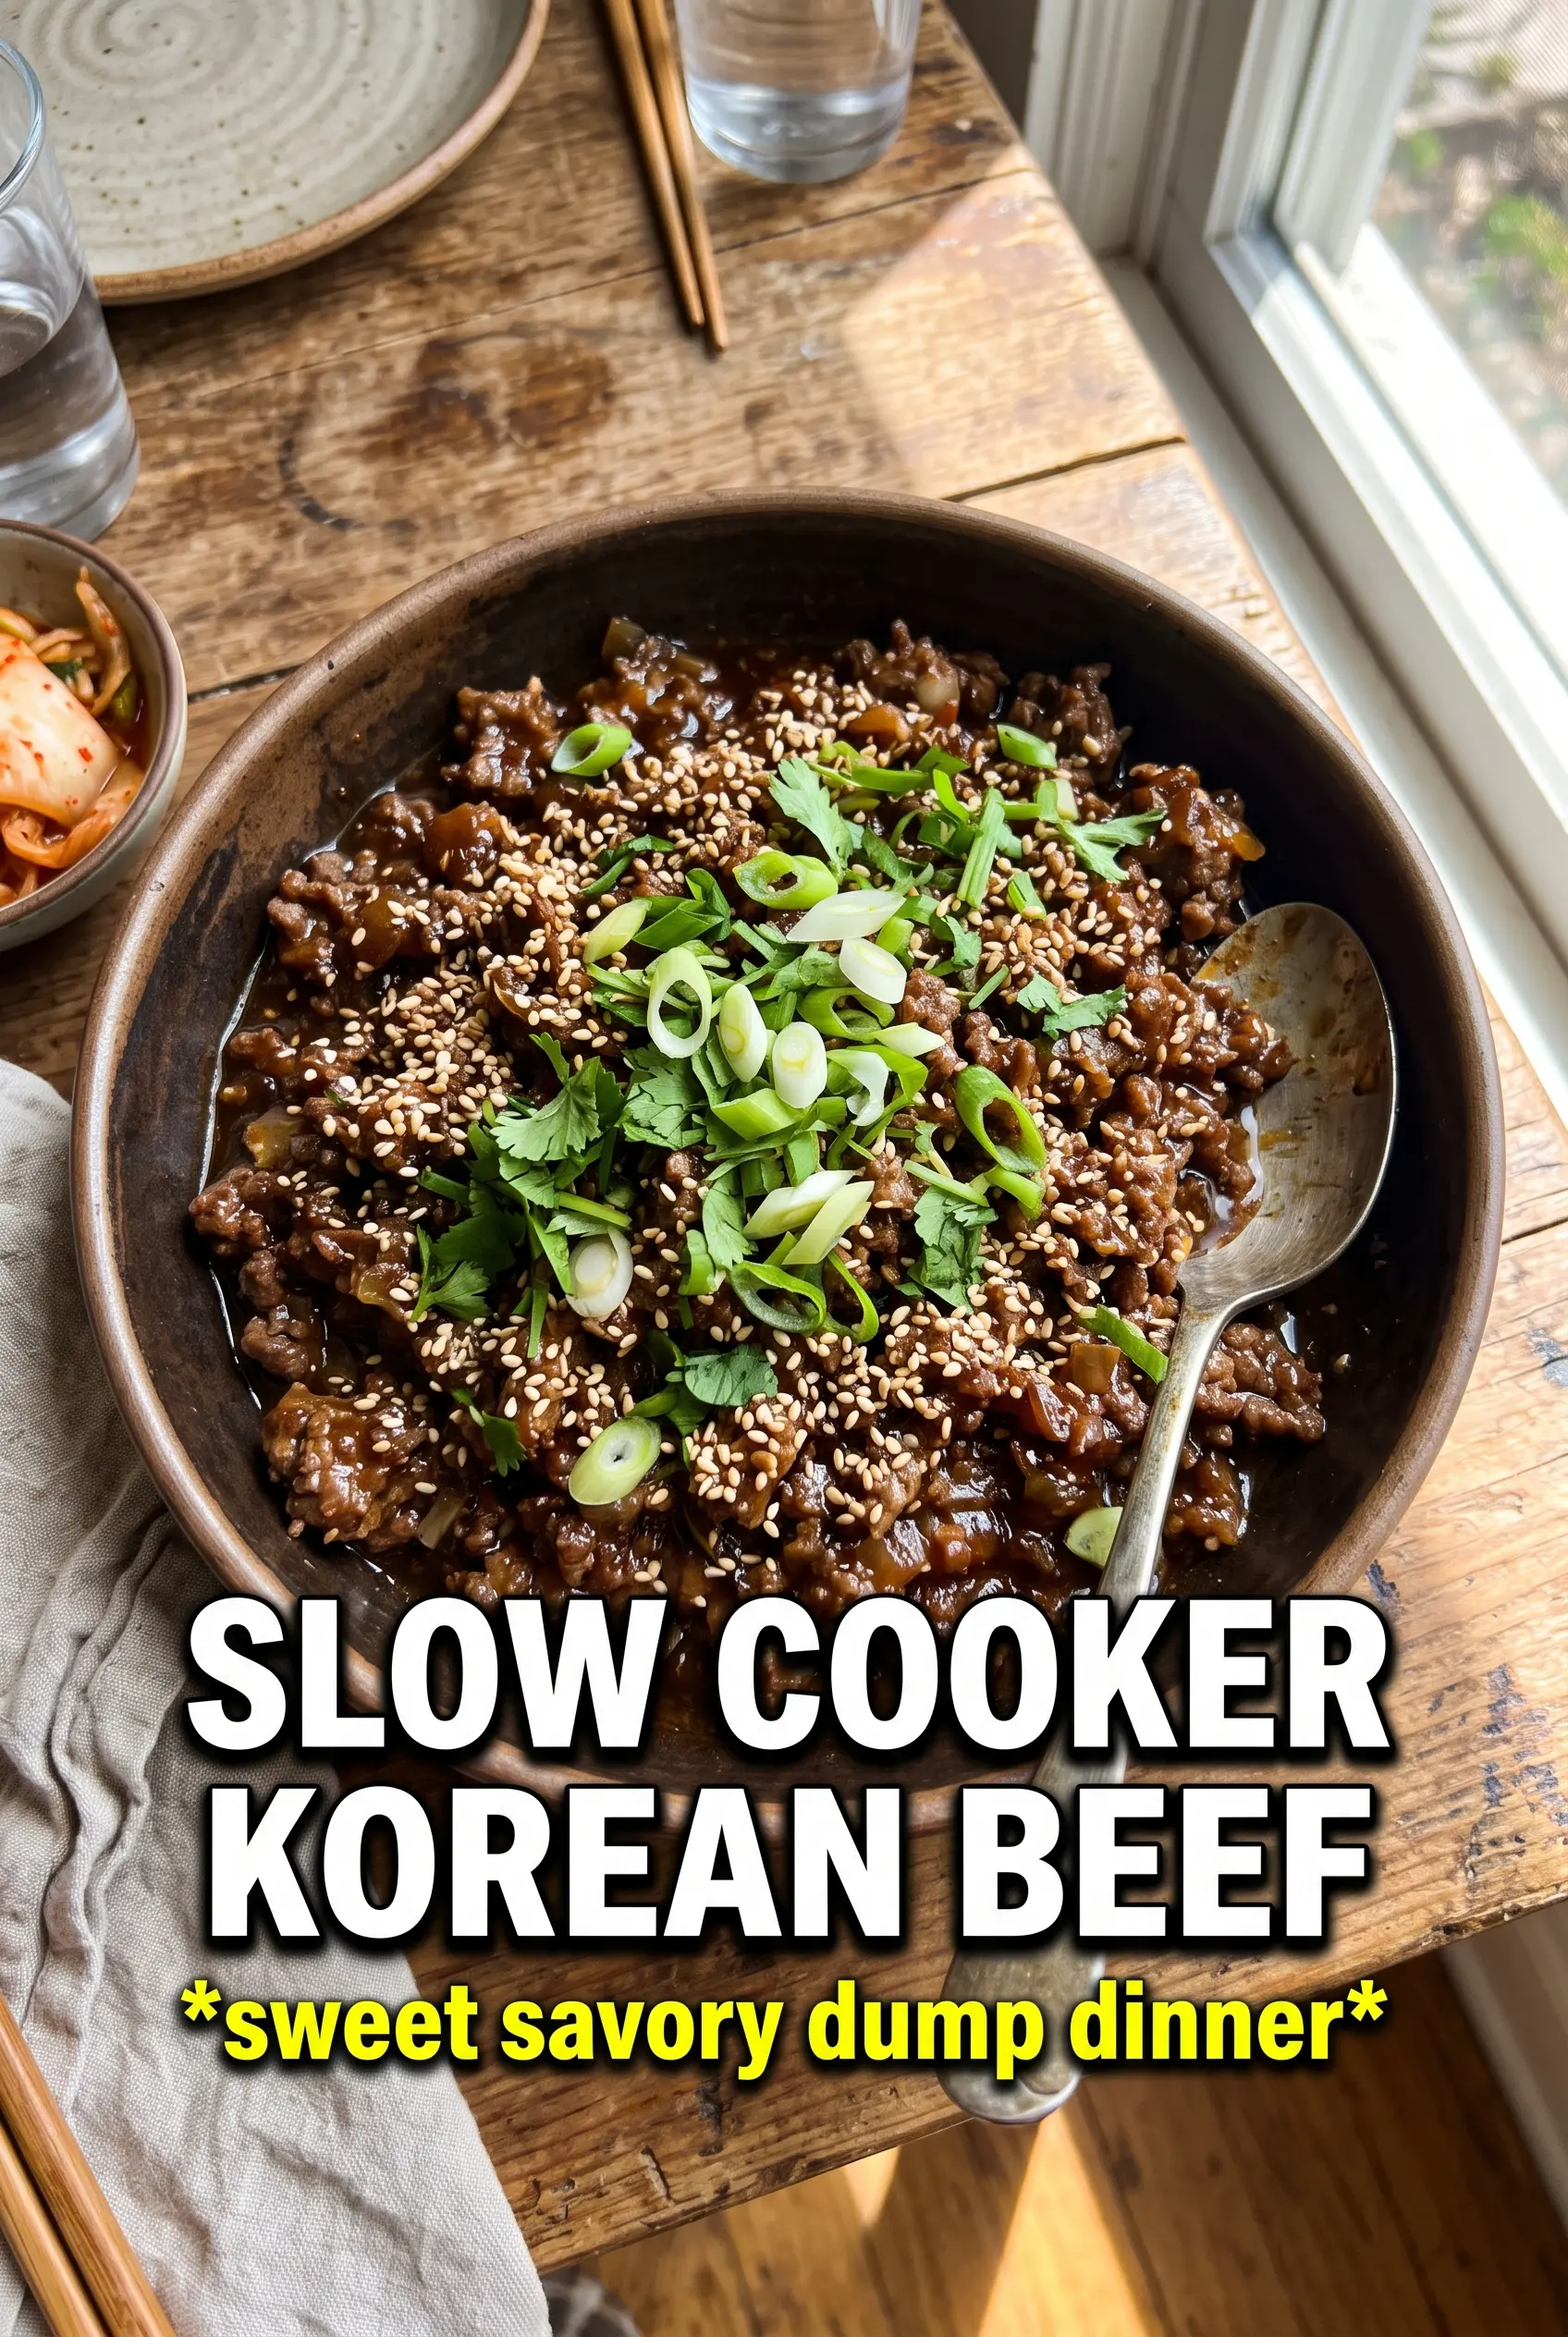
Slow Cooker Korean Beef turns out tender, saucy, and deeply savory with barely any hands-on work. The beef gets long, gentle heat until it shreds easily, then it goes back into a glossy soy-garlic sauce that clings to every bite instead of pooling at the bottom of the bowl. Served over hot rice with green onions and sesame seeds, it hits that sweet-salty-spicy balance people keep going back for.
The part that makes this version work is the order. The beef cooks in the sauce from the start, which keeps the meat moist and seasons it all the way through. After shredding, the cornstarch slurry goes in at the end so the sauce thickens cleanly instead of turning cloudy or grainy. That last step matters more than people think; if you try to cook the sauce down from the beginning, the beef can go dry before the liquid gets where you want it.
You’ll find a note below on the cut of beef, why the sauce needs a quick finish on high, and a few easy ways to adjust the heat or make it gluten-free without losing what makes the dish work.
The beef came out fall-apart tender and the sauce thickened up exactly like it should. I served it over jasmine rice and my husband went back for seconds before I even sat down.
Save this Slow Cooker Korean Beef for the nights when you want sticky-saucy beef over rice with almost no effort.
The Reason the Sauce Stays Glossy Instead of Watery
The most common mistake with slow cooker beef is trying to thicken the sauce too early. In a covered cooker, the liquid doesn’t reduce the way it does on the stovetop, so if you want that clingy finish, you need a separate thickening step after the meat is tender. That’s why the cornstarch slurry goes in only after the beef is shredded; the starch can activate quickly without overcooking the meat.
The other key point is the beef cut. Chuck roast has enough connective tissue to turn silky over time, which is why it works better here than a lean cut. Flank steak can work too, but it needs to be sliced against the grain and watched closely so it doesn’t go stringy. If you use something leaner than chuck, the result will be firmer and less lush, even if the flavor is still good.
- Chuck roast — This is the best choice for the richest, most tender result. It breaks down during the long cook and shreds instead of drying out.
- Flank steak — A workable swap if that’s what you have. It cooks faster and can get chewy if you let it go too long, so start checking early.
- Sesame oil — This adds the nutty finish that makes the sauce taste like more than just sweet soy. A little goes a long way, so use the real thing here.
- Cornstarch — This is what turns the braising liquid into a proper glaze. Flour won’t give you the same clean sheen or quick thickening.
What Each Ingredient Is Actually Doing in This Recipe
- Primary ingredient (the star) — Quality matters most. Choose the best you can find.
- Cooking medium (oil, butter, or broth) — This carries flavors and prevents dryness.
- Seasonings (salt, pepper, spices, herbs) — Layer flavors so nothing overpowers. Build depth gradually.
- Aromatics (garlic, onion, herbs) — Cook with fat to bloom flavors. Become the foundation.
- Supporting ingredients — Complement the main ingredient without overpowering it.
- Sauce or liquid (if applicable) — Brings flavors together. Balance richness with acid.
- Acid (lemon, vinegar, wine, or other) — Brightens and prevents flat-tasting results.
- Final finish (garnish, glaze, or sauce) — Prevents one-dimensional taste and adds visual appeal.
Building the Beef So It Shreds Cleanly
Whisking the Sauce First
Mix the soy sauce, brown sugar, sesame oil, garlic, ginger, red pepper flakes, and black pepper before it ever hits the slow cooker. That keeps the sugar from sitting in a pile at the bottom and helps the garlic and ginger distribute evenly. If the sugar clumps, break it up with the whisk before pouring so the sauce cooks into a smooth base instead of a grainy one.
Letting the Slow Cooker Do the Work
Once the beef is in and coated, cook it low and slow until it gives up easily to a fork. The meat should look darker, glossy, and almost relaxed when it’s ready. If you rush this stage, the center stays tight and shredding turns into chopping. The beef is done when it pulls apart without resistance, not when the timer says it should be.
Thickening at the End
Remove the beef before adding the cornstarch slurry so the sauce can thicken without the meat getting overworked. Stir the slurry in, turn the cooker to high, and give it about 15 minutes until the sauce looks shiny and lightly coats a spoon. Put the shredded beef back in and toss it well so every piece gets lacquered. That final toss is what makes the dish feel finished instead of just braised.
What to Change When You Want It Sweeter, Spicier, or Gluten-Free
Make it gluten-free
Use a gluten-free soy sauce or tamari in place of regular soy sauce. The flavor stays close, but tamari usually tastes a little rounder and less sharp. Keep the rest of the recipe the same.
Turn up the heat
Add another half teaspoon of red pepper flakes or finish each bowl with sriracha. The heat in the slow cooker mellows as it cooks, so the final dish is less spicy than the raw sauce tastes.
Use flank steak instead of chuck
Flank steak gives you a slightly leaner, less rich result, but it still works. Cut it into larger pieces so it doesn’t disappear during cooking, and start checking it a little earlier than chuck because it goes from tender to dry faster.
Storage and Reheating
- Refrigerator: Store in an airtight container for up to 4 days. The sauce may thicken more as it chills, which is normal.
- Freezer: Freezes well for up to 3 months. Cool completely first, then pack the beef and sauce together so the meat stays moist when thawed.
- Reheating: Warm gently on the stovetop or in the microwave with a splash of water if needed. Reheat only until hot; if you boil it hard, the beef can tighten up and the sauce can get sticky in the wrong way.
Answers to the Questions Worth Asking
Slow Cooker Korean Beef
Ingredients
Equipment
Method
- Place the beef pieces into the slow cooker, spreading them into an even layer so they cook through consistently.
- Whisk together soy sauce, brown sugar, sesame oil, garlic, ginger, red pepper flakes, and black pepper until the sugar looks dissolved and the mixture is glossy.
- Pour the sauce over the beef, ensuring most pieces are covered.
- Cook on low for 6–7 hours or high for 3–4 hours until the beef is very tender and shreds easily when pressed with a fork.
- Remove the beef and shred it with two forks into bite-size strands.
- Whisk cornstarch and cold water together, then stir the slurry into the sauce in the slow cooker.
- Cook on high for 15 minutes, stirring once, until the sauce is visibly thicker and coats the back of a spoon.
- Return the shredded beef to the sauce and toss until every strand looks evenly coated.
- Serve the Korean beef over cooked white rice so the sauce can pool slightly at the bottom.
- Top with sliced green onions, sesame seeds, and a drizzle of sriracha if using.


