
Glossy cranberry sauce packed into half-pint jars has a way of making the whole pantry feel more useful. The berries stay bright, the texture lands somewhere between spoonable and set, and the orange lifts the sharp cranberry edge without turning the batch heavy or dull. This version keeps the fruit whole enough to look beautiful in the jar, but it still cooks down into a sauce that clings to a spoon instead of running like syrup.
The balance matters here. Sugar isn’t just for sweetness; it helps the cranberries break down into a jammy consistency and gives the finished sauce enough body to hold up after processing. Bottled lemon juice is nonnegotiable for safe canning, and the orange juice plus zest give the sauce a cleaner, rounder flavor than plain water ever could. If you’ve only made cranberry sauce for the table, this canned version is worth knowing because it keeps its color and texture well on the shelf.
Below, I’ll walk through the small details that matter most for canning success: hot jars, proper headspace, and the pause after processing that helps the seals settle cleanly. There’s also a note on altitude adjustments and how to store the finished jars so they stay in good shape for months.
The orange zest and juice made this taste fresh instead of one-note, and the sauce set up beautifully in the jars after cooling overnight. I got 12 perfect half-pints and every lid sealed.
Save this canned cranberry sauce for your holiday pantry shelves and those last-minute dinners that need a bright, ready-to-serve side.
The Part That Keeps the Cranberries From Turning to Jam
Cranberry sauce for canning lives or dies on texture. Cook it long enough for the berries to burst and the liquid to thicken, but stop before it turns into a stiff jam in the pot. The sauce tightens more as it cools and then tightens again after processing, so if it looks a little looser than you expect on the stove, that’s usually the right place to stop.
The other thing that matters is heat management. A hard boil at the beginning dissolves the sugar cleanly, but once the cranberries go in, you want a gentle boil that keeps the sauce moving without scorching the fruit on the bottom. If the berries sit still and stick, the batch can pick up a cooked, bitter edge before the jars are even filled.
What the Cranberries, Citrus, and Acid Are Doing Here
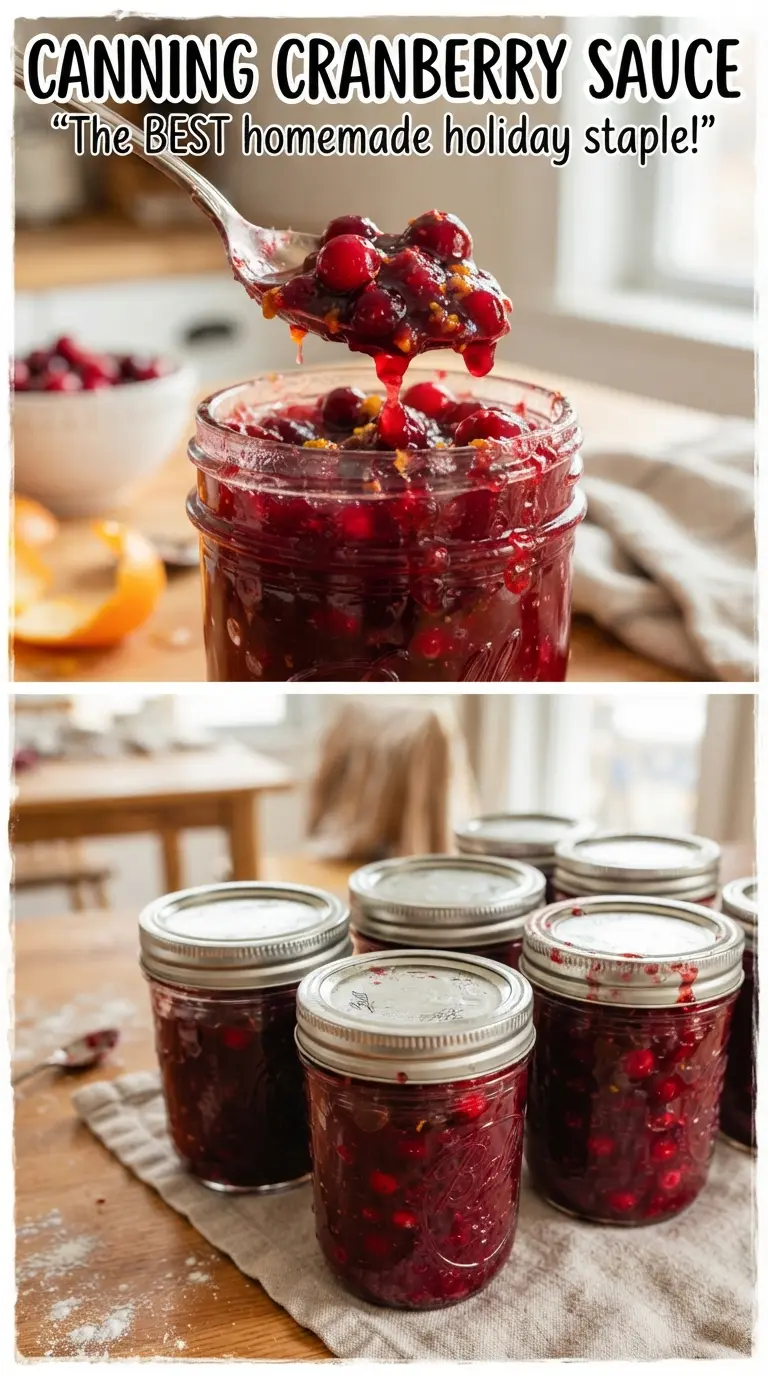
- Fresh cranberries — These bring the body and the color. Fresh berries hold their shape long enough to give the sauce that classic whole-berry look, then split and thicken the liquid as they cook. Frozen cranberries work in a pinch without thawing, but the sauce may need a minute or two longer to come back to a steady boil.
- Sugar — This isn’t just sweetness; it balances the acidity and helps the sauce set with a smoother, fuller texture. Cutting it much lower changes both the flavor and the safety balance, so don’t treat this like a fresh stovetop cranberry relish.
- Orange juice and zest — The juice softens the sharpness of the cranberries, while the zest carries the strongest orange aroma. Bottled juice can be used, but fresh zest makes the biggest difference in the finished jar. Add the zest at the end so it stays bright instead of turning dull and bitter.
- Bottled lemon juice — Use bottled, not fresh-squeezed, because the acidity is consistent and that matters for safe water bath canning. It doesn’t make the sauce taste lemony; it supports the proper pH and sharpens the fruit flavor just enough to keep the jars tasting lively.
Getting the Jars Filled Before the Sauce Cools Down
Heating the Sugar Syrup First
Start with the sugar, water, and orange juice in a large pot and bring it to a full boil while stirring until the sugar disappears. You’re not trying to cook it down yet; you’re building a clean base so the berries can break into a smooth, even sauce instead of sitting in gritty syrup. If the sugar is still audible on the spoon, keep stirring a little longer before adding the fruit.
Cooking the Berries to the Right Thickness
Add the cranberries and bottled lemon juice, then keep the pot at a gentle boil for 10 to 12 minutes. You’ll hear the berries start to pop, and the sauce will shift from thin and foamy to glossy and slightly thickened. Don’t chase a fully finished texture in the pot, because this sauce sets up more as it cools and after the jars are processed.
Finishing, Jarring, and Processing
Stir in the orange zest off the heat so the citrus stays fresh and vivid. Ladle the hot sauce into hot half-pint jars, leaving 1/4-inch headspace, then wipe the rims clean before putting on the lids and bands fingertip tight. Process the jars in a boiling water bath for 15 minutes, adjusting for altitude, then let them rest in the canner for 5 minutes before moving them to a towel-lined counter. Leave them alone for 24 hours; if you rush that part, you can break a good seal before it sets.
How to Adapt the Batch Without Losing the Set
Lower-Sugar Cranberry Sauce
You can reduce the sugar a little, but don’t slash it aggressively. Sugar supports texture and balances the cranberry pucker, so a lower-sugar version will taste sharper and may finish looser. If you want a less sweet jar, trim a modest amount and expect a brighter, less jammy result.
Frozen Cranberries Instead of Fresh
Frozen cranberries work well straight from the freezer. They may drop the boil for a minute, so give the pot time to come back up before you start counting the simmering time. The texture ends up almost the same, and this is the easiest swap when fresh berries aren’t in season.
Vegan and Gluten-Free by Nature
This recipe already fits both of those needs as written, which is one reason it’s such a reliable pantry staple. The only thing to watch is the canning process itself: use proper jars, new lids, and the full boiling water bath so the finished sauce stores safely.
Storage and Reheating
- Refrigerator: Once opened, keep a jar refrigerated and use it within 2 to 3 weeks. The texture stays spoonable and glossy.
- Freezer: Unsealed finished sauce can be frozen in freezer-safe containers, but canned jars are best left on the pantry shelf. Don’t freeze a sealed jar.
- Reheating: Warm opened sauce gently in a small saucepan over low heat or use it cold from the jar. If it seems loose after chilling, give it a stir before serving instead of boiling it hard, which can make the fruit break down too much.
Answers to the Questions Worth Asking
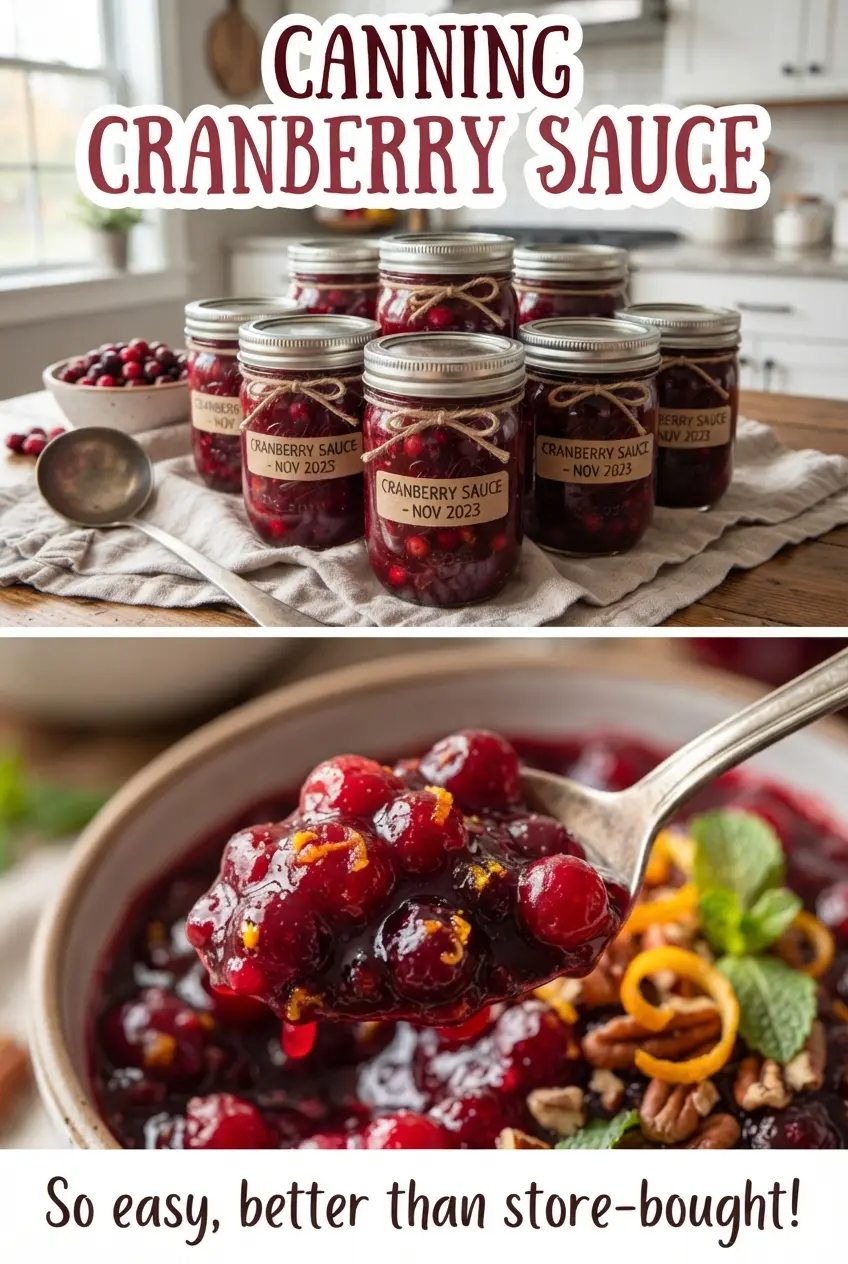
Canning Cranberry Sauce
Ingredients
Equipment
Method
- Wash 12 half-pint jars, lids, and bands, and keep the jars hot by simmering them in water until ready to fill. Visual cue: jars should stay hot and not feel cool when touched with a gloved hand.
- Bring sugar, water, and orange juice to a boil in a large pot, stirring until the sugar dissolves completely. Visual cue: a full rolling boil that continues when you stir.
- Add cranberries and bottled lemon juice, then boil gently for 10-12 minutes, stirring occasionally, until berries burst and the sauce thickens. Visual cue: cranberries visibly split open and the mixture coats the spoon.
- Stir in orange zest and keep the sauce hot on the stove while you fill the jars. Visual cue: the zest disperses and you can see flecks throughout the glossy sauce.
- Ladle hot sauce into the hot jars, leaving 1/4-inch headspace, then wipe the rims clean. Visual cue: headspace should be consistent and rims must look free of sauce for proper sealing.
- Apply lids and bands and tighten fingertip tight. Visual cue: lids are snug but not overtightened.
- Process jars in a boiling water bath canner for 15 minutes, adjusting processing time for altitude. Visual cue: water remains at a steady boil throughout the processing window.
- Turn off the heat, rest jars in the canner for 5 minutes, then lift them out. Visual cue: jars settle without wobbling and remain upright as you remove them.
- Cool jars undisturbed for 24 hours at room temperature. Visual cue: lids should not move when pressed and jars should be completely cool.
- Check that lids have sealed, then store sealed jars in a cool, dark place for up to 1 year. Visual cue: sealed lids stay concave and do not pop up and down.


