
Warm cinnamon fried apples land somewhere between dessert and side dish, which is exactly why they stay in rotation. The apples soften just enough to turn tender at the edges while still holding their shape, and the syrup turns glossy instead of watery or thin. Served hot from the skillet, they bring a buttery brown sugar sauce that coats every slice without sliding off the spoon.
The key is starting with firm apples and cooking them covered long enough to steam and soften before the cornstarch goes in. That keeps the fruit from breaking down into applesauce. A little nutmeg deepens the cinnamon, and the final splash of vanilla rounds out the sauce right at the end, when the heat has done its job and it just needs a finishing note.
Below you’ll find the timing that keeps the apples tender, the ingredient choices that matter most, and a few smart ways to serve or adapt them depending on what you’ve got on hand.
The sauce thickened up beautifully and the apples stayed tender but not mushy. I used Granny Smith, and that little tang with the cinnamon brown sugar was perfect over biscuits.
Save these cinnamon fried apples for the nights when you want a glossy skillet side with tender apples and a buttery brown sugar sauce.
The Trick to Keeping Fried Apples Tender, Not Mushy
The mistake most people make is cooking apples uncovered from the start and waiting for the sauce to thicken later. By then, the fruit has already started breaking apart. Covering the skillet early traps enough steam to soften the slices evenly, which means the apples finish tender instead of collapsed.
The other thing that matters is choosing apples with structure. Honeycrisp gives you a sweeter, rounder result, while Granny Smith holds its shape and brings a sharper bite that cuts through the brown sugar. If you use a softer apple, the sauce may look fine, but the fruit loses its texture fast and the whole pan turns flat.
What the Butter, Cornstarch, and Vanilla Are Really Doing
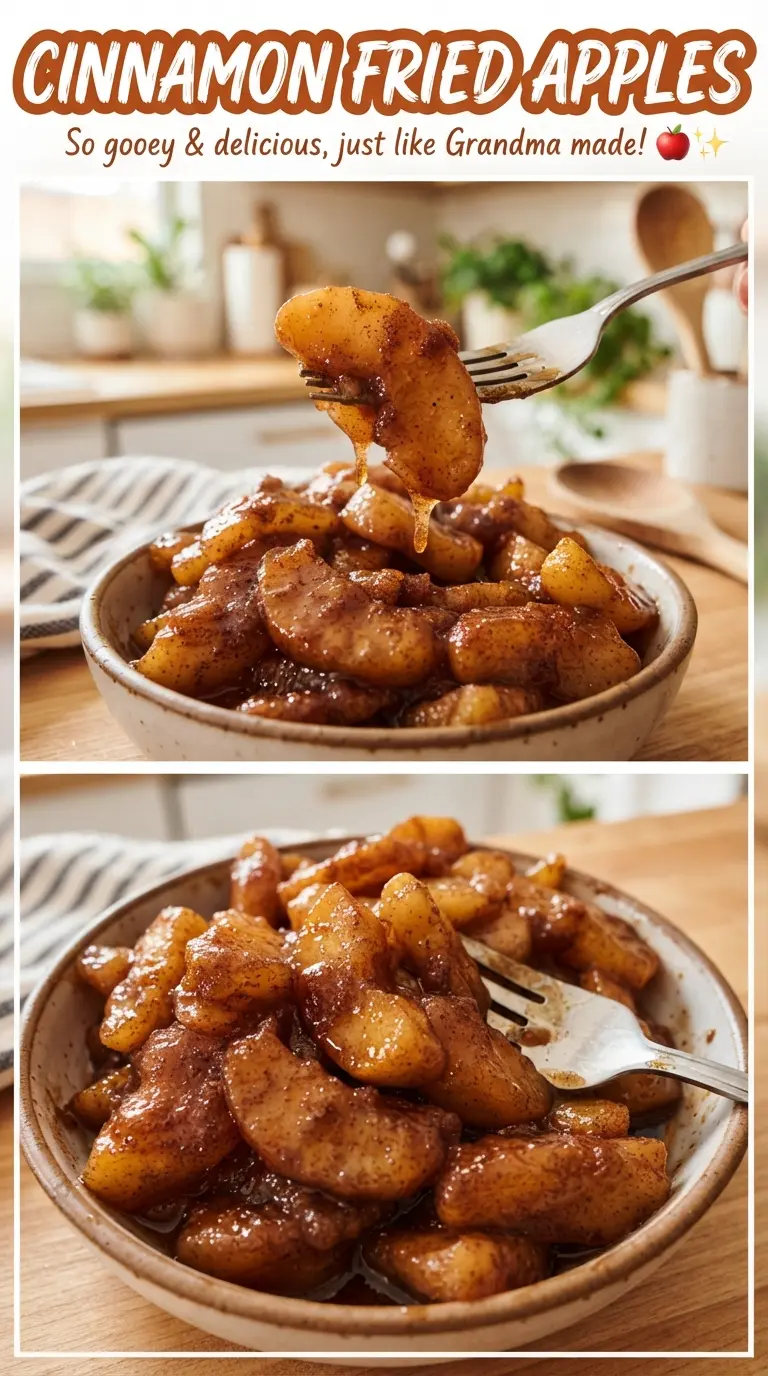
- Apples — Firm apples are the backbone here. Honeycrisp gives a softer, sweeter finish, while Granny Smith stays firmer and a little tart. Use what you like to eat out of hand, but avoid anything mealy or overly soft.
- Butter — This carries the cinnamon and brown sugar and gives the sauce its round, rich base. There isn’t a good substitute if you want the same flavor, though a good plant-based butter works in a pinch for dairy-free cooking.
- Brown sugar — This melts into the butter and creates the syrup. Packed brown sugar matters because the moisture content helps the sauce come together quickly.
- Cornstarch — This is what turns the pan juices into a glossy sauce instead of a thin syrup. Whisk it with cold water first; if you dump it straight into the hot pan, it clumps.
- Vanilla — Add it at the end so it stays fragrant. If it cooks too long, the flavor gets muted and you lose the warm finish that makes the sauce taste complete.
Building the Sauce in the Skillet, Not After It
Coating the Apples
Melt the butter over medium heat, then add the apple slices with the brown sugar, cinnamon, nutmeg, and salt. Stir until every piece is coated and the sugar starts to look wet and grainy around the apples. This is the moment where the flavor starts building, so keep the heat moderate; if the butter browns too fast, the sugar can scorch before the apples release enough moisture.
Softening Under a Lid
Cover the skillet and let the apples cook for 8 to 10 minutes, stirring now and then. The lid traps steam, which softens the apples without requiring extra liquid. You’re looking for slices that bend slightly when nudged but still keep their shape. If the pan looks dry before the apples are tender, lower the heat rather than adding more water right away.
Thickening to a Gloss
Whisk the cornstarch with the water until completely smooth, then pour it into the skillet and stir right away. Simmer for 2 to 3 minutes until the sauce turns shiny and clings to the apples. If it still looks cloudy or loose, it just needs another minute; don’t crank the heat, because high heat can make the sauce tighten unevenly or turn gummy.
Finishing with Vanilla
Stir in the vanilla after the skillet comes off the hottest part of the burner. That preserves the aroma and keeps the sauce tasting warm instead of cooked-out. Serve the apples while they’re still steaming, when the sauce is at its glossiest and the fruit is at its best texture.
Three Ways to Bend This Recipe Without Breaking It
Dairy-Free Skillet Apples
Swap the butter for a plant-based butter with a solid fat content, not margarine from a tub. The sauce will still coat the apples and taste rich, though it won’t have quite the same rounded dairy finish. Choose one that browns and melts predictably so the sugar doesn’t separate in the pan.
Less Sweet, More Tart
Use all Granny Smith apples and reduce the brown sugar by a couple of tablespoons. The result is sharper and less candy-like, which works well if you’re serving the apples with pork, biscuits, or a rich breakfast plate. The sauce will still thicken the same way, but the flavor leans more toward classic baked apples than dessert topping.
Gluten-Free and Naturally Thickened
This recipe is already gluten-free as written, which makes it an easy side dish or topping for a mixed table. Keep the cornstarch exactly as written, since it gives you that glossy finish without flour’s slightly cloudy look. If you need a slightly thicker sauce, let it simmer an extra minute instead of adding more starch.
Turning It into a Dessert Topping
Cook the apples until they’re just a touch softer and add an extra splash of vanilla at the end. That makes the syrup feel a little more dessert-forward and less like a straight side dish. Spoon it over ice cream, pound cake, or waffles while the sauce is still warm so it settles into the crevices instead of sitting on top.
Storage and Reheating
- Refrigerator: Store in an airtight container for up to 4 days. The sauce thickens as it chills, and the apples soften a little more.
- Freezer: It freezes, but the apples lose some texture after thawing. If you need to freeze it, cool completely and pack it flat in a freezer-safe container for up to 2 months.
- Reheating: Warm gently in a skillet over low heat with a splash of water to loosen the sauce. High heat can make the syrup tighten too fast and push the apples past tender.
Questions I Get Asked About This Recipe
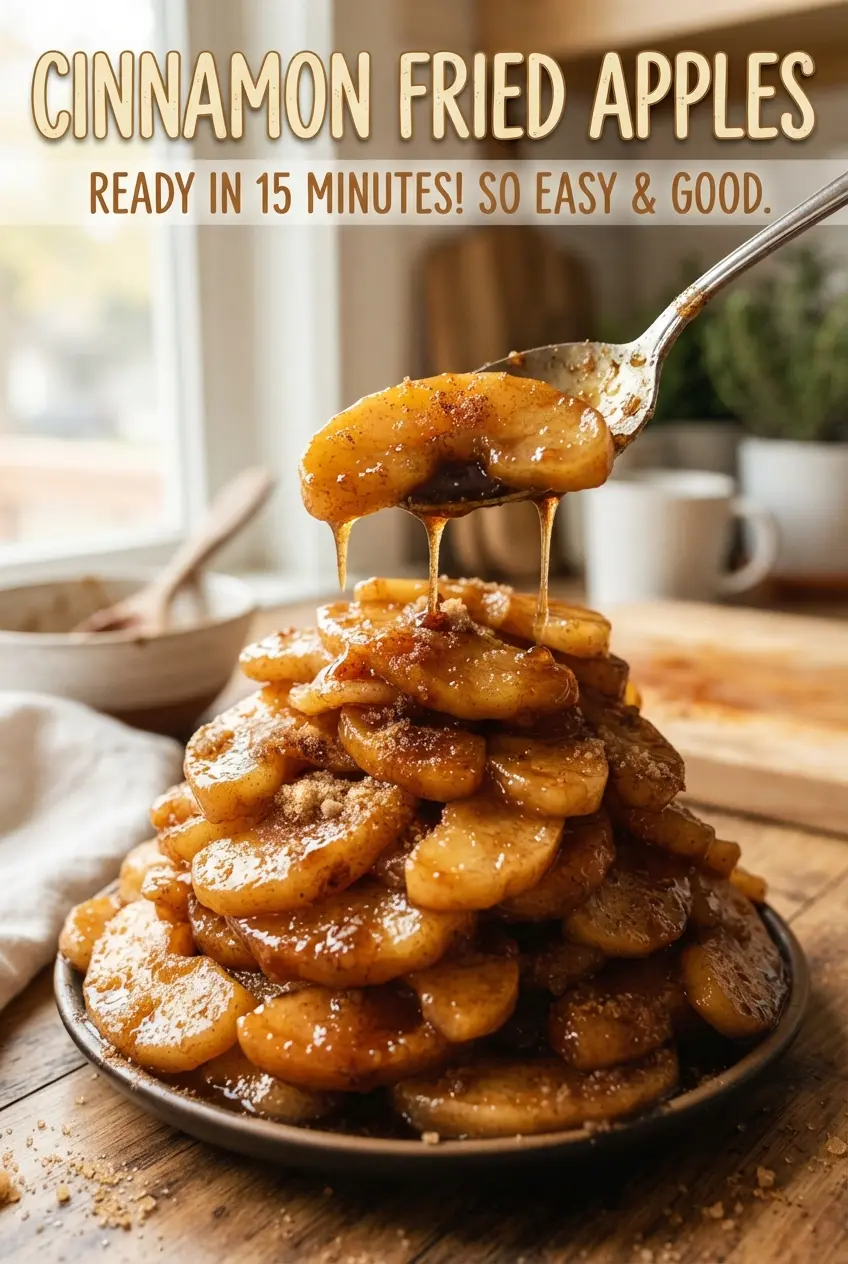
Cinnamon Fried Apples
Ingredients
Equipment
Method
- Melt the butter in a large skillet over medium heat until it looks foamy and just starting to sizzle.
- Add the apples, brown sugar, ground cinnamon, nutmeg, and salt, then stir to fully coat the slices with spice syrup.
- Cover and cook for 8-10 minutes over medium heat, stirring occasionally, until the apples are just tender and you can pierce them with a fork.
- Whisk the cornstarch with the water until smooth, then pour it into the skillet while stirring.
- Simmer for 2-3 minutes until the sauce thickens and turns glossy, coating the spoon in a light sheen.
- Stir in the vanilla extract and serve warm.


