
Smothered green beans turn a plain pantry vegetable into a side dish people actually go back for. The beans come out tender and coated in a glossy brown sugar butter glaze, with bacon and onion tucked through every bite. What makes this version worth making is the balance: enough sweetness to cling to the beans, enough salt from the bacon and soy sauce to keep it from tasting flat, and just enough oven time to let everything meld without turning mushy.
The trick is starting with drained canned green beans and letting them bake covered in the sauce, rather than trying to reduce everything on the stovetop. That keeps the beans from breaking down too far while the bacon drippings and butter-brown sugar mixture melt into one rich, spoonable sauce. The onion softens in the skillet first, so it disappears into the background and leaves behind sweetness instead of sharp bite.
Below you’ll find the timing cue that keeps the sauce glossy instead of greasy, plus a few smart swaps if you need to work with what’s already in the pantry.
The sauce coated every bean instead of pooling watery at the bottom, and the bacon stayed crisp enough to give each bite a little texture. I served it with pork chops and there wasn’t a spoonful left.
Save these smothered green beans for the kind of dinner where you want glossy bacon-studded beans with a brown sugar butter sauce.
The Secret to Keeping Canned Green Beans from Going Mushy
Canned green beans need a lighter hand than fresh ones. They’re already cooked, so the goal here isn’t tenderness from scratch — it’s keeping them intact while they absorb the sauce. Draining them well matters because extra liquid in the baking dish dilutes the brown sugar butter mixture and leaves you with a thinner, less clingy glaze.
The other thing that helps is baking them covered. The foil traps steam just long enough to warm everything through and pull the flavors together, but not so long that the beans collapse. Stir once near the end, not constantly, so the beans stay whole and the bacon stays distributed instead of sinking.
- Draining the beans keeps the final sauce glossy instead of watery.
- Foil coverage lets the flavors meld without drying out the top.
- One gentle stir is enough to coat everything without breaking the beans.
What the Bacon, Brown Sugar, and Soy Sauce Are Doing Here
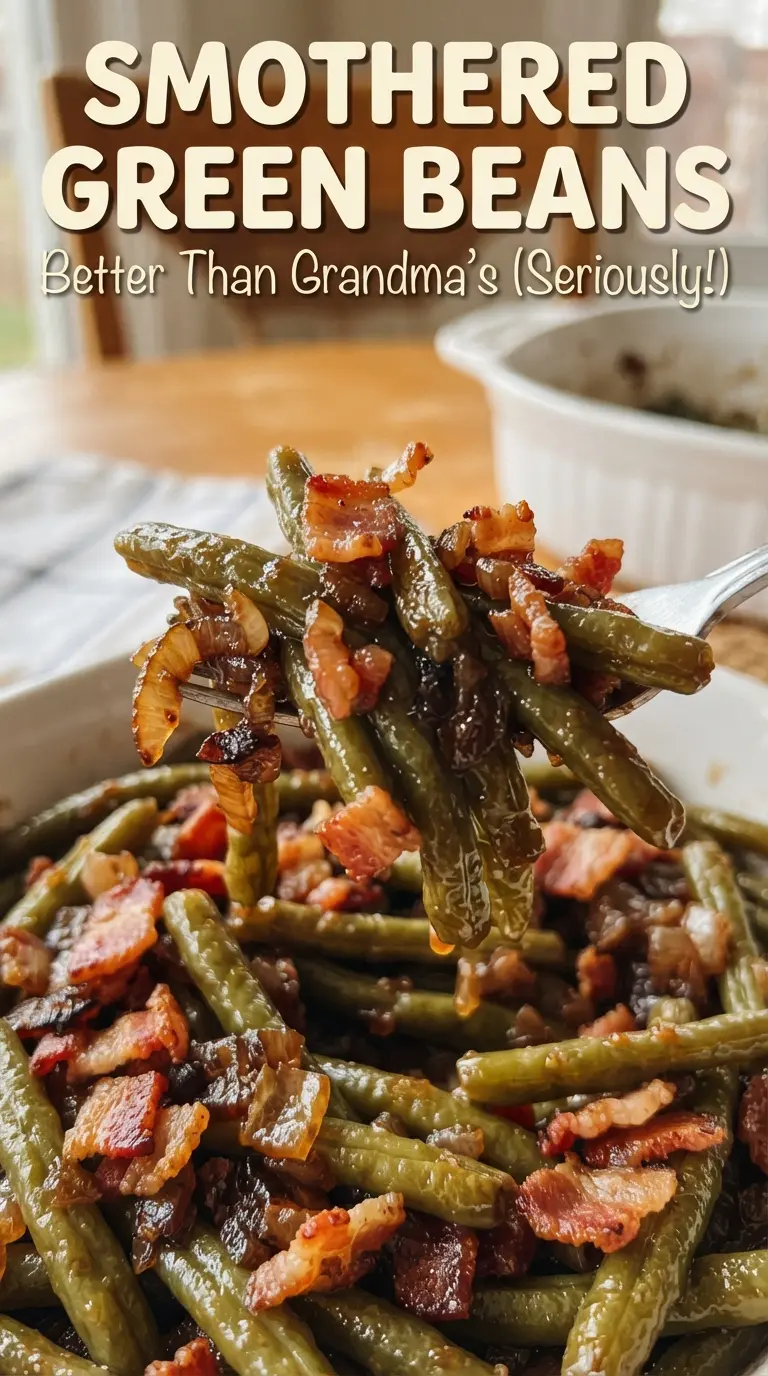
- Bacon gives the dish its smoky backbone and brings the drippings that season the whole pan. Thick-cut bacon works, but regular sliced bacon crisps faster and mixes more evenly through the beans.
- Brown sugar is what makes the sauce sticky enough to coat the beans instead of slipping off. Packed brown sugar gives you the right density; loose sugar makes the sauce thinner.
- Butter helps the sauce emulsify in the oven. Melted butter is important here because it mixes cleanly with the sugar and soy sauce before it goes into the baking dish.
- Soy sauce keeps the sweetness in check and deepens the color. It doesn’t make the beans taste Asian or salty in a bad way — it just gives the glaze a rounder, fuller finish.
Building the Sauce So It Stays Glossy in the Oven
Cooking the Bacon and Onion Together
Start the bacon and onion in the same skillet so the onion softens in the bacon fat instead of steaming in plain oil. You want the bacon mostly crisp, not fully rigid, because it will finish in the oven and stay tender enough to eat easily. If there’s a lot of grease in the skillet, keep it all — that’s part of the seasoning. The onion should look translucent and lightly golden at the edges before you move on.
Mixing the Glaze Before It Hits the Beans
Whisk the brown sugar, melted butter, soy sauce, garlic powder, and black pepper until the mixture looks smooth and loose. If the butter is too hot, it can separate a little at first, but that sorts itself out once it bakes with the beans. Pour it over the top of the beans after the bacon and onion are in place so the sauce runs down through the layers instead of sitting in one puddle.
Baking Until the Sauce Clings
Covered baking is what turns this from mixed ingredients into a smothered side dish. After 35 to 40 minutes, the sauce should look shiny and lightly thickened around the edges, not bubbling aggressively. Stir once during the bake to move the top layer to the bottom, then let it finish undisturbed so the glaze can settle onto the beans. If it looks greasy, it usually needs a few more minutes for the butter and sugar to come together.
How to Adjust These Green Beans for Different Tables
Use fresh or frozen green beans
Fresh or frozen beans give you a firmer bite, but they need more time than the canned version. Blanch fresh beans first or thaw frozen beans before baking so the dish doesn’t turn watery while it cooks. The result is less soft and a little more vegetable-forward, which some people prefer.
Make it dairy-free
Swap the butter for a dairy-free butter substitute that melts smoothly. You’ll still get the sweet-savory glaze, though the sauce will taste a little less rich and round than it does with real butter. Choose a substitute with a neutral flavor so it doesn’t fight the bacon.
Cut the sweetness back
If you want a more savory side, reduce the brown sugar to 1/4 cup. The sauce will still coat the beans, but it’ll lean more smoky and less sticky-sweet. Don’t cut the butter with it, or the glaze loses the body that makes it cling.
Storage and Reheating
- Refrigerator: Store in an airtight container for up to 4 days. The sauce will thicken as it chills.
- Freezer: It freezes, but the beans soften more after thawing. Freeze in a tight container for up to 2 months if you don’t mind a softer texture.
- Reheating: Warm covered in a 325F oven or in a skillet over low heat until hot. High heat can split the butter in the sauce and make the beans look greasy.
Answers to the Questions Worth Asking
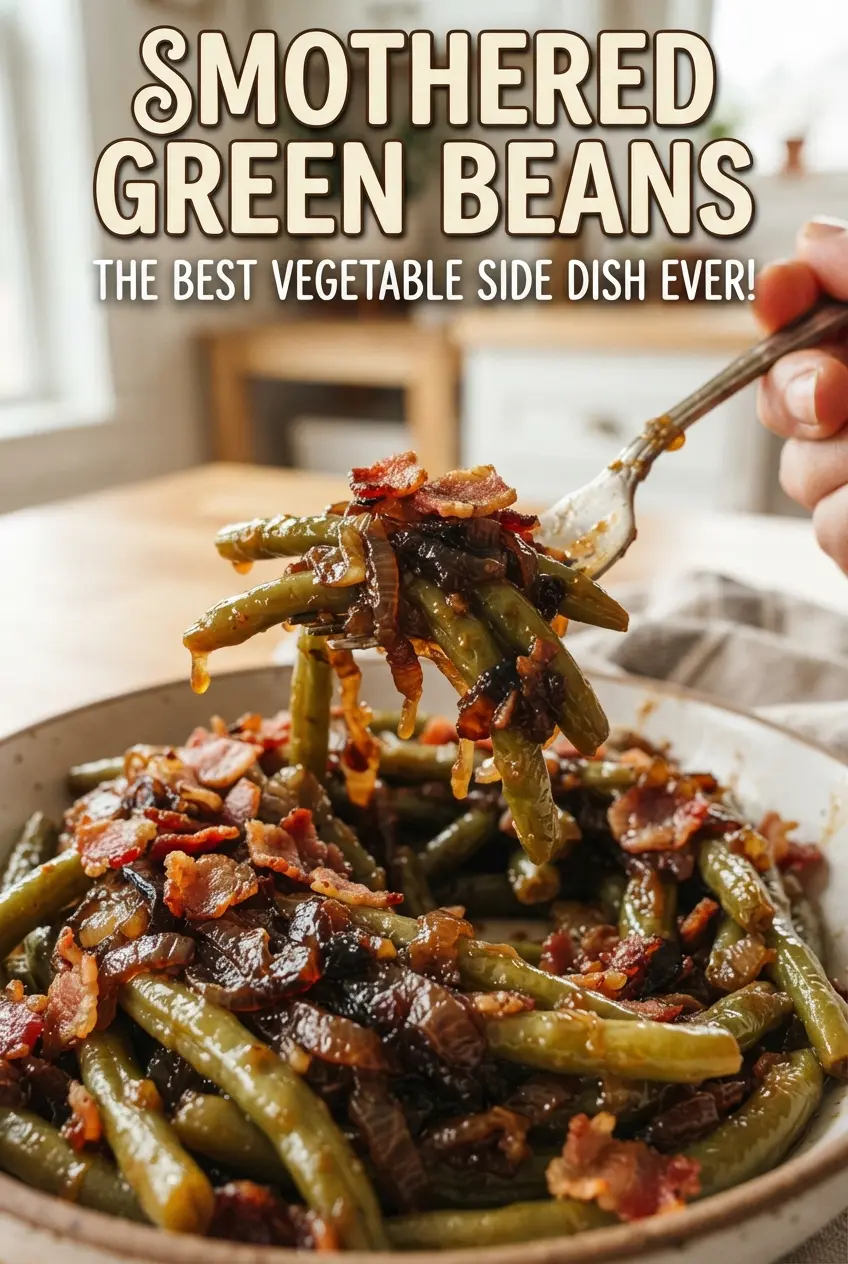
Smothered Green Beans
Ingredients
Equipment
Method
- Preheat the oven to 350F and position a rack in the middle for even baking.
- Cook the chopped bacon and diced onion in a skillet for 8 minutes until the bacon is mostly crisp, and do not drain the drippings.
- Place the drained green beans in a 9x13-inch baking dish and top with the bacon, onion, and all skillet drippings.
- Whisk the packed brown sugar, melted butter, soy sauce, garlic powder, and black pepper until combined, then pour it over the beans.
- Cover with foil and bake at 350F for 35-40 minutes, stirring once during baking until the sauce is glossy.
- Stir and serve warm so the beans stay coated in the glossy sauce.


