
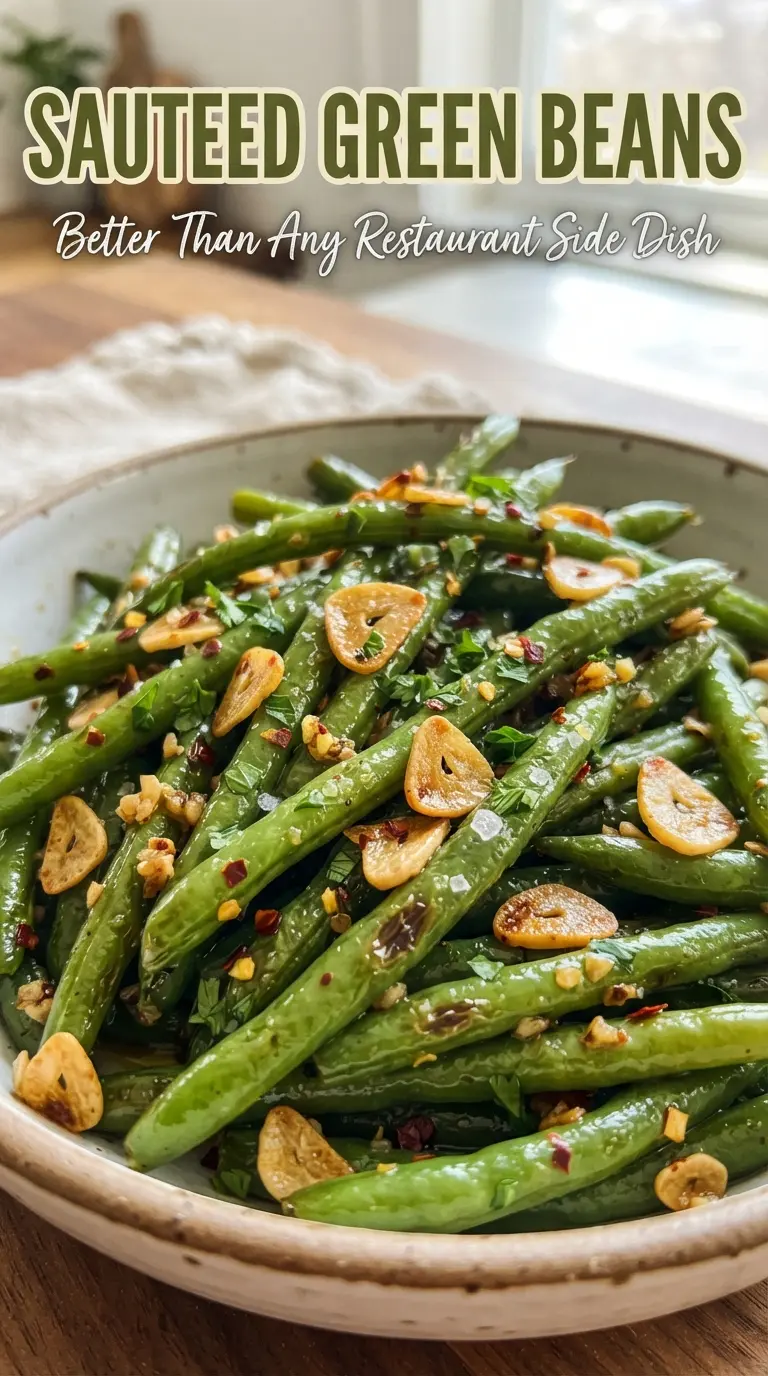
Bright, blistered sauteed green beans with golden garlic and lemon are the kind of side dish that disappears fast, even next to the main event. The beans stay crisp-tender with a little char on the edges, then get glossed with butter, garlic, and a hit of lemon that wakes everything up. Toasted almonds add the last bit of crunch, which keeps the whole dish from feeling soft or one-note.
The trick is getting the green beans into the skillet before the garlic goes in. That gives them time to blister properly instead of steaming under a pile of aromatics. Butter comes later, once the heat drops a little, so the garlic turns fragrant and golden instead of bitter. A quick squeeze of lemon at the end cuts through the richness and keeps the flavor clean.
Below, I’ve included the timing cues that matter most, plus a few smart swaps if you need to work with what’s already in your kitchen. Once you’ve made these a couple of times, the order becomes second nature.
The beans stayed crisp with those little browned spots, and the garlic turned sweet instead of burnt because I waited to add it until the end. My husband kept picking out the almonds first.
Like these sauteed green beans? Save them to Pinterest for a bright, garlicky side with crisp edges, lemon, and toasted almonds.
The Step That Keeps Green Beans Crisp Instead of Soft
Most sauteed green beans go wrong because the pan is crowded or the garlic goes in too early. Green beans need direct contact with the hot skillet first, so they blister and brown in spots before they soften. If you add the garlic at the beginning, it burns before the beans are ready, and if the pan is packed too full, the beans steam and turn dull green and floppy.
The other thing that matters is heat control. Start over medium-high to get color on the beans, then drop the heat before the butter and garlic go in. That little pause keeps the butter from scorching and gives the garlic just enough time to turn fragrant and golden.
- Fresh green beans — Snappy beans work best here. Thin beans cook faster and blister nicely; thicker beans need a little more time and a splash of water only if the pan starts to dry out before they’re tender.
- Butter and olive oil — The oil raises the heat tolerance, while the butter adds roundness and helps the garlic cling to the beans. Using only butter makes scorching more likely, especially if your skillet runs hot.
- Garlic — Slice it thin so it softens and turns golden instead of staying raw in the center. Minced garlic burns faster and can taste harsh in a fast saute like this.
- Lemon zest and juice — The zest gives you the bright citrus aroma; the juice sharpens the final flavor. Skip bottled lemon juice if you can, because it doesn’t give the same fresh edge.
- Toasted almonds — They bring crunch and a nutty finish that makes the side dish feel complete. If you need a swap, chopped toasted pecans or walnuts work, but the almond flavor is cleaner and a little lighter.
What Each Ingredient Is Actually Doing in This Recipe
- Primary ingredient (the star) — Quality matters most. Choose the best you can find.
- Cooking medium (oil, butter, or broth) — This carries flavors and prevents dryness.
- Seasonings (salt, pepper, spices, herbs) — Layer flavors so nothing overpowers. Build depth gradually.
- Aromatics (garlic, onion, herbs) — Cook with fat to bloom flavors. Become the foundation.
- Supporting ingredients — Complement the main ingredient without overpowering it.
- Sauce or liquid (if applicable) — Brings flavors together. Balance richness with acid.
- Acid (lemon, vinegar, wine, or other) — Brightens and prevents flat-tasting results.
- Final finish (garnish, glaze, or sauce) — Prevents one-dimensional taste and adds visual appeal.
Building the Flavor in the Pan, Not After the Fact
Blistering the Beans
Heat the olive oil in a large skillet over medium-high, then add the green beans in a single layer if you can. Toss them often, but not constantly; they need brief contact with the hot surface to pick up those browned spots. You’re looking for bright green beans with a few blistered patches and a crisp-tender bite, not fully softened vegetables. If the pan looks dry before the beans are where you want them, a tiny splash of water can help them along, but don’t cover the skillet or you’ll lose the sear.
Softening the Garlic in Butter
Drop the heat to medium, add the butter, then the sliced garlic. Stir for 1 to 2 minutes until the garlic smells sweet and the edges turn pale gold. If it goes deep brown, it will taste bitter, and that usually means the pan stayed too hot after the beans finished cooking. This is the point where the dish turns from plain vegetables into something people reach for first.
Finishing with Salt, Heat, and Citrus
Season with salt, black pepper, and red pepper flakes, then toss in the lemon zest, lemon juice, and toasted almonds. The lemon goes in at the end so the flavor stays sharp instead of cooking off, and the almonds should be added off the heat if you want them to stay crisp. Taste once before serving; the beans should taste bright, buttery, and just a little spicy, with enough acidity to keep the sauce from feeling heavy.
Three Small Changes That Still Keep the Dish Working
Make it dairy-free
Use all olive oil instead of butter. You’ll lose a little of the round, glossy finish, but the beans will still taste clean and bright, and the garlic will stay in the savory lane as long as you keep the heat moderate.
Skip the nuts
Leave out the almonds if you’re serving this alongside a heavier main and want a softer side. The dish will still work, but it’ll lean more buttery and less textured, so a little extra lemon zest helps keep it lively.
Swap the citrus
If you’re out of lemon, a small splash of white wine vinegar works in a pinch. It won’t smell as fresh as lemon zest, but it still cuts the butter and keeps the beans from tasting flat.
Storage and Reheating
- Refrigerator: Store in an airtight container for up to 3 days. The beans will soften a little, but they’ll still taste good.
- Freezer: I don’t recommend freezing these. Green beans lose their crisp texture and turn watery after thawing.
- Reheating: Warm them in a skillet over medium heat just until heated through. The microwave makes them limp fast, and that’s the easiest way to lose the texture you worked for.
Questions I Get Asked About This Recipe
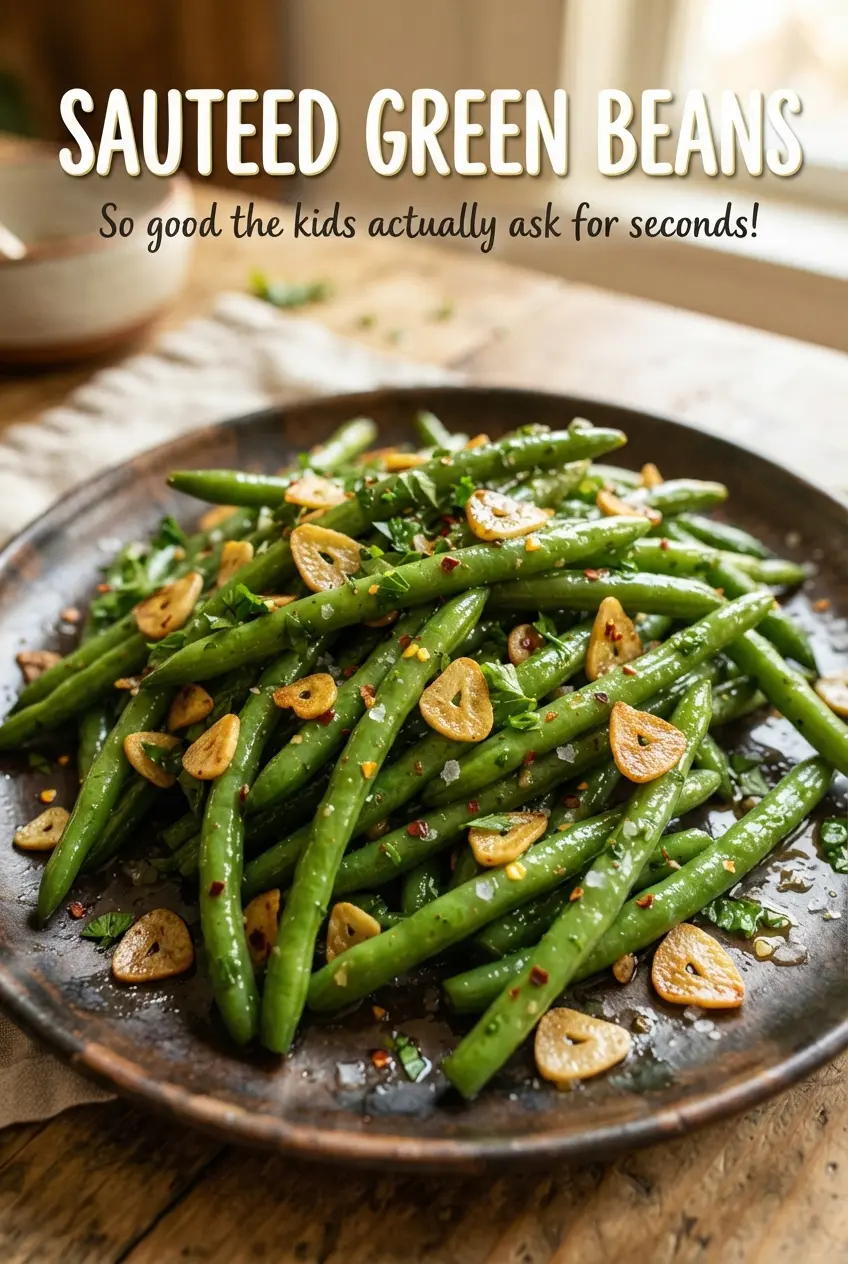
Sauteed Green Beans
Ingredients
Equipment
Method
- Heat olive oil in a large skillet over medium-high heat. Add green beans and cook 6-8 minutes, tossing, until blistered and crisp-tender, watching for bright spots and a vibrant green color.
- Reduce heat to medium, then add butter and garlic and cook 1-2 minutes until the garlic turns golden. Stir so the garlic slices toast without browning too far.
- Season with salt, black pepper, and red pepper flakes. Toss once more so the seasoning clings to the beans.
- Toss with lemon zest, lemon juice, and toasted almonds—serve immediately. The beans should look glossy from the butter and have visible toasted almond pieces.


