
Apple cider braised pork shoulder turns into the kind of dinner that quietly takes over the table. The pork comes out spoon-tender, the onions melt into the sauce, and the apples soften just enough to hold their shape without turning mushy. What you get at the end is rich, glossy, and deeply savory with a little sweet edge from the cider and brown sugar.
The key is building flavor in stages. Searing the pork first gives the braise a darker, meatier base, and scraping up those browned bits after the onions cook keeps all that flavor in the pot. The cider, Dijon, and apple cider vinegar balance each other so the sauce tastes rounded instead of flat, while the rosemary and thyme keep it from leaning too sweet.
Below, I’ve included the small details that make this kind of braise work the way it should, plus a few swaps if you need to work with what’s in the kitchen.
The pork got that fall-apart texture after the full braise, and the apples held their shape without getting watery. The sauce reduced into something my husband kept spooning over everything on his plate.
Save this apple cider braised pork shoulder for a tender, slow-cooked dinner with rich pan sauce and soft apples.
The Reason the Pork Stays Juicy Instead of Drying Out
Pork shoulder is built for braising because it has enough fat and connective tissue to turn silky over time. If you pull it too early, it can still feel tight and a little chewy; if you rush the oven heat to speed things up, the outside overcooks before the inside has a chance to soften. Low oven heat and a covered pot give the collagen time to break down without driving off all the moisture.
The other place people trip up is the braising liquid. You want enough liquid to come partway up the pork, not drown it. That keeps the meat exposed enough to roast gently at the top while the lower portion braises, which gives you better flavor and a richer sauce.
What the Cider, Dijon, and Herbs Are Doing in the Pot
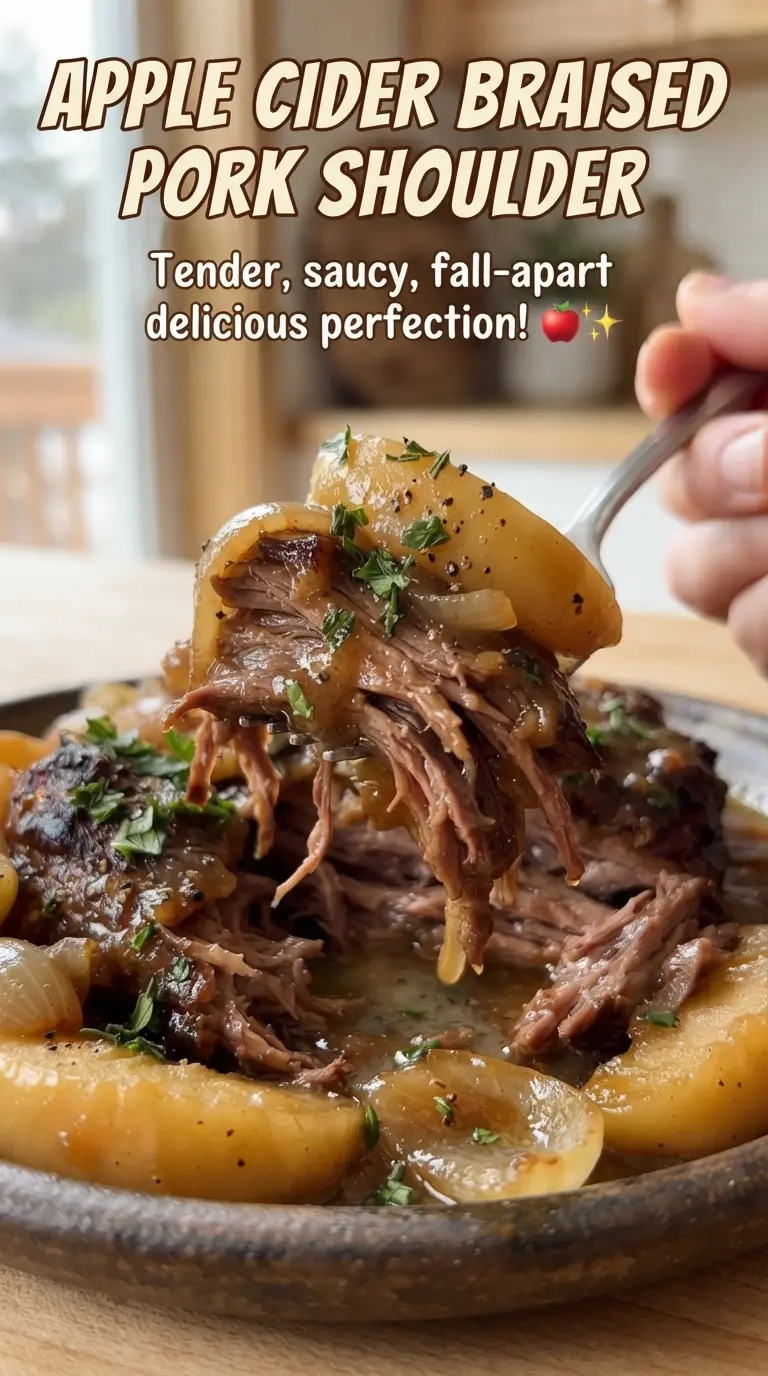
- Apple cider — Use the good cloudy cider if you can. It gives the sauce a fuller apple flavor than sweet apple juice, which can taste flat after a long braise.
- Dijon mustard — This sharpens the sauce and helps it taste balanced after hours in the oven. There isn’t a perfect stand-in here, but whole-grain mustard works if you want a little texture.
- Apple cider vinegar — This keeps the sauce from tasting heavy. If you skip it, the braise leans sweet and one-note.
- Fresh thyme and rosemary — Fresh herbs hold up better than dried in a long braise and perfume the sauce without disappearing. Dried will work in a pinch, but use less since the flavor gets louder and less delicate.
- Apples — Use a firm baking apple like Honeycrisp, Braeburn, or Pink Lady so the wedges stay intact. Soft apples will collapse into the sauce before the pork is tender.
Building the Braise So the Sauce Tastes Layered, Not Flat
Seasoning and Searing the Pork
Coat the pork all over with salt, pepper, and smoked paprika, then sear it in hot oil until the surface is deeply browned and the meat releases without sticking. That crust is where the first layer of flavor comes from, and if the pan isn’t hot enough, the pork will gray instead of brown. Work in two pieces if needed so the pot doesn’t cool down.
Cooking Down the Onion Base
Once the pork comes out, cook the onion in the same pot until it softens and picks up color from the fond on the bottom. Add the garlic only for the last minute so it stays fragrant instead of bitter. If the pot looks dry, lower the heat and let the onions sweat a little longer rather than scorching them.
Turning the Liquid Into a Braising Sauce
Stir in the cider, broth, vinegar, Dijon, and brown sugar, then scrape every browned bit loose. The liquid should look slightly opaque and smell sharp, savory, and a little sweet before the pork goes back in. If the bottom still has stuck-on dark spots after scraping, add a splash more broth and keep stirring; those bits should dissolve into the sauce, not burn.
Finishing the Braise and Reducing the Sauce
Cover the pot and braise until the pork is starting to give when pressed with a fork, then add the apples for the last stretch so they soften without falling apart. When the pork is done, it should shred in large pieces with almost no effort. Pull the meat out, simmer the liquid on the stove until it coats a spoon, and then fold the pork back through it so every bite picks up that glossy sauce.
Three Practical Ways to Adjust This Braise
Make It Dairy-Free Without Changing the Texture
This recipe is already dairy-free, which is part of why it works so well for a crowd. The sauce gets its body from the reduced cider and pork drippings, so you don’t need cream or butter to make it feel rich.
Use Boneless Pork Butt Instead of a Whole Shoulder
Pork butt and pork shoulder are cut from the same general area and both braise beautifully. If the pieces are smaller or thicker than the recipe calls for, check tenderness by feel rather than the clock; the meat is done when it shreds easily and the center no longer feels firm.
Make the Sauce a Little Less Sweet
If your cider runs sweet, cut the brown sugar back to 1 tablespoon and add an extra teaspoon of vinegar at the end. That keeps the braise balanced without muting the apple flavor, which is the part you want to keep.
Add Potatoes for a One-Pot Dinner
Baby potatoes can go in during the last hour of braising so they absorb the sauce without disintegrating. Cut larger potatoes into thick chunks, or they’ll break down before the pork is tender.
Storage and Reheating
- Refrigerator: Store the pork and sauce in an airtight container for up to 4 days. The flavor gets even better overnight, and the sauce will thicken as it chills.
- Freezer: This freezes well for up to 3 months. Freeze the pork with plenty of sauce so it reheats juicy instead of stringy.
- Reheating: Warm it gently on the stove over low heat or covered in a 300F oven with a splash of broth. High heat dries out the shredded pork fast and can make the sauce taste harsh.
Answers to the Questions Worth Asking
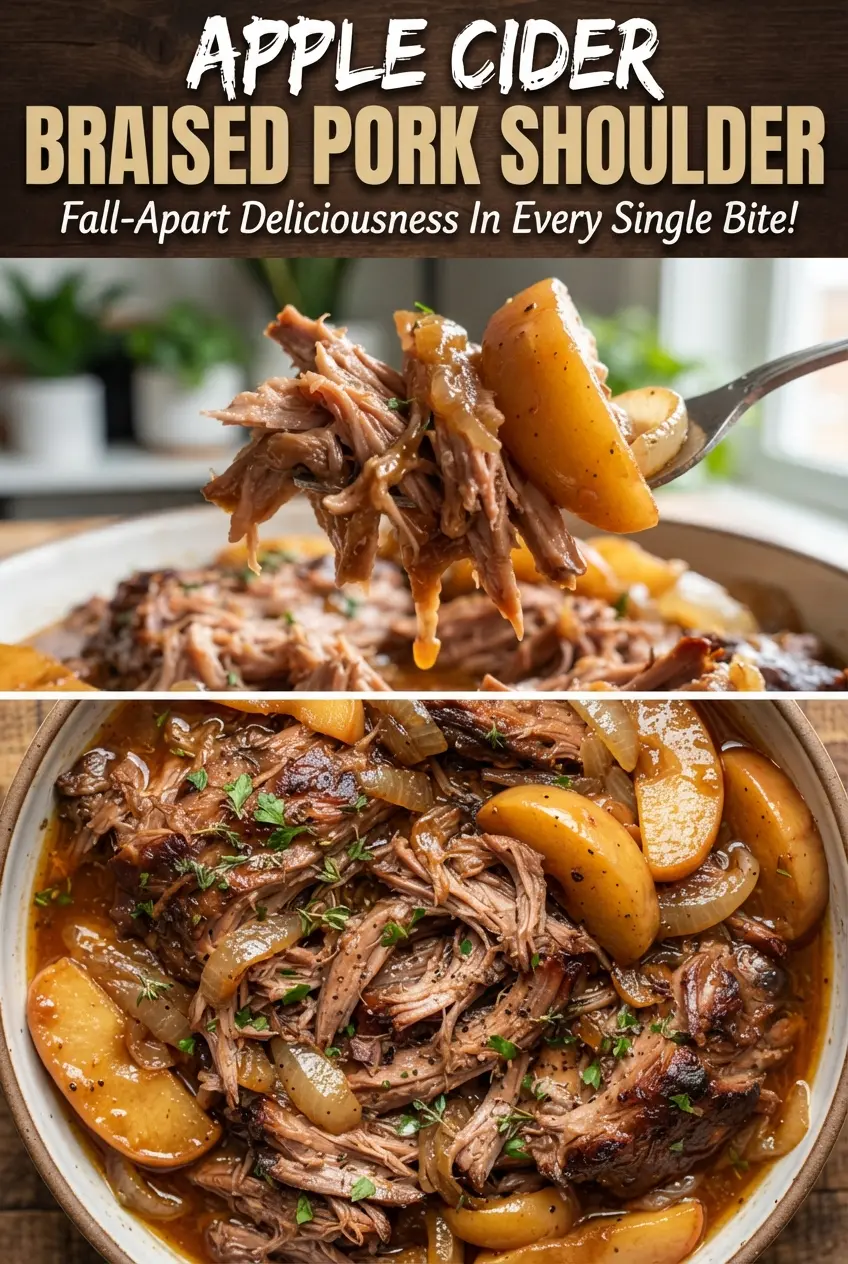
Apple Cider Braised Pork Shoulder
Ingredients
Equipment
Method
- Preheat the oven to 325F, then season the pork all over with salt, black pepper, and smoked paprika. Look for an even coating across every surface.
- Heat the olive oil in a Dutch oven over high heat, then sear the pork 4-5 minutes per side until well browned. The pork should be deep golden with dark sear marks.
- Cook the onion in the Dutch oven for 5 minutes. Stir until softened and lightly translucent.
- Add the smashed garlic and cook for 1 minute. Keep it fragrant but not browned.
- Stir in the apple cider, chicken broth, apple cider vinegar, Dijon mustard, and brown sugar, scraping up the browned bits from the bottom. The liquid should look cohesive and brown-glistening.
- Return the pork to the pot and nestle in the fresh thyme and fresh rosemary, then cover. The herbs should be submerged in the braising liquid.
- Braised pork shoulder in the oven for 2 1/2 hours at 325F. Look for steady simmering and meat that begins to pull apart at the edges.
- Add the apple wedges, then braise covered for 45 minutes more until the pork is fork-tender. The apples should be soft and lightly infused.
- Shred the pork into large pieces and transfer them back to the cider sauce. The pork should separate easily into hearty shreds.
- Simmer the braising liquid on the stove for 10 minutes to reduce, stirring occasionally. The sauce should thicken slightly and look glossy.
- Serve the pork with the reduced sauce and apples. Spoon sauce over the meat so every bite is coated.


