
Layered nachos are at their best when every chip gets at least a little cheese and a little topping, so you’re not left with a tray of bare chips at the bottom and a pile of toppings on top. The trick is building in layers and working fast once the cheese melts. That’s what gives you the good stuff in every scoop: crisp edges, gooey cheese, seasoned beef, and a few cool bites from the fresh toppings.
This version uses a simple brown-and-seasoned beef base, canned black beans for extra substance, and a quick broil to get the cheese bubbling without overcooking the chips. The fresh toppings go on after the pan comes out of the oven, which keeps the tomatoes bright, the sour cream cool, and the guacamole from melting into the tray. If you’ve ever made nachos that turned soggy before they hit the table, the fix is in the order.
Below, I’ll show you how to keep the chips sturdy, when to add each layer, and a few easy ways to adapt the tray for different crowds.
The chips stayed crisp under the cheese and the beef was seasoned all the way through. I loved that the tomatoes and guacamole went on at the end so nothing got watery.
Save these layered beef nachos for the nights when you want a crisp, cheesy sheet-pan appetizer with all the toppings visible.
Why Layering Matters More Than Topping Everything at Once
Nachos fail when all the best ingredients sit in one heavy pile. The chips on the bottom steam, the ones on the edges stay plain, and the cheese never gets a chance to bind everything together. Layering solves that. You’re building little pockets of melted cheese and seasoned fillings so each section eats like its own perfect bite.
The other big difference is broiling instead of baking longer and longer. Chips don’t need a long stay in the oven; they need just enough heat to melt the cheese and warm the toppings underneath. Once the cheese is melted and a few spots start bubbling, pull the tray. If you wait for deep browning, the chips at the edges start to taste stale before the center is ready.
What Each Topping Is Actually Doing Here
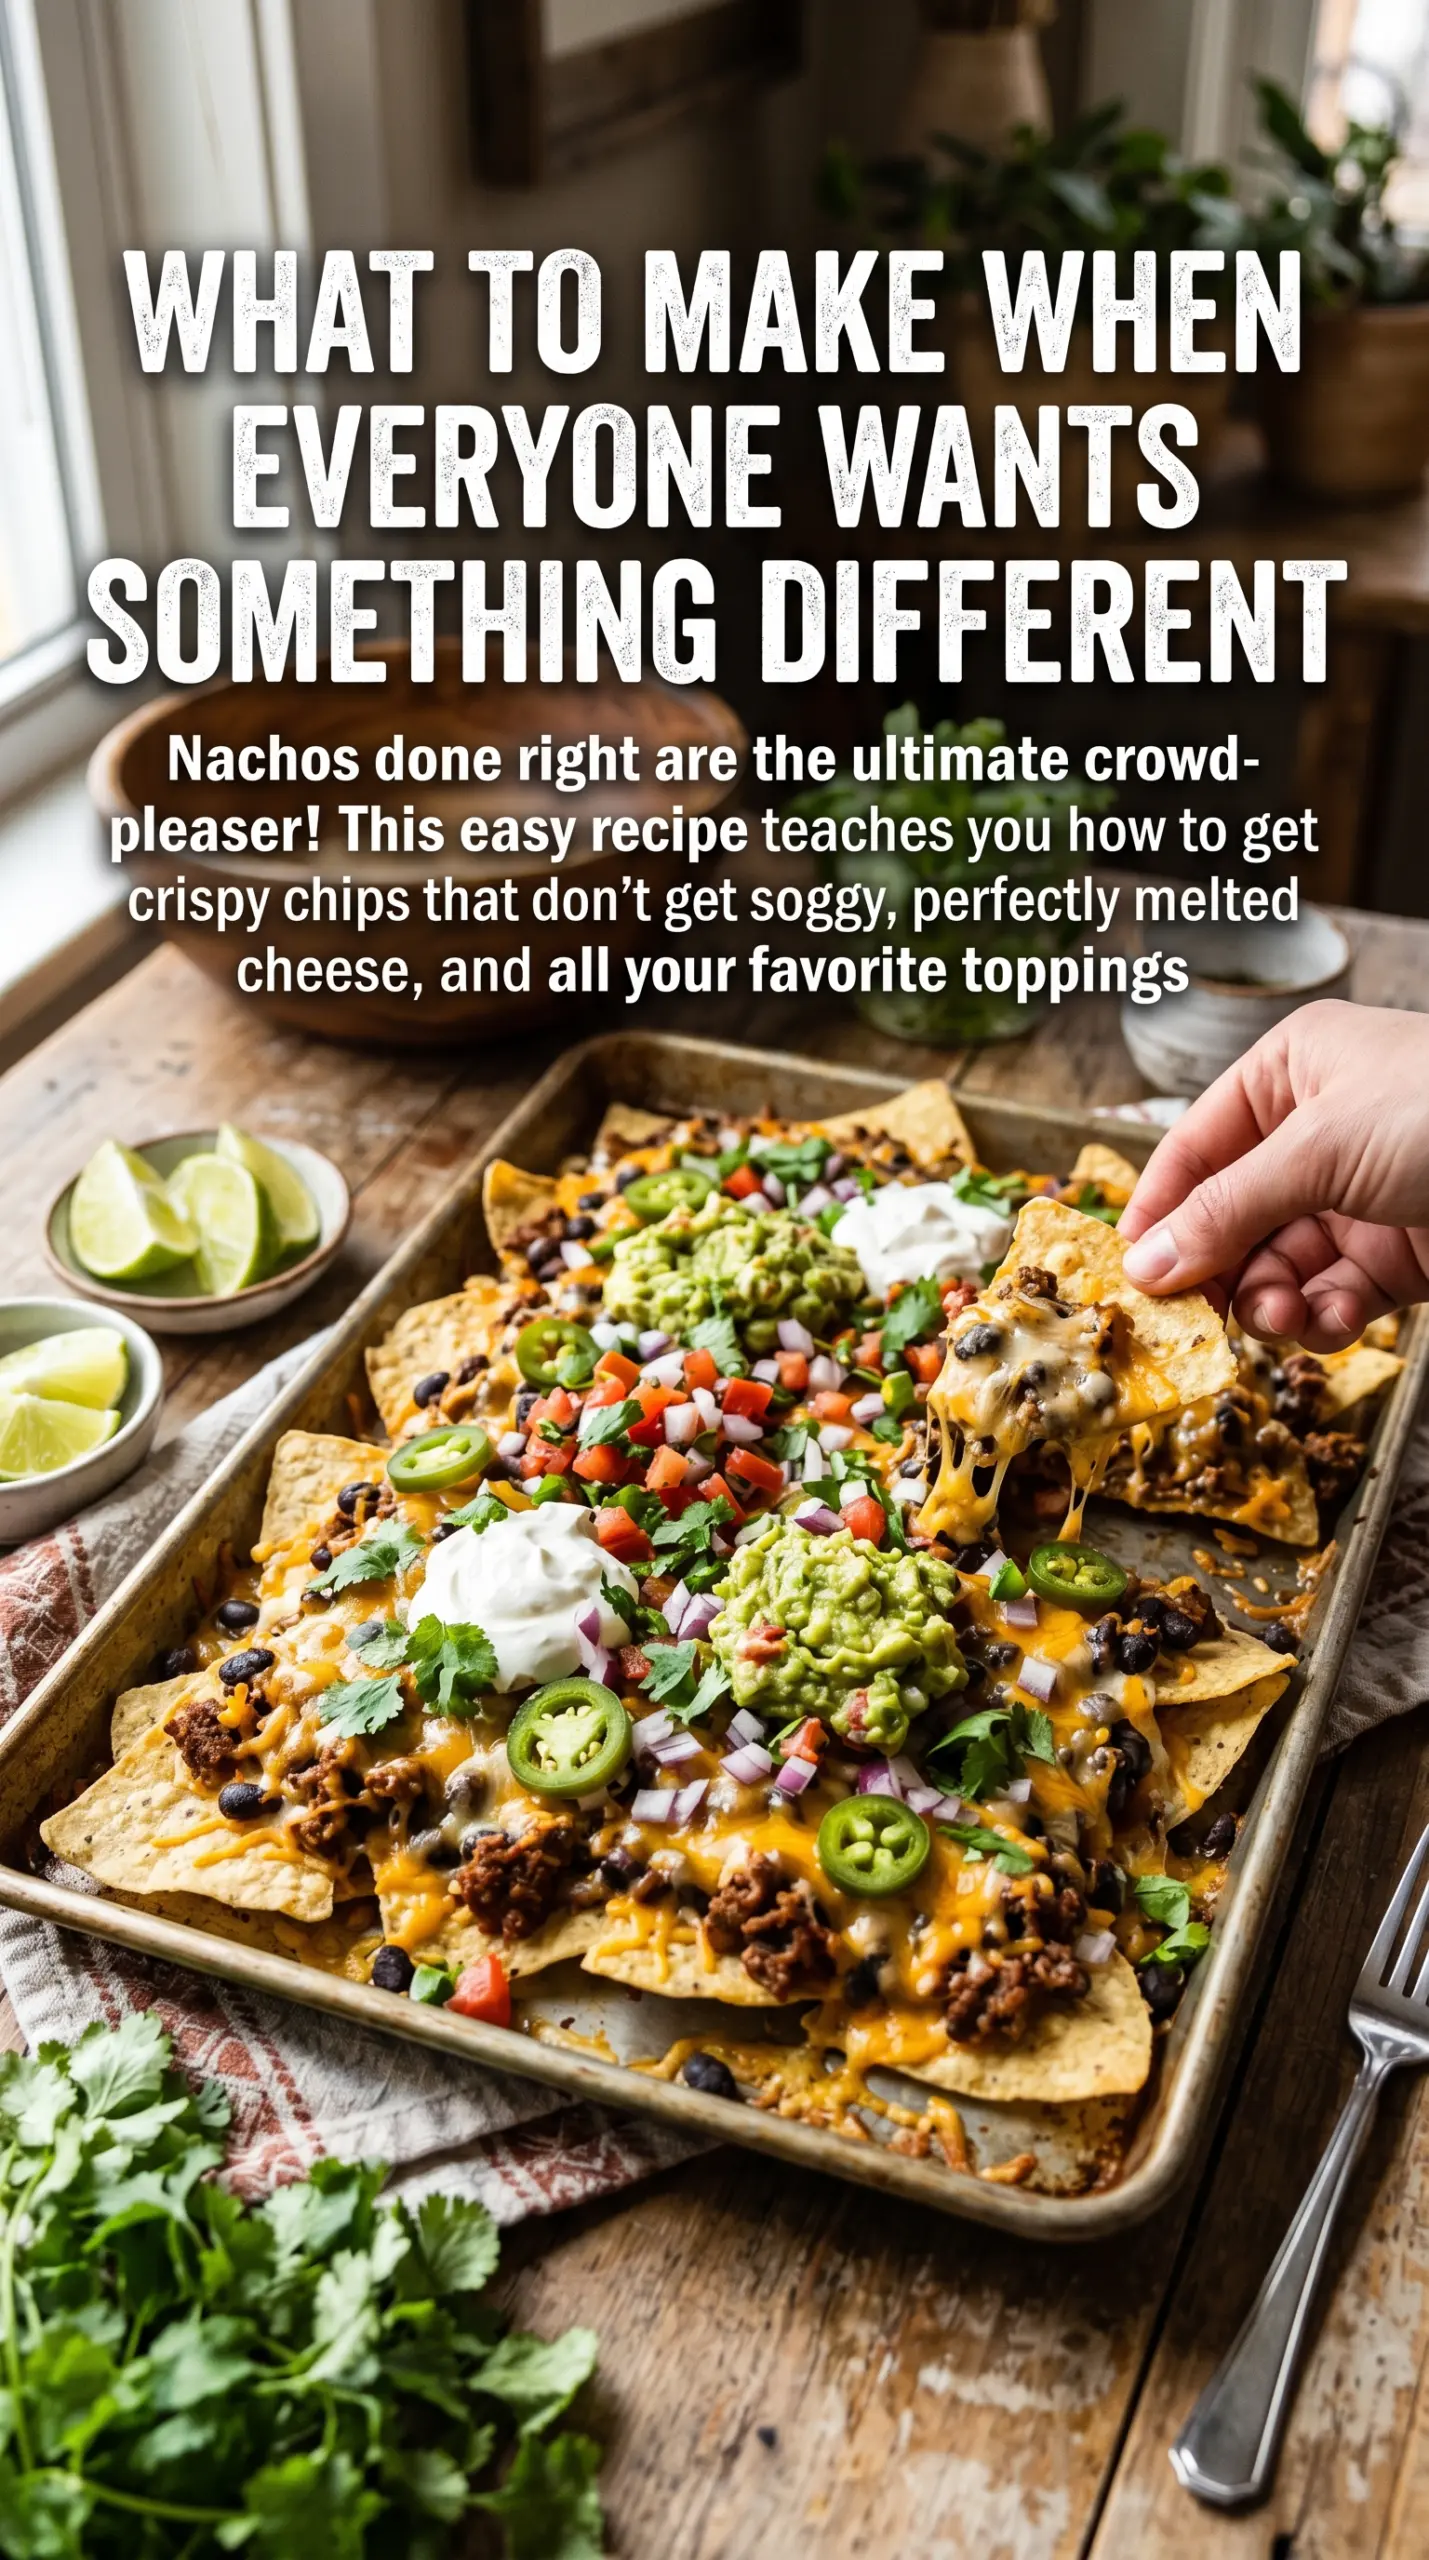
- Tortilla chips — Use sturdy, restaurant-style chips if you can. Thin chips break under the beef and beans before the tray even hits the oven. A thick chip keeps its crunch under heat and gives the toppings something solid to hold onto.
- Shredded Mexican cheese blend — Pre-shredded cheese melts well enough here and saves time, but freshly shredded cheese melts a little smoother if you have it. Either way, use a blend with Monterey Jack and cheddar for the best balance of melt and flavor.
- Ground beef — This is the main savory layer, so cook it until the browned bits are visible and the moisture is gone before adding seasoning. If it’s wet, the nachos turn soft fast. Ground turkey works too, but it will be leaner and needs a little extra seasoning or a splash of oil.
- Black beans — These add body and make the platter more filling without much extra work. Drain and rinse them well so the bean liquid doesn’t seep into the chips. If you want a shortcut, refried beans spread thinly under the chips also work, but they change the texture quite a bit.
Getting the Tray Hot Without Turning the Chips Soggy
Brown the Beef Until the Pan Is Dry
Cook the beef over medium-high heat and break it up as it browns. You want the pan to look mostly dry before the seasoning goes in, with browned bits stuck to the bottom of the skillet. If there’s a lot of grease left, spoon some off. Too much fat on the tray is the fastest route to limp chips.
Build the Layers in the Right Order
Spread the chips in an even layer on a large baking sheet, then scatter over half the cheese before adding the beef, beans, and jalapeños. That first layer of cheese acts like glue and helps anchor the toppings. Finish with the remaining cheese so the top melts over the fillings and seals everything together.
Broil Just Until the Cheese Bubbles
Keep the tray close enough to the broiler to melt fast, but watch it the whole time. Depending on your oven, the cheese can go from melted to scorched in under a minute. Pull it as soon as the cheese is glossy, bubbling, and starting to spot in a few places. The chips should still look crisp at the edges.
Add the Cold Toppings at the Very End
Tomatoes, sour cream, guacamole, salsa, cilantro, and lime all go on after the pan comes out. That keeps the fresh toppings bright and stops the hot tray from turning them into a watery mess. Serve immediately, because nachos wait for no one. The longer they sit, the more the chips soften.
How to Adapt a Sheet Pan of Nachos for Different Crowds
Make Them Vegetarian Without Losing the Heft
Skip the beef and double the black beans, or add seasoned pinto beans for a softer, more filling bite. You can also layer in sautéed peppers and onions for extra body. The nachos stay satisfying because the cheese and beans still give you enough richness to carry the tray.
Turn It Into a Gluten-Free Appetizer
Most tortilla chips are naturally gluten-free, but check the bag and the taco seasoning packet if you’re serving someone with celiac disease or a serious sensitivity. The rest of the toppings already fit. This is one of those recipes where the main thing is label reading, not ingredient swapping.
Use Ground Turkey for a Leaner Tray
Ground turkey works well, but it needs a little help because it doesn’t bring the same richness as beef. Add a drizzle of oil while browning and don’t skip the seasoning. The flavor lands a little lighter, but the texture still works as long as you cook off the moisture first.
Storage and Reheating
- Refrigerator: Store the beef and beans separately from the chips and fresh toppings for up to 3 days. Once assembled, nachos soften fast and don’t hold well.
- Freezer: The beef mixture freezes well for up to 2 months. The fully assembled nachos do not freeze well because the chips lose their crunch.
- Reheating: Warm the beef mixture in a skillet or microwave, then build a fresh tray with new chips and cheese. If you reheat assembled nachos, the chips turn soft and the cold toppings wilt.
Answers to the Questions Worth Asking
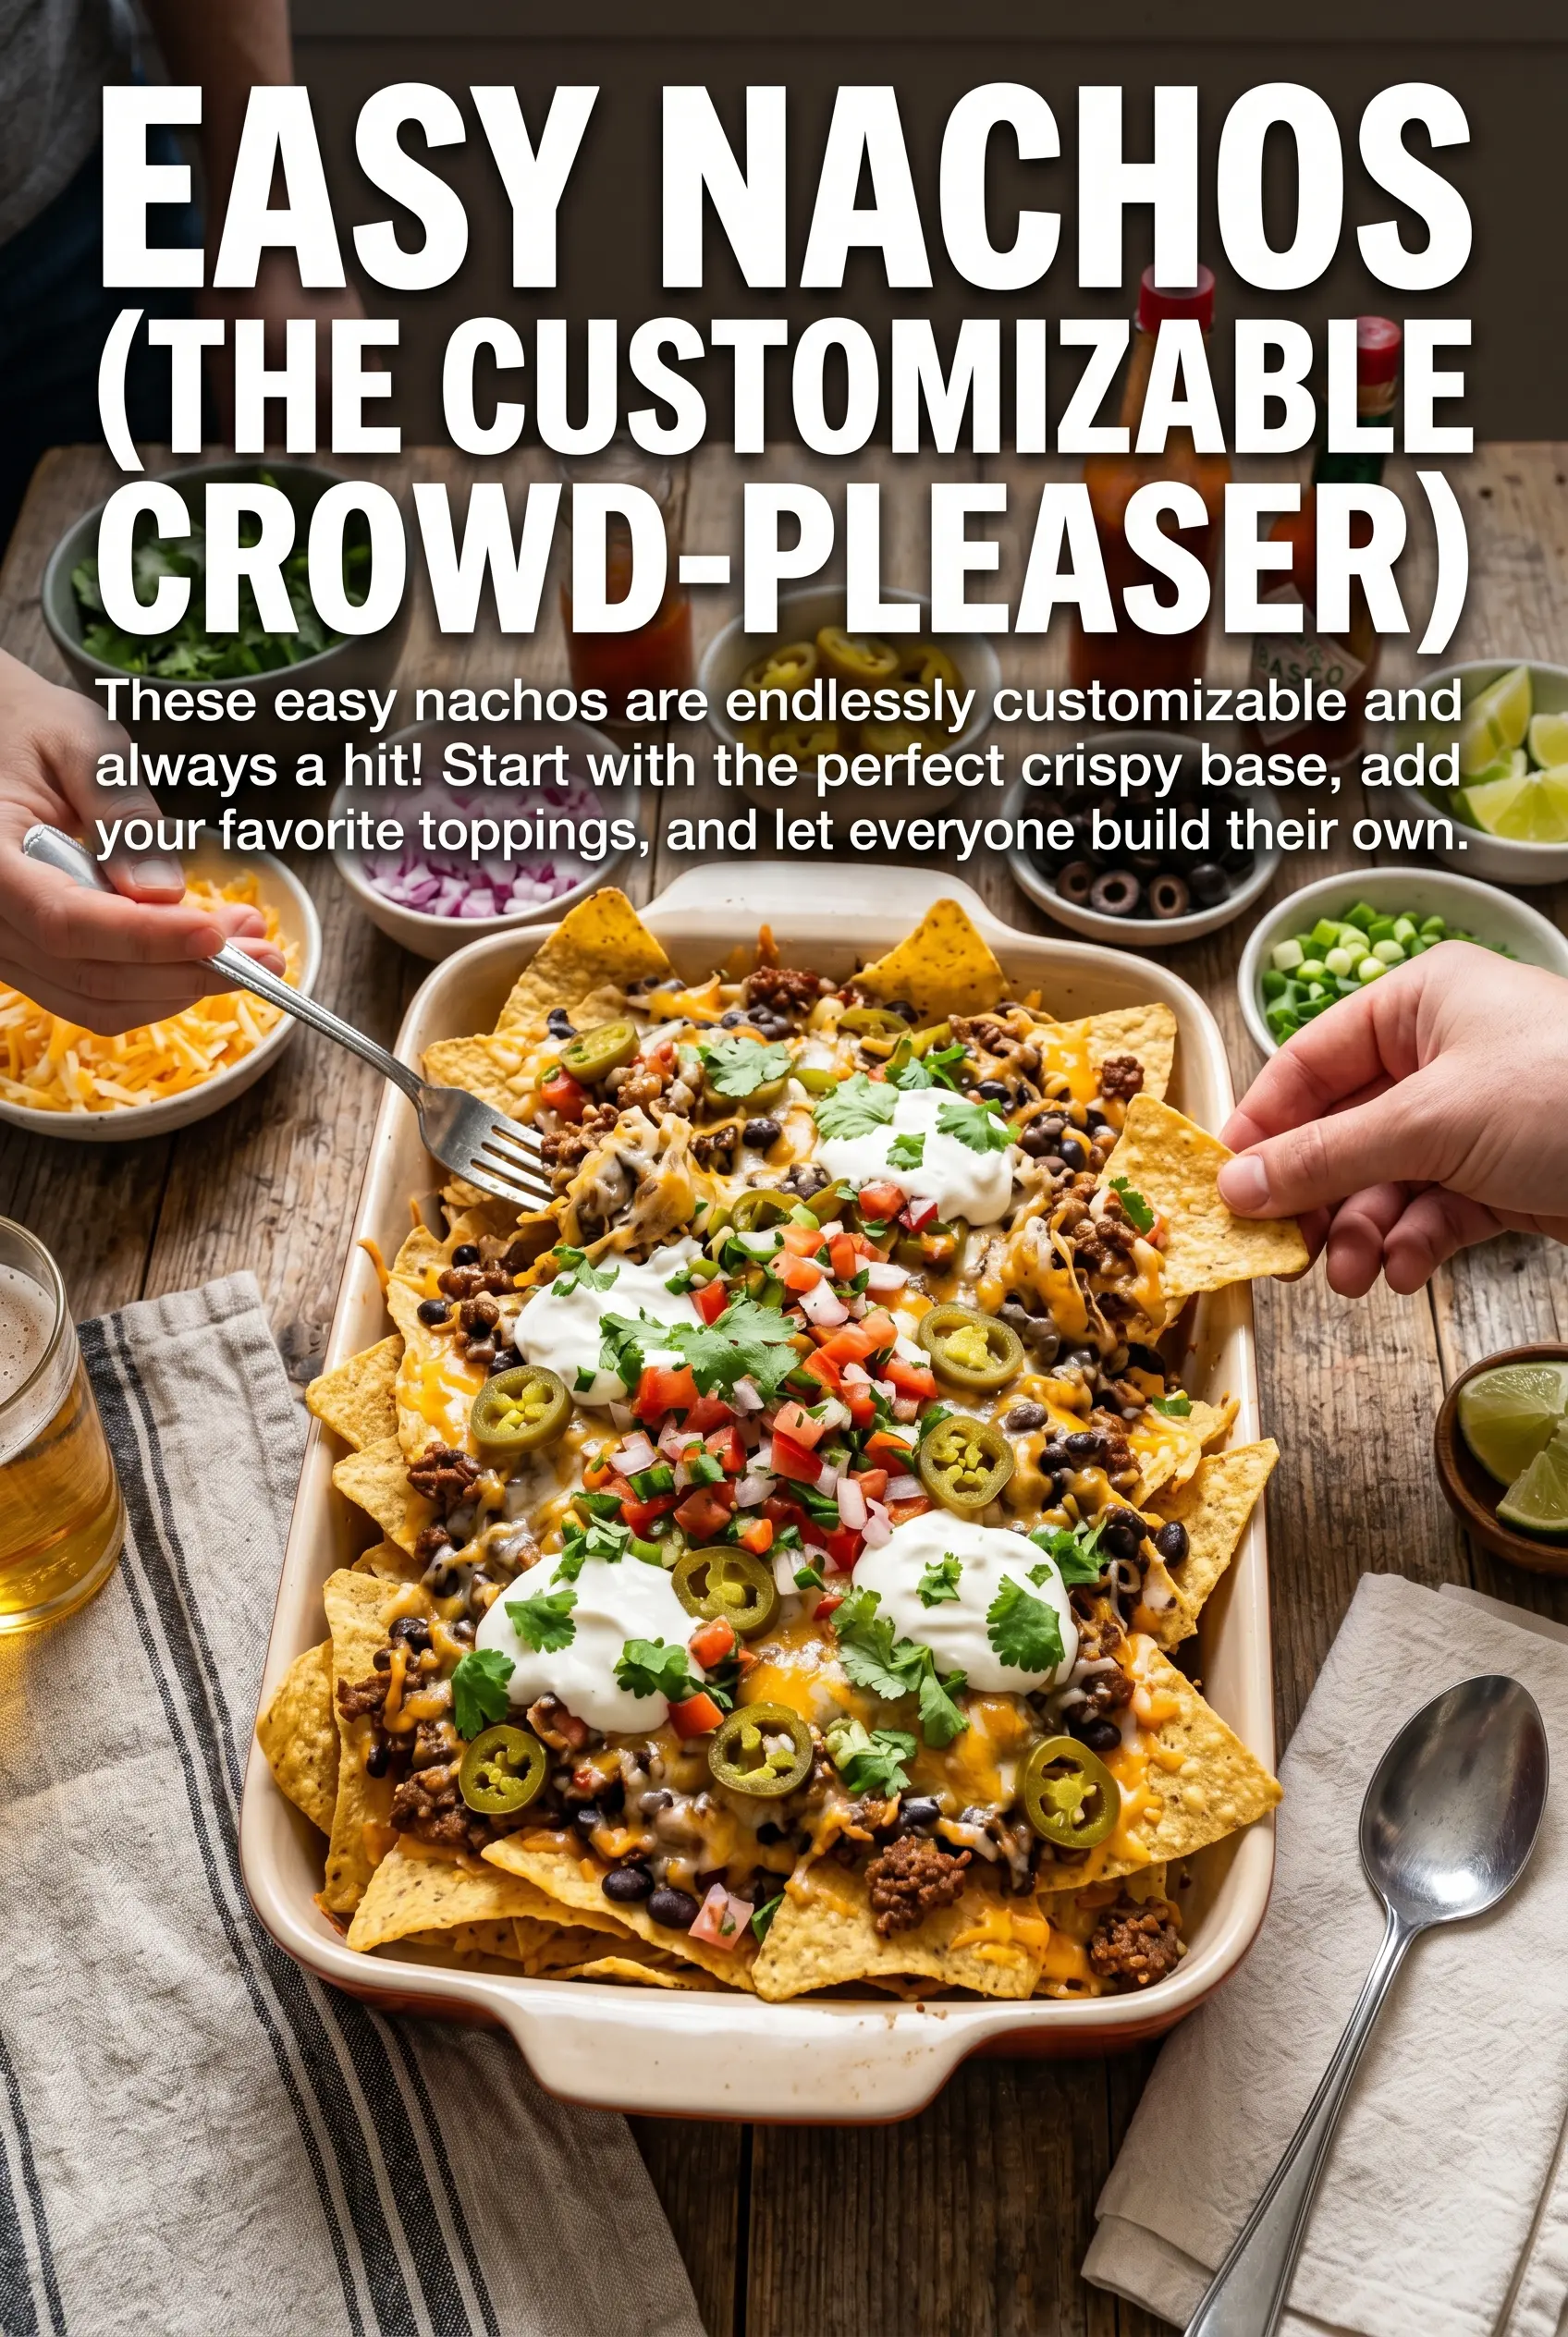
Easy Nachos
Ingredients
Equipment
Method
- Brown the ground beef in a skillet over medium-high heat until cooked through, then add the taco seasoning and cook according to package directions. Keep it moving so the beef browns evenly and the seasoning clings.
- Spread the tortilla chips on a sheet pan in an even layer. Aim for a single layer so the cheese melts and reaches every chip.
- Sprinkle half the shredded Mexican cheese blend over the chips. You should see a light, even blanket before adding the toppings.
- Add the seasoned beef, black beans, and sliced jalapeños over the cheese layer. Distribute them so every chip spot gets some filling.
- Top with the remaining shredded Mexican cheese blend. Cover fully so the next broil produces visible cheesy coverage.
- Broil for 3-5 minutes until the cheese is melted and bubbly. Watch closely so the edges start to brown but don’t burn.
- Remove from the oven and immediately top with diced tomatoes, sliced black olives, sour cream, guacamole, and salsa. Add toppings right away so they sit fresh over the hot cheese.
- Garnish with fresh cilantro and serve with lime wedges. Cut the limes to squeeze over each portion for a bright finish.


