
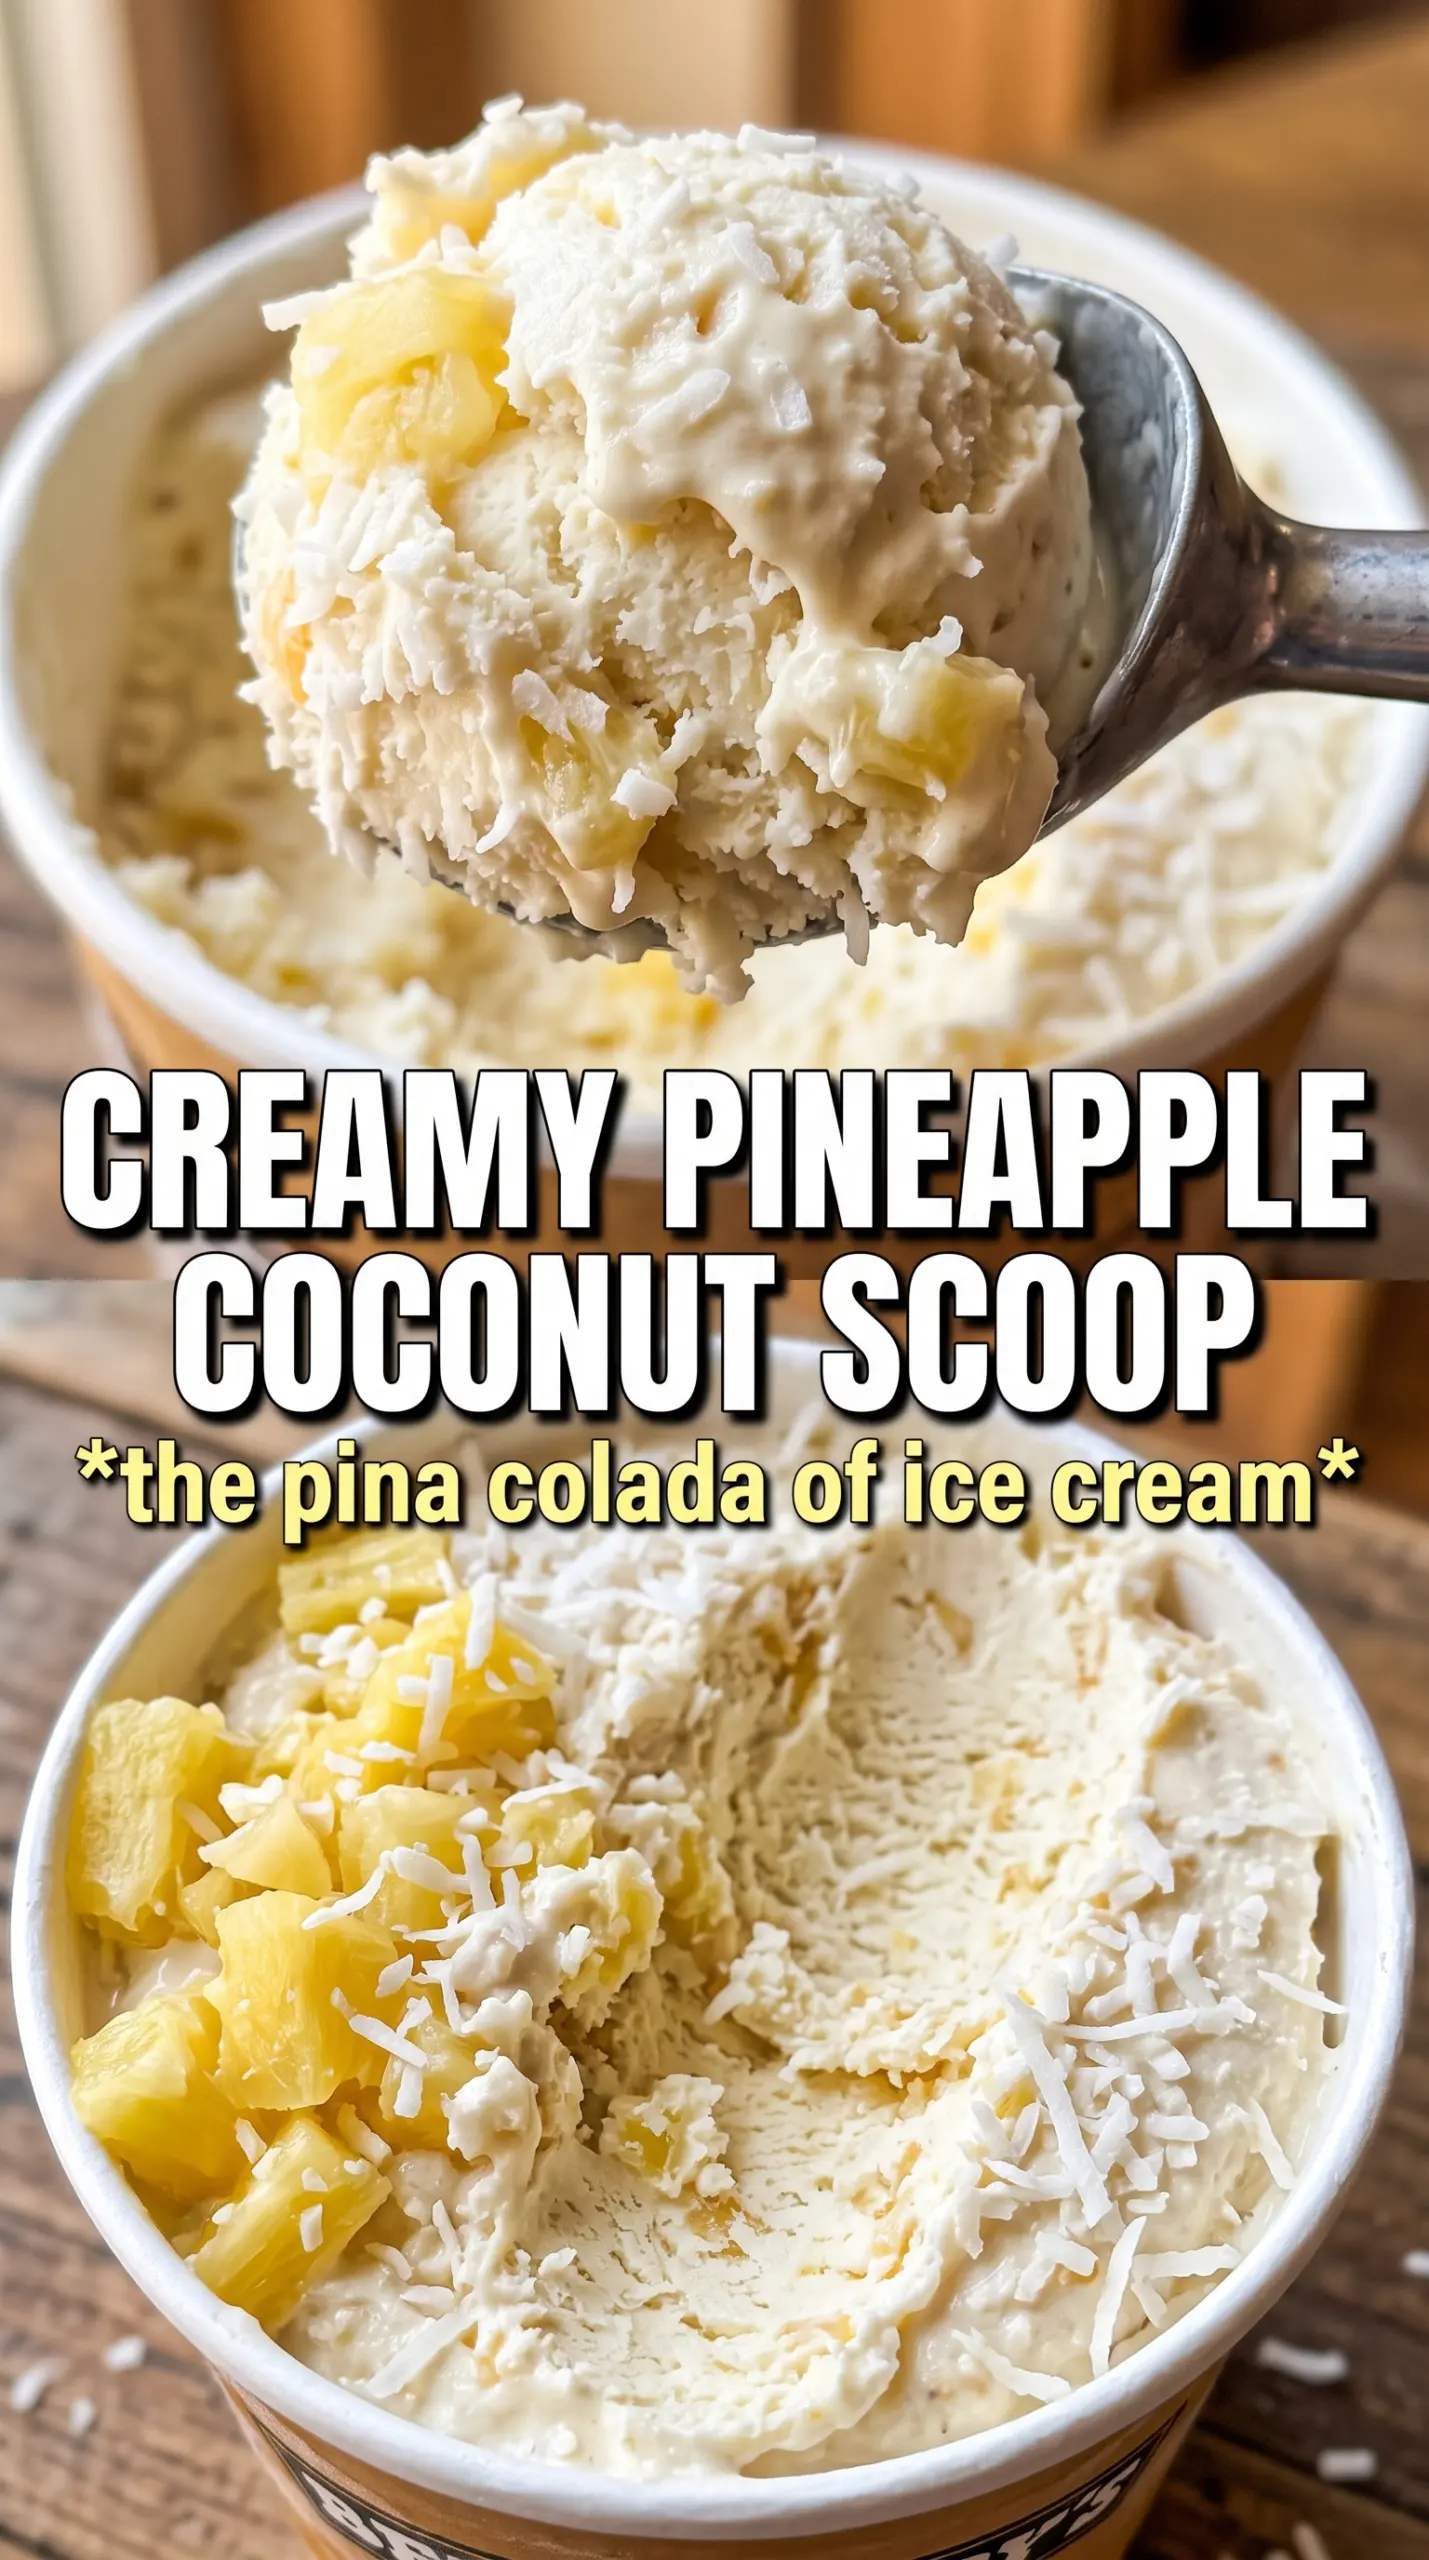
Tropical, creamy pineapple-coconut ice cream lands with the kind of soft scoop that feels rich at first bite, then wakes up with sweet-tart pineapple and toasted coconut in every spoonful. The pineapple stays bright instead of getting lost, and the coconut base gives it that lush, vacation-style finish without tasting heavy or flat.
What makes this version work is the custard base. Egg yolks give it body, coconut milk brings the flavor, and the cream keeps it smooth enough to churn into a dense, scoopable texture instead of an icy one. The pineapple goes in near the end so it stays chunky and fresh-tasting, and the toasted coconut adds a little chew that keeps each bite interesting.
If you’ve ever made fruit ice cream that froze hard or tasted muted after a day in the freezer, the details below will help. The temperature on the custard matters, and so does the way you handle the pineapple before it goes in.
The custard turned out silky and the pineapple stayed in little sweet-tart pieces instead of disappearing into the base. I churned it exactly as written and the toasted coconut gave it the best texture.
Love the sweet pineapple chunks and creamy coconut base? Save this pineapple coconut ice cream for the next time you want a tropical dessert with real texture.
The Custard Can’t Get Hot Enough to Scramble
Pineapple ice cream has one annoying failure point: the base can turn grainy if the yolks cook too fast or the heat climbs too high. This recipe avoids that by warming the coconut milk, cream, and sugar first, then slowly whisking that warm mixture into the yolks before everything goes back to the pan. That gentle start keeps the eggs from shocking into little bits.
The target is 175°F. That’s hot enough to thicken the custard and give the ice cream body, but not so hot that it turns coarse or eggy. Stir constantly and keep the pan moving across the burner if your stove has hot spots. If the custard coats a spoon and leaves a clean line when you drag a finger through it, you’re there.
What Each Ingredient Is Actually Doing in This Ice Cream
- Full-fat coconut milk — This is where the coconut flavor comes from, and full-fat matters because light coconut milk makes the finished ice cream thin and more icy. Shake the can well before opening so the fat is distributed evenly.
- Heavy cream — It softens the coconut milk and gives the base a smoother churn. You can’t swap in half-and-half and expect the same plush texture; it freezes harder and faster.
- Egg yolks — They thicken the custard and keep the finished scoop dense instead of crumbly. Four yolks is the sweet spot here: enough body without turning the ice cream egg-forward.
- Fresh pineapple — Fresh pineapple keeps the flavor bright and the chunks distinct. Drain it well after dicing if it looks extra juicy, or the excess liquid can make the ice cream slushy near the edges.
- Coconut extract and vanilla — Coconut extract boosts the tropical note without forcing you to use more coconut milk than the base can handle. Vanilla rounds the fruit so the flavor tastes finished instead of sharp.
- Toasted shredded coconut — Untoasted coconut goes soft and a little chewy in the freezer. Toasting it first gives you a deeper flavor and a better bite after churning.
Churning, Folding, and Freezing Without Losing the Texture
Cooking the Custard
Heat the coconut milk, cream, and sugar just until the sugar dissolves and the mixture feels steaming, not boiling. Whisk that slowly into the yolks so they warm up gradually, then return everything to the saucepan and cook while stirring constantly. Stop the second it reaches 175°F and looks slightly thickened; if you keep going, the custard can turn grainy or start to smell eggy.
Cooling It All the Way Down
Strain the custard into a clean bowl to catch any tiny bits of cooked egg, then stir in the coconut extract, vanilla, and salt. Cover it and chill until it’s completely cold, at least 4 hours. If you churn warm custard, the ice cream maker has to work too hard and you’ll end up with a looser, icier result.
Adding the Fruit at the End
Churn the base until it’s thick and softly mounded, then add the diced pineapple and toasted coconut during the last 5 minutes. That timing keeps the pineapple from getting chopped up too much and helps the coconut distribute evenly. If the pineapple goes in too early, the machine can break it down and release too much juice into the base.
Freezing It to the Right Scoop Point
Scrape the churned ice cream into a chilled container and freeze until scoopable. It will be soft right out of the machine, then firm up into that classic creamy homemade texture after a few hours in the freezer. If it freezes hard overnight, let it sit on the counter for 5 to 10 minutes before scooping instead of microwaving it and melting the edges.
Three Ways to Adjust the Batch Without Breaking It
Make It Dairy-Free
Swap the heavy cream for more full-fat coconut milk or canned coconut cream. The ice cream will taste more coconut-forward and can freeze a little firmer, but the body stays creamy as long as you keep the custard base intact and don’t skimp on fat.
Use Frozen Pineapple When Fresh Isn’t Good
Frozen pineapple works in a pinch, but thaw it first and drain it well. If you add it icy and wet, it can water down the churn and make the finished ice cream harder around the fruit pieces.
Skip the Egg Yolks for a Faster Version
You can make a quicker no-cook version with coconut milk, cream, sugar, and extract, but the texture will be lighter and a little icier. The custard version earns its creaminess from the yolks, so this swap is about speed, not the best possible scoop.
Make It a Pineapple-Coconut Rum Ice Cream for Adults
Stir in 1 to 2 tablespoons of dark rum after the custard is chilled, before churning. It adds a deeper tropical note and also softens the freeze a touch, but too much will keep the ice cream from setting cleanly.
Storage and Reheating
- Refrigerator: Not recommended once churned; this is meant to be frozen.
- Freezer: Store in an airtight container for up to 2 weeks for the best texture. After that, the pineapple can ice over and the surface gets drier.
- Reheating: Not applicable. For serving, let the container sit at room temperature for 5 to 10 minutes so the scoop releases cleanly instead of forcing it and smashing the texture.
Questions I Get Asked About This Recipe
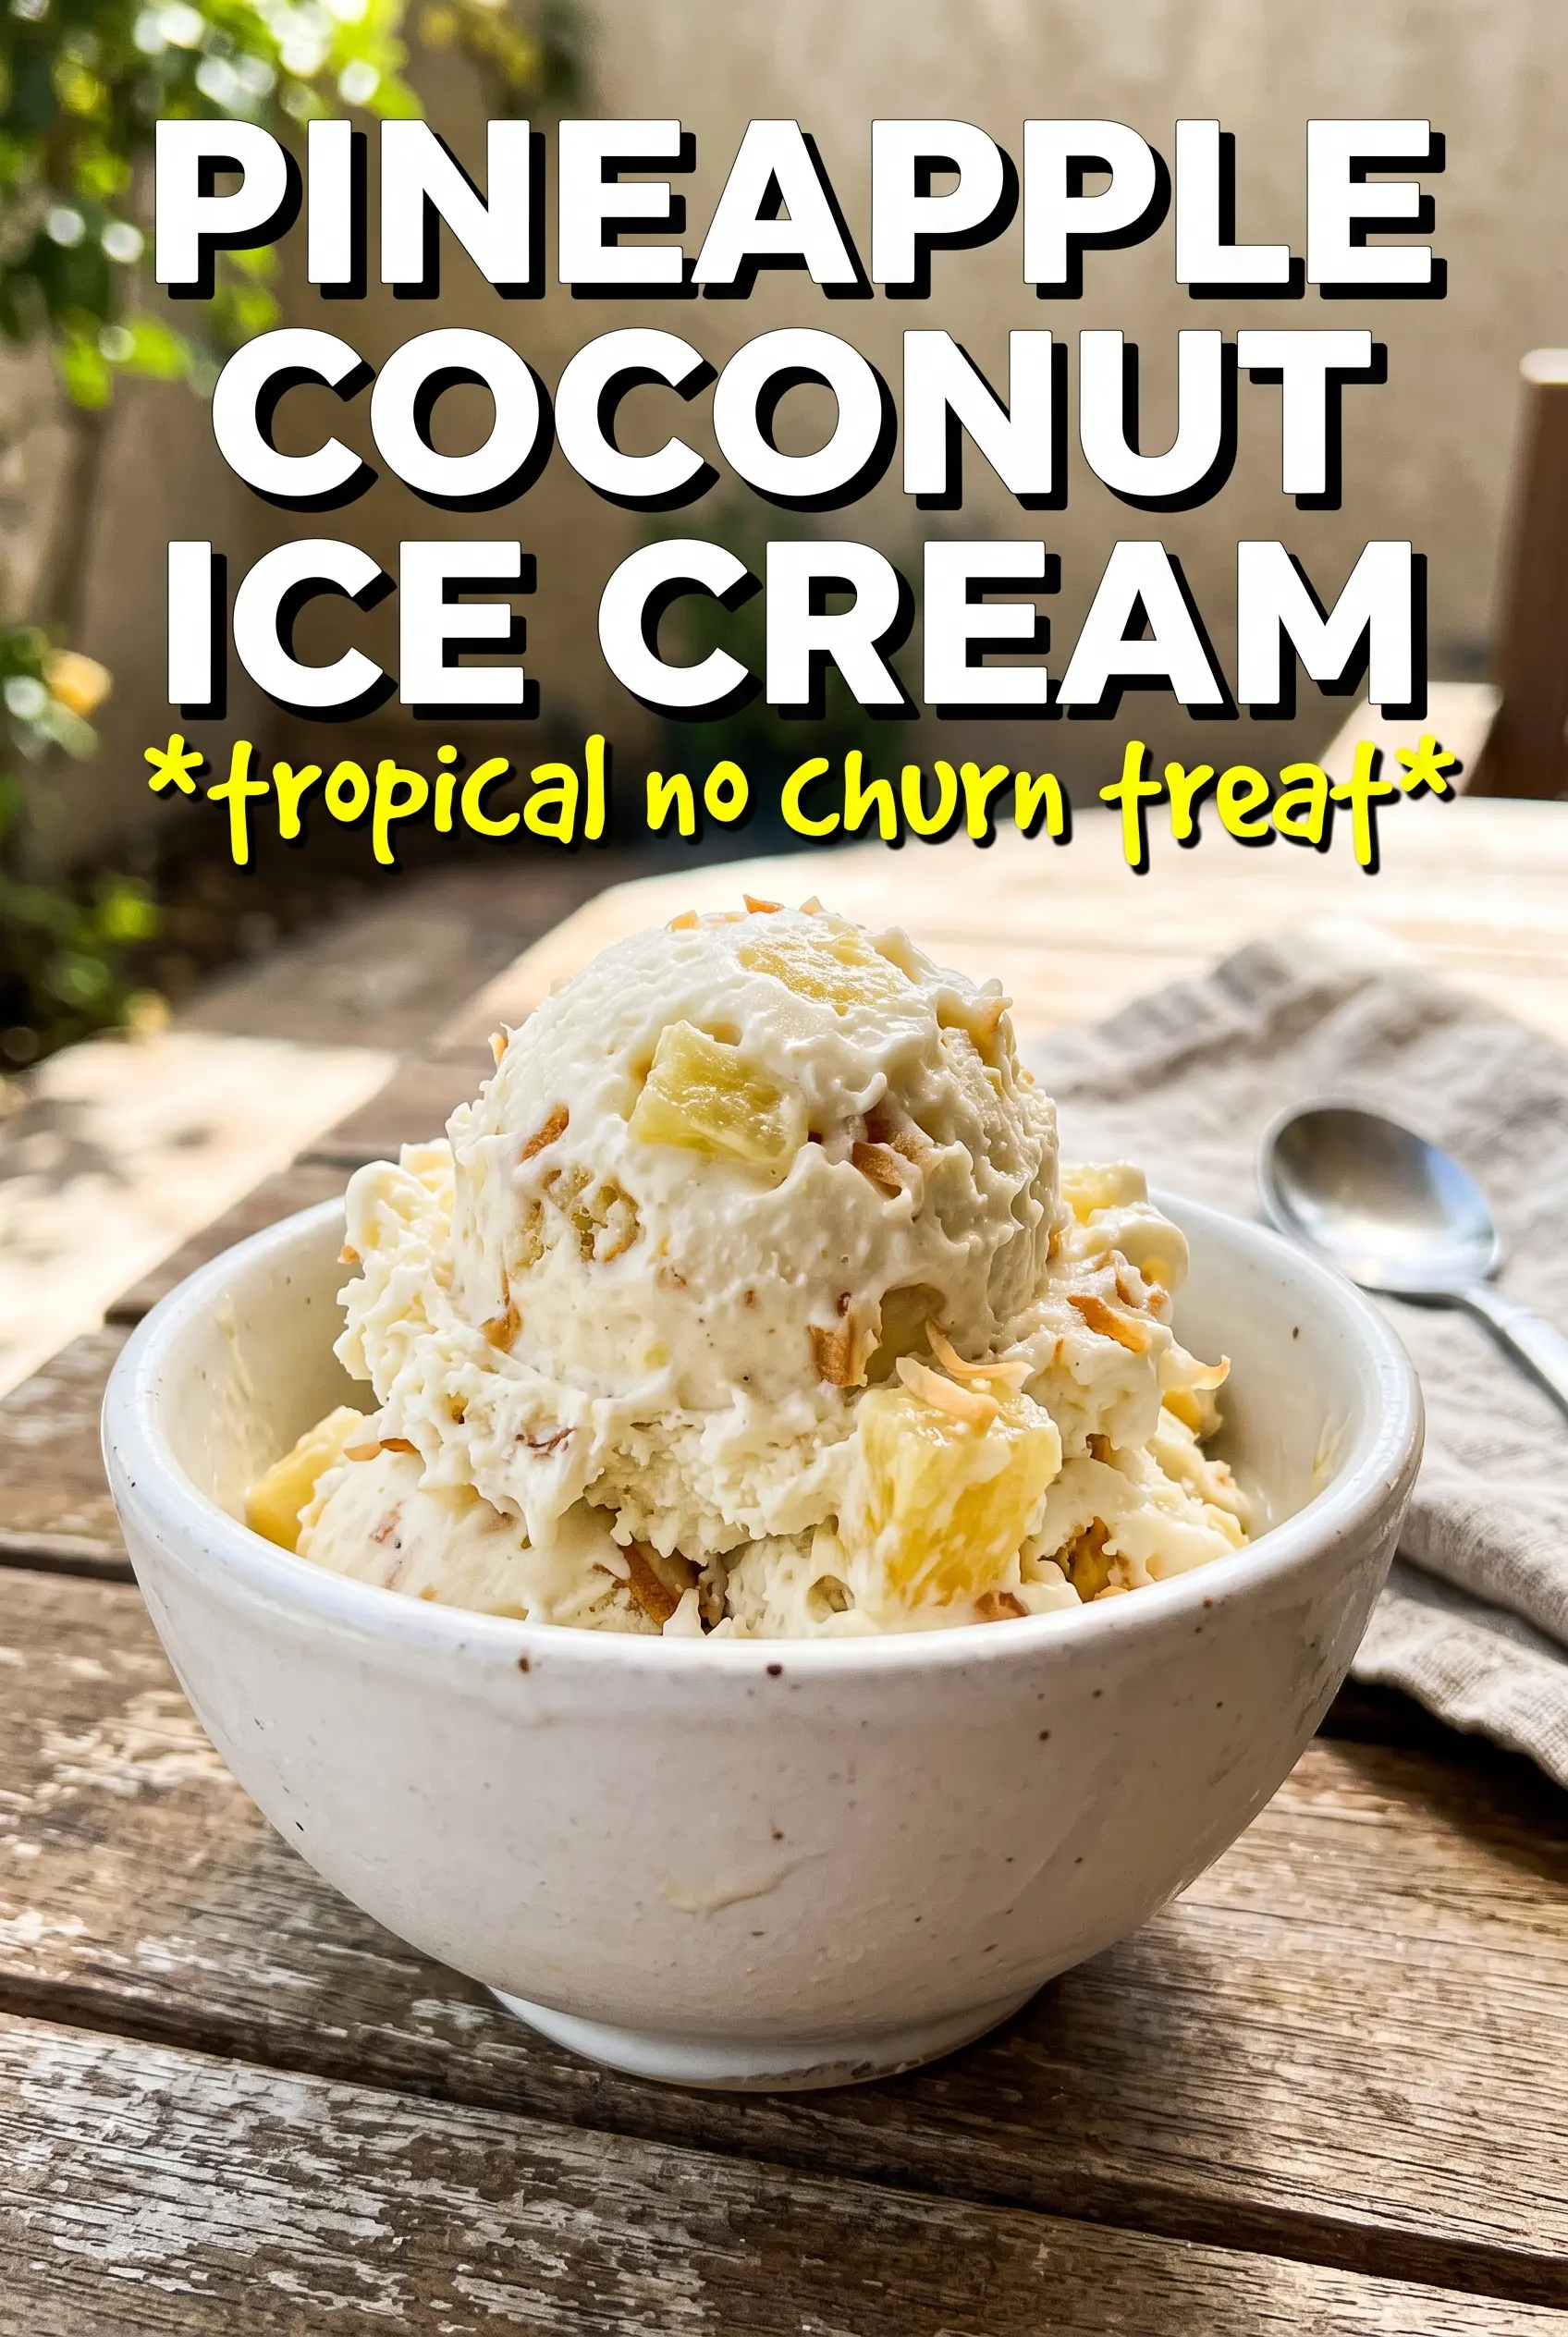
Pineapple Coconut Ice Cream
Ingredients
Equipment
Method
- In a saucepan over medium heat, warm the full-fat coconut milk, heavy cream, and granulated sugar, whisking just until the sugar dissolves. Keep it steaming but not boiling (about 5 minutes), and use a visual cue of smooth liquid with no visible sugar grains.
- In a bowl, whisk the egg yolks, then slowly whisk the hot coconut mixture into the yolks to temper them. Pour in a thin stream while whisking continuously so the yolks stay glossy and don’t scramble (about 1 to 2 minutes).
- Return everything to the saucepan and cook, stirring constantly, until the mixture reaches 175F. Keep the temperature steady (about 6 to 8 minutes) and stop when it coats the back of a spoon and looks slightly thickened.
- Strain the custard into a clean bowl, then whisk in the coconut extract, vanilla extract, and salt. Mix until fully combined (about 1 minute), with a uniform creamy texture.
- Cool the custard completely at room temperature, then cover and refrigerate for at least 4 hours. Chill until very cold (no warmth when you touch the container) before churning.
- Churn the chilled custard in an ice cream maker according to the manufacturer’s instructions until it reaches a soft-serve consistency. Add the finely diced fresh pineapple and toasted shredded coconut during the last 5 minutes so they are evenly distributed.
- Transfer the ice cream to a container and freeze until scoopable. Freeze until firm but workable (at least 2 to 4 hours), using a visual cue of a scoop that holds shape.


