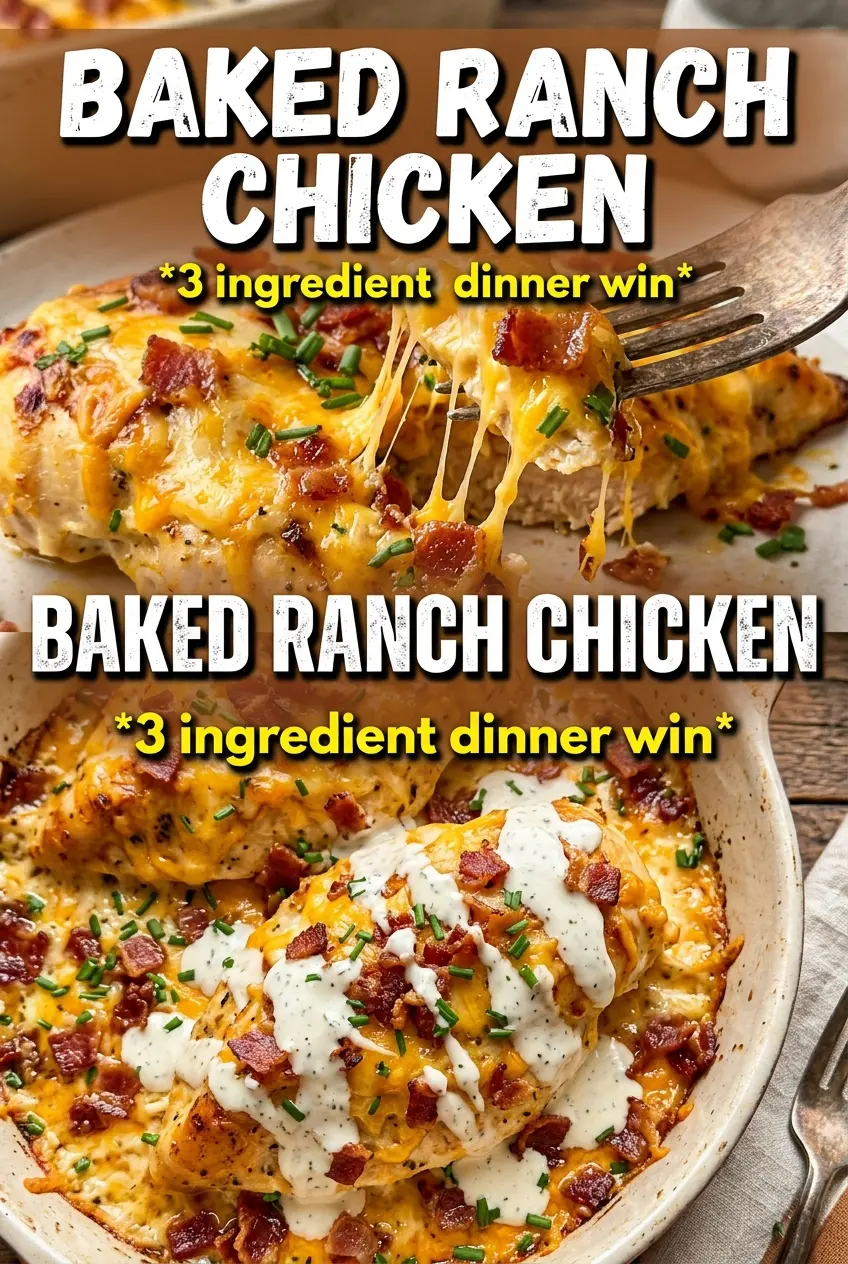

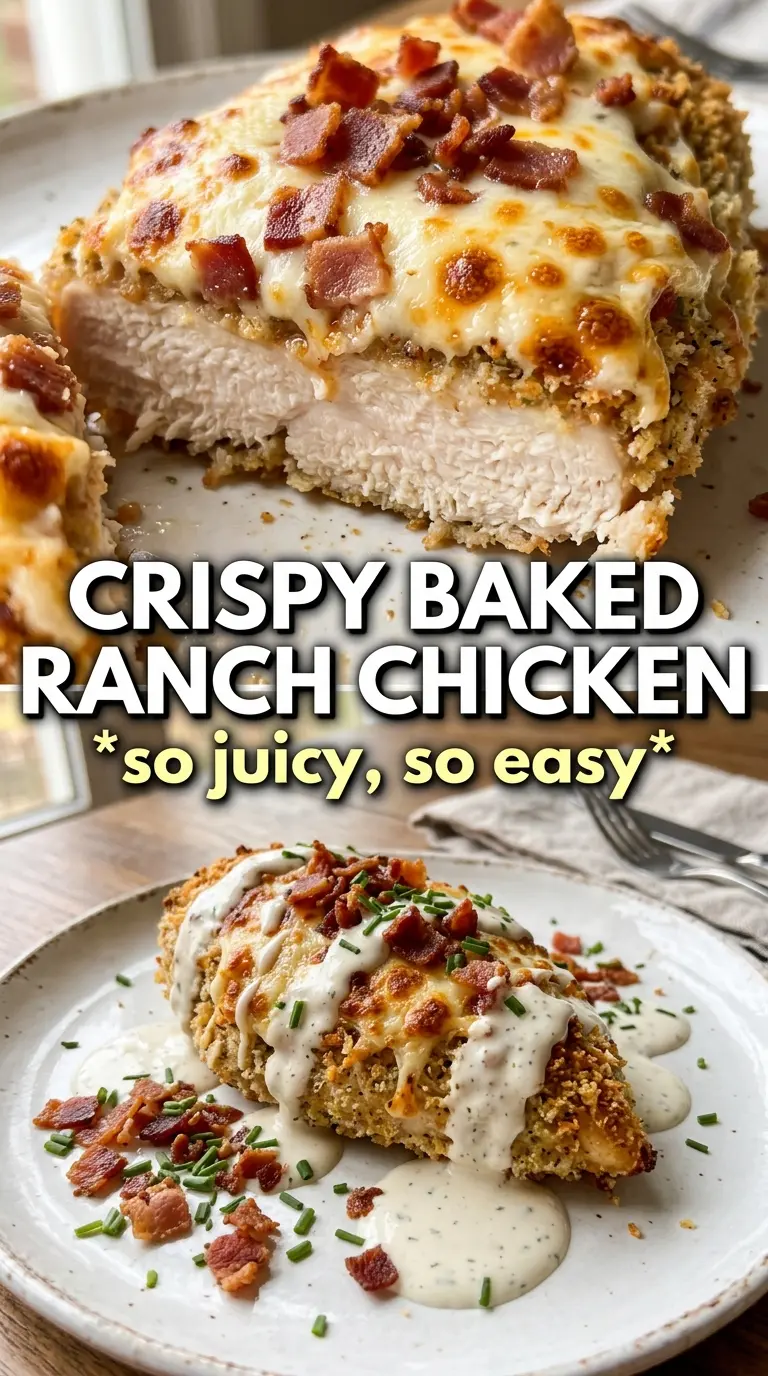
Baked ranch chicken earns its place in the rotation because the topping turns bronzed and crisp while the chicken underneath stays juicy. The contrast is what keeps this one interesting: a crackly Parmesan crust, a tangy ranch layer, and chicken that slices cleanly instead of drying out under the oven heat.
The trick is the mayonnaise. It acts like glue for the crust, but it also protects the chicken so the topping can brown before the meat overcooks. Freshly grated Parmesan matters here because it melts and crisps in a way the shelf-stable kind never quite does, and panko gives the coating that light, shattery bite instead of a dense lid.
Below, I’ll walk through the few details that keep the crust from sliding off and show you how to adjust the bake time if your chicken breasts are thick or uneven. A couple of small changes make the difference between a good chicken dinner and one you’ll want to repeat next week.
The crust came out crisp instead of soggy, and the chicken stayed juicy even with the full 25 minutes in the oven. My husband kept going back for “just one more piece.”
Pin this baked ranch chicken for the nights when you want a crisp Parmesan crust and juicy chicken with almost no cleanup.
The Reason the Crust Stays Crunchy Instead of Sliding Off
The crust on baked ranch chicken fails for one simple reason: too much moisture sitting between the chicken and the topping. Mayonnaise fixes that by giving the seasoning something sticky to cling to, while also creating a thin barrier that helps the surface bake instead of steam. If you spread it too thin, the crumbs won’t hold. Too thick, and the topping gets pasty rather than crisp.
There’s another detail that matters more than most people expect: the chicken breasts need to be an even thickness. If one end is much thicker, the thinner part dries out before the center cooks through. A quick pound with a rolling pin or the bottom of a heavy pan keeps everything on the same timeline, which is what gives you a browned crust and juicy slices at the same time.
- Even chicken breasts — This is the difference between dry edges and a properly cooked center. If your breasts are very thick, slice them horizontally or pound them to an even thickness before seasoning.
- Mayonnaise — It’s not there for richness alone. It holds the crust in place and protects the chicken from direct heat, which helps the topping brown before the meat overcooks.
- Panko — Regular breadcrumbs work in a pinch, but panko gives you that lighter crunch. If you use standard breadcrumbs, the topping will be denser and less crackly.
What Each Ingredient Is Doing in the Oven
- Chicken breasts — Boneless, skinless breasts keep the method quick and straightforward. They also give the crust a wide surface to cling to, which is the whole point of the dish.
- Mayonnaise — Use full-fat mayo if you want the best browning and the richest texture. Light mayo works, but the coating won’t brown quite as deeply.
- Ranch seasoning mix — This is the backbone of the flavor. A homemade mix can work, but the packet has the right salt, herbs, and tang built in, which makes the chicken taste seasoned all the way through the crust.
- Freshly grated Parmesan — Grating it yourself gives you a better melt and a better crust. Pre-grated Parmesan often contains anti-caking agents, which can keep the topping from crisping as cleanly.
- Panko breadcrumbs — They lighten the topping and help it turn golden. Press them into the mayo mixture so they adhere; sprinkling them loosely on top leads to patchy browning.
- Garlic powder and smoked paprika — These deepen the crust without making it taste muddled. Garlic powder blends smoothly, and smoked paprika adds a little warmth and color.
Getting the Chicken Cooked Through Without Burning the Top
Building the Mayo Layer
Mix the mayonnaise and ranch seasoning until the color looks even and there are no dry pockets of seasoning left. Spread it over the chicken in a generous, even layer, all the way to the edges. If the layer is too thin, the crust has nothing to grip; if it’s clumpy, the topping bakes unevenly and can slide off in spots.
Pressing On the Crust
Stir the Parmesan, panko, garlic powder, and smoked paprika together, then press that mixture onto the mayo-coated chicken with your fingers. Don’t just sprinkle it over the top. Pressing helps the crumbs lock into the sauce so they brown instead of falling into the pan. You want a thick, shaggy coat that looks slightly rough before it goes in the oven.
Baking Until the Center Hits 165°F
Bake at 400°F until the crust is deeply golden and the chicken reaches 165°F in the thickest part, usually 22 to 25 minutes. If the topping is browning too quickly, loosely tent the dish with foil for the last few minutes, but don’t cover it tightly or the crust will soften. Let the chicken rest for a few minutes before serving so the juices settle instead of running onto the plate.
How to Adapt This for a Different Pantry or a Different Table
Make It Gluten-Free
Swap the panko for gluten-free breadcrumbs or crushed gluten-free cornflakes. You’ll still get a crisp top, but the texture will be a little lighter and more delicate. Press it on firmly so the coating doesn’t loosen as it bakes.
Dairy-Free Version
Use a dairy-free mayonnaise and swap the Parmesan for a dairy-free Parmesan-style topping if you have one that melts and browns well. The flavor will lean a little less savory, so add an extra pinch of garlic powder and a bit more ranch seasoning if needed.
Extra Crunch on Top
Add a tablespoon or two of melted butter to the panko-Parmesan mixture before pressing it on. That gives the crust a deeper toasted flavor and a more shattery finish, but it also browns a little faster, so watch it closely in the last few minutes.
Storage and Reheating
- Refrigerator: Store leftovers in an airtight container for up to 3 days. The crust softens a bit in the fridge, but the flavor stays solid.
- Freezer: It freezes, but the topping loses some of its crunch after thawing. Freeze in a single layer first, then wrap tightly and store for up to 2 months.
- Reheating: Warm in a 350°F oven until heated through. The oven brings the crust back better than the microwave, which turns the topping soggy and can toughen the chicken before the center is hot.


