
Thick chicken breasts with a shatteringly crisp Parmesan-panko coating turn into the kind of dinner people remember. The crust bakes up deeply golden and crackly, with salty cheese and Italian herbs in every bite, while the chicken stays juicy underneath instead of drying out. It’s the contrast that makes this one worth putting on repeat.
The key is building a dry surface before the chicken goes into the oven. A quick dredge in flour gives the egg something to hold onto, and pressing the chicken firmly into the Parmesan-panko mixture helps the coating cling instead of sliding off in the oven. A little olive oil on top matters too; it helps the crust color evenly and gives you that fried-looking finish without the skillet.
Below, I’ve included the small details that make the difference between a coating that flakes off and one that bakes up crisp and intact, plus a few easy swaps if you need them.
The crust came out incredibly crisp, and the Parmesan stayed on the chicken instead of falling off the pan. I loved how the lemon at the end cut through the richness.
Save this Parmesan Crusted Chicken for the nights when you want a crispy baked chicken dinner without frying.
The Crust Needs Heat From Below and Color From the Top
Parmesan crusted chicken fails in two predictable ways: the coating falls off, or it bakes up pale and dusty instead of crisp. The fix starts before it ever goes into the oven. A wire rack lets hot air move around the chicken, which keeps the bottom from steaming, and the light oil coating on top helps the panko and Parmesan toast instead of dry out.
Thickness matters just as much. If one end is much thicker than the other, the thin side overcooks before the center of the breast is done. Pounding the chicken to an even thickness gives you a more even crust and keeps the meat tender at the same time.
- Flour — This is the first grip layer. It dries the surface of the chicken so the egg can cling instead of sliding off.
- Panko breadcrumbs — Regular breadcrumbs work, but panko gives you the airy, crunchy crust that makes this recipe stand out.
- Freshly grated Parmesan — The pre-grated shelf-stable kind won’t melt and brown the same way. Freshly grated cheese gives the crust its nutty bite and helps it set into crisp patches.
- Olive oil — This is what pushes the crust into that deep golden color in the oven. Spray or drizzle it evenly so you don’t end up with patchy spots.
What Each Ingredient Is Doing in the Crust
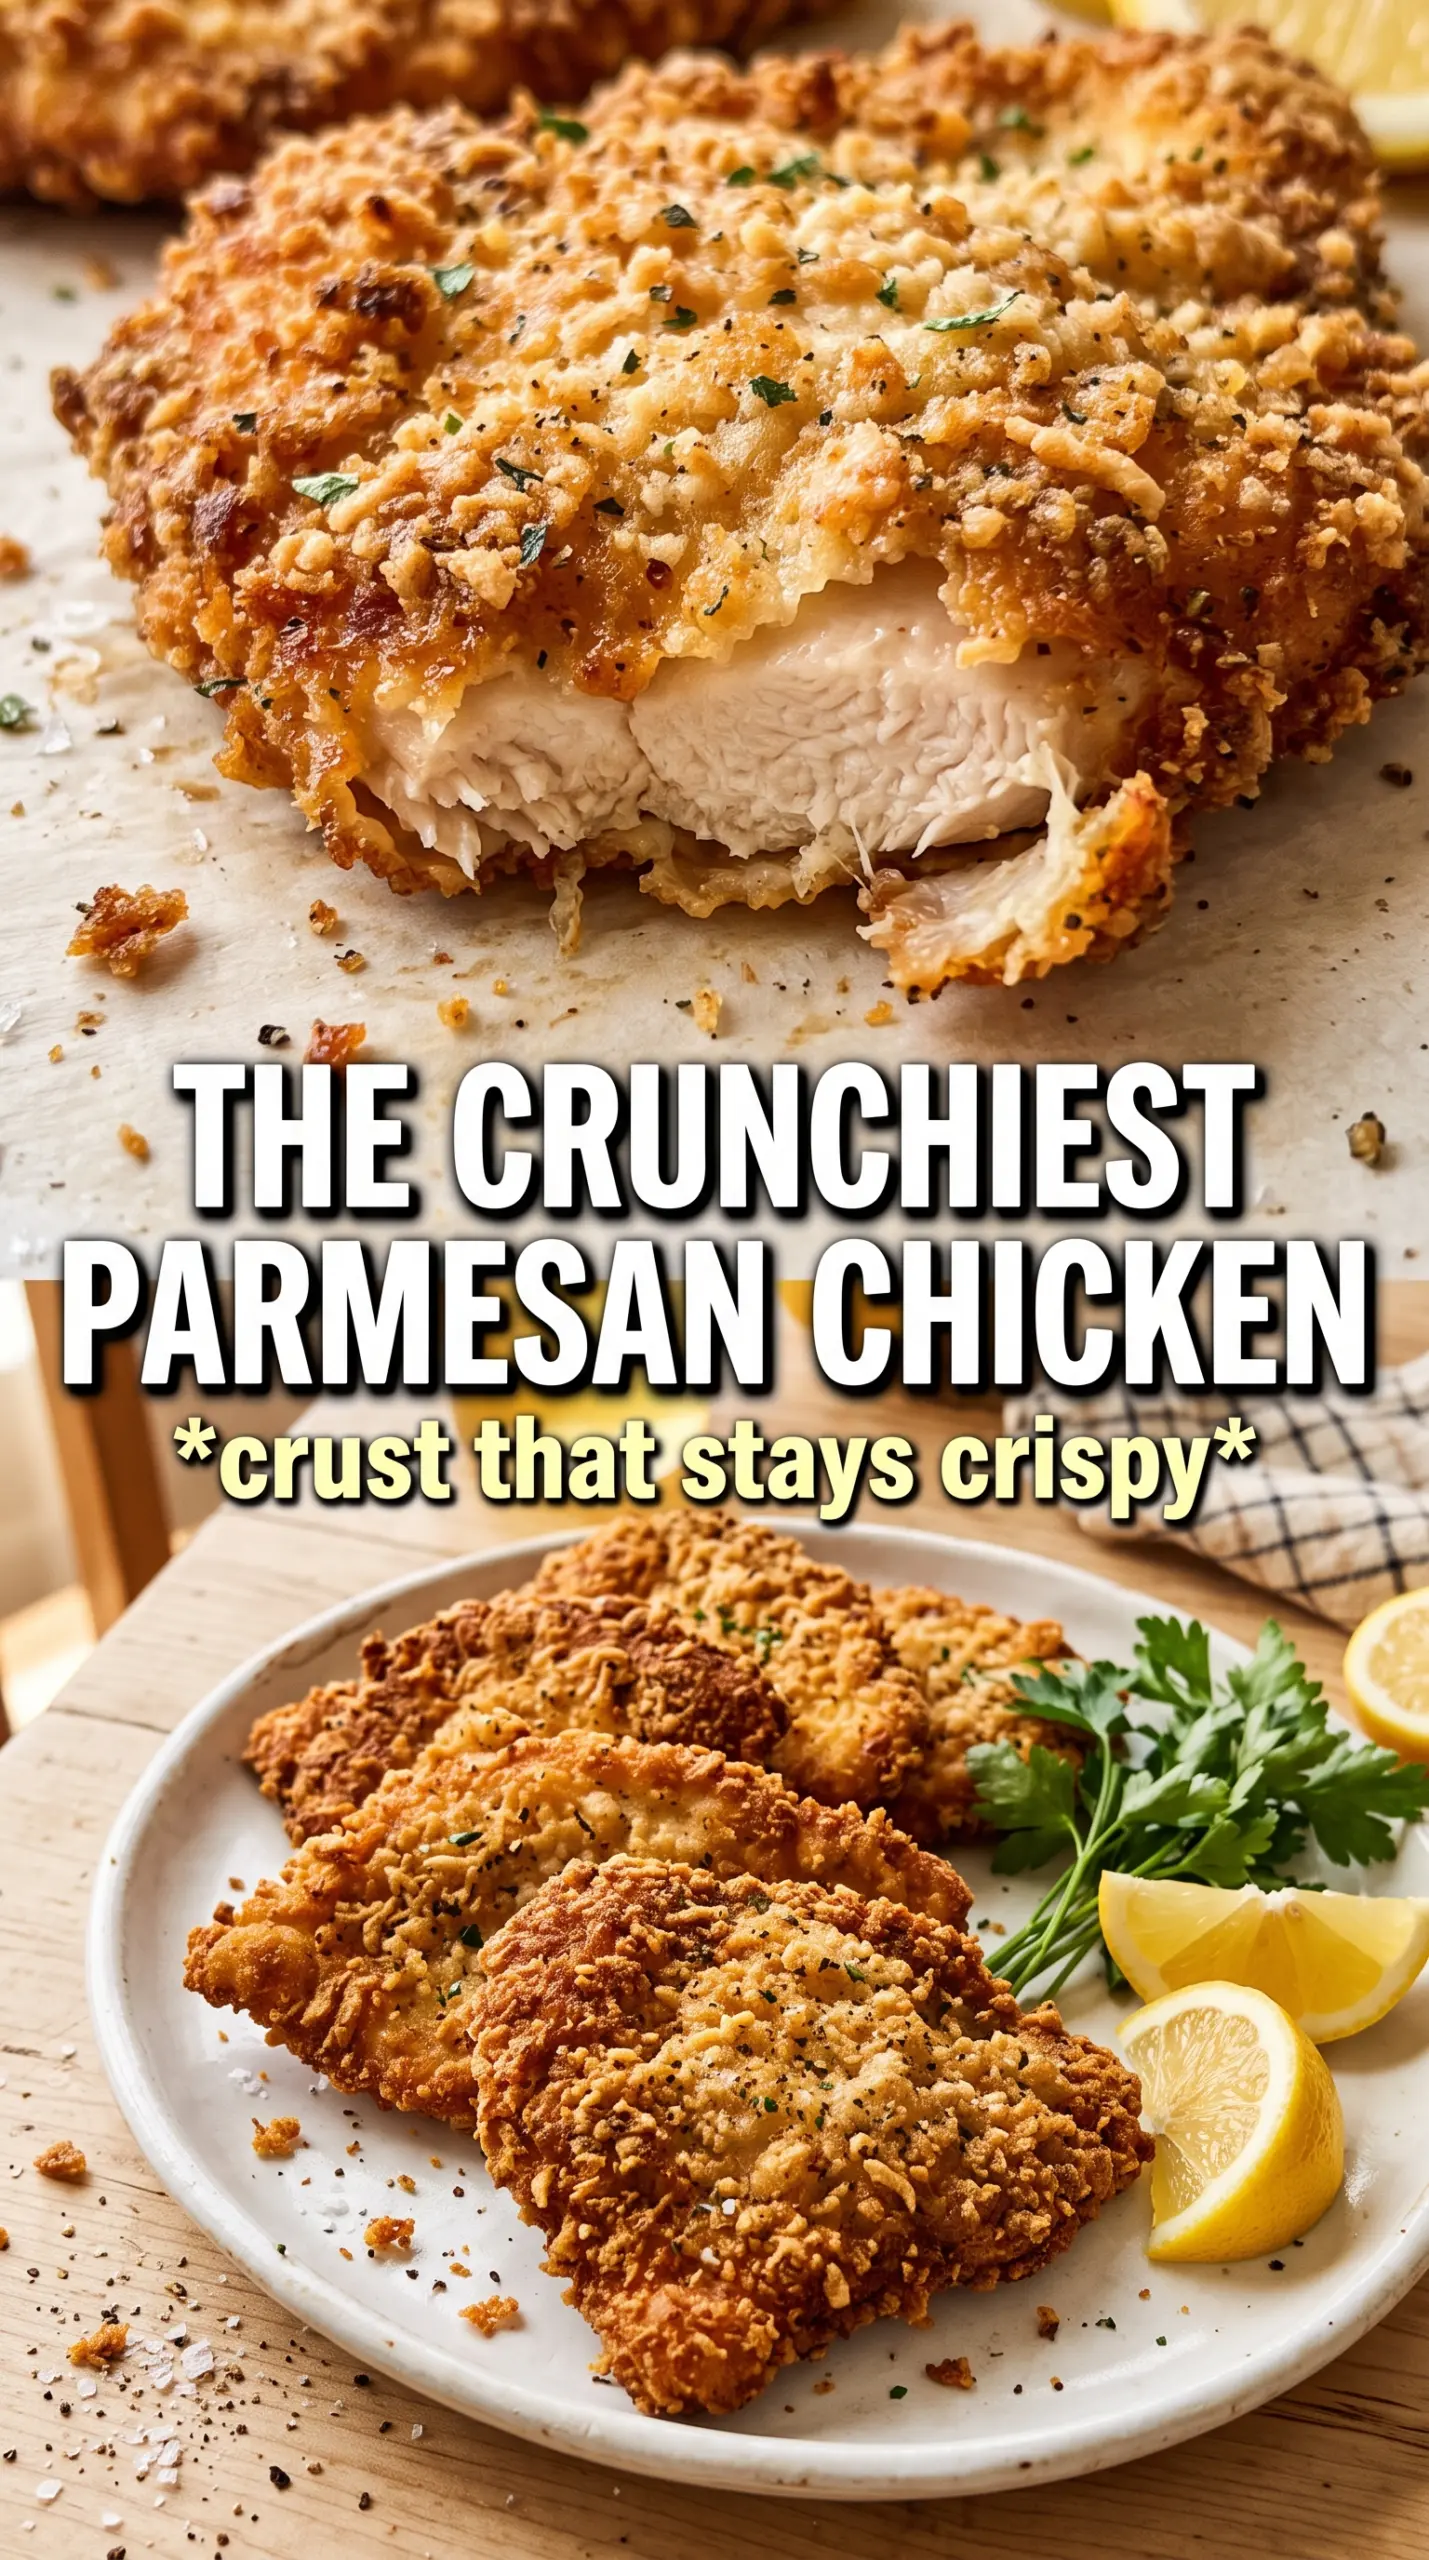
The Parmesan and panko work as a team here. Parmesan gives you the salty, savory flavor and the browned edges, while panko brings the volume and crunch. If you swap in fine breadcrumbs, the crust will still coat the chicken, but it won’t have the same craggy texture.
The seasonings in the breading need to be mixed through evenly before the chicken ever touches them. Garlic powder and Italian seasoning taste flat when they’re sprinkled on top of already coated chicken, but when they’re blended into the crumbs, every bite tastes seasoned from the inside out. Smoked paprika is subtle here; it deepens the color and adds a faint warmth without turning the chicken into barbecue territory.
- Chicken breasts — Pound them to an even thickness so the center cooks at the same pace as the edges. Thin cutlets work too, but they’ll need less time in the oven.
- Eggs — They’re the glue. Beat them until no streaks remain so the coating grabs evenly.
- Italian seasoning — Dried herbs are best here because they disperse evenly through the crumbs and hold up to oven heat.
- Lemon wedges — They’re not garnish by accident. The squeeze of acid at the end wakes up the Parmesan and cuts through the richness.
The 20 Minutes That Make the Crust Crispy
Setting Up the Breading Line
Set out the flour, beaten eggs, and Parmesan-panko mixture in separate shallow dishes before you touch the chicken. The order matters because the flour dries the surface, the egg binds, and the crumbs create the crust. If the chicken is wet when it goes into the egg, the breading turns gummy and patches will slide off later.
Pressing the Coating On
Coat each breast in flour first, then dip it into the egg, then press it firmly into the crumb mixture. Don’t just lay it in the crumbs and turn it over; press with your fingers so the crust actually adheres. Shake off excess after the flour and egg, but leave enough behind for full coverage.
Baking to a Deep Golden Finish
Set the coated chicken on a wire rack over a baking sheet and drizzle or spray the top with olive oil. Bake at 425°F until the crust is deep golden and the thickest part of the chicken reaches 165°F, usually 20 to 22 minutes. If the coating looks pale at the end, give it another minute or two, but don’t keep baking past the temperature just to chase color or the chicken will dry out.
Resting Before Serving
Let the chicken sit for 3 minutes before slicing. That short rest keeps the juices in the meat instead of spilling out onto the cutting board, and the crust firms up a little more as it cools. Finish with parsley and lemon wedges so the whole dish tastes bright instead of heavy.
Three Smart Ways to Tweak This Chicken Without Losing the Crunch
Gluten-Free Version
Swap the all-purpose flour for a gluten-free flour blend and use certified gluten-free panko. The texture stays crisp, though the crust may brown a little faster, so keep an eye on it in the last few minutes of baking.
Lighter Dairy-Free Adaptation
Use a dairy-free Parmesan-style topping that can be finely grated or crushed. The flavor gets a little less sharp and salty than real Parmesan, but the breading still bakes into a crunchy crust if you keep the coating dry and still use enough oil on top.
Thinner Cutlets for a Faster Dinner
Slice or pound the chicken into thinner cutlets and start checking them earlier. They’ll cook faster and the crust-to-chicken ratio gets even better, but they won’t stay quite as juicy if you leave them in too long.
Storage and Reheating
- Refrigerator: Store leftovers in an airtight container for up to 3 days. The crust softens, but the chicken stays flavorful.
- Freezer: Freeze after baking and cooling completely. Wrap tightly and freeze for up to 2 months; the crust won’t be as crisp after thawing, but it still works well for a quick dinner.
- Reheating: Reheat on a wire rack in a 375°F oven or air fryer until hot. Skip the microwave if you want the crust to stay crisp, because steam is what turns the coating soggy.
Questions I Get Asked About This Recipe
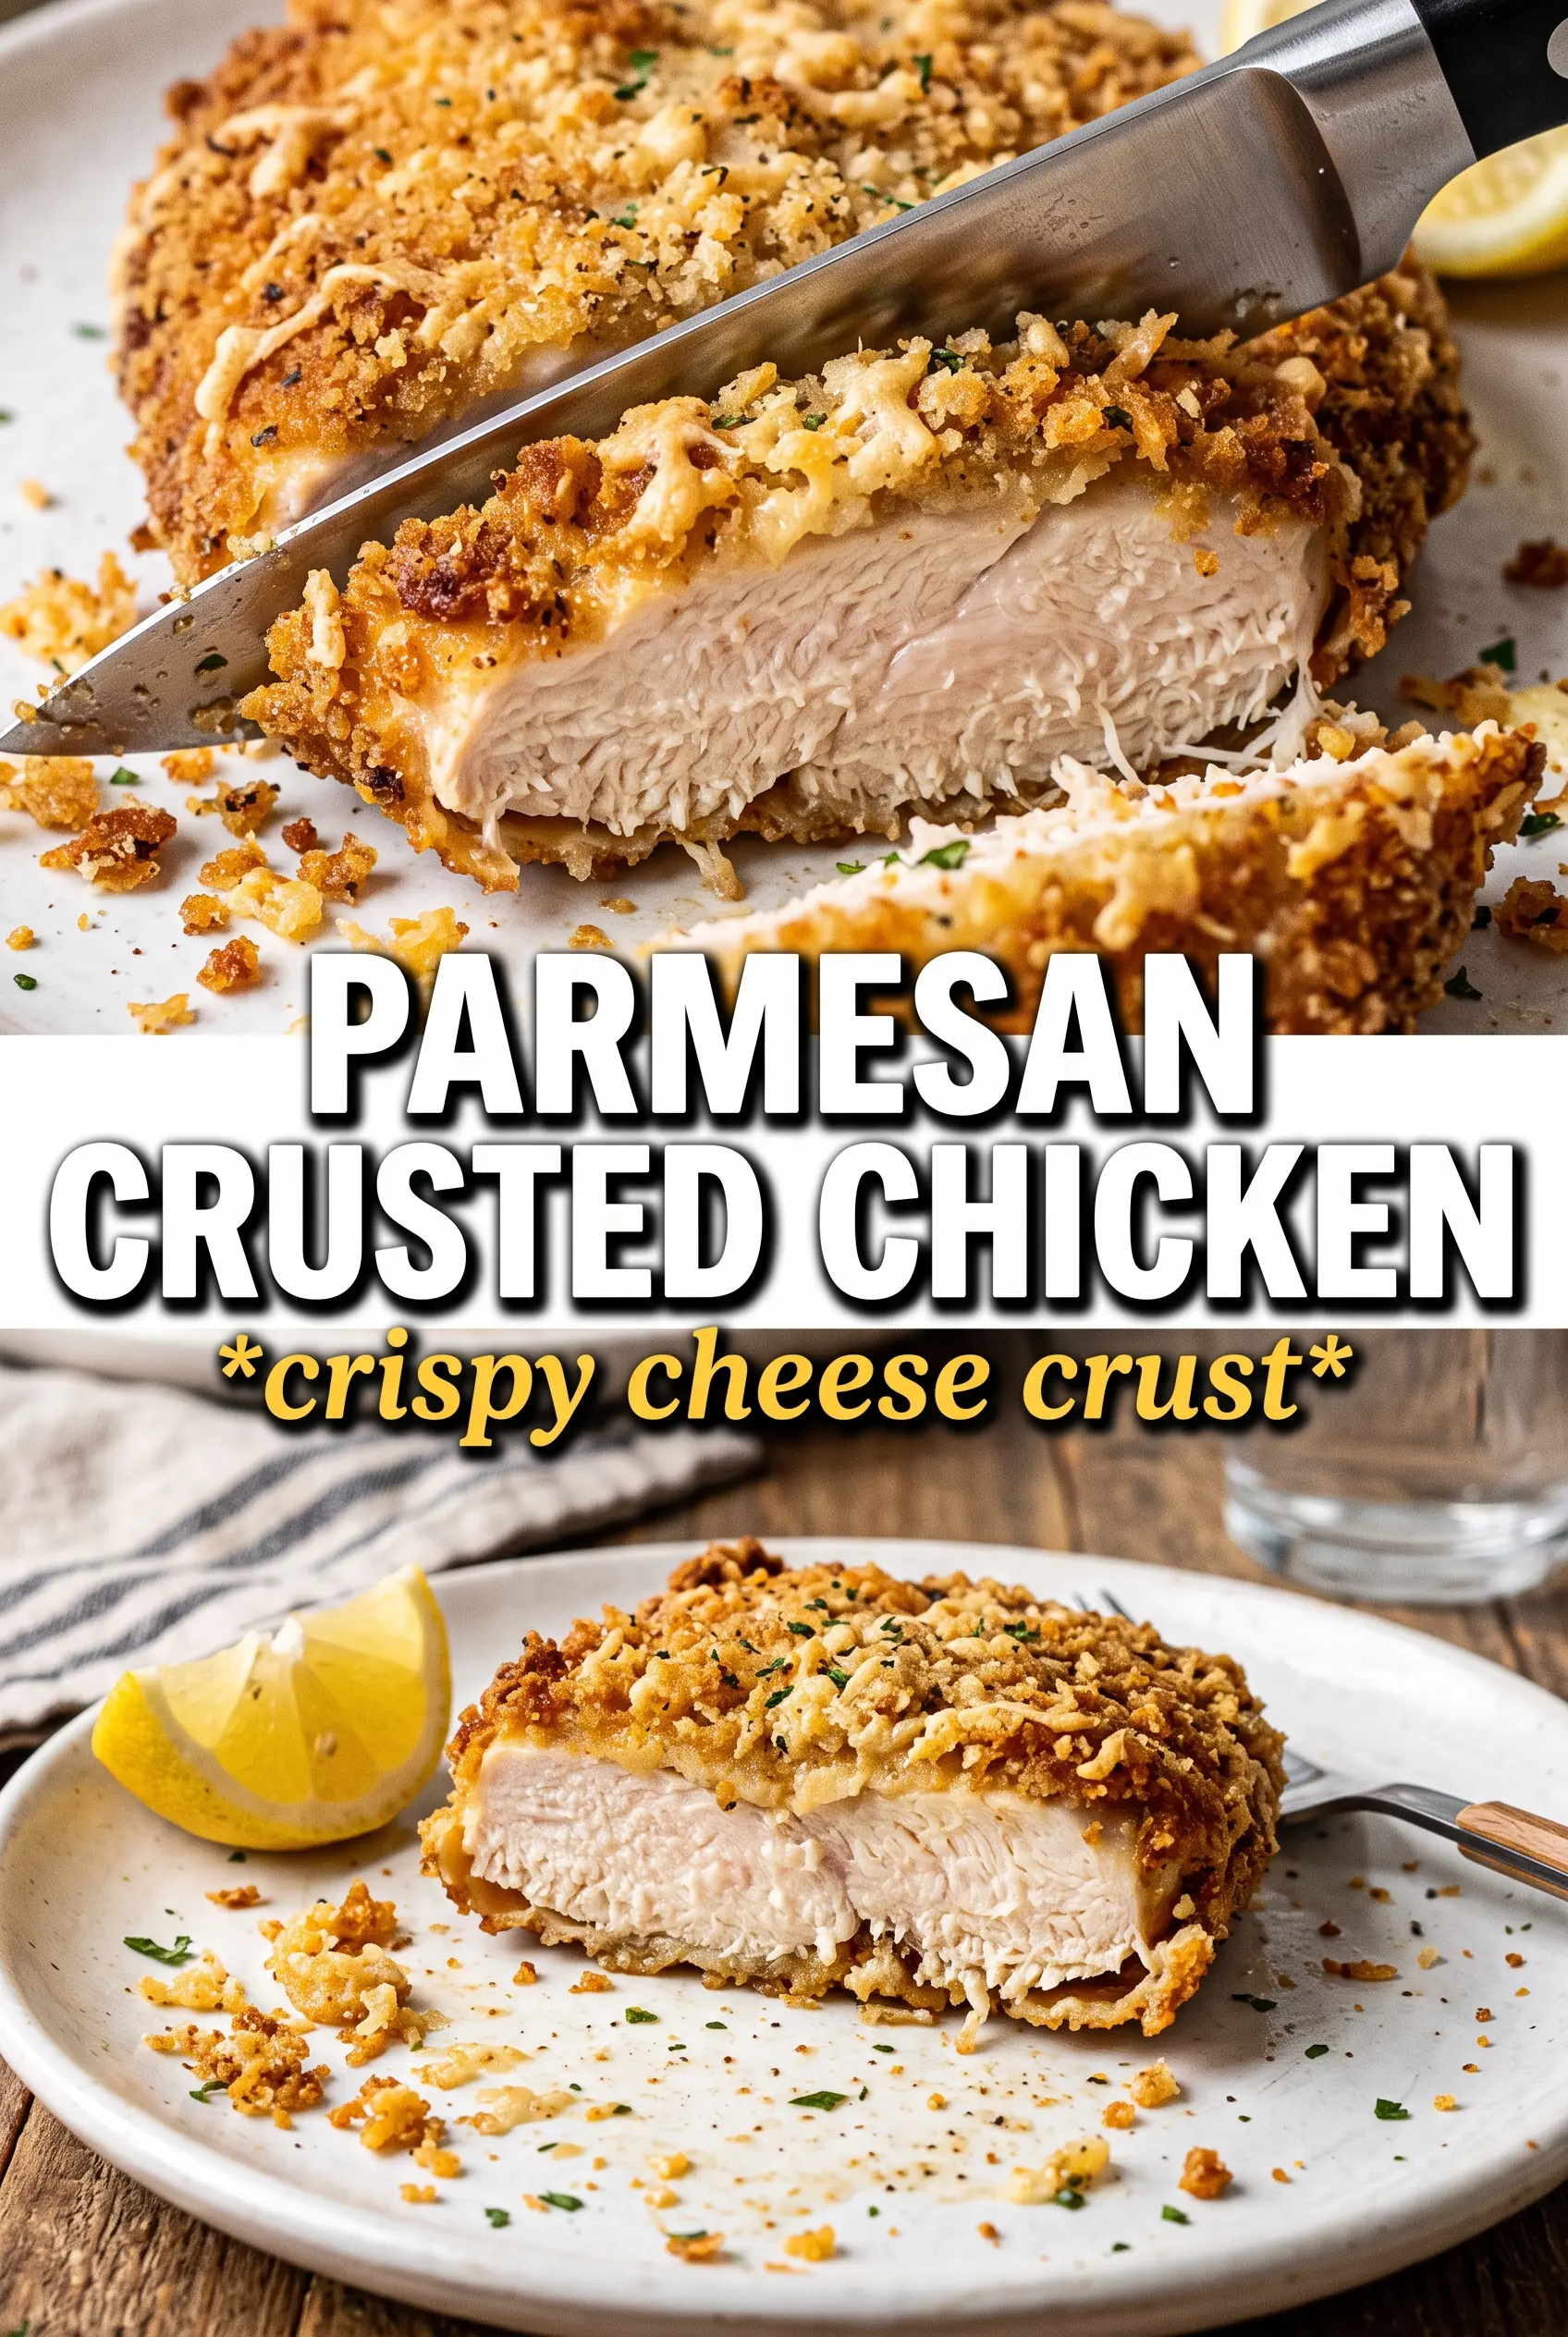
Parmesan Crusted Chicken
Ingredients
Equipment
Method
- Preheat oven to 425°F and line a baking sheet with a wire rack; spray with cooking spray.
- Season chicken breasts with salt, pepper, and garlic powder, then pound to even thickness for uniform cooking.
- Set up a three-station breading line with flour in one dish and beaten eggs in the second.
- Mix panko breadcrumbs with Parmesan cheese, Italian seasoning, garlic powder, and smoked paprika in the third dish until evenly combined.
- Dredge chicken in flour, dip in egg, then press firmly into the Parmesan panko so the crust coats all sides.
- Drizzle or spray olive oil over the breaded chicken and place it on the prepared rack with space around each piece.
- Bake for 20-22 minutes until the crust is deep golden and the internal temperature reaches 165°F; look for a visibly crisp, crackled top.
- Rest the chicken for 3 minutes so the crust sets and stays shatteringly crisp.
- Garnish with fresh parsley and serve with lemon wedges for brightness.


