
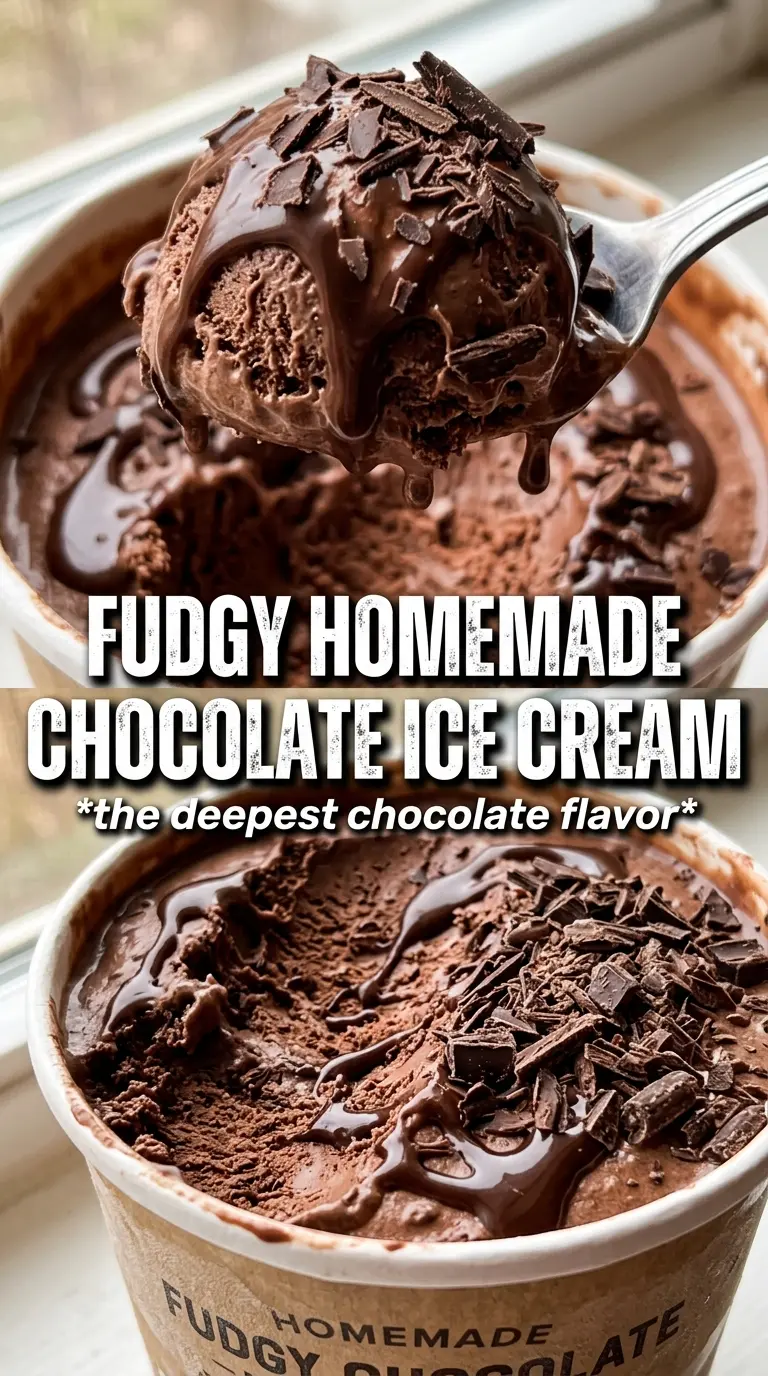
Deep, fudgy chocolate ice cream earns its place in the freezer because it tastes like actual chocolate, not just sweet cream with a brown tint. This version has the dense, velvety body you want from a custard-style ice cream, and the dark chocolate gives it a clean bitterness that keeps every scoop from feeling flat. The texture lands somewhere between silky and plush, with enough richness that a small bowl feels satisfying.
The trick is building the base with both cocoa powder and chopped dark chocolate. Cocoa brings that deep, almost brownie-like backbone, while the melted chocolate adds weight and a smoother finish. Tempering the yolks slowly matters here, because rushing that step can turn your custard grainy before it ever gets close to the churn. The ice cream also needs the full chill time; if the base goes into the machine warm, it won’t freeze with the same fine, creamy texture.
Below, I’ll walk through the part that matters most: how to cook the custard until it’s thick enough without scrambling the eggs, plus the small ingredient choices that make the chocolate taste darker and more balanced.
The custard thickened up exactly the way you described, and the flavor is miles better than store-bought. I chilled it overnight and churned it the next day — it came out dense, smooth, and scoopable without being icy.
Like this dark, custardy chocolate ice cream? Save it to Pinterest for the nights when you want a rich scoop straight from the freezer.
The Custard Has to Be Thick Before It Hits the Freezer
Ice cream that tastes icy usually went wrong before it ever got churned. The base needs to cook until it coats the back of a spoon and holds a clean line when you drag a finger through it. That isn’t just a visual cue; it’s the point where the egg yolks have thickened the custard enough to freeze into a smooth scoop instead of a brittle, watery one.
This recipe uses a slow tempering step so the yolks don’t scramble. You pour the hot chocolate cream in gradually while whisking, then return everything to the pan and finish over medium-low heat. High heat is the fast track to little egg flecks in your custard, and once that happens, the texture is never quite the same even if you strain it.
- Cocoa powder — This gives the ice cream its deep color and that strong, almost brownie-like chocolate base. Natural unsweetened cocoa works well here; Dutch-process will make the flavor a touch smoother and darker.
- Dark chocolate — The chopped chocolate melts into the custard and adds body that cocoa alone can’t give you. Use a bar you’d actually eat on its own, because the flavor gets more concentrated once it’s frozen.
- Egg yolks — These are what turn the base into a proper custard. There isn’t a real substitute here if you want the same dense, creamy texture.
- Heavy cream and whole milk — The cream gives richness while the milk keeps the texture from turning greasy or too stiff. Swapping in lower-fat milk will make the final ice cream icier.
What Each Ingredient Is Actually Doing in This Ice Cream
- Base ingredient (cream, milk, or custard) — This provides the foundation and richness. Quality matters.
- Sweetener (sugar, honey, or condensed milk) — This sweetens and prevents ice crystals. The ratio is critical.
- Flavor element (vanilla, fruit, chocolate, or other) — This defines the ice cream personality. Use quality ingredients.
- Egg yolks (if making custard base) — These create richness and silky texture. Optional but elevates ice cream.
- Churning (if using ice cream maker) — This incorporates air and prevents ice crystals. Critical for smooth texture.
- Freezing temperature and time — Proper freezing prevents rock-hard texture. Store at 0°F or below.
- Mix-ins (chocolate, cookies, fruit, or swirls) — These add texture and prevent one-dimensional flavor. Add near end of churning.
- Serving temperature (slightly soft, not rock hard) — This provides creamy mouthfeel. Remove from freezer 5 minutes before serving.
Cooking the Chocolate Base Without Scrambling the Yolks
Blooming the Cocoa
Start by whisking the cocoa powder with part of the sugar before it goes into the saucepan. That helps the cocoa disperse instead of clumping, and it also keeps the flavor from tasting dusty. Heat the cream, milk, cocoa, and sugar over medium until the mixture is steaming and the cocoa looks fully dissolved. If you see dry streaks floating on top, keep whisking before moving on.
Tempering the Yolks
Whisk the yolks with the remaining sugar until they look paler and a little thicker. Then add the hot chocolate base slowly in a thin stream, whisking constantly. If you dump it in all at once, the yolks can seize at the edges and turn grainy before they ever reach the pan again.
Finishing the Custard
Return the mixture to the saucepan and cook over medium-low heat, stirring all the time and scraping the bottom and corners. The custard is ready at 175°F, or when it thickens enough to coat a spoon and leave a clear path when you run a finger through it. Pull it off the heat the moment it reaches that point; going much past it can give you a chalky edge instead of a smooth finish.
Chilling, Churning, and Freezing
Strain the custard through a fine mesh sieve, then stir in the vanilla and salt after it comes off the heat. The sieve catches any tiny bits of cooked egg, which keeps the ice cream silky. Cool the base over an ice bath first, then chill it for at least 4 hours or overnight before churning. If the base isn’t fully cold, the machine takes longer to freeze it and the texture comes out softer and less dense.
How to Tweak the Batch Without Losing That Deep Chocolate Flavor
Make it darker and less sweet
Use a darker chocolate bar, around 70% cacao, and lean toward Dutch-process cocoa if that’s what you have. The result is less candy-sweet and more intense, with a cleaner chocolate finish that stands up well to hot fudge or flaky salt.
Dairy-free version
Swap the cream and milk for full-fat canned coconut milk, then expect a faint coconut note and a softer set. It still churns well, but it won’t taste quite as clean and dairy-rich as the original.
No ice cream maker
You can freeze the custard in a shallow pan and stir it every 30 to 45 minutes until frozen, but the texture will be a little less refined. It’s still worth making if you don’t own a machine, just expect a more rustic scoop with some ice crystal risk.
Make-ahead storage
The churned ice cream keeps best in an airtight container with parchment pressed directly on the surface for up to 2 weeks. It freezes harder than store-bought ice cream because it has no stabilizers, so let it sit at room temperature for 5 to 10 minutes before scooping.
Answers to the Questions Worth Asking
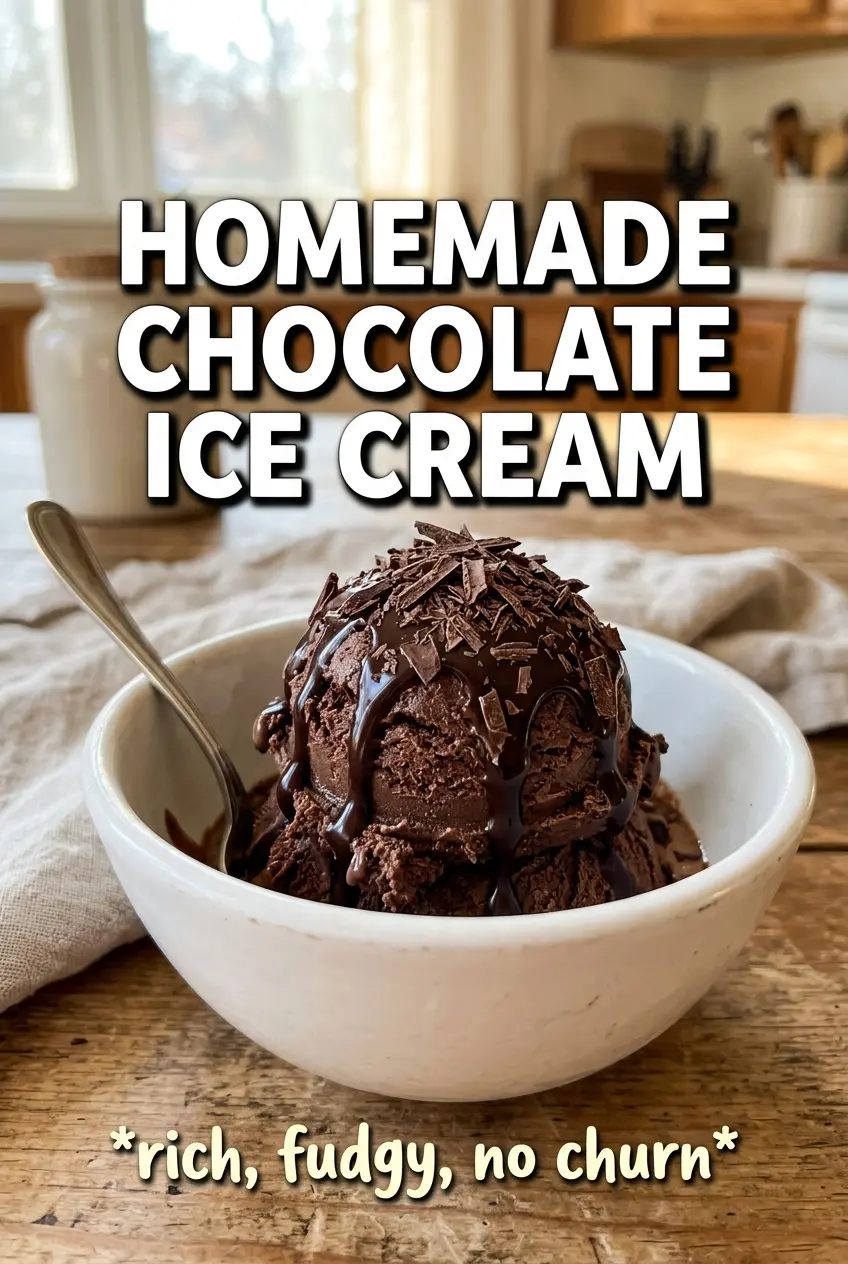
Homemade Chocolate Ice Cream
Ingredients
Equipment
Method
- Whisk unsweetened cocoa powder with 1/4 cup granulated sugar in a saucepan, then whisk in heavy cream and whole milk until smooth. Heat over medium, whisking until the mixture is steaming, about 5 minutes, and look for tiny bubbles around the edges.
- Add finely chopped dark chocolate to the steaming cocoa mixture and whisk until fully melted and smooth, about 2 minutes, with a glossy dark look.
- Whisk egg yolks with the remaining 1/2 cup granulated sugar until pale, about 2 minutes, so the mixture looks lighter and slightly thicker.
- Slowly whisk the hot chocolate cream into the egg yolks a little at a time to temper, then whisk until combined and silky.
- Return the mixture to the saucepan and cook over medium-low heat, stirring constantly until the custard coats the back of a spoon at 175F, about 6-8 minutes, with a thickened, nappe-like texture.
- Strain the custard through a fine mesh sieve, then stir in vanilla extract and salt. Cool completely over an ice bath until the surface looks cooled and the custard is no longer warm.
- Refrigerate the custard at least 4 hours or overnight, then churn in an ice cream maker until thick and scoopable, about 20-25 minutes, with a soft-serve consistency.
- Transfer to a container and freeze until firm, at least 2 hours, so the ice cream holds shape when scooped.


