
Cookies and cream in the Ninja Creami lands with that dense, scoopable texture people chase in homemade ice cream, but it still eats like a real dessert instead of an icy shortcut. The base freezes solid, then the machine shaves and whips it into a smooth pint with tiny cookie crumbs running through every bite. The payoff is a cold, creamy spoonful with just enough crunch to keep it interesting.
This version leans on a little cream cheese for body, which helps the base taste fuller and keeps it from turning thin after spinning. A short blend before freezing matters here too, because the sugar and cream cheese need to disappear completely or the finished pint can come out grainy. Once the base is frozen hard and processed, the mix-in step keeps the cookie pieces from melting away into the cream.
Below, you’ll find the small details that keep the texture on track, plus the substitutions that work when you need to adjust the milk, cookies, or sweetness level.
The base spun up smooth on the first pass, and the crushed cookies stayed in little crunchy pockets instead of disappearing. I added the extra tablespoon of milk for the Re-spin and it came out exactly like the ice cream shop version my kids ask for.
Love the creamy Ninja Creami cookies and cream texture? Save this pint for the next time you want crunchy Oreo bits folded into a smooth homemade ice cream base.
The Freezer Stage That Makes or Breaks the Texture
The biggest mistake with any Ninja Creami pint is rushing the freeze. If the base isn’t frozen solid all the way through, the blade can’t shave it cleanly and you’ll get a sandy, slushy middle instead of that dense ice cream texture. Twenty-four hours in a level spot is the real rule here, not a loose guess based on how hard the top feels.
Leave the pint with about an inch of headspace so the mixture has room to expand as it freezes. If you fill it too high, the lid can bow or the top can freeze unevenly, and that uneven surface can make the first spin rougher than it needs to be.
- Cream cheese — This is the ingredient that gives the base body and keeps it from tasting flat. Softened cream cheese blends in smoothly; cold cream cheese leaves tiny lumps that show up after freezing.
- Heavy cream — This brings richness and helps the pint spin into a creamy, scoopable texture. Half-and-half works in a pinch, but the finished ice cream will be a little lighter and less plush.
- Whole milk — The fat in whole milk keeps the base balanced without making it overly heavy. Lower-fat milk will freeze harder and often needs more re-spins or a splash of milk to loosen it up.
- Chocolate sandwich cookies — These are the crunch and the chocolate hit. Crush them by hand or in a bag so you get pieces, not dust; too much fine crumb disappears into the base during the mix-in cycle.
What Each Ingredient Is Actually Doing in This Ice Cream

- Base ingredient (cream, milk, or custard) — This provides the foundation and richness. Quality matters.
- Sweetener (sugar, honey, or condensed milk) — This sweetens and prevents ice crystals. The ratio is critical.
- Flavor element (vanilla, fruit, chocolate, or other) — This defines the ice cream personality. Use quality ingredients.
- Egg yolks (if making custard base) — These create richness and silky texture. Optional but elevates ice cream.
- Churning (if using ice cream maker) — This incorporates air and prevents ice crystals. Critical for smooth texture.
- Freezing temperature and time — Proper freezing prevents rock-hard texture. Store at 0°F or below.
- Mix-ins (chocolate, cookies, fruit, or swirls) — These add texture and prevent one-dimensional flavor. Add near end of churning.
- Serving temperature (slightly soft, not rock hard) — This provides creamy mouthfeel. Remove from freezer 5 minutes before serving.
Spinning the Pint Without Ending Up With Ice Crystals
Blending the Base Until It Disappears
Blend the milk, cream, sugar, softened cream cheese, vanilla, and salt until the mixture looks completely uniform and smooth. You shouldn’t see tiny white flecks of cream cheese or feel sugar grit on the spoon. If the base goes into the freezer with lumps, those lumps won’t fix themselves later — they’ll turn into little frozen pockets that the machine can’t fully smooth out.
Freezing the Pint Flat and Hard
Pour the base into the Ninja Creami pint container and set it on a level shelf in the freezer. A tilted container can freeze with a higher side and throw off the first spin, so give it a flat surface and leave it alone for the full 24 hours. The pint should feel rock solid from edge to center before it goes into the machine.
Processing, Then Re-Spinning Only If Needed
Run the Ice Cream setting first and watch the texture before you touch anything else. If the pint looks dry or powdery after the first spin, add 1 tablespoon of milk and hit Re-spin. That small amount is enough to loosen the edges without turning the whole thing into soup, which is the fastest way to lose the creamy texture you were aiming for.
Folding in the Cookies at the End
Use the Mix-In function after the base is already smooth. This keeps the chocolate sandwich cookies in distinct pieces instead of grinding them into the ice cream. If you add them before the main spin, they break down too much and the final pint loses the cookie-and-cream contrast that makes the recipe worth making.
How to Adjust This Pint for Different Freezers, Sweetness Levels, and Diets
Dairy-Free Cookies and Cream
Use full-fat coconut milk or a thick oat-based cream alternative in place of the dairy, and choose dairy-free sandwich cookies. The texture will be a little softer and the flavor will lean slightly coconut or oat, but the Creami still turns it into a rich frozen dessert.
Lower-Sugar Version
Cut the sugar back to 2 tablespoons if you want a less sweet pint. The ice cream will freeze a little firmer, so expect to use the Re-spin more often or add that tablespoon of milk to bring it back to a creamy texture.
Extra Cookie Swirl
If you want more cookie presence, reserve a few crushed cookies and stir them in by hand after the Mix-In cycle. That gives you bigger crunch pockets on top of the smaller pieces already folded through the pint.
Storage and Re-Spinning Later
- Refrigerator: This isn’t a fridge dessert; the texture breaks down fast once it softens.
- Freezer: You can refreeze leftovers in the pint, but the top will get harder and usually needs another spin before serving.
- Reheating: Let the pint sit at room temperature for 5 to 10 minutes, then run the Ice Cream setting again. If you spin it while it’s still rock hard from the freezer, the texture can turn crumbly instead of creamy.
Questions I Get Asked About This Recipe
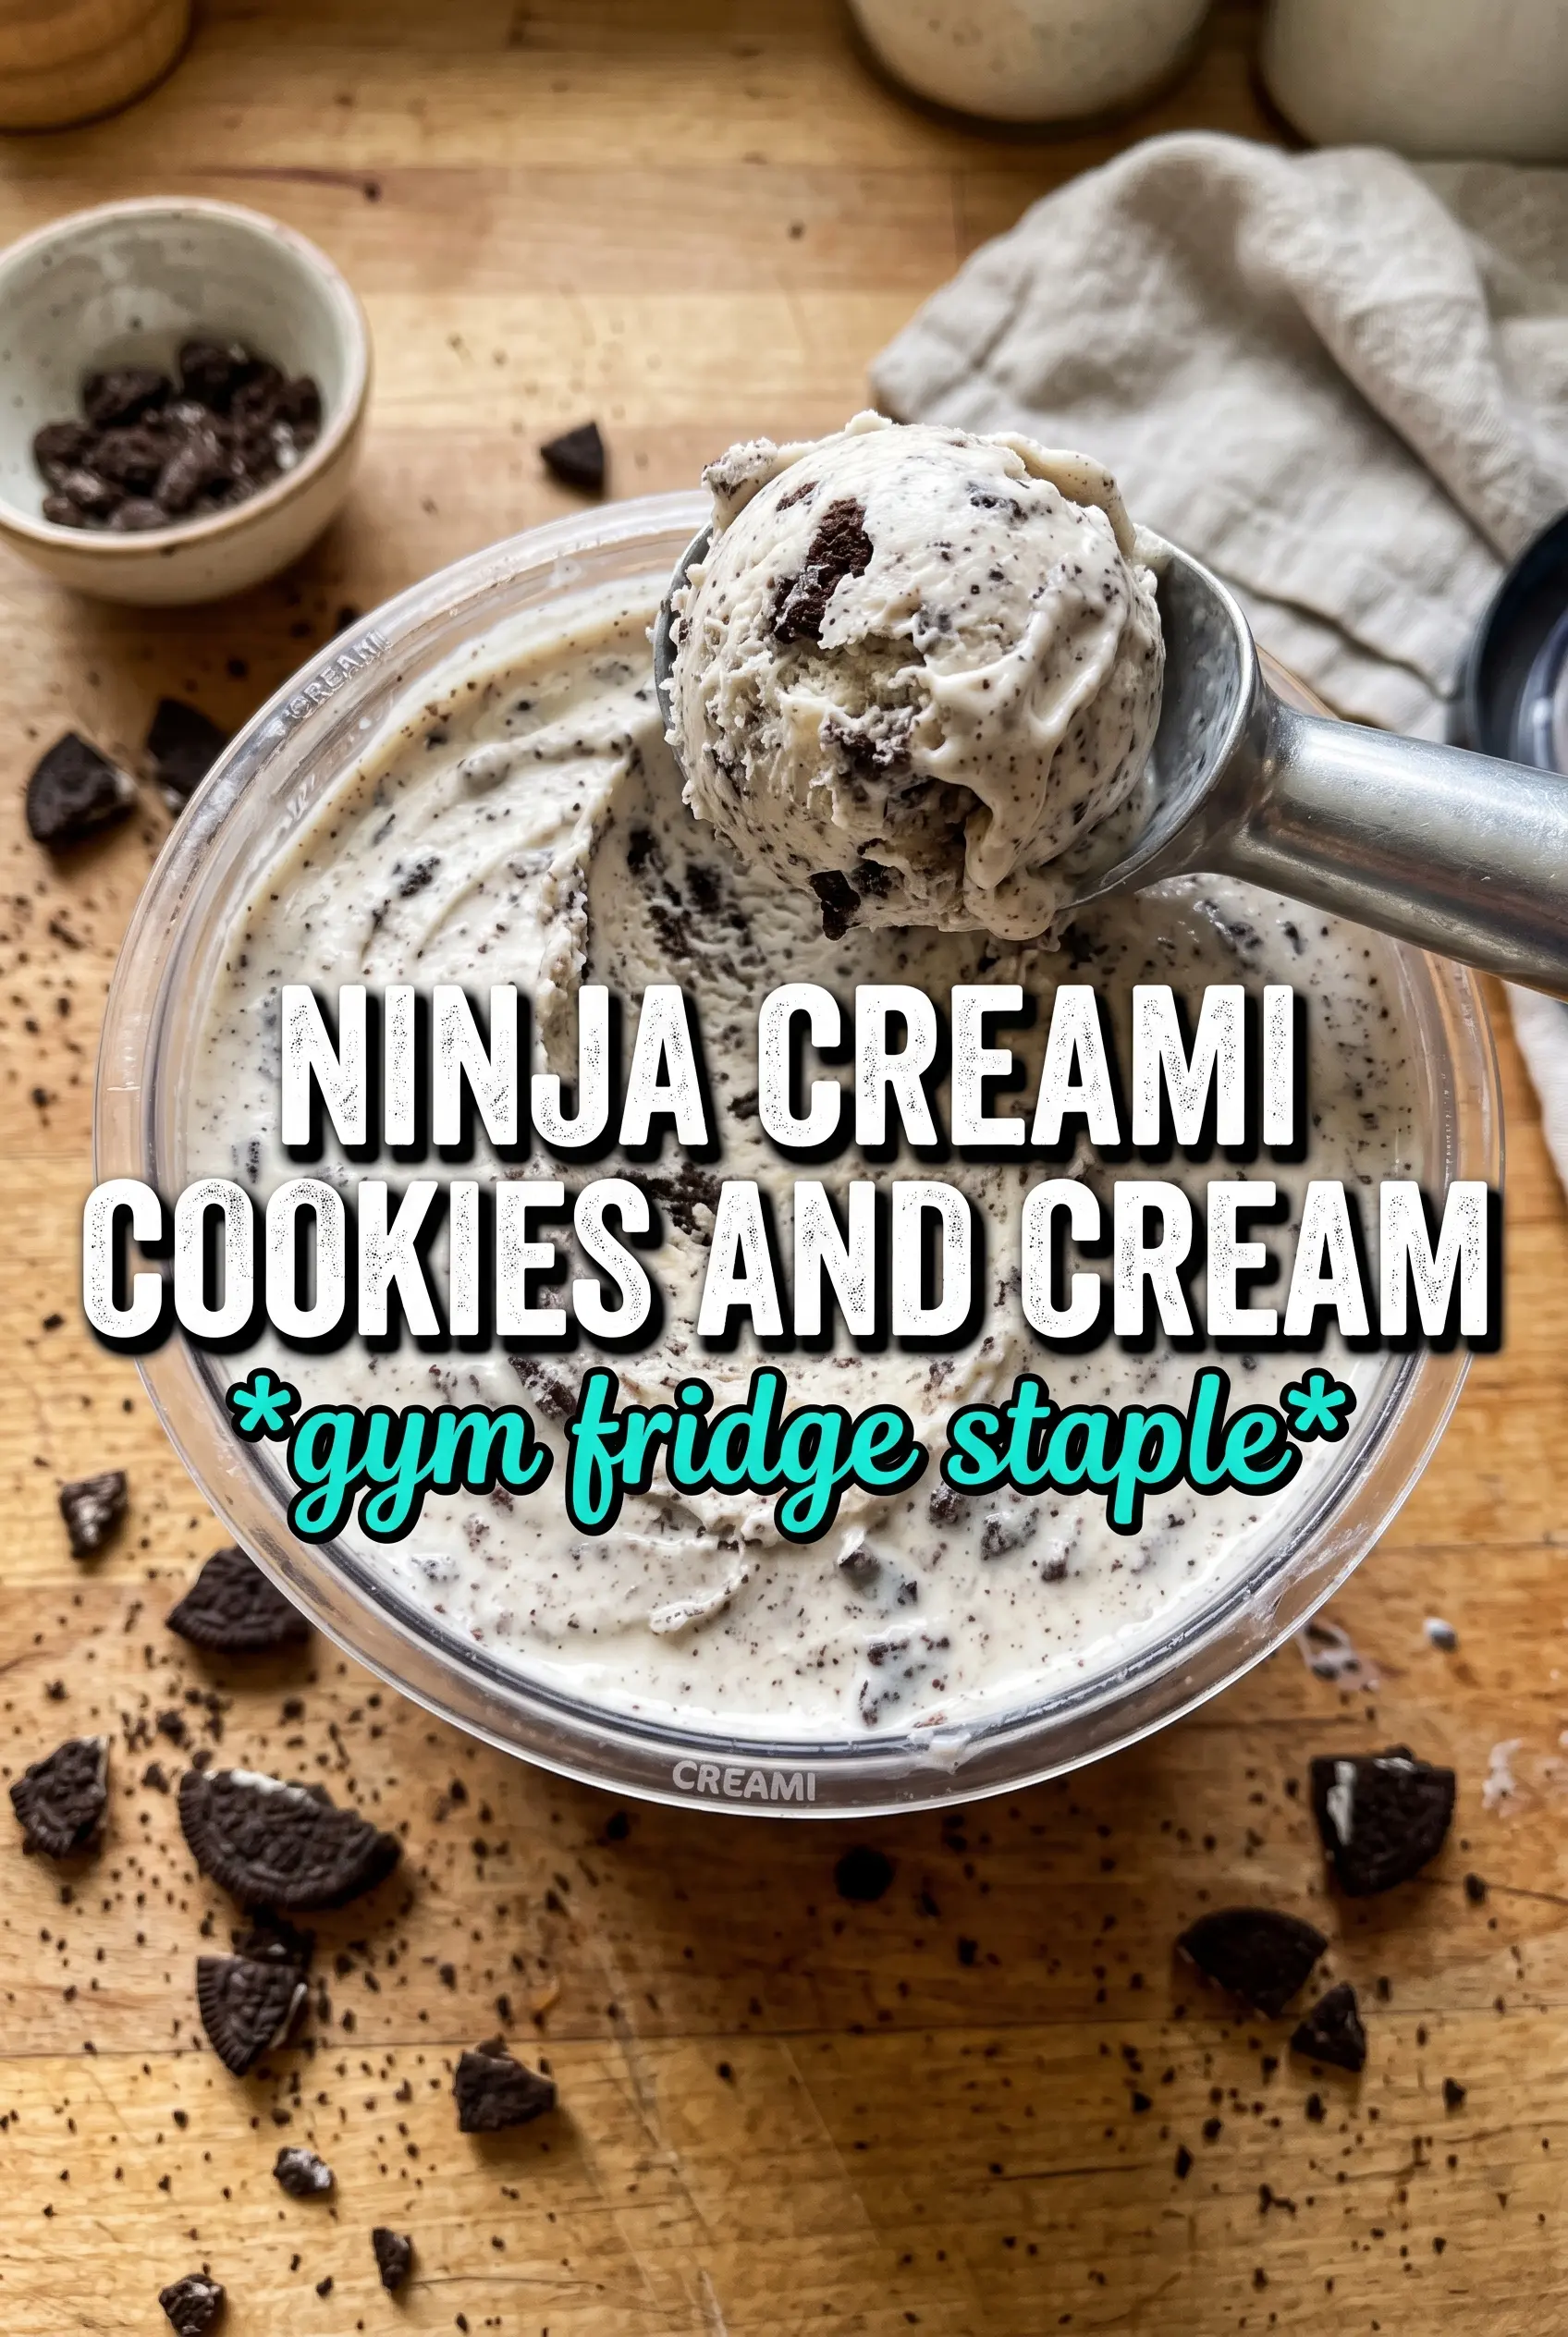
Ninja Creami Cookies and Cream
Ingredients
Equipment
Method
- Blend whole milk, heavy cream, granulated sugar, softened cream cheese, vanilla extract, and salt together until completely smooth and the cream cheese is fully incorporated. Stop and scrape as needed so there are no visible cream cheese lumps.
- Pour the smooth base into the Ninja Creami pint container, leaving 1 inch of headspace for expansion. Wipe any drips from the rim so the lid seals properly.
- Freeze for 24 hours until the base is firm enough to process. Keep the pint level in the freezer so it freezes evenly.
- Process on the Ice Cream setting; if the pint is too firm, add 1 tablespoon milk and re-spin. Watch for a dense, creamy texture with no icy pockets on the processed top.
- Use the Mix-In function to fold in crushed chocolate sandwich cookies. Continue until the cookie pieces are evenly distributed throughout the creamy white base.
- Serve immediately or return the pint to the freezer. If serving later, re-spin briefly on the Ice Cream setting to restore a smooth texture.


