
Blackstone chicken fajita quesadillas hit the table with the kind of crisp edges and gooey center that disappear fast. The tortillas pick up a golden, griddled crust while the filling stays juicy, smoky, and packed with pepper-and-onion flavor. Every wedge gives you a clean cross-section of melted cheese, seasoned chicken, and tender vegetables, which is exactly what makes this one worth repeating.
The key here is building the filling in stages on a hot griddle. Chicken cooks first so it can brown before the peppers and onions soften in the same oil and seasoning. Then the quesadillas get assembled on the griddle, which keeps everything warm and lets the cheese melt evenly without steaming the tortillas into limp wrappers. Using a cheddar and Monterey Jack blend gives you both sharp flavor and the stretch that makes the slices hold together.
Below, I’ve included the timing that keeps the tortillas crisp, the one detail that keeps the filling from tasting flat, and a few smart swaps if you need to work with what’s already in the fridge.
The tortillas came out crisp instead of soggy, and the chicken stayed juicy even after I added the peppers and onions. My kids kept reaching for the wedges before I even got the salsa on the table.
Save these Blackstone chicken fajita quesadillas for the night you want crispy tortillas, melty cheese, and fast griddle-cooked dinner with zero fuss.
The Griddle Heat That Keeps the Tortillas Crisp
The mistake that ruins quesadillas on a flat top is rushing the heat. If the griddle is too cool, the tortillas dry out before they brown. If it’s too hot, the outside scorches before the cheese gets a chance to melt. Medium-high is the sweet spot here because it gives you enough surface heat for browning while still letting the filling warm through.
Cooking the chicken first also matters. Chicken breast releases moisture as it cooks, and if you pile the vegetables in too early, that moisture gets trapped under the tortillas later. You want the filling cooked, seasoned, and mostly dry before it ever hits the tortillas. That’s what keeps the final wedges crisp instead of soft in the center.
- Hot griddle: This drives off moisture fast enough to brown the tortillas without overcooking the filling.
- Thin-sliced chicken breast: Thin pieces cook quickly and evenly, which keeps them juicy and prevents the quesadillas from turning heavy.
- Bell peppers and onion: They need just enough time to soften and pick up color, but they should still have a little bite so the filling doesn’t turn mushy.
What Each Ingredient Is Actually Doing in These Quesadillas
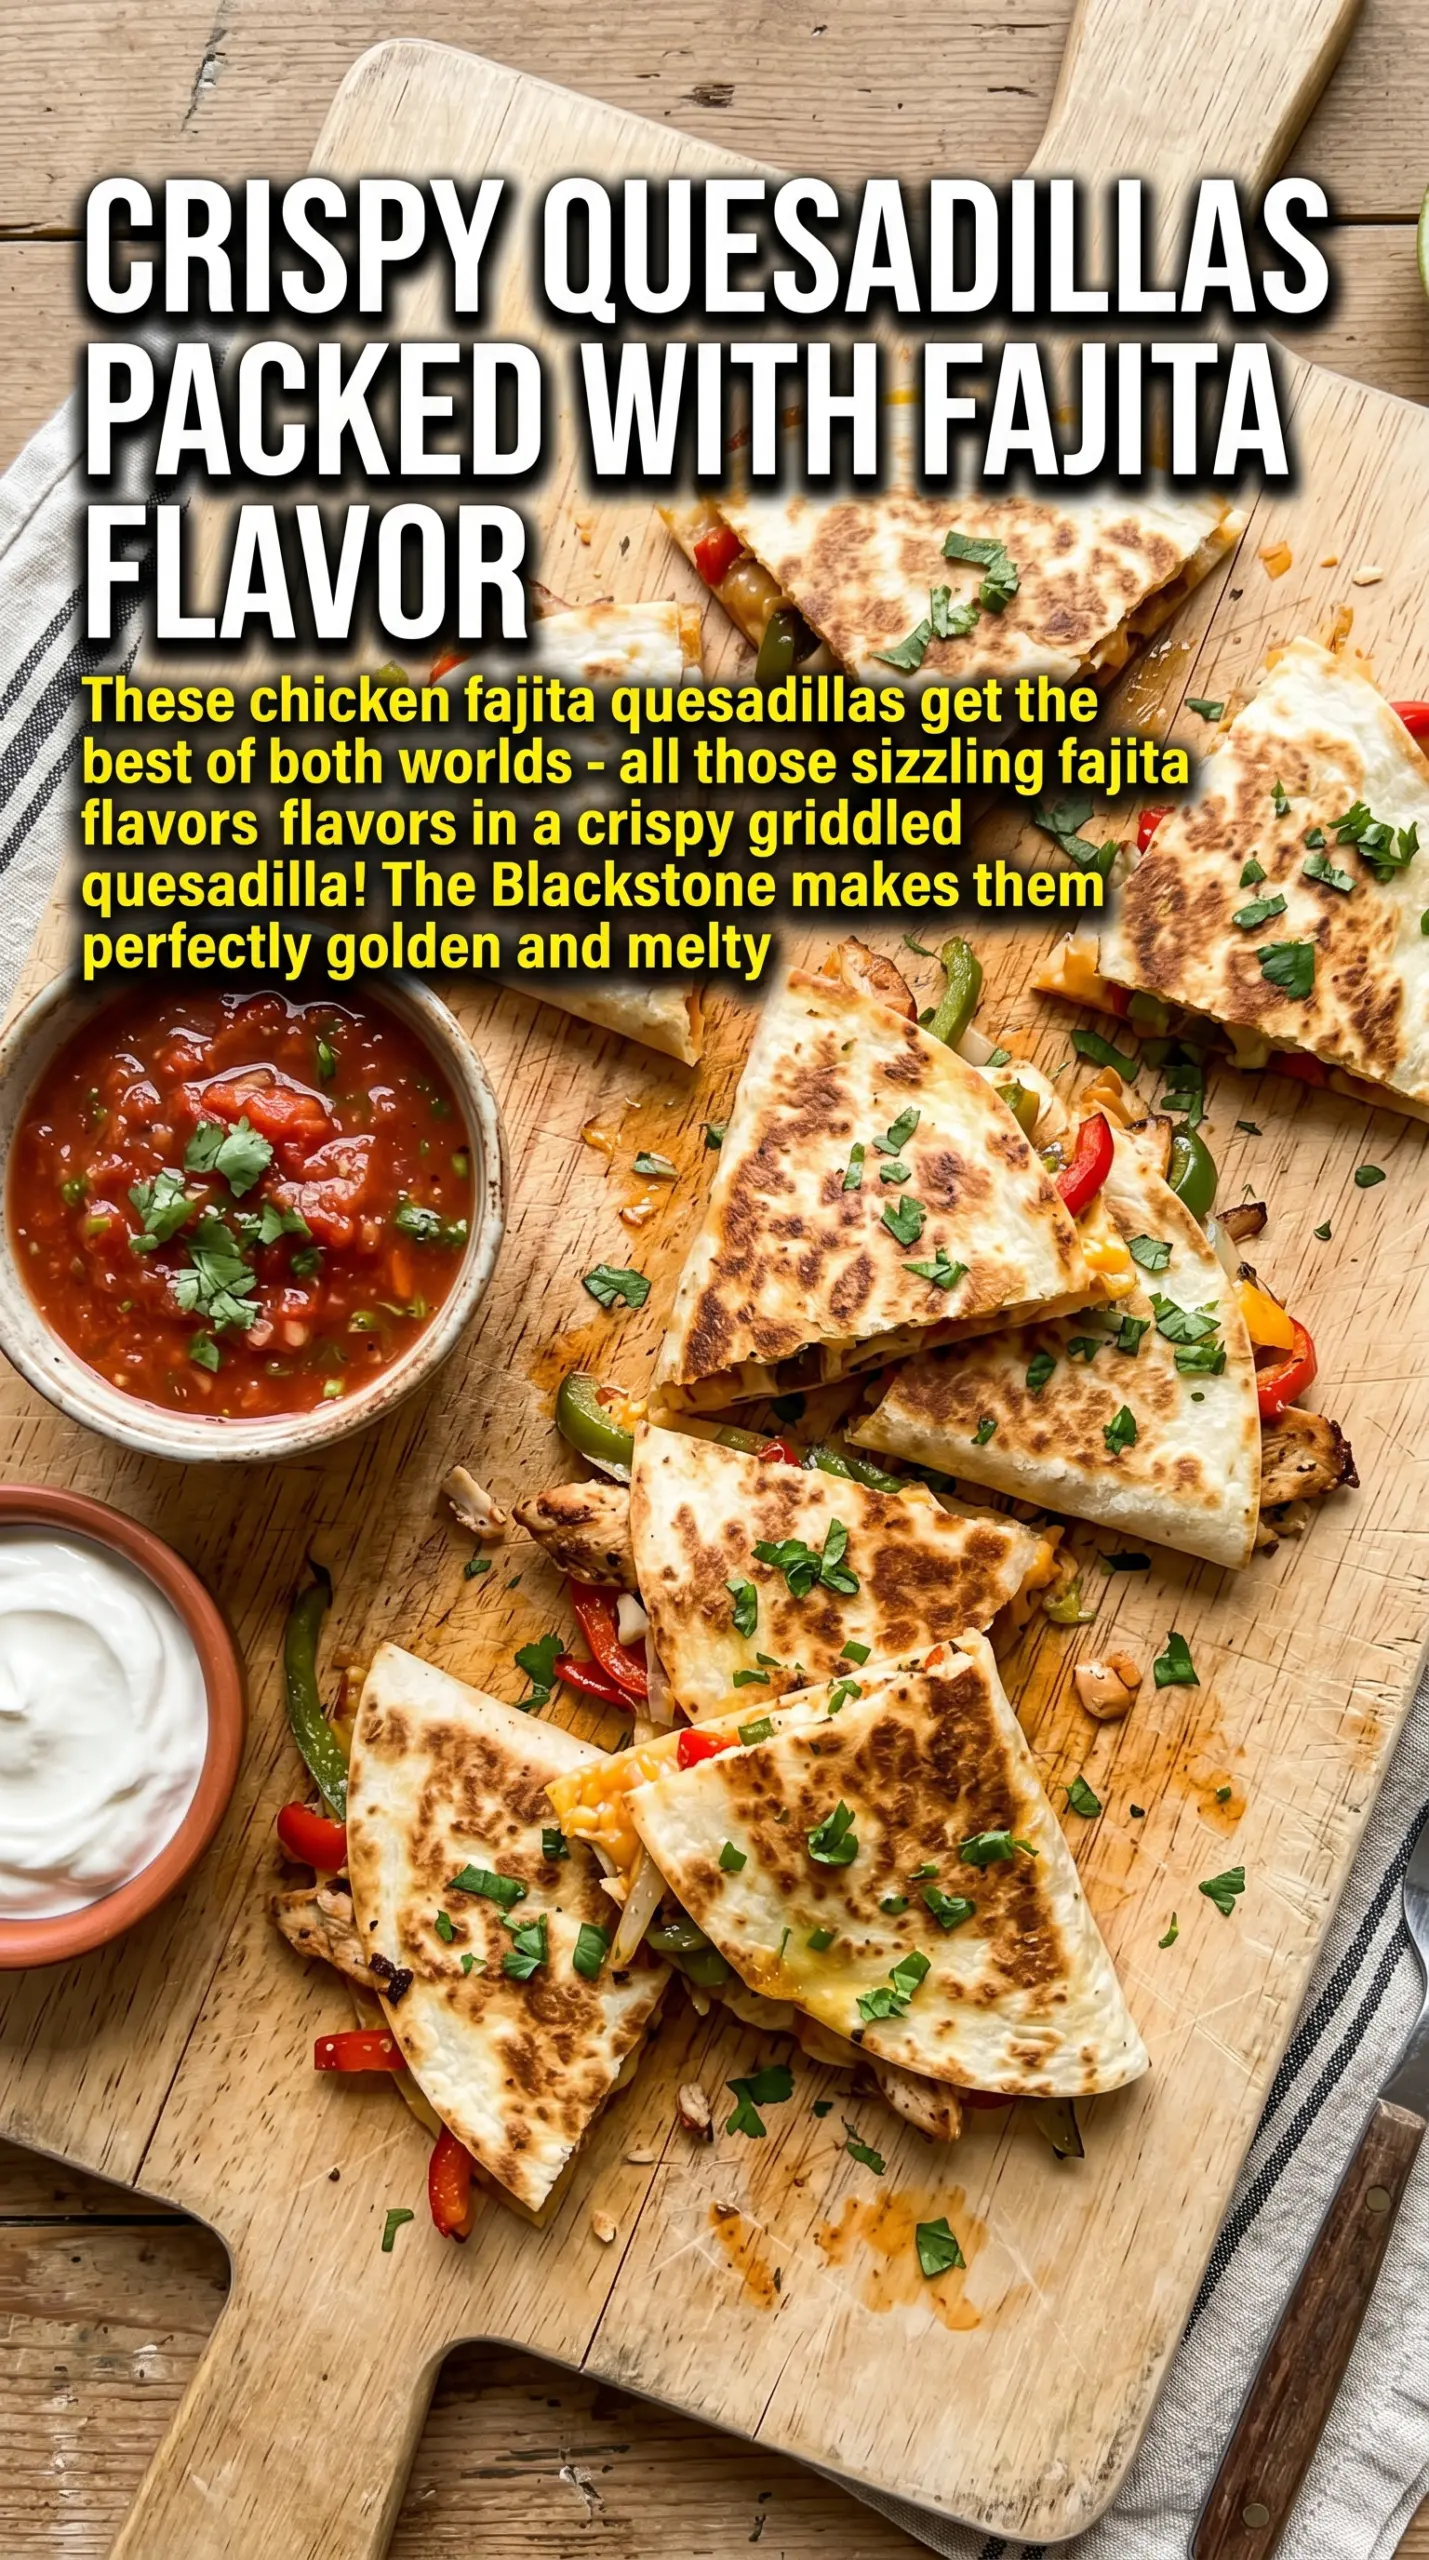
- Chicken breast: Breast meat gives you a clean fajita-style filling that slices well and stays light inside the tortilla. Thighs work too if you want more richness, but they’ll make the filling a little looser and more heavily seasoned.
- Bell peppers and onion: These are the backbone of the fajita flavor. Any color bell pepper works, and yellow or red onions are a fine swap for white onion if that’s what you have.
- Fajita seasoning: This does the heavy lifting for salt, spice, and smokiness. Store-bought seasoning is fine, but if yours is low-salt, taste the chicken after cooking and add a pinch more so the filling doesn’t come out flat.
- Cheddar and Monterey Jack: Cheddar gives sharpness, and Monterey Jack gives the stretch. Use pre-shredded if you’re in a hurry, but freshly shredded melts smoother and gives you fewer dry pockets inside the quesadilla.
- Flour tortillas: Large flour tortillas fold and seal better than corn for this style. They’re the right choice when you want a sturdy griddled shell that can hold a full filling without tearing.
Building the Layers So the Cheese Melts Before the Tortilla Burns
Seasoning and Searing the Chicken
Start with the griddle hot and the oil shimmering, then spread the chicken out in a single layer. Let it sit long enough to pick up some color before moving it around. The first batch of fajita seasoning goes on the chicken so it has direct contact with the meat, not just the vegetables. If the chicken looks pale and watery, keep cooking; you want browned edges and no pink in the center.
Softening the Peppers and Onions
Add the peppers and onions after the chicken comes off the first stage, then season them with the remaining fajita seasoning. They should soften and lose their raw crunch, but they don’t need to collapse. If the pan looks dry, add a small splash more oil instead of turning the heat up. Too much heat here will char the onions before the peppers catch up.
Assembling on the Griddle
Lay four tortillas on the griddle and build on just one half if you want easier folding, or top one tortilla with another for a full sandwich-style quesadilla. Cheese should go both under and over the filling so it acts like glue and keeps the chicken and vegetables from spilling out. If you skip the bottom layer of cheese, the tortillas tend to slide before the filling sets.
Flipping and Finishing
Cook until the bottom is deeply golden, then flip with a wide spatula and press lightly so the top tortilla bonds to the cheese. The finished quesadilla should feel crisp at the edges and give a little when you lift it, not droop. Slice after a brief pause so the cheese settles just enough to hold the wedge shape. That short rest is what gives you those clean, stackable triangles instead of a messy spill.
How to Adapt These Fajita Quesadillas When You Need a Different Finish
Dairy-Free Quesadillas
Use a good melting dairy-free cheese and add a little extra seasoning to the filling, since many vegan cheeses taste milder than the real thing. The texture will be a little less stretchy, but the griddle gives the tortillas enough crunch to keep the sandwich satisfying.
Low-Carb Version
Swap the flour tortillas for low-carb tortillas and cook them a little more gently, since they can brown faster and crack if the heat is too high. You’ll lose some of the soft chew of a classic tortilla, but the filling stays the same and still gives you the fajita flavor.
Vegetarian Fajita Quesadillas
Leave out the chicken and double the peppers and onions, or add sautéed mushrooms for a more substantial filling. You’ll need a little less seasoning if you use mushrooms, since they hold onto moisture and can dilute the spice if they’re crowded on the griddle.
Storage and Reheating
- Refrigerator: Store leftovers in an airtight container for up to 3 days. The tortillas soften a bit in the fridge, but the flavor holds up well.
- Freezer: These freeze better after being cut and cooled. Wrap wedges tightly and freeze for up to 2 months, though the tortilla won’t stay quite as crisp after thawing.
- Reheating: Reheat on a dry skillet or griddle over medium heat until the outside crisps back up and the center is hot. The common mistake is microwaving, which melts the cheese unevenly and turns the tortillas chewy.
Answers to the Questions Worth Asking
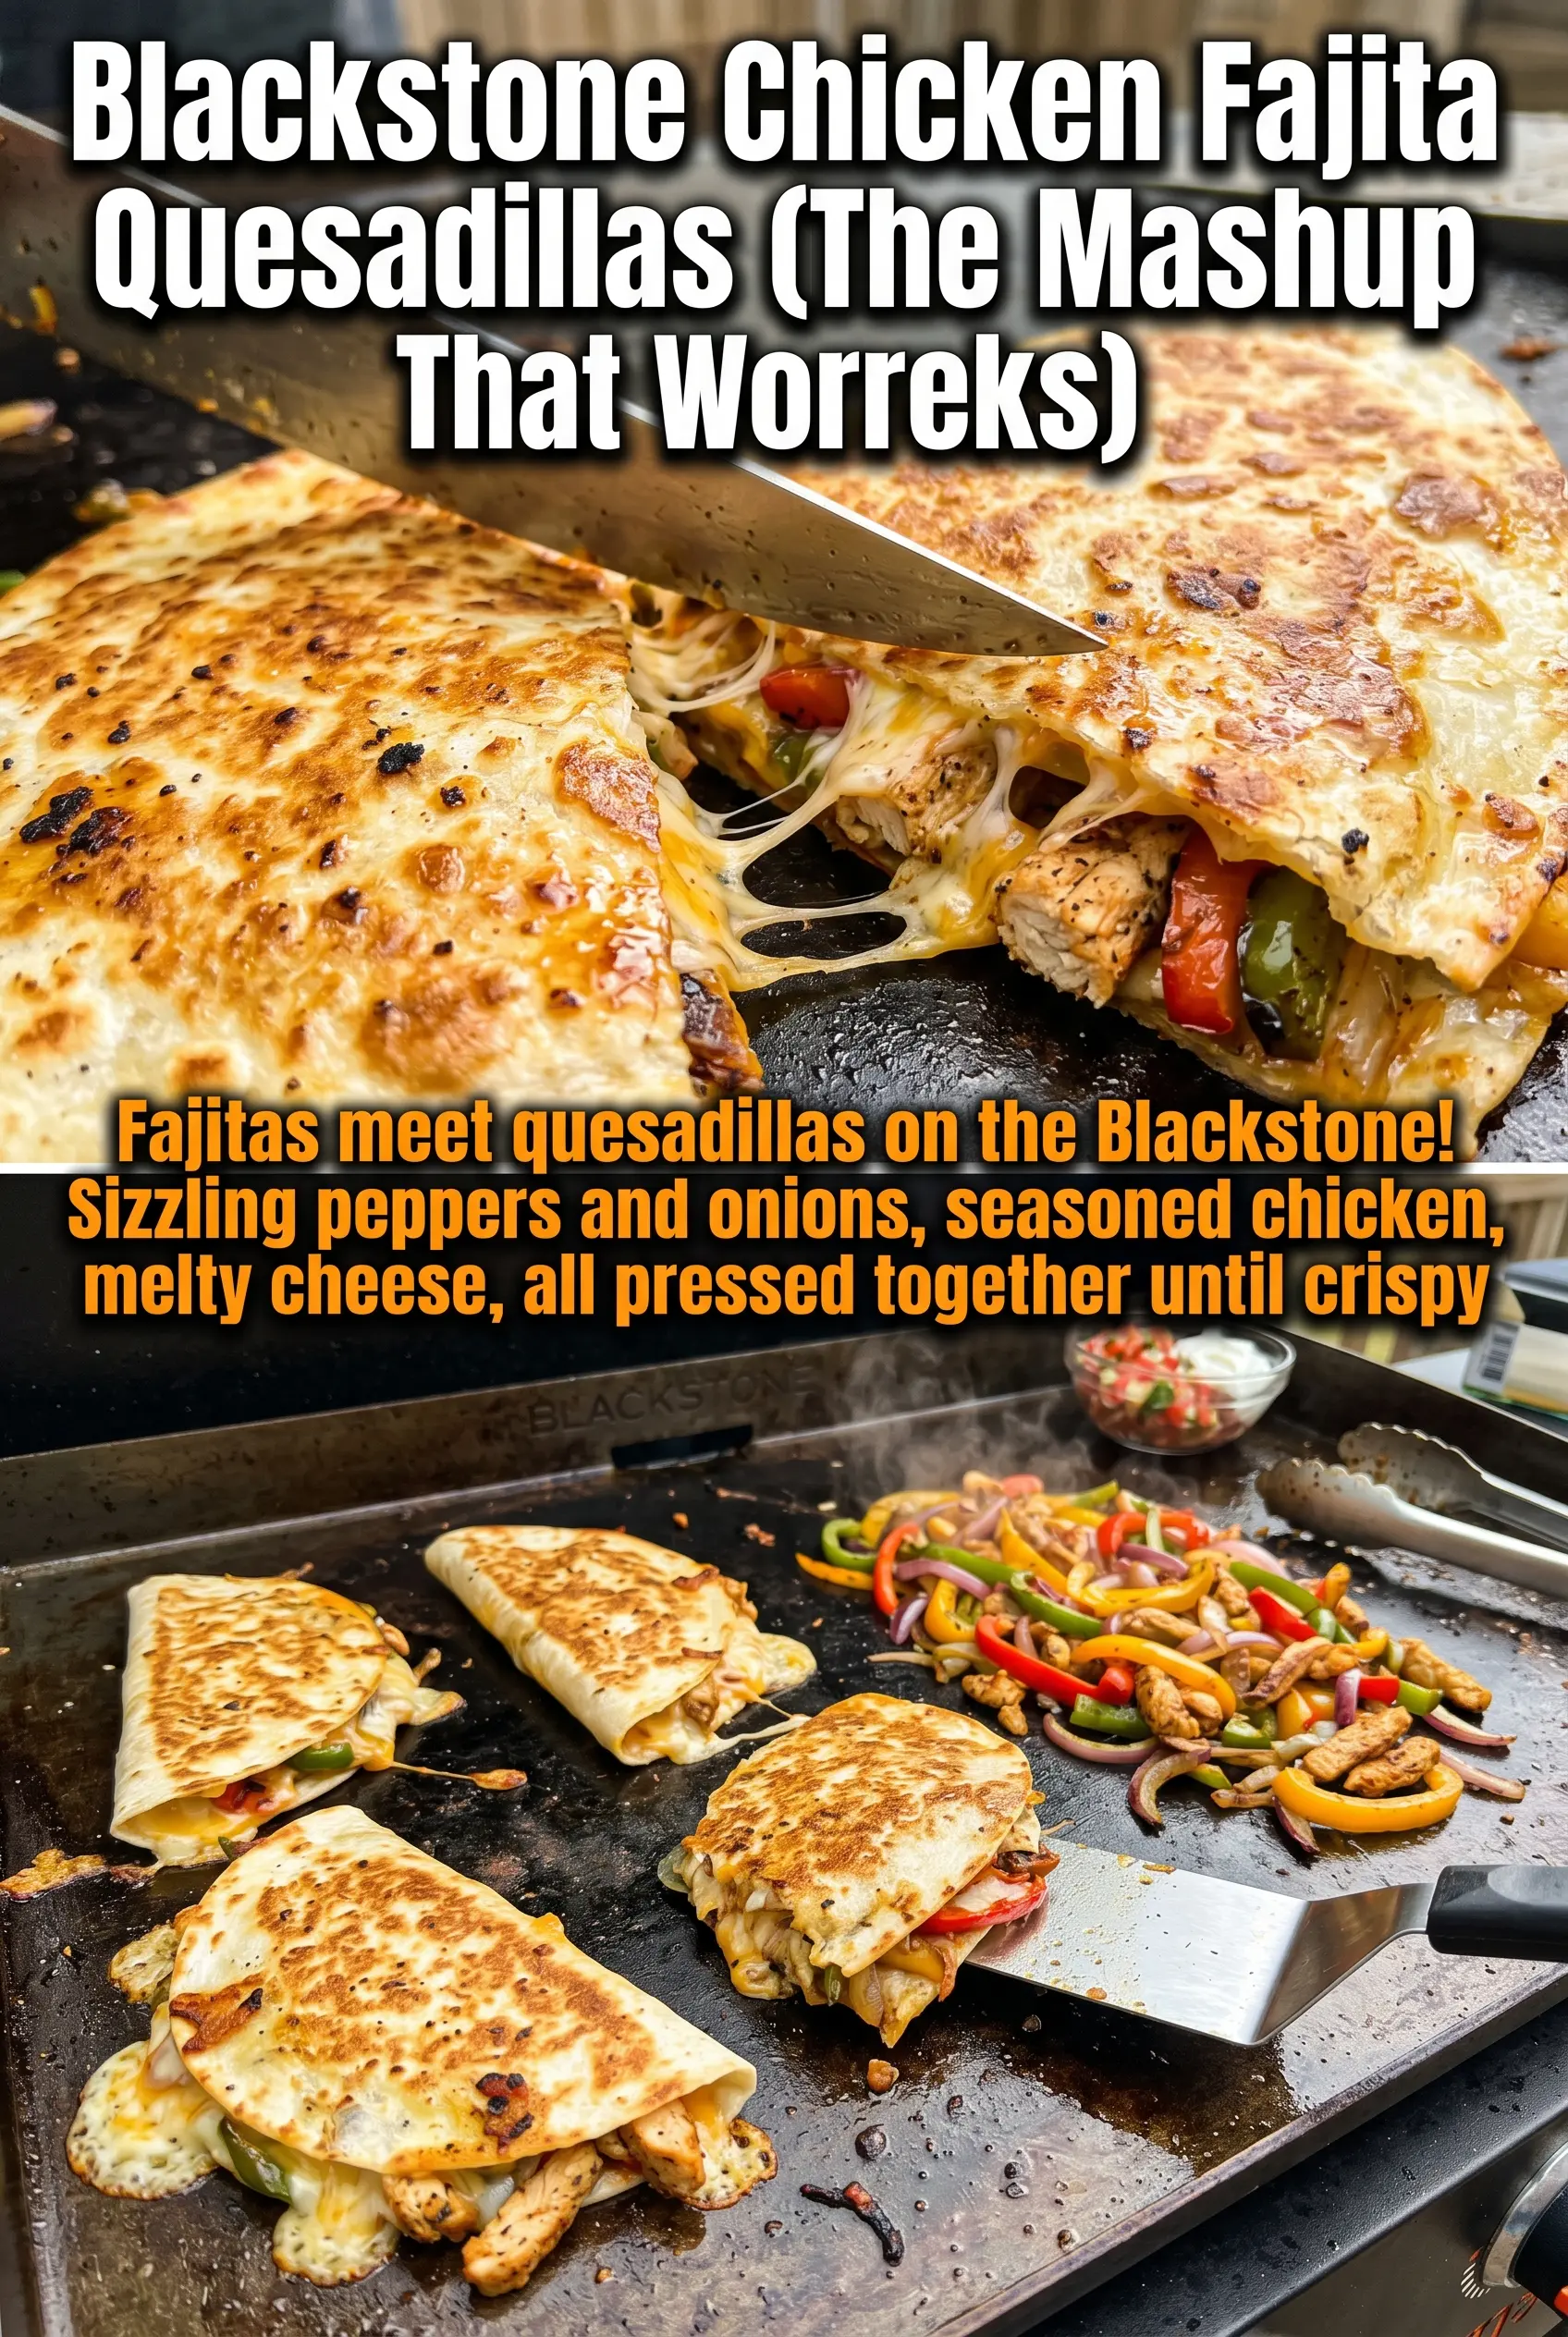
Blackstone Chicken Fajita Quesadillas
Ingredients
Equipment
Method
- Heat a Blackstone griddle to medium-high and add the oil. Add sliced chicken breast and season with half of the fajita seasoning, then cook for 6-7 minutes until done.
- Add the bell peppers and onions to the griddle with the remaining fajita seasoning. Cook for 5-6 minutes until softened.
- Place 4 tortillas on the griddle and layer each with cheese, the chicken mixture, and more cheese. Top with the remaining tortillas.
- Cook quesadillas for 3-4 minutes per side until golden and the cheese is fully melted. Cut into wedges and serve with sour cream, salsa, guacamole, and lime wedges.


