
Blackstone fries hit that sweet spot between diner-style crisp and backyard cookout easy: shattering edges, fluffy middles, and enough seasoning to taste like more than just potatoes and salt. When they come off the griddle hot, they’ve got the kind of crunch that makes people hover near the basket before the rest of dinner is even ready.
The trick is treating the potatoes like fries, not hash browns. A short soak pulls off some surface starch so they brown instead of clumping, and drying them well keeps the griddle from steaming them. Butter brings flavor, but the oil keeps it from burning, and the seasoning goes on right after cooking so it sticks to the hot fries instead of falling into the pan.
Below, I’ll show you how to get that golden crust without losing the soft center, plus a couple of smart swaps if you want to change the seasoning or make them a little more hands-off.
The fries got that real crispy edge on the Blackstone, and the garlic paprika seasoning stuck perfectly. I used the sauce combo you suggested and my husband kept going back for more.
Like these Blackstone fries? Save them to Pinterest for the nights when you want crispy griddle potatoes with bold seasoning and almost no cleanup.
The Griddle Move That Keeps Fries Crispy Instead of Soggy
Most griddle fries go soft for one reason: too much moisture, too soon, on too hot a surface. The potatoes need that cold soak to shed surface starch, but they also need to be dried all the way before they hit the Blackstone. If water is still clinging to them, the griddle turns that moisture into steam and you lose the crust before it has a chance to form.
The other thing that matters is leaving the fries alone at the start. That first 8 to 10 minutes gives the cut sides time to set and brown. If you start flipping early, you scrape off the crust and end up with pale, broken fries instead of crisp ones that release cleanly from the surface.
What the Potatoes, Fat, and Seasoning Are Actually Doing Here
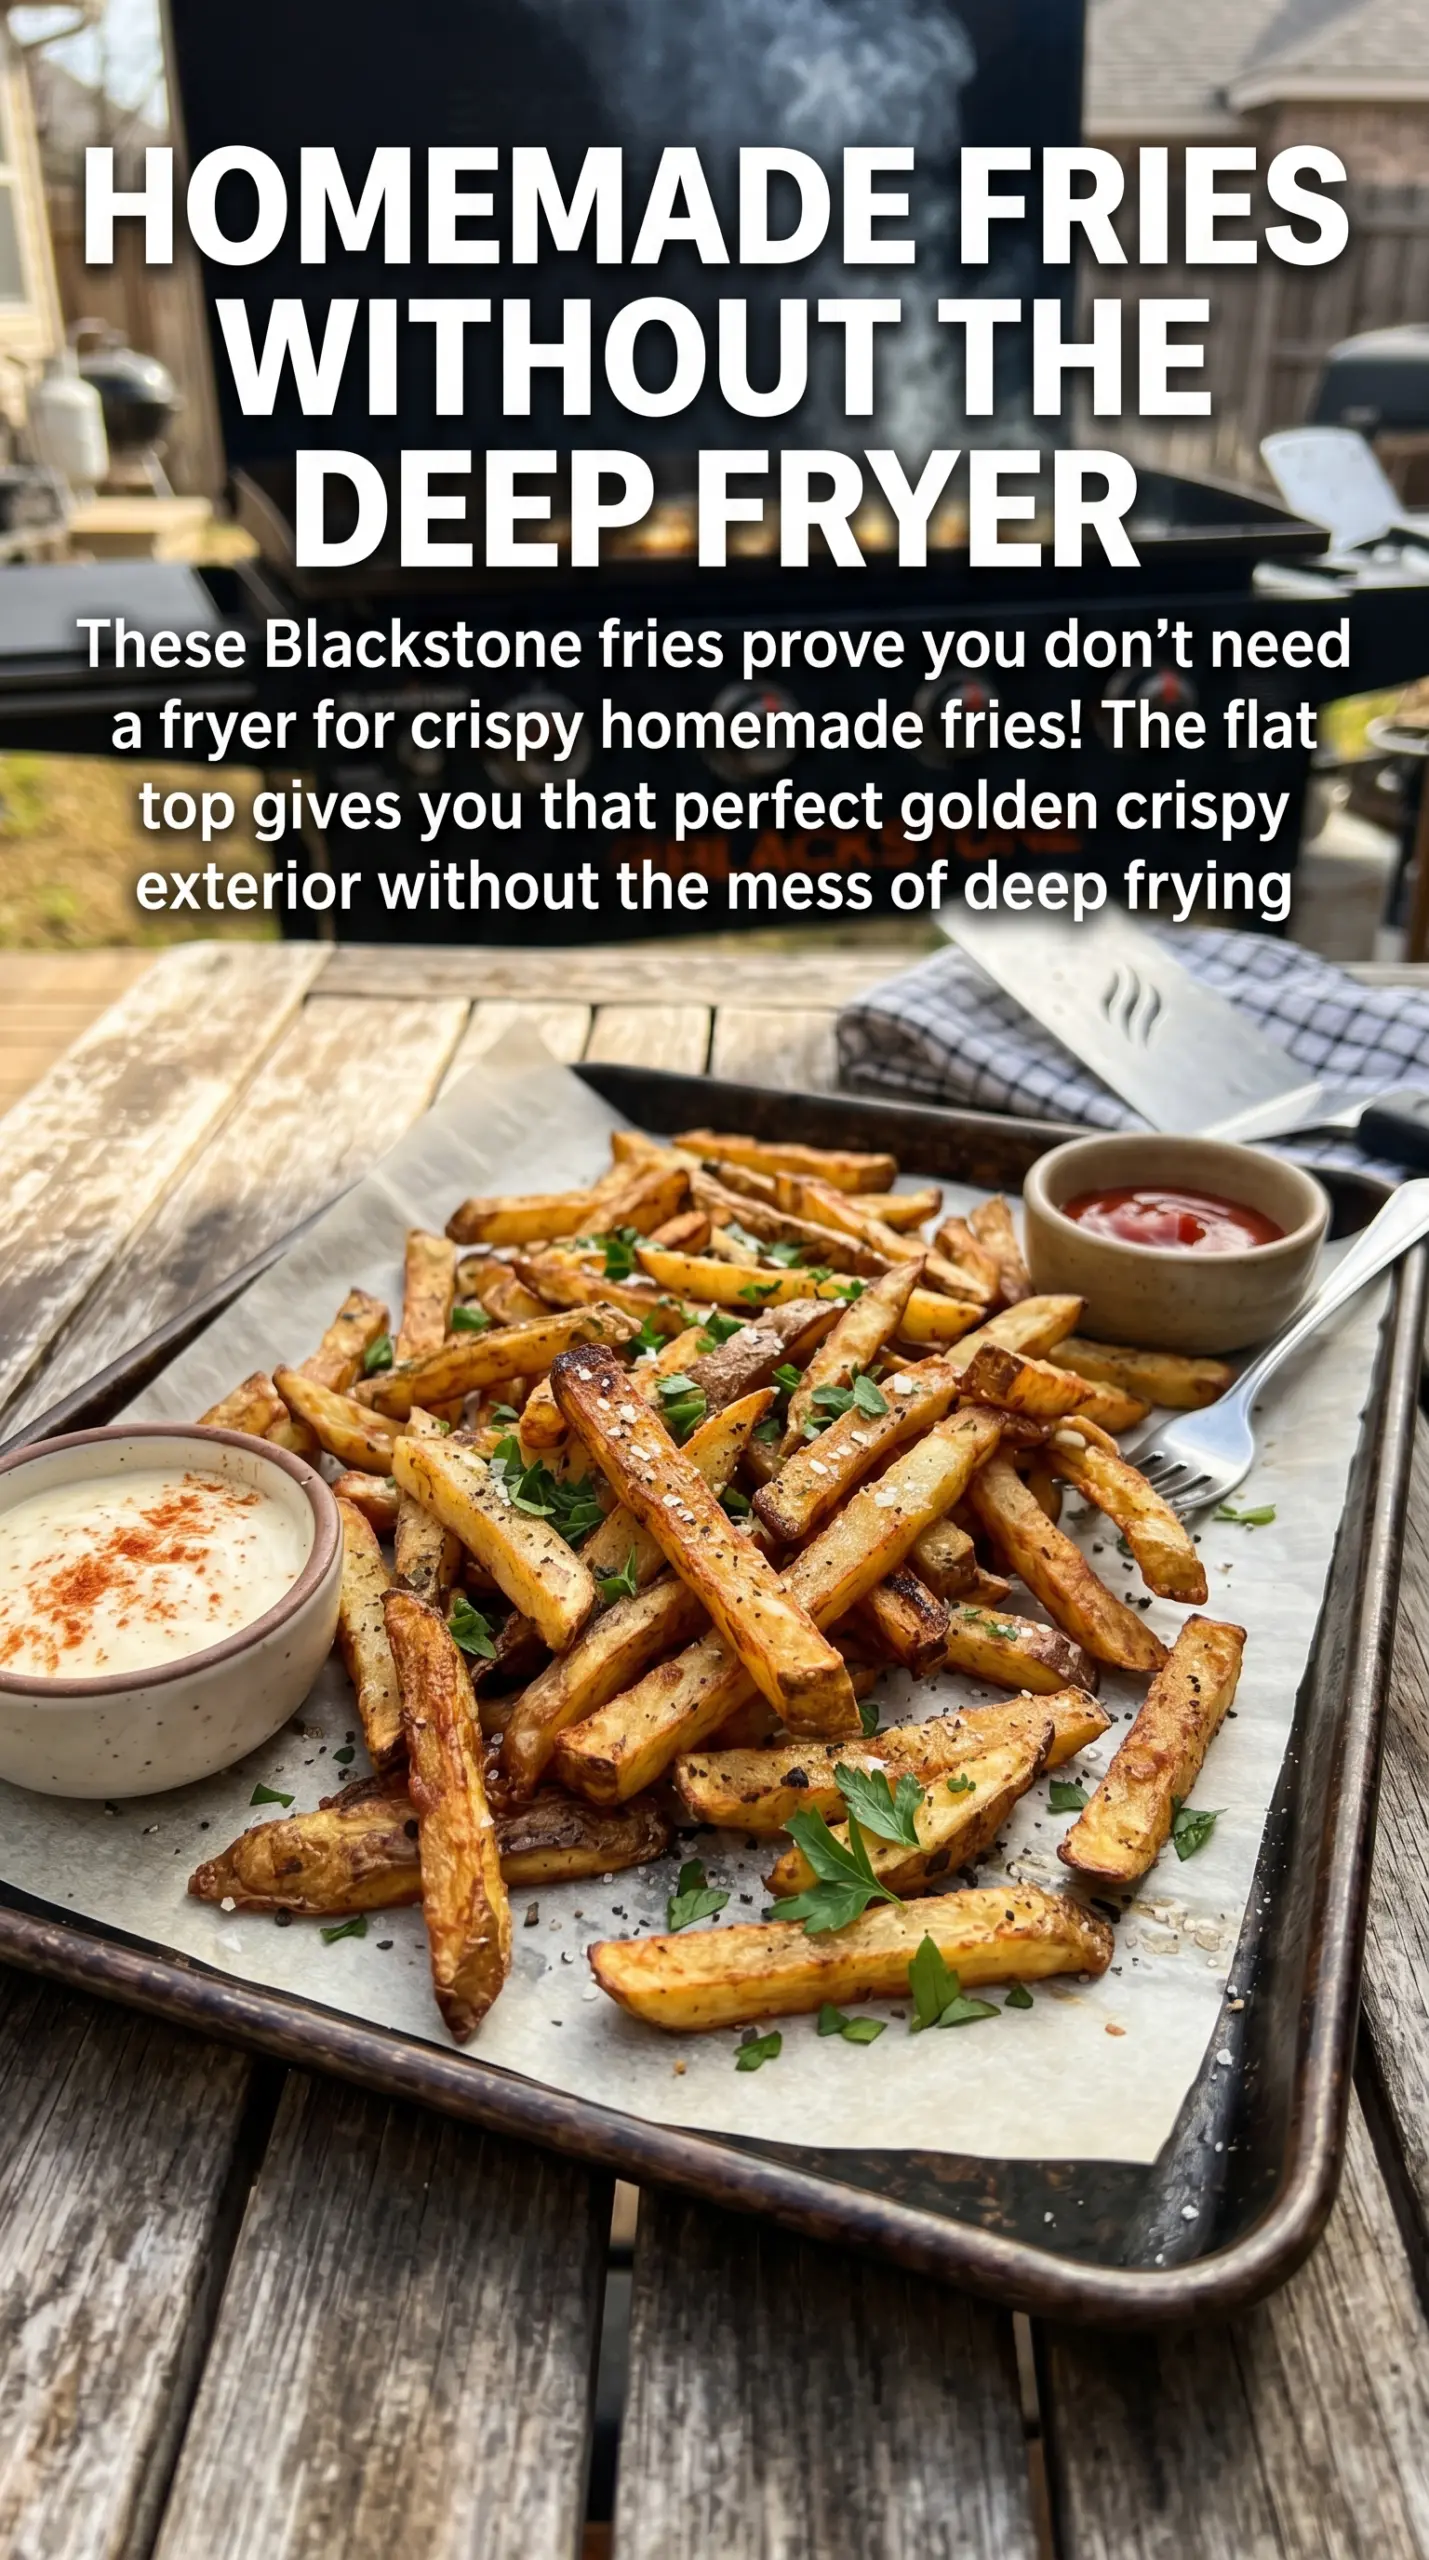
- Russet potatoes — These are the right potato for the job because they’re starchy and dry out into a fluffy interior with a crisp exterior. Yukon Golds will work in a pinch, but they stay a little waxier and won’t give you quite the same fry texture.
- Vegetable oil — This gives you the high-heat insurance the griddle needs. You can swap in avocado oil if that’s what you keep around, but don’t use something with a low smoke point or the fries will pick up a burnt edge before they’re done.
- Butter — Butter adds that diner-fry flavor, but it’s there for taste, not structure. The oil keeps it from scorching, and the combo gives you richer browning than oil alone.
- Garlic powder, paprika, and onion powder — This seasoning blend clings best while the fries are hot and lightly oiled. Fresh garlic is the wrong move here because it can burn on the griddle and turn bitter before the potatoes finish cooking.
- Fresh parsley — It’s not just garnish. A little chopped parsley cuts through the richness and gives the fries a fresh finish right before serving.
Building the Crust on the Blackstone, One Side at a Time
Soaking and Drying the Potatoes
Cut the potatoes into even 1/4-inch fries so they cook at the same pace. Soak them in cold water for 10 minutes, then dry them aggressively with towels until the surface feels matte, not damp. If you skip the drying, the fries will sputter in the oil and soften before they ever brown.
Melting the Fat on a Hot Griddle
Heat the Blackstone to medium-high, then add the oil and butter and let the butter foam but not brown too fast. You want the surface hot enough that the fries sizzle as soon as they land. If the butter starts smoking hard, the griddle is too hot and the seasoning will taste scorched later.
Leaving the First Side Alone
Spread the fries in a single layer and cook them for 8 to 10 minutes without moving them. That quiet time is what builds the first crust. If they stick slightly at first, give them another minute; when they’re ready, they’ll lift cleanly instead of tearing.
Flipping and Finishing the Browning
Turn the fries and cook another 8 to 10 minutes until the second side is golden and the edges look deeply crisp. You’re watching for color and texture here, not just time, because thinner fries can finish faster than thicker ones. Pull one out and taste it if you’re unsure; the center should be tender, not chalky.
Seasoning While They’re Hot
Season the fries immediately with garlic powder, paprika, onion powder, salt, and pepper so the seasoning sticks to the oil on the surface. If you wait, the spices slide off and pool on the griddle. Finish with parsley and serve right away while the fries still have their snap.
How to Adjust These Fries for Different Crowds and Different Pantries
Dairy-Free Blackstone Fries
Use all oil instead of the butter if you need a dairy-free version. You’ll lose a little of that buttery finish, but the fries will still crisp well, and a pinch of extra salt at the end helps bring the flavor back up.
Spicy Cajun-Style Fries
Swap the paprika and onion powder for Cajun seasoning, then add a pinch of cayenne if you want heat. This gives you a bolder, saltier fry with more kick, but go light at first because some seasoning blends already bring plenty of salt.
Garlic Parmesan Finish
After seasoning, toss the hot fries with finely grated Parmesan and a little extra parsley. The cheese sticks best while the fries are still steaming, but don’t pile it on so heavily that it softens the crust.
Make-Ahead Potato Prep
You can cut and soak the potatoes a few hours ahead, then keep them covered in cold water in the fridge. Dry them thoroughly just before cooking. If they sit wet on the counter, they’ll discolor and the final fry will lose some of its snap.
Storage and Reheating
- Refrigerator: Store leftovers in an airtight container for up to 3 days. They’ll soften, but they still reheat well if you bring back the surface crispness.
- Freezer: They don’t freeze well once fully cooked, because the texture turns mealy after thawing. If you want freezer prep, freeze the cut raw potatoes after soaking and drying instead.
- Reheating: Reheat on the Blackstone, in a dry skillet, or in a 425°F oven until the edges crisp again. Don’t microwave them if you want any crunch left; it softens the crust immediately.
Questions I Get Asked About This Recipe
Blackstone Fries
Ingredients
Equipment
Method
- Cut russet potatoes into 1/4-inch thick fries, then soak them in cold water for 10 minutes. Keep the fries submerged and par-cook the surface while water pulls off excess starch.
- Drain and pat the fries completely dry. Remove moisture so they fry up crisp with visible steam during cooking.
- Heat a Blackstone griddle to medium-high, then add vegetable oil and butter. Wait until the butter melts and the surface is ready to sizzle.
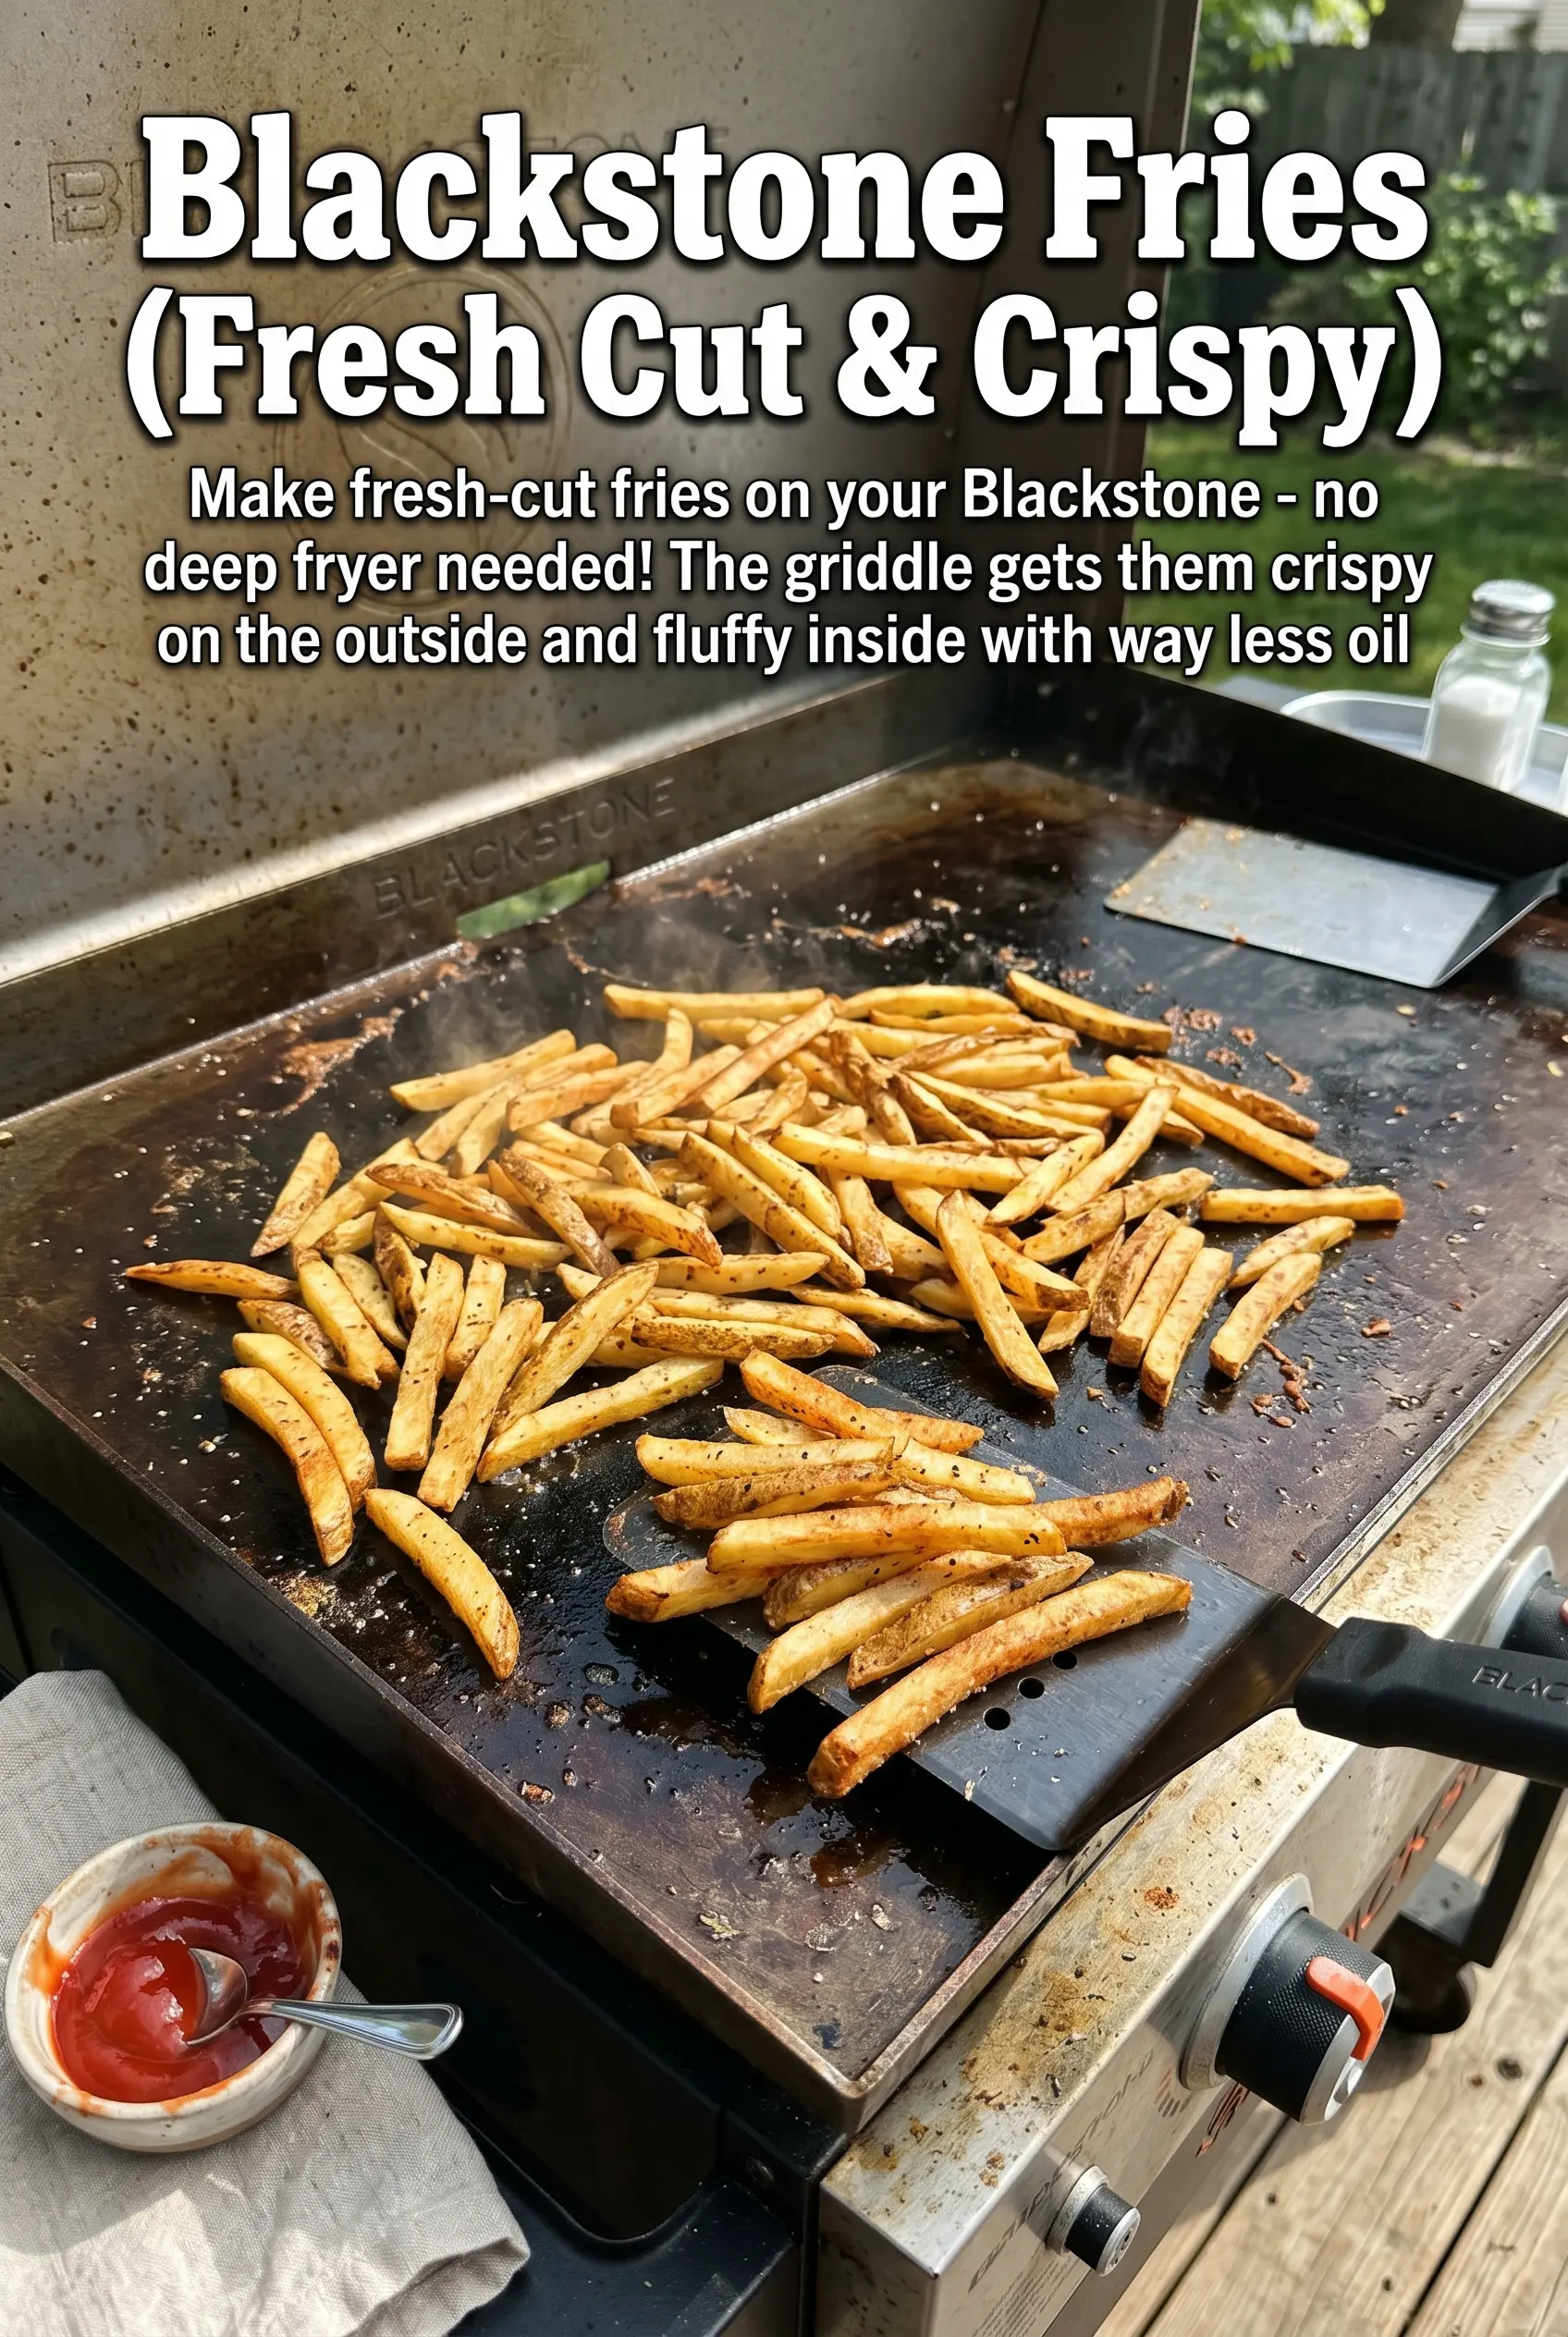
- Spread the fries in a single layer on the griddle. Cook for 8-10 minutes without moving so the bottoms develop a crisp crust.
- Flip the fries and cook another 8-10 minutes until golden and crispy on all sides. Look for even browning and rising steam as they finish.
- Season immediately with garlic powder, paprika, onion powder, salt, and pepper. Sprinkle evenly while the fries are hot so the seasoning clings.
- Garnish with fresh parsley and serve with ketchup and other dipping sauces. Serve right away for maximum crunch.


