
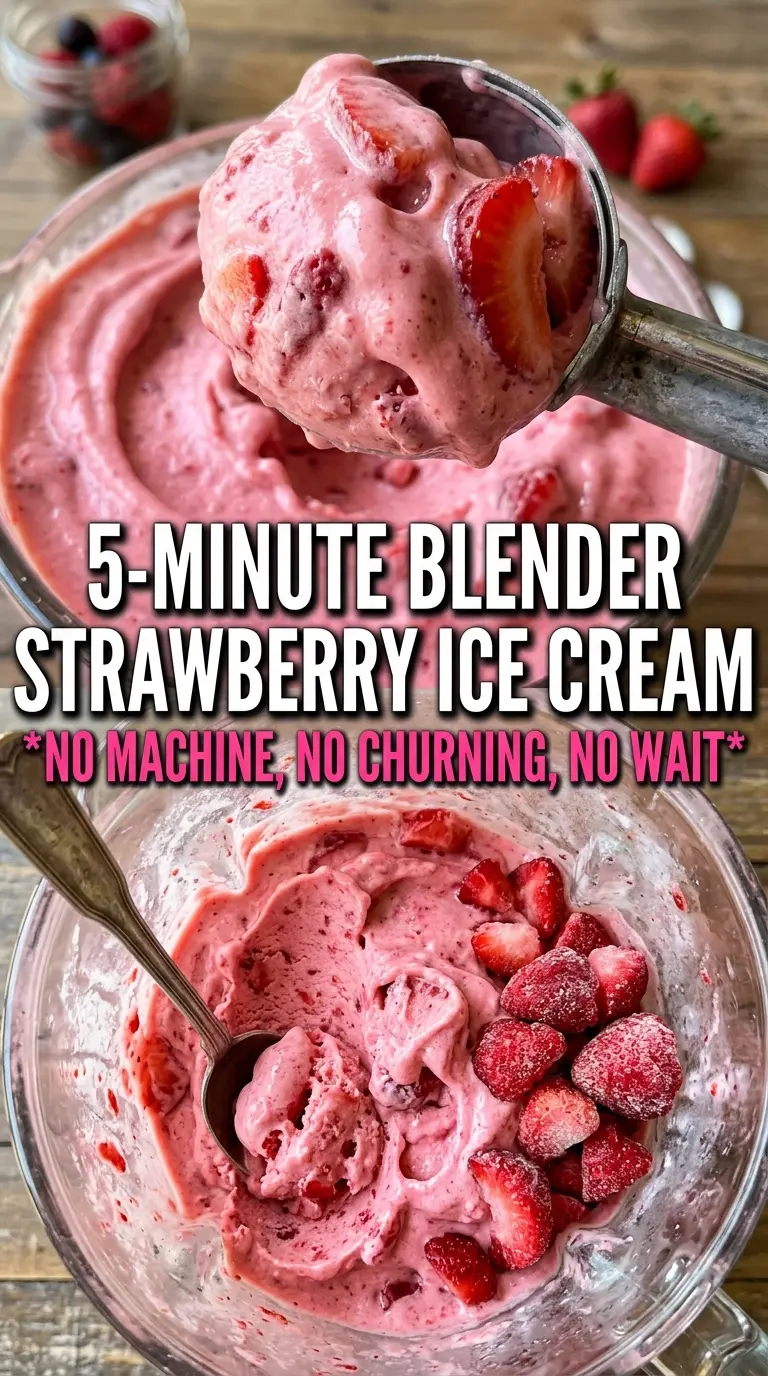
Blender strawberry ice cream lands with that soft, scoopable texture people usually expect from a churned batch, but it comes together from frozen fruit in minutes. The strawberries give it a bright, clean flavor, the frozen banana smooths out the texture without making it icy, and the cream keeps it rich enough to taste like a real dessert instead of a fruit slush.
The trick is balancing the frozen fruit with just enough liquid to let the blender move. Too much cream and it turns loose; too little and the blades stall before the mixture goes glossy. A short rest on the counter softens the fruit just enough to blend cleanly, and a high-powered blender gives you the best chance at that silky finish.
Below, I’ll walk through the small details that matter most, including how to keep the texture creamy, when to stop blending, and what to change if you want a dairy-free version or a firmer scoop after freezing.
I was surprised how creamy this got with frozen strawberries and banana. I had to stop and scrape the blender once, then it turned into the smoothest soft-serve texture and held up well after 30 minutes in the freezer.
Save this blender strawberry ice cream for the days when you want a creamy frozen dessert in minutes, not hours.
The Part That Keeps It Creamy Instead of Icy
The biggest mistake with blender ice cream is treating frozen fruit like it behaves the same way as churned custard. It doesn’t. Frozen berries release water as they break down, and if the blender runs too long with too much liquid, the mixture goes from thick and fluffy to thin and slushy fast.
The frozen banana is doing more than adding sweetness. It gives the blend body and helps the texture stay smooth after it’s blended. That’s why this recipe works best when the fruit is frozen solid but allowed to soften for a few minutes first; those few minutes take the edge off the ice crystals without turning everything mushy.
- Frozen strawberries — These carry the flavor here, so use berries that taste good on their own. Smaller berries or sliced strawberries blend more evenly than huge whole ones, which can leave stubborn chunks if your blender isn’t top tier.
- Frozen banana — This is what makes the texture feel like ice cream instead of a berry smoothie. If you need to skip it, add a little more cream and expect a less plush result with a brighter strawberry flavor.
- Heavy cream or coconut cream — Cream gives the finished dessert a rounder, richer mouthfeel. Coconut cream works well for dairy-free ice cream, but it will bring a faint coconut note and firm up a little more in the freezer.
- Honey or maple syrup — Use just enough to boost the fruit, not bury it. If your strawberries are very sweet, start with less and add more only after blending.
- Vanilla extract — Vanilla softens the sharpness of the berries and makes the whole bowl taste fuller. It won’t hide weak fruit, but it does smooth the edges.
What Each Ingredient Is Actually Doing in This Ice Cream
- Base ingredient (cream, milk, or custard) — This provides the foundation and richness. Quality matters.
- Sweetener (sugar, honey, or condensed milk) — This sweetens and prevents ice crystals. The ratio is critical.
- Flavor element (vanilla, fruit, chocolate, or other) — This defines the ice cream personality. Use quality ingredients.
- Egg yolks (if making custard base) — These create richness and silky texture. Optional but elevates ice cream.
- Churning (if using ice cream maker) — This incorporates air and prevents ice crystals. Critical for smooth texture.
- Freezing temperature and time — Proper freezing prevents rock-hard texture. Store at 0°F or below.
- Mix-ins (chocolate, cookies, fruit, or swirls) — These add texture and prevent one-dimensional flavor. Add near end of churning.
- Serving temperature (slightly soft, not rock hard) — This provides creamy mouthfeel. Remove from freezer 5 minutes before serving.
Getting the Blender to Work Without Overheating the Fruit
Let the Fruit Loosen Slightly
Give the frozen strawberries and banana about 5 minutes at room temperature before blending. That short pause matters because it takes the rock-hard edge off the fruit and helps the blades catch sooner. If the fruit is still frozen solid, the blender may spin without moving the mixture, which is when people usually add too much liquid and lose the thick texture.
Blend in a Thick Mass, Not a Thin One
Add everything to the blender and start on high, stopping to scrape the sides as needed. The mixture should look dense and almost stalled at first, then loosen into a glossy swirl as the fruit breaks down. If the blade is spinning freely with no resistance, the mixture is too loose already, and the final texture will be softer than you want.
Stop the Moment It Turns Smooth
As soon as the mixture looks creamy and even, stop blending. Running it longer warms the fruit and melts the structure you just built. Serve it right away for soft serve, or spread it into a shallow container if you want a firmer, scoopable texture after 1 to 2 hours in the freezer.
Three Ways to Bend This Recipe to Fit What You’ve Got
Dairy-Free Coconut Cream Version
Use full-fat coconut cream instead of heavy cream. The texture stays rich and spoonable, but the flavor shifts slightly toward coconut, which pairs well with strawberries. Chill the can first so you can scoop off the thick part and avoid a watery result.
Banana-Free Strawberry Ice Cream
Skip the banana and add an extra tablespoon or two of cream, then blend in short bursts. You’ll lose some of the natural thickening power, so the result tastes more purely strawberry and lands a little less like nice cream and a little more like frozen sorbet.
Lower-Sugar Fruit-First Bowl
Cut the honey or maple syrup in half, or leave it out if your berries are especially sweet. The flavor becomes brighter and more tart, and you may want a few extra seconds of blending to smooth out the fruit without the added sweetness helping the texture along.
Storage and Reheating
- Refrigerator: Not recommended. This is a frozen dessert, and it melts quickly into a loose strawberry mixture.
- Freezer: Freeze in a shallow airtight container for 1 to 2 hours for a firmer scoop. After that, it can get icy, so it’s best eaten the same day.
- Reheating: No reheating needed. If it freezes too hard, let it sit at room temperature for 5 to 10 minutes and scoop it after the edges soften.
Answers to the Questions Worth Asking
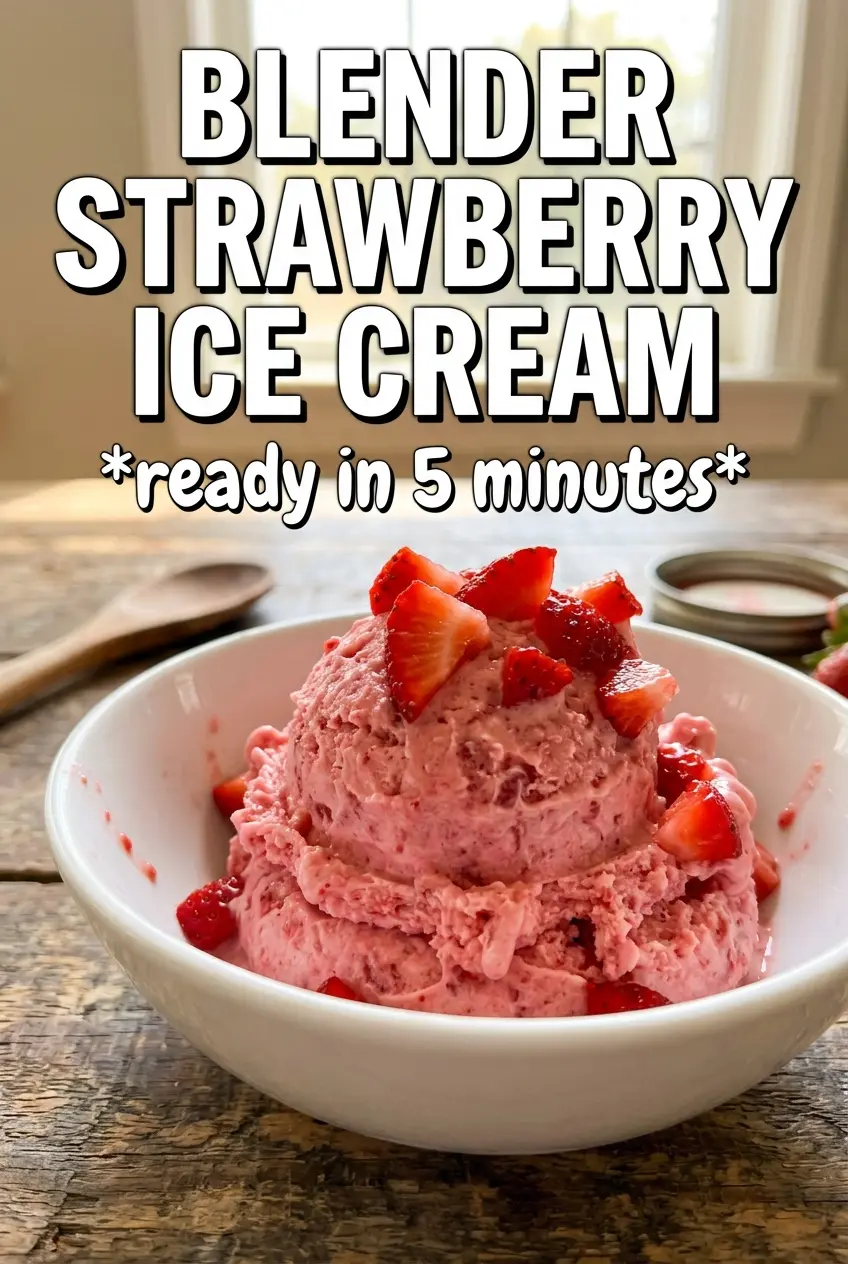
Blender Strawberry Ice Cream
Ingredients
Equipment
Method
- Let frozen strawberries and banana sit at room temperature for 5 minutes to soften slightly, watching for the edges to loosen while staying mostly frozen.
- Add strawberries, banana, cream, honey, vanilla, and salt to a high-powered blender, then pulse once to help everything move toward the blades.
- Blend on high for 2 minutes, stopping to scrape down the sides as needed, until completely smooth and creamy with a thick, vibrantly pink texture.
- Serve immediately as soft serve directly from the blender for the smoothest, spoonable consistency.
- If you want scoopable ice cream, transfer to a freezer container and freeze for 1 to 2 hours, until firm enough to scoop.


