
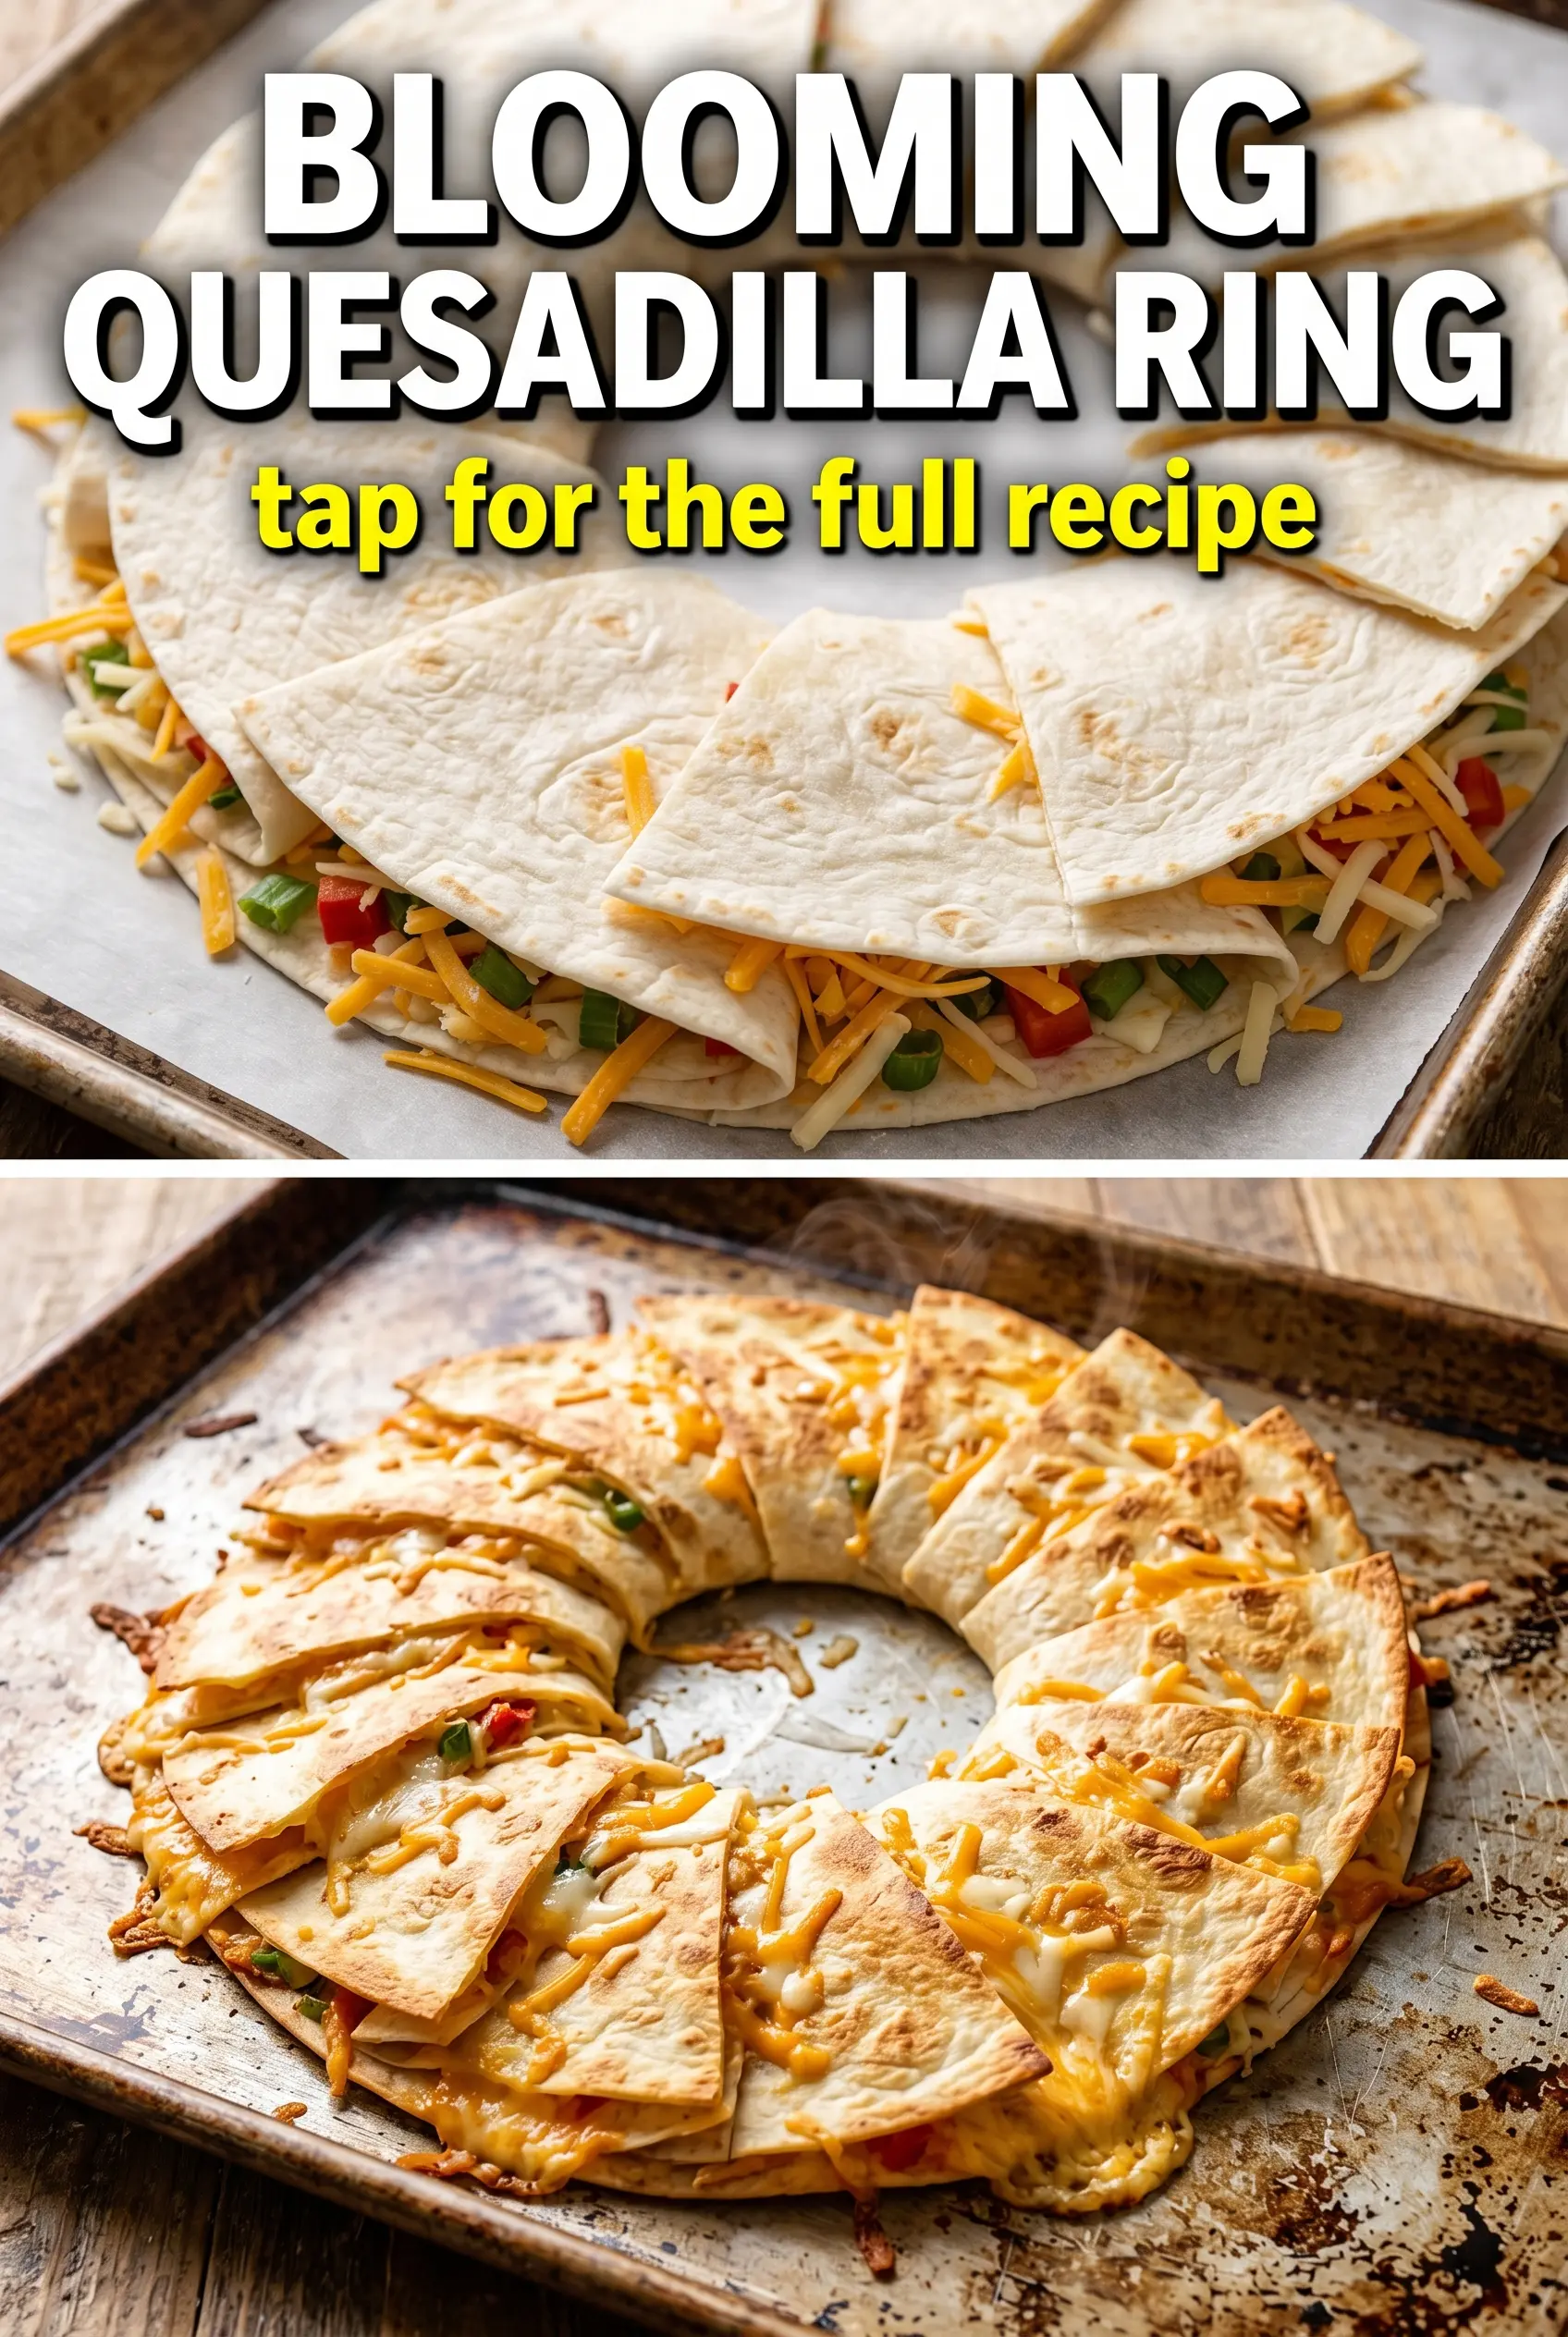
Golden quesadilla triangles arranged in a blooming circle hit the table with the kind of energy that makes people hover before the platter even lands. The edges stay crisp, the cheese pulls into long strings, and the layered filling gives every bite a little beef, a little sweet corn, a little pepper, and enough melted cheddar to hold everything together. It looks like a party centerpiece, but it eats like the first dish gone.
The trick is simple: build enough cheese inside each tortilla to glue the filling together, then cook the triangles hot enough to brown the outside before the tortillas go leathery. A lot of stacked quesadilla-style appetizers get soggy because the filling is wet or the pan is too cool. Here, the beef is already cooked, the vegetables are diced small, and the triangles are crisped in batches so they hold their shape when you stand them up on the platter.
Below you’ll find the small details that make the ring look intentional instead of crowded, plus the easiest way to keep the center dip from taking over the whole appetizer.
The triangles stayed crisp even after sitting out for a bit, and the cheesy filling held together instead of spilling everywhere. I also loved that the salsa-sour cream dip in the middle made the whole platter feel extra party-ready.
Love the crisp edges and cheesy layers in this Blooming Quesadilla Ring? Save it to Pinterest for your next party platter or game-day appetizer.
The Part That Keeps the Ring Crisp Instead of Limp
The biggest mistake with a quesadilla ring is treating it like a casserole and piling everything in too wet. Once salsa, juicy vegetables, or undercooked beef go inside the tortilla, the steam has nowhere to go and the shells soften before they ever hit the platter. This version avoids that by using cooked beef, small dice on the peppers and onion, and just enough cheese to bind the filling without turning it greasy.
The second thing that matters is heat. If the skillet isn’t hot enough, the tortillas dry out before they brown, and the cheese never gets that molten stretch that makes the whole ring hold together when you stand the pieces up. You want the outside to go deep golden before the tortilla has time to toughen.
- Cooked seasoned beef — The beef needs to be fully cooked before it goes into the tortillas. That keeps the filling fast, tidy, and safe, and it also stops extra moisture from leaking into the wrap.
- Cheddar cheese — Cheddar gives you the best balance of melt and structure here. Pre-shredded works fine, but freshly shredded cheese melts a little smoother because it doesn’t carry the anti-caking starch.
- Diced peppers and onion — Keep the pieces small. Large chunks make the tortillas harder to fold cleanly and can poke through the seams while cooking.
- Corn — Frozen corn is fine if you thaw and drain it first. Canned corn works too, but pat it dry so the filling doesn’t turn watery.
Building the Triangles So They Hold Their Shape
Layering for a Clean Fold
Lay the tortilla flat and build the filling on one half, not in the center. Start with cheese, then beef, then the vegetables, then a little more cheese on top so the tortilla has something to cling to when it folds. If the filling spills all the way to the edge, the seam won’t seal well and the triangles will leak in the pan.
Cutting Before Cooking
Once the tortilla is folded, cut it into triangles before it hits the skillet. That gives you sharp edges that brown evenly and makes the final ring look neat instead of bulky. A pizza cutter or a sharp knife works best here; a dull blade squashes the layers and pushes filling out.
Getting the Pan Hot Enough
Heat the oil over medium-high until it shimmers. When the triangles go in, they should sizzle right away. Cook in batches so the pan doesn’t cool off, because crowding is what turns crisp tortillas pale and floppy. Flip once the first side is golden and the cheese starts to melt at the seams.
Assembling the Bloom
Arrange the cooked triangles standing up and slightly overlapped in a circle. Start with the outer ring, then tuck the inner pieces in so the platter looks full before you add the dip. If the quesadillas are too flat, they won’t stand; let them cool just long enough to set the cheese, but don’t wait so long that they lose their warmth.
How to Adapt This Ring for Different Crowds
Make It Vegetarian Without Losing the Heft
Skip the beef and add sautéed mushrooms, black beans, or chopped roasted zucchini. You still want the filling on the drier side, so cook off any extra moisture first. The result is lighter but still sturdy enough to stand up in the ring.
Use Pepper Jack for More Heat
Swap part or all of the cheddar for pepper jack if you want a sharper bite. Pepper jack melts well, but it can soften the filling faster, so keep the vegetables finely diced and don’t overfill the tortillas.
Gluten-Free Version That Still Holds
Use sturdy gluten-free tortillas that are made for folding and pan-cooking. Some brands crack when cold, so warm them briefly before filling. They won’t be quite as flexible as flour tortillas, but a little extra cheese at the fold helps them stay together.
Storage and Reheating
- Refrigerator: Store leftover quesadilla triangles in an airtight container for up to 3 days. The tortillas soften a bit, but the filling stays flavorful.
- Freezer: Freeze the cooked triangles in a single layer, then move them to a freezer bag for up to 2 months. Reheat from frozen for the best texture; thawing first makes them soggy.
- Reheating: Use a skillet or oven at 375°F until hot and crisp again. The microwave will warm the filling, but it softens the tortillas and ruins the crackly edges.
Answers to the Questions Worth Asking
Blooming Quesadilla Ring
Ingredients
Equipment
Method
- Layer each tortilla with shredded cheddar cheese, cooked seasoned ground beef, diced red and green bell peppers, diced onion, corn, and chopped cilantro so the filling is evenly distributed.
- Fold each filled tortilla in half and then cut into triangles to create the pieces that will form the circular ring.
- Heat oil in a large skillet over medium-high heat until shimmering.
- Working in batches, cook the quesadilla triangles for 2-3 minutes per side until golden and the cheese is melted, flipping once for even browning.
- Arrange the cooked quesadilla pieces in a circular ring on a platter, standing them up slightly overlapped to show melted cheese between layers.
- Mix sour cream with salsa and spoon the mixture into the center of the ring.
- Serve immediately with warm queso dip on the side for dipping.


