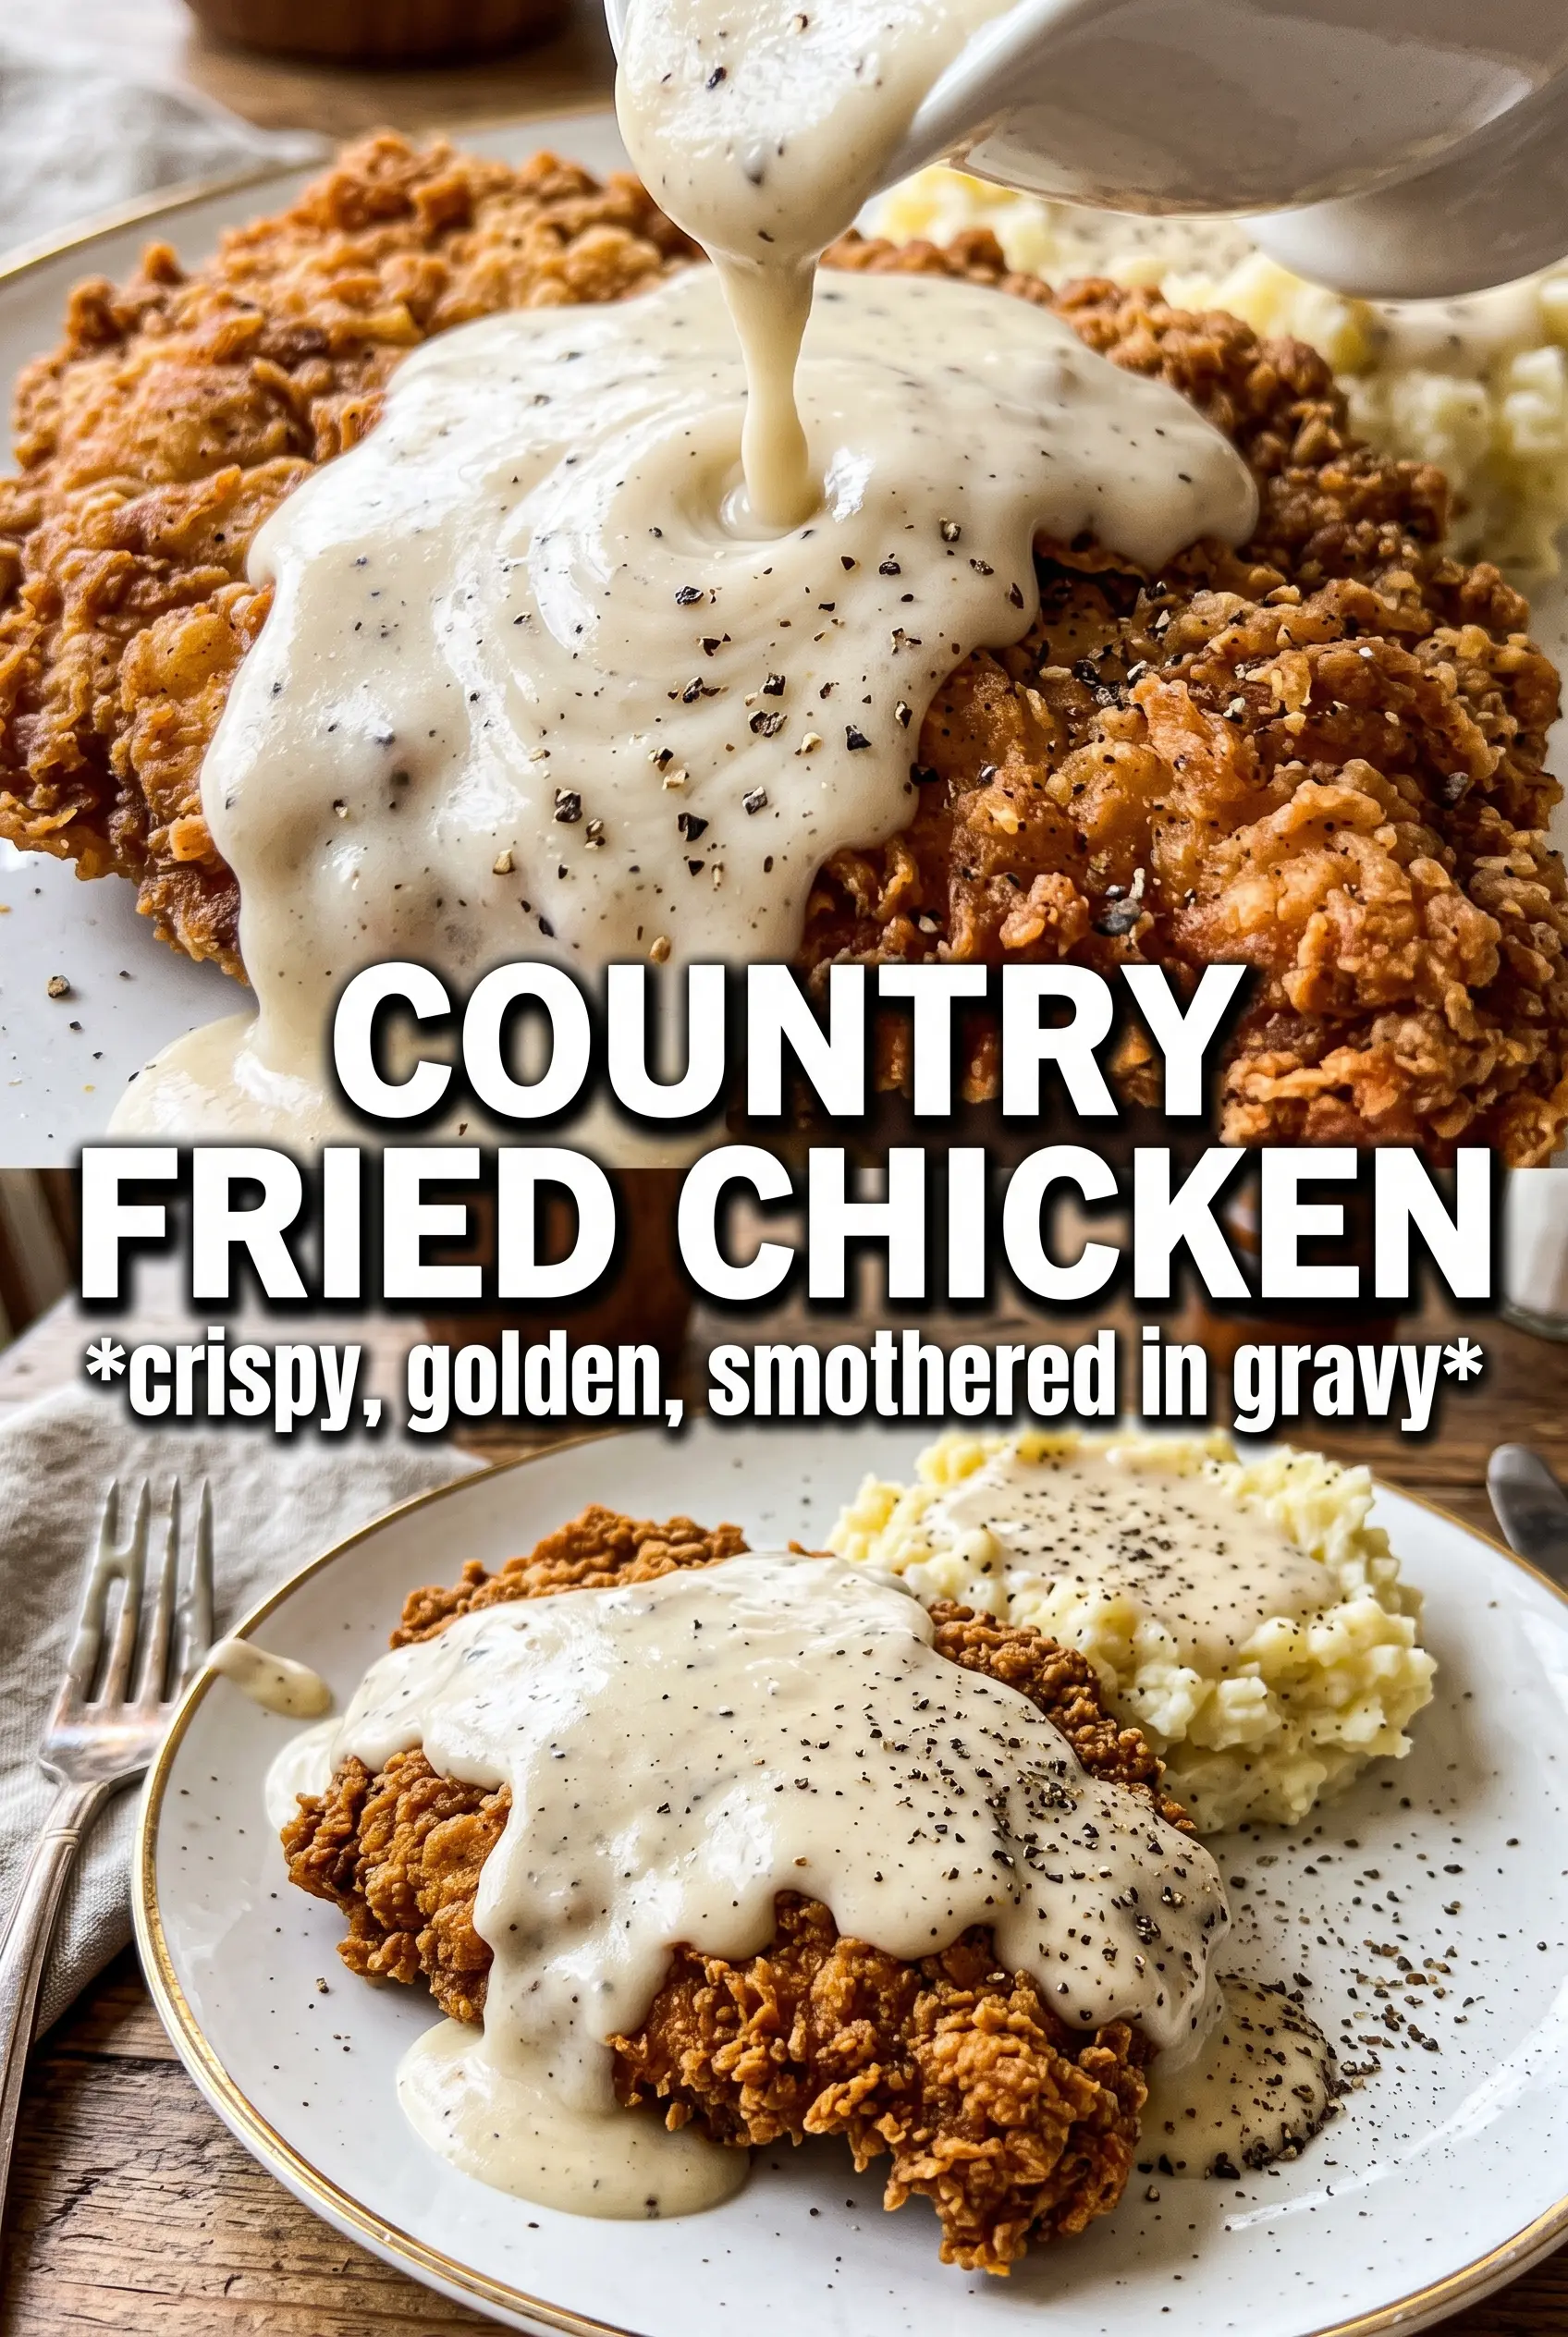

Country fried chicken earns its place at the table when the coating turns craggy and shattering while the meat underneath stays juicy. The best versions don’t just taste seasoned on the outside; they carry flavor all the way through the crust and into the meat, with a thick white gravy that softens the edges without turning everything soggy.
Buttermilk does the heavy lifting here. It tenderizes the chicken and gives the flour something to cling to, which is why the double dredge matters so much. Pressing the flour on firmly creates those rough ridges that fry up into the crackly, golden crust people remember. Cast iron helps hold the oil temperature steady, and that matters more than almost anything else once the chicken goes in.
Below, I’ve laid out the small details that keep the crust crisp, the chicken cooked through, and the gravy smooth instead of pasty. If you’ve ever ended up with a coating that slid off in the skillet, the process section will help you fix that for good.
The crust stayed on beautifully, and the buttermilk soak gave the chicken that tender, almost pull-apart texture without drying out. I also loved how the gravy picked up the drippings and tasted like the real thing.
Save this country fried chicken for the night you want a shatteringly crisp crust, juicy meat, and peppery white gravy.
The Dredge Is Where the Crunch Lives
The biggest mistake with fried chicken is treating the flour like a dusting instead of a shell. This recipe needs a firm dredge, then another pass through the flour so the surface gets those shaggy little ridges that fry into a rough, crisp crust. If the coating looks smooth before it hits the oil, it usually fries up flat and a little dull.
Hot sauce in the buttermilk doesn’t make the chicken spicy-hot. It sharpens the marinade and helps the seasoning wake up. The real job of the buttermilk is to cling to the chicken long enough for the flour to grab on, so don’t rush the soak if you can give it extra time.
What Each Ingredient Is Actually Doing in This Chicken
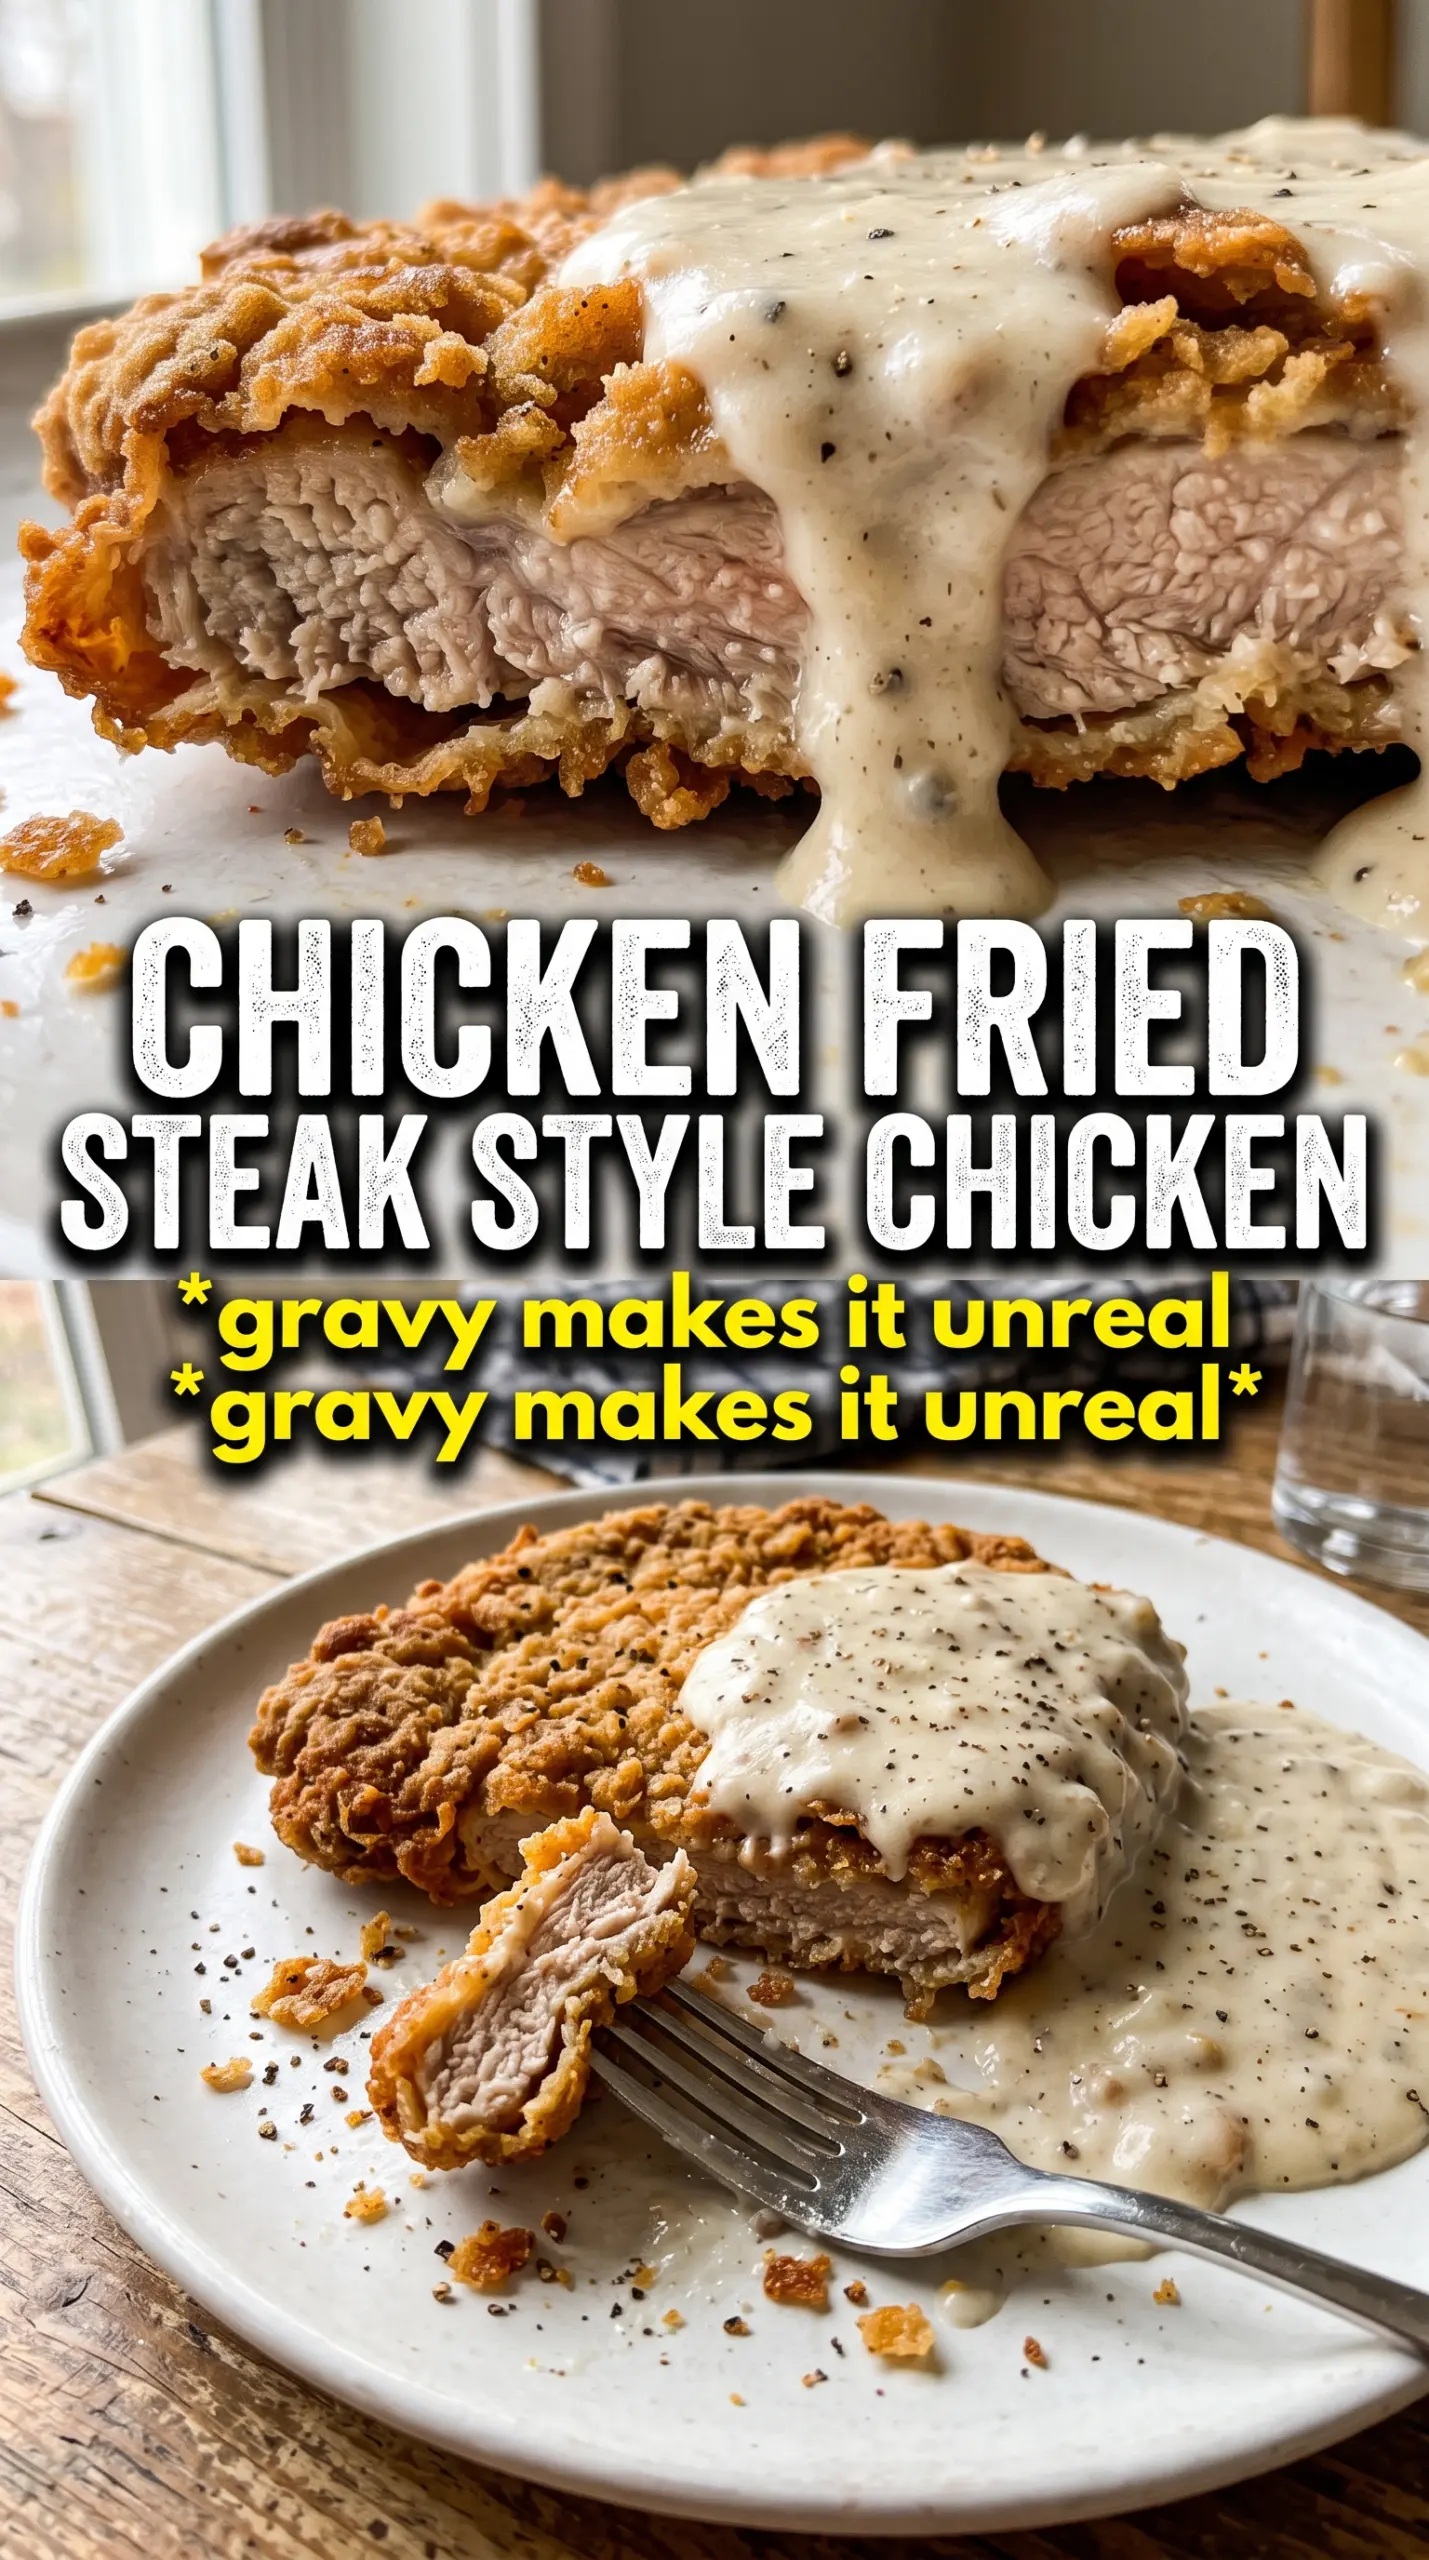
- Buttermilk — This is what gives the chicken its tenderness and helps the coating cling. Regular milk won’t do the same job. If you need a substitute, stir 2 tablespoons of lemon juice or vinegar into 2 cups of milk and let it sit for 5 minutes, but the tang and thickness still won’t match true buttermilk.
- Hot sauce — The amount here is small, but it brightens the marinade and brings the seasoning into focus. Any vinegar-based hot sauce works. Don’t worry about it making the chicken taste fiery.
- Smoked paprika, cayenne, garlic powder, and onion powder — These build the savory backbone of the crust. The paprika adds color and a little depth, while the cayenne gives the coating just enough heat to notice under the gravy. Fresh garlic or onion won’t work in the dredge; they would burn before the chicken finishes frying.
- All-purpose flour — This is the structure of the crust. Self-rising flour changes the texture and can puff unevenly, so plain flour is the right choice here. If you want an even rougher crust, toss in a tablespoon or two of the flour mixture after the first dredge so little clumps stick to the surface.
- Vegetable oil — Use a neutral oil with a high smoke point so the coating browns before the oil starts tasting burnt. Peanut oil also works well. Olive oil is the wrong tool for this job.
- Pan drippings — These give the gravy its true fried-chicken flavor. If you skip them and use plain butter, the gravy will still thicken, but it won’t taste like it came from the same skillet.
Keeping the Coating Crisp From the Bowl to the Plate
The Buttermilk Soak
Drop the chicken into the buttermilk and hot sauce mixture and let it sit for at least 30 minutes. Overnight is even better if you’ve got the time. The soak should coat the chicken evenly and leave it looking opaque around the edges, not washed out. If the chicken is still dripping heavily when it comes out, give it a few seconds to drain so the flour doesn’t turn gummy in spots.
Building the Crust
Press each piece firmly into the seasoned flour, then dip it back into the buttermilk and into the flour again. That second pass is what builds the ridges that fry up crunchy. Use your fingers to really pack the flour on; if you just roll the chicken around, the coating will be too thin and patchy. Set the coated pieces on a rack or plate for a few minutes before frying so the crust starts to hydrate and stick.
Frying at the Right Heat
Heat 2 to 3 inches of oil to 350°F and keep an eye on the temperature as the chicken goes in. If the oil is too cool, the crust drinks up grease and turns heavy; if it’s too hot, the outside darkens before the inside cooks. Fry in batches if needed so the pan doesn’t crowd. The chicken is done when it’s deeply golden, the crust feels firm, and the internal temperature reaches 165°F.
Making the Gravy in the Drippings
Use the browned bits left in the pan to start the gravy. Whisk the flour into the drippings and let it cook for a minute before adding milk. That short cook gets rid of the raw flour taste and keeps the gravy from tasting pasty. Add the milk slowly while whisking, and keep going until it turns smooth and coats the back of a spoon.
How to Adapt Country Fried Chicken Without Losing the Crunch
Gluten-Free Version
Swap the all-purpose flour for a 1:1 gluten-free flour blend that includes starches. The crust will still get crisp, but it may be a little more delicate when you flip it, so handle the pieces with a wider spatula and give them a full minute before moving them.
Lighter Gravy Without the Pan Drippings
If you don’t have enough drippings, use 2 tablespoons butter instead. The gravy will be a little softer in flavor, but it will still thicken the same way. Whisk the flour into the fat first so the finished sauce stays smooth.
Chicken Thighs for Extra Juiciness
Thighs stay juicier and are more forgiving if your oil temperature wobbles a little. They also bring a richer flavor under the crust. Use the same timing, but rely on the thermometer instead of the clock if the pieces are especially large.
Storage and Reheating
- Refrigerator: Store the fried chicken and gravy separately for up to 3 days. The crust softens in the fridge, but it still reheats well if you use dry heat.
- Freezer: Freeze the chicken without gravy for up to 2 months. Wrap each piece tightly and thaw in the refrigerator before reheating. The gravy doesn’t freeze as well because it can separate.
- Reheating: Warm the chicken on a rack in a 375°F oven until hot and crisp again, about 15 to 20 minutes. Skip the microwave if you want the crust to stay crunchy; it steams the coating and makes it leathery.


