
Garlic butter baked chicken breast comes out juicy, fragrant, and coated in a glossy pan sauce that tastes like you worked a lot harder than you did. The butter browns a little at the edges, the garlic softens instead of burning, and the herbs cling to the chicken so every bite has actual flavor, not just seasoning on the surface.
What makes this version work is the order of operations. The chicken gets seasoned first, then the melted butter mixture goes over the top so it can baste the meat as it bakes. That keeps the breasts from drying out in the oven and gives you those spoonable pan juices at the end. The lemon juice matters here, too — not enough to make it taste citrusy, just enough to keep the butter from feeling heavy.
Below, you’ll find the timing that keeps chicken breast tender instead of stringy, plus a few smart swaps if you need to work with what’s already in the kitchen.
The chicken stayed juicy and the garlic butter pooled into the dish just like in the photo. Basting halfway through made the tops golden instead of drying out, and the lemon at the end kept it from tasting heavy.
Save this garlic butter baked chicken breast for a juicy, weeknight dinner with a glossy pan sauce and almost no cleanup.
The Part That Keeps Chicken Breast Juicy Instead of Chalky
Chicken breast dries out when it spends too long in the oven before the center has a chance to catch up. The fix here is simple: a hot oven, a thin layer of butter on top, and a stop at 165°F instead of guessing by color alone. The butter helps the surface brown, but the real protection is not overbaking the meat.
Another thing that matters is the shape of the breasts. If one side is much thicker, the thin end will overcook before the thick part is done. Pressing them into a fairly even thickness gives you a much better shot at juicy chicken all the way through, and the resting time lets the juices settle back into the meat instead of running onto the cutting board.
What the Garlic Butter, Herbs, and Lemon Are Doing Here
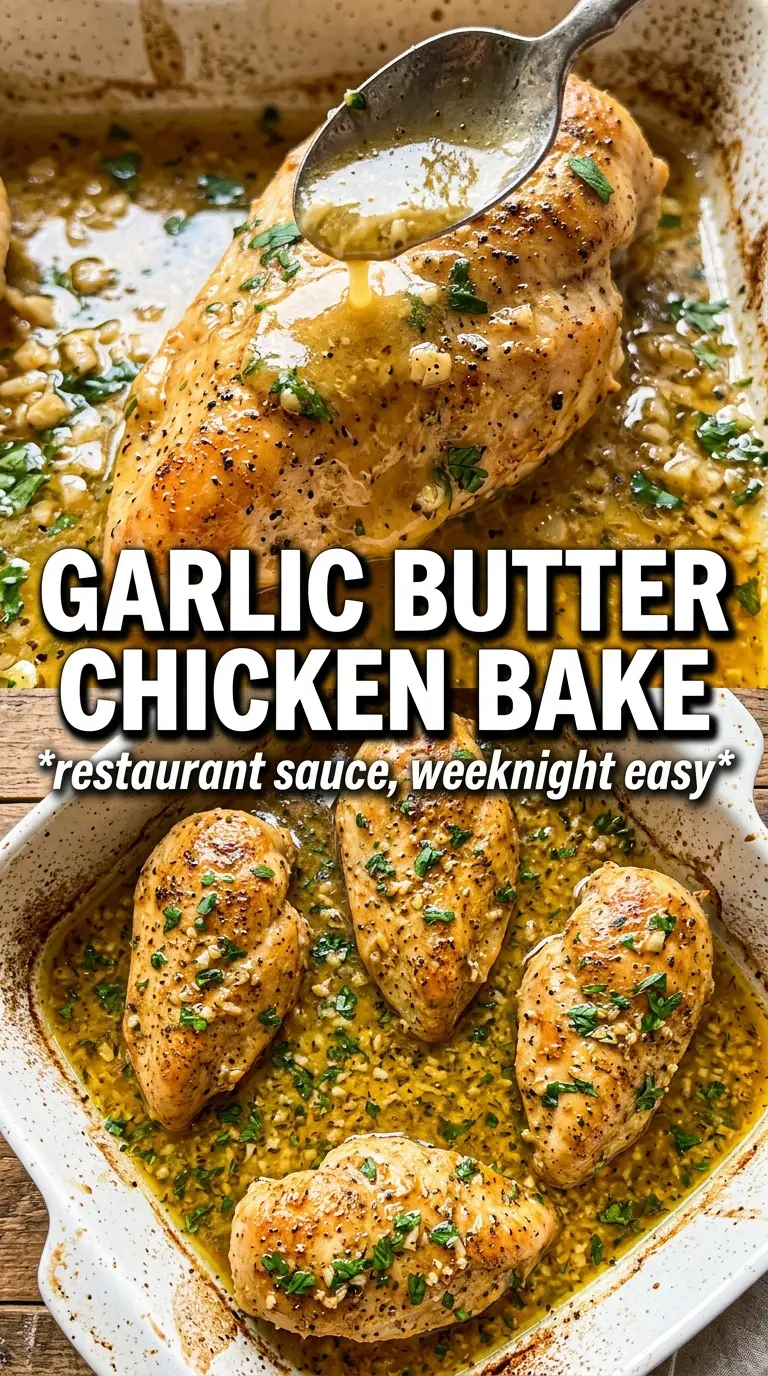
- Butter — This carries the garlic and herbs and browns slightly in the oven, giving the chicken a glossy finish and a richer pan sauce. Use real butter here; a substitute won’t give the same coating or the same drippings in the pan.
- Garlic — Fresh minced garlic gives you the best flavor, but it needs to sit in melted butter and go straight into the oven. If it hangs around in a hot pan too long, it can scorch and turn bitter.
- Fresh parsley, thyme, and rosemary — Fresh herbs bring a cleaner, brighter finish than dried ones. If you need to use dried, cut the amount to about one-third and crush them between your fingers before adding so they release more flavor.
- Lemon juice — This doesn’t make the chicken taste lemony; it cuts through the butter and keeps the sauce from tasting flat. Bottled lemon juice works in a pinch, but fresh tastes sharper and cleaner.
- Smoked paprika and garlic powder — These build the savory base on the chicken itself, so the seasoning isn’t riding only on the butter. If you skip them, the dish tastes less layered and more one-note.
Building the Baste So It Browns, Not Burns
Season the Chicken First
Pat the chicken dry, then season both sides with salt, pepper, garlic powder, and smoked paprika. Dry surface plus seasoning equals better browning, while wet chicken tends to steam in the oven. If the breasts are very uneven, pound the thickest part just enough to even them out so the thinner edge doesn’t dry out before the center reaches temperature.
Mix the Garlic Butter Without Cooking the Garlic
Stir the minced garlic, herbs, and lemon juice into the melted butter after it comes off the heat. You want the garlic fragrant, not sizzling. If the butter is too hot, the garlic starts to cook before it even hits the oven, and that’s how you end up with a harsh, burnt edge instead of a round, sweet garlic flavor.
Baste Once Halfway Through
Pour the butter over the chicken, then bake until the breasts are almost done and spoon the pan juices back over the top once. That halfway baste matters because it re-coats the surface after the first round of fat has absorbed and the top has started to set. Keep an eye on the color; if the herbs look too dark before the chicken is done, tent loosely with foil for the last few minutes.
Rest Before Serving
Pull the dish when the thickest part hits 165°F and let the chicken sit for 5 minutes. That short rest gives the juices time to redistribute, which is the difference between slices that hold together and slices that leak onto the plate. Spoon the buttery pan juices over the top right before serving so the surface stays glossy.
How to Adapt This for Different Kitchens and Different Nights
Dairy-Free Version
Use a high-quality dairy-free butter substitute that’s meant for baking, not a soft spread. You’ll still get the garlic-herb coating, but the sauce won’t be quite as rich or as silky as the butter version.
Boneless Thighs Instead of Breasts
Boneless chicken thighs work well here and are more forgiving if you tend to overcook chicken. They usually need a few extra minutes in the oven, and the finished dish tastes a little richer because thighs bring more natural fat.
Using Dried Herbs in a Pinch
If fresh herbs aren’t in the fridge, use dried thyme and rosemary, but reduce the amount to about one-third of the fresh measurement. Dried herbs are more concentrated and a little goes a long way, especially in melted butter.
Storage and Reheating
- Refrigerator: Store leftovers in an airtight container for up to 4 days. The butter sauce will firm up when chilled, but it loosens again as it reheats.
- Freezer: This freezes well for up to 2 months, though the sauce texture will be a little less silky after thawing. Freeze the chicken with some of the pan juices in a sealed container to help it stay moist.
- Reheating: Warm it covered in a 300°F oven until heated through, or reheat gently in a skillet with a spoonful of the pan juices. High heat dries out chicken breast fast, so don’t blast it in the microwave unless you’re heating it in short bursts.
Answers to the Questions Worth Asking
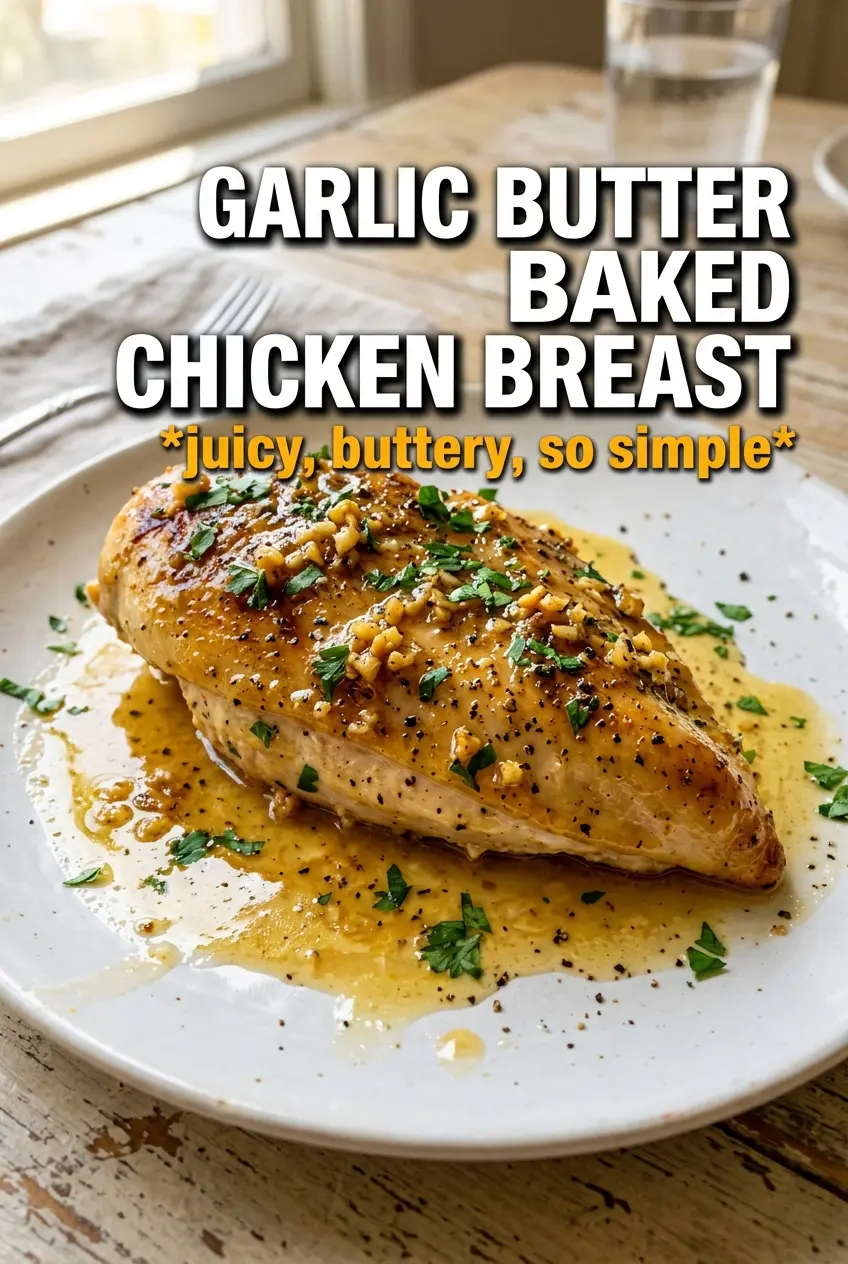
Garlic Butter Baked Chicken Breast
Ingredients
Equipment
Method
- Preheat oven to 425°F and lightly grease a baking dish.
- Season chicken breasts on both sides with salt, pepper, garlic powder, and smoked paprika.
- Melt butter and stir in garlic, parsley, thyme, rosemary, and lemon juice until combined.
- Place chicken in the prepared dish and pour garlic herb butter over each breast, coating thoroughly.
- Bake for 20-25 minutes at 425°F, basting with the pan juices once at the halfway point.
- Continue baking until internal temperature reaches 165°F, then remove the dish from the oven.
- Rest chicken for 5 minutes.
- Serve with the pan juices spooned over and lemon wedges alongside.


