
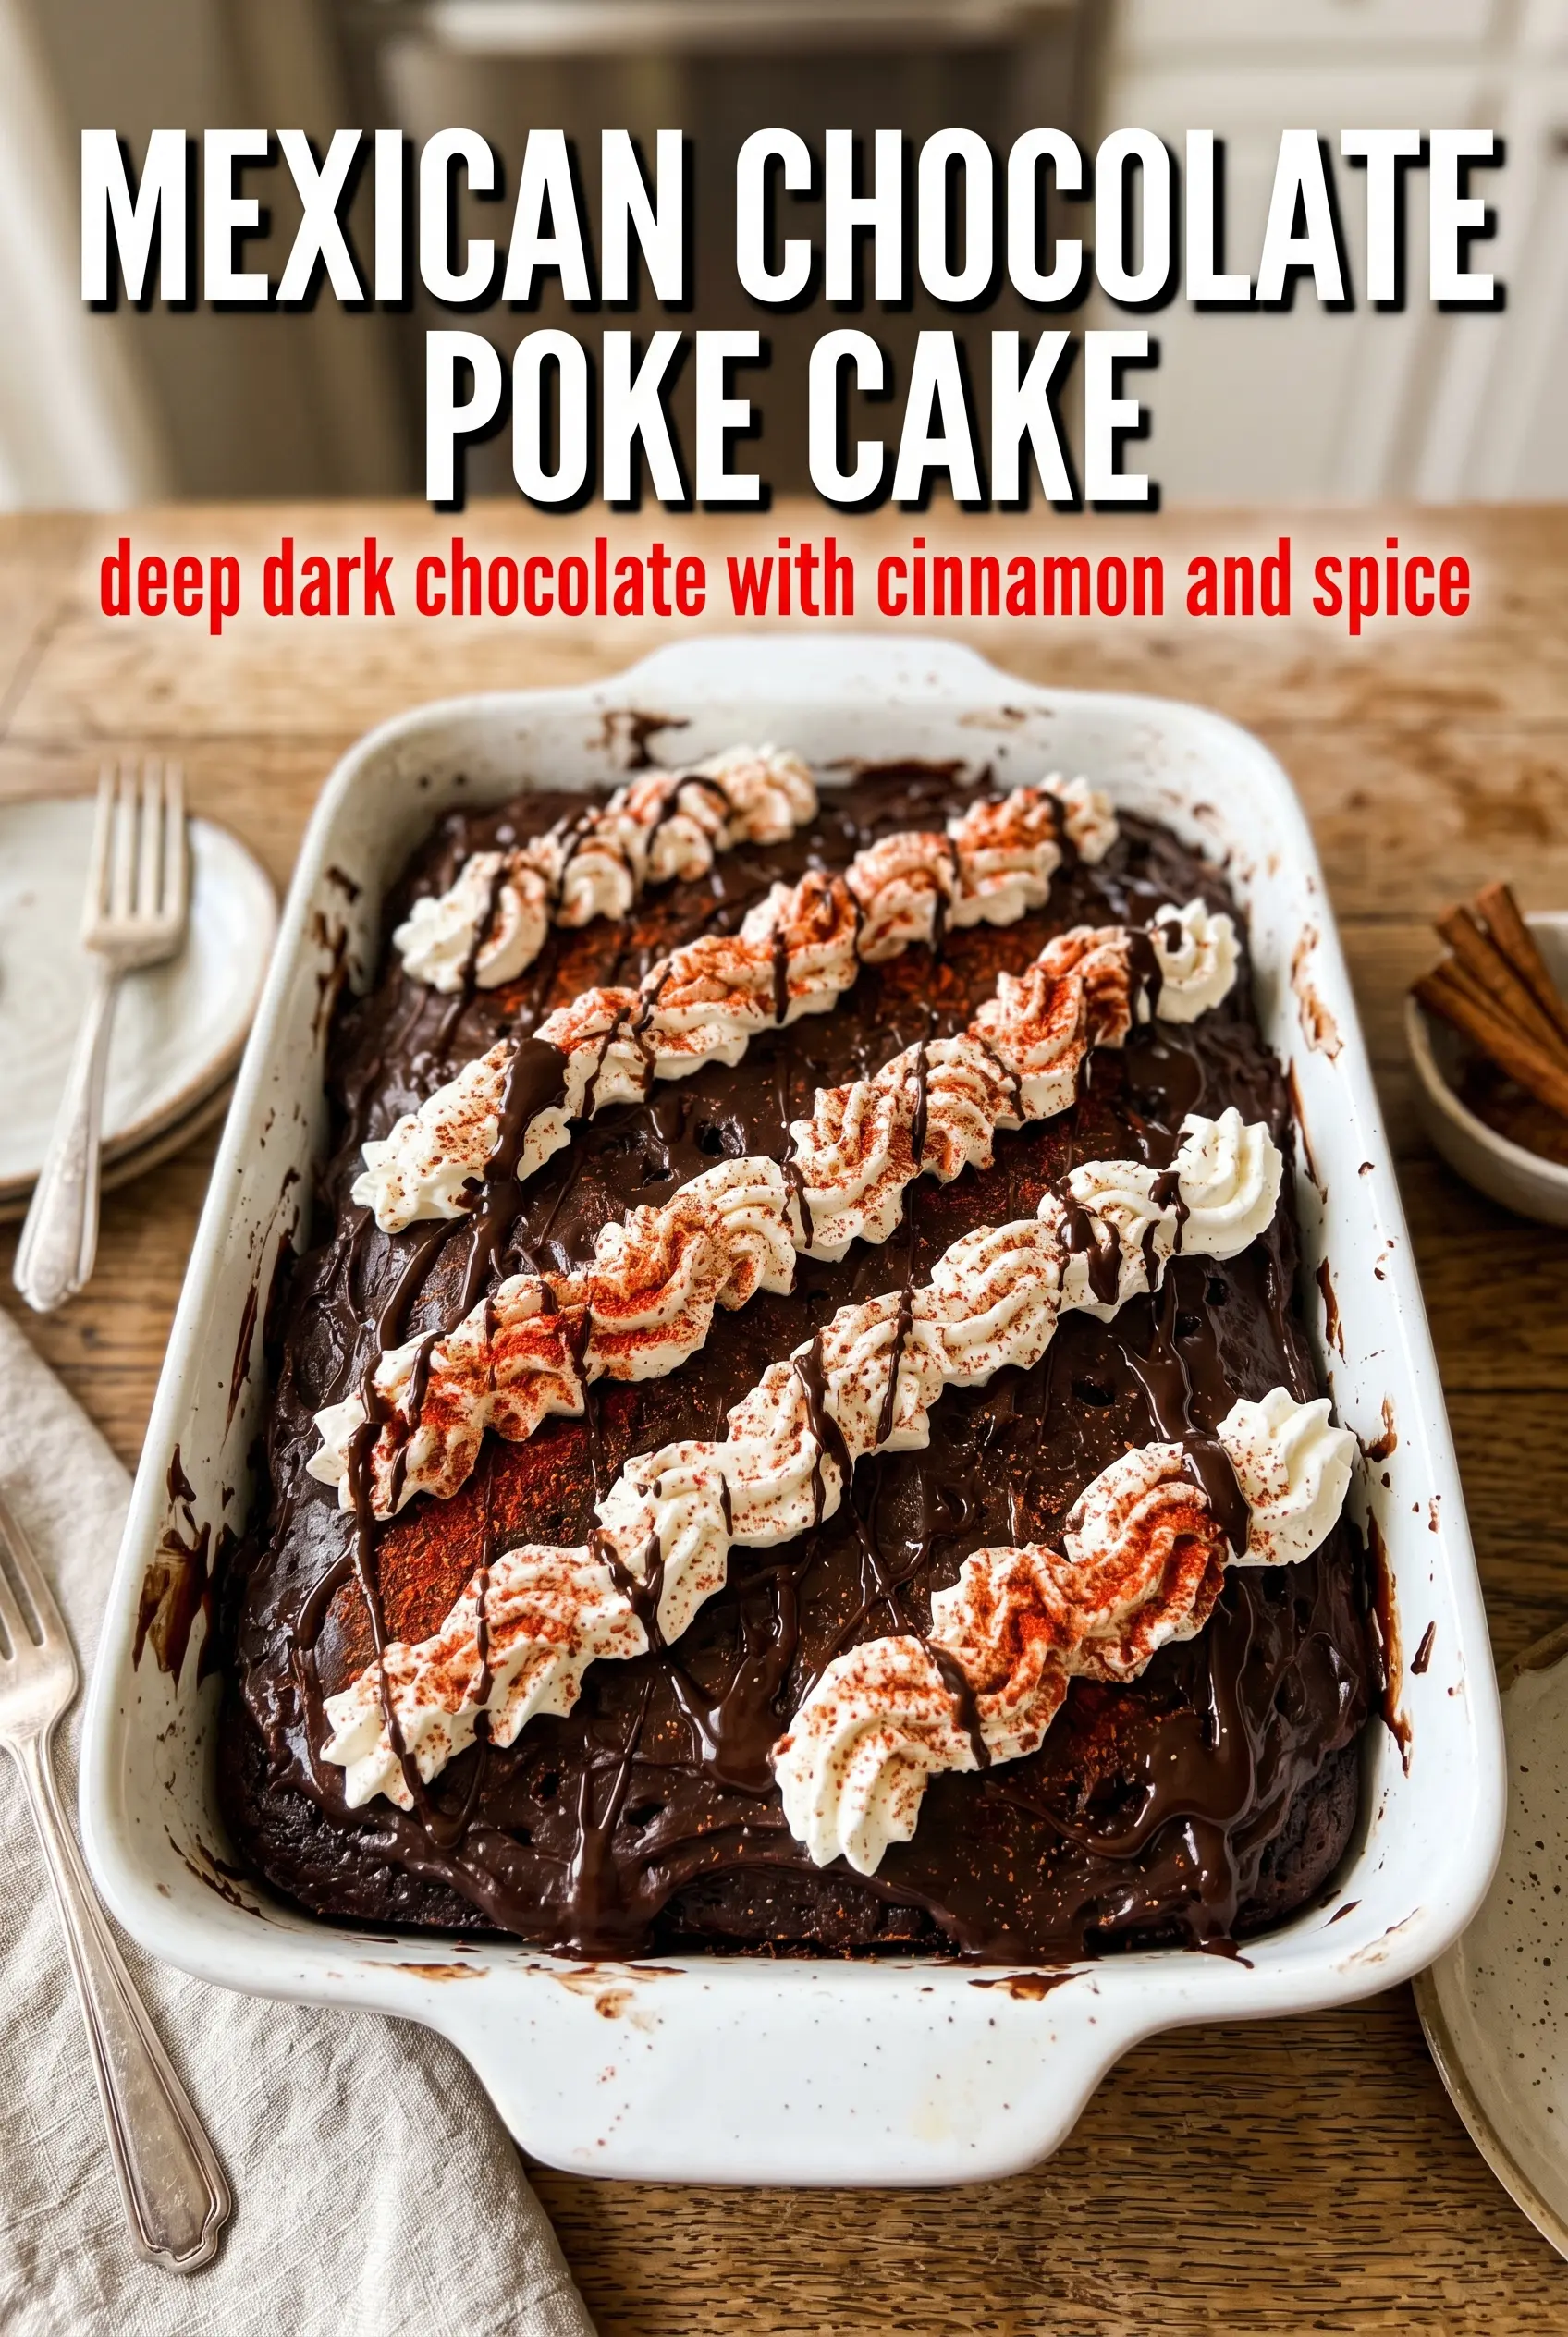
Moist chocolate cake soaked with sweetened condensed milk and chocolate syrup turns into something that slices cleanly but eats like a spoon dessert. The cinnamon and cayenne don’t make this cake spicy in a loud way; they deepen the chocolate and give each bite a warm finish that lingers after the sweetness fades. Topped with whipped cream and chocolate shavings, it lands somewhere between party cake and old-fashioned sheet cake, which is exactly why it disappears fast.
The coffee doesn’t make the cake taste like coffee. It sharpens the cocoa and keeps the crumb from tasting flat, and the buttermilk adds enough tang to balance the condensed milk that gets poured over the top. The key is poking the cake while it’s still warm so the glaze can sink deep into the crumb instead of sitting on the surface and turning sticky. That’s what gives this cake its signature texture.
Below you’ll find the detail that matters most for getting the texture right, plus a few useful swaps and storage notes for making it ahead. If you’ve ever had a poke cake turn soggy on top and dry in the middle, this version fixes that balance.
The cake stayed incredibly moist after the condensed milk went in, and the cinnamon-cayenne combo made the chocolate taste deeper instead of just sweeter. I brought it to a dinner and there wasn’t a crumb left.
Save this Mexican Chocolate Poke Cake for a chocolate dessert with a warm cinnamon kick and a glossy condensed milk soak.
The Reason This Cake Stays Moist Instead of Turning Mushy
The mistake most poke cakes make is treating the soak like a frosting layer instead of a way to carry moisture into the crumb. This cake works because the batter bakes up sturdy enough to hold the filling, but still tender enough to drink it in. If the cake is underbaked, the holes collapse and the top turns dense. If it’s overbaked, the condensed milk just pools in the forks marks and never really blends into the cake.
The warm cake matters here. Poking it while it’s still hot lets the steam open tiny channels, and that’s what helps the chocolate syrup mixture travel downward. You want the glaze to disappear into the cake in spots and stay visible in others. That balance is what keeps every slice moist without turning the whole pan heavy.
- Coffee — Brew it strong and let it cool before mixing. It deepens the cocoa flavor without making the cake taste like mocha.
- Buttermilk — This gives the crumb lift and a slight tang that balances the sweet topping. If you don’t have it, use whole milk mixed with 1 teaspoon vinegar or lemon juice and let it stand for 5 minutes.
- Cayenne — The amount here is gentle. It should add warmth at the back end, not heat that takes over the cake.
- Sweetened condensed milk — There isn’t a true swap for the texture it brings. It’s thick enough to settle into the holes and leave the cake rich without making the topping runny.
Building the Cake So the Glaze Sinks In Right
Mix the Dry Ingredients First
Whisk the flour, sugar, cocoa, baking soda, baking powder, salt, cinnamon, and cayenne until the cocoa disappears into the flour. That even mixing matters because the spices are small enough to clump if you rush it, and a clump of cayenne in one bite will throw the whole slice off. The batter should taste like dark chocolate with a warm edge, not like a spice cake pretending to be chocolate.
Bring the Batter Together Without Overworking It
Beat the eggs, coffee, oil, buttermilk, and vanilla together until they look smooth and loose, then fold them into the dry mixture just until no dry streaks remain. Overmixing tightens the crumb and makes the cake less willing to absorb the topping. The batter will look thin compared with a standard cake batter, and that’s what you want.
Bake Until the Center Springs Back
Pour the batter into a greased 9×13 pan and bake until a toothpick comes out clean and the center gives a gentle spring when touched. If you wait for the cake to look dry on top, you’ve gone too far. Start checking a few minutes early, because even a small overbake makes the finished cake less luscious once the filling goes in.
Poke While Warm, Not Cool
Use a fork to pierce the cake all over while it’s still warm. The holes should be close together, but not so deep that you tear the bottom layer. Stir the condensed milk and chocolate syrup together and pour slowly so it settles into the surface instead of running straight to one side of the pan.
Let the Filling Set Before Topping
Give the cake time to cool completely before adding whipped cream. If you add it too soon, the topping melts and turns loose. Once the cake is cool, the whipped cream sits neatly on top and the chocolate shavings stay in place instead of dissolving into the surface.
Ways to Adapt the Cake Without Losing What Makes It Work
Dairy-Free Version
Swap the buttermilk for a plant milk plus 1 teaspoon vinegar, and use a dairy-free whipped topping for the finish. The cake itself keeps its soft texture, but you’ll lose a little of the tang that makes the chocolate taste brighter. Use a thick dairy-free sweetened condensed milk if you can find one, since a thin version won’t soak in as neatly.
Milder Chocolate Spice
Cut the cayenne in half if you want the cake to read more like chocolate-cinnamon than Mexican chocolate. The cinnamon will still give warmth, and the coffee will keep the cocoa flavor deep. Don’t skip the spice entirely, or the cake loses the contrast that makes it memorable.
Gluten-Free Pan Cake
Use a 1:1 gluten-free baking flour that includes xanthan gum. The cake should still poke and soak well, but gluten-free batters can dry out faster, so start checking for doneness a few minutes early. Let it cool fully before topping, because the crumb is more delicate and can tear if you rush the whipped cream on.
Storage and Reheating
- Refrigerator: Store covered for up to 4 days. The cake gets even moister by day two, but the whipped cream softens a bit.
- Freezer: Freeze the cake without the whipped cream for up to 2 months. Wrap the pan tightly, thaw overnight in the refrigerator, then top before serving.
- Reheating: This cake is best served cold or at cool room temperature, not warmed. Reheating melts the topping and makes the soaked crumb loose, which takes away the clean slice you want.
Questions I Get Asked About This Cake
Mexican Chocolate Poke Cake
Ingredients
Equipment
Method
- Preheat oven to 350°F and grease a 9x13 inch baking pan, with a clean pan surface ready for batter.
- Whisk together all-purpose flour, granulated sugar, unsweetened cocoa powder, baking soda, baking powder, salt, cinnamon, and cayenne pepper until evenly combined and no dry clumps remain.
- Beat together eggs, strong brewed coffee, cooled, vegetable oil, buttermilk, and vanilla extract until smooth and uniform.
- Fold wet ingredients into dry ingredients just until combined, stopping when the last streaks disappear to keep the crumb tender.
- Pour batter into the prepared pan and bake 30-35 minutes at 350°F, until a toothpick comes out clean.
- While cake is still warm, pierce all over with a fork so the glaze can soak in deeply.
- Combine sweetened condensed milk and chocolate syrup, stirring until glossy and pourable.
- Pour the condensed milk mixture evenly over the warm cake so it seeps into the holes and pools slightly on top.
- Let cool completely for 30 minutes so the glaze sets, then top with whipped cream and chocolate shavings for a visible chocolate finish.


