
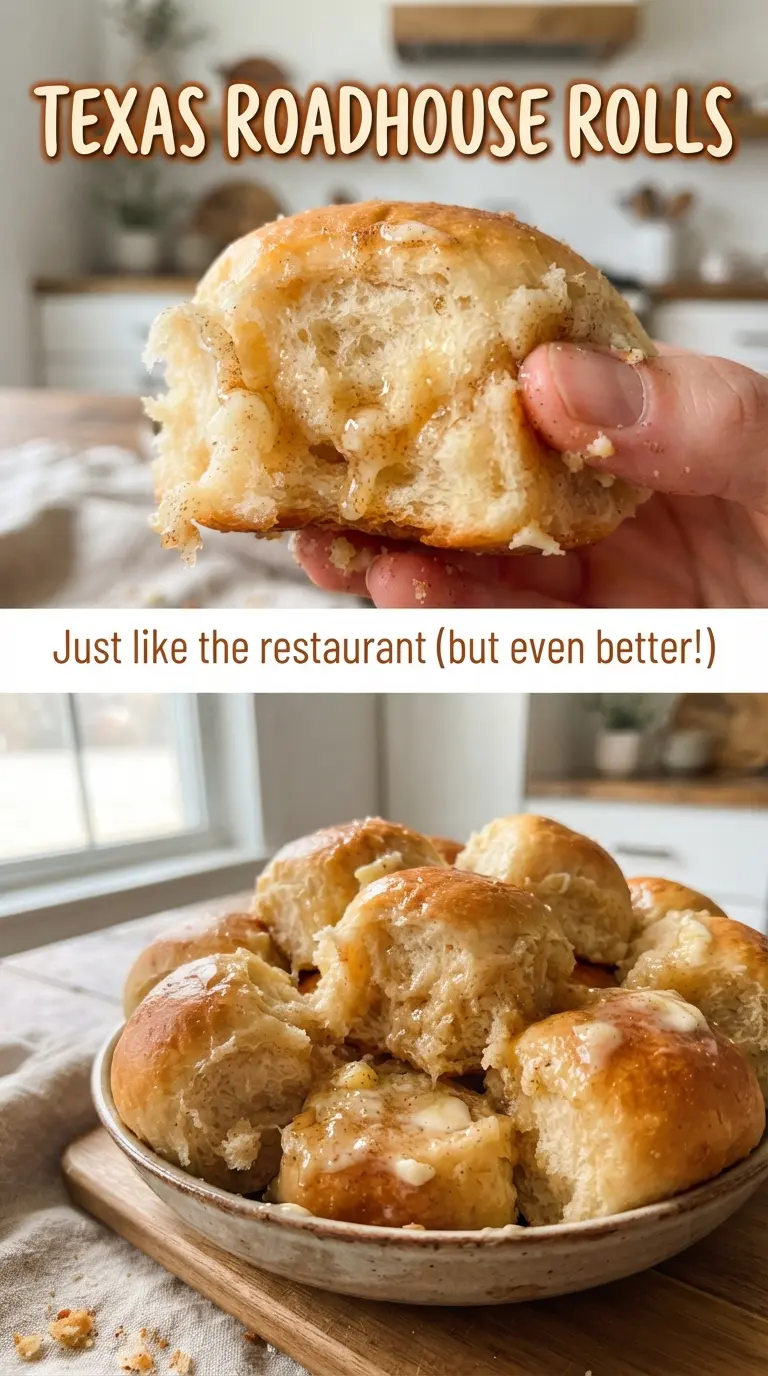
Soft, pillowy Texas Roadhouse rolls have a way of disappearing before they even reach the table. The crumb stays light and fluffy, the tops bake up with a delicate golden sheen, and that final brush of butter gives each square roll the kind of finish that makes people reach for a second one without thinking. They’re the sort of roll that tastes bakery-made, but the dough is simple enough to handle on a regular weeknight if you give it the right rise time.
What makes these work is the balance of milk, sugar, and butter in a dough that stays tender instead of bready. Warm milk feeds the yeast and adds richness, while the egg helps the crumb stay soft. The dough also gets a long enough knead to develop structure, which is why the rolls puff instead of spreading into flat little buns. The cinnamon honey butter is the finishing touch that sets them apart, and it only needs a few ingredients whipped together until light and creamy.
Below, you’ll find the small details that matter most: how to judge the dough by touch, why the second rise matters, and how to cut clean squares that bake into soft, pull-apart rolls.
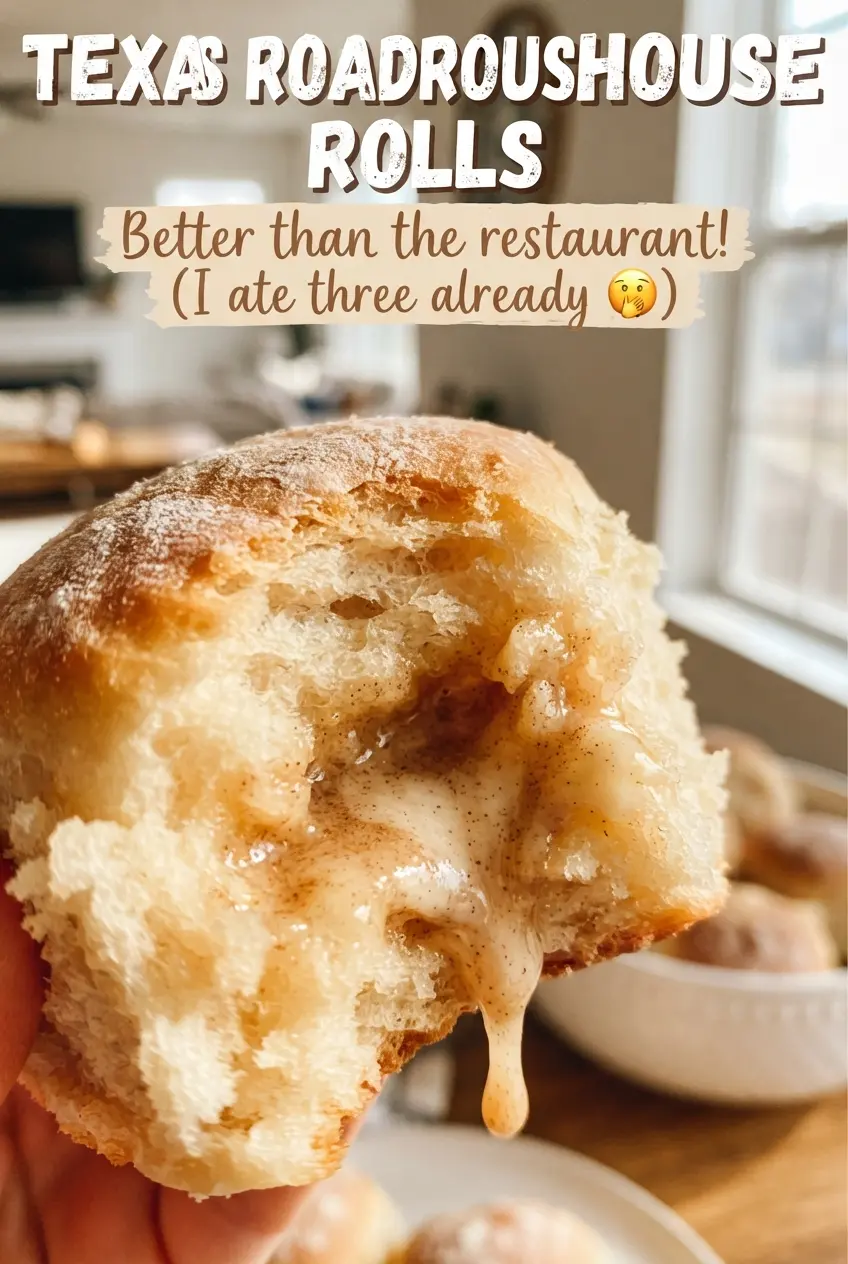
The rolls came out unbelievably soft, and the cinnamon honey butter melted right into the warm centers. I let the dough rise until it was puffy, and the texture was spot on.
Save these Texas Roadhouse rolls for the nights when you want ultra-soft square rolls with whipped cinnamon honey butter.
The Dough Needs to Be Soft, Not Slack
A lot of roll doughs fail because people keep adding flour until the dough feels easy to handle, then wonder why the rolls bake up dense. This dough should be soft and slightly tacky, but it still needs enough structure to hold a shaped square. If it feels dry after the first few minutes of kneading, it usually means the flour was packed too tightly or the kitchen is drier than expected, so add flour in very small amounts and stop as soon as the dough pulls together cleanly.
The long knead matters here. It turns a sticky, shaggy mass into a smooth dough that traps air during both rises. Skip that part and the rolls bake up flatter with a tighter crumb. The first rise should double the dough, not just puff it a little. If it hasn’t clearly expanded, give it more time; yeast doesn’t care about the clock, and underproofed dough gives you rolls that tear instead of stretch.
What the Milk, Butter, and Honey Are Doing Here
- Whole milk — This adds tenderness and richness that water alone can’t give you. Warm it to about 110°F; too hot and it can kill the yeast, too cold and the dough rises sluggishly.
- Active dry yeast — The foamy bloom in the first step tells you the yeast is alive. If it never gets bubbly, start over before you waste the flour and butter.
- Butter — Melted butter in the dough keeps the crumb soft, while brushed butter on top gives the rolls that glossy, bakery-style finish. Use real butter here; margarine won’t give the same flavor or clean richness.
- Powdered sugar, honey, and cinnamon — This is what makes the butter spread like a cloud. Honey loosens the mixture just enough, powdered sugar keeps it fluffy, and cinnamon gives it that familiar sweet finish without making it gritty.
Shaping the Squares So They Rise Evenly
Starting with the First Rise
After the dough is mixed and kneaded, cover it and let it rise until doubled. The surface should look domed and airy, and when you press a finger into it, the indentation should spring back slowly instead of filling in immediately. If the dough rises in a cold kitchen, expect it to take longer. Pulling it too early leaves the rolls tight inside.
Rolling, Folding, and Cutting Clean Squares
Roll the dough into a 1/2-inch thick rectangle, then fold it over before cutting. That fold gives the rolls extra lift and helps create the signature soft layers. Cut straight down into squares with a sharp knife or bench scraper; sawing through the dough compresses the edges and makes the rise uneven. Arrange them with a little space between each piece so they can expand without crowding.
The Final Proof Before Baking
The second rise is where these rolls become light instead of heavy. They should look puffy and touch each other slightly on the pan. If you bake them before this stage finishes, the oven has to do all the lifting and the texture suffers. Once they look airy and soft, they’re ready for the oven, not before.
Baking and Buttering at the End
Bake until the tops turn lightly golden and the rolls feel set in the center. The color should be gentle, not dark; overbaking dries out the crumb fast. Brush with melted butter right away while they’re hot so it soaks into the surface instead of sitting on top. That final butter brush is what gives them the soft, slightly shiny finish everyone expects from this style of roll.
How to Adapt These Rolls Without Losing the Texture
Dairy-Free Version
Swap the milk for an unsweetened dairy-free milk with some body, like oat milk, and use a plant-based butter that bakes well. The rolls will still be soft, but the flavor will be a little less rich and the cinnamon honey butter will taste cleaner and lighter.
Make-Ahead Dough for a Busy Day
Mix and knead the dough the night before, then let it rise in the refrigerator overnight after the first proof. The cold slows everything down without hurting the dough, and the next day you can shape, proof, and bake with less waiting. Cold dough may need a little extra time at room temperature before it looks puffy again.
A Slightly Less Sweet Roll
Cut the sugar in the dough back a little if you want a more dinner-roll style bite, but don’t remove it entirely. Sugar feeds the yeast and keeps the crumb tender, so taking it away completely changes both the rise and the texture.
How to Freeze Them Cleanly
Freeze the baked rolls without the cinnamon honey butter, then thaw and warm them before serving. The butter topping is best made fresh because it whips lighter that way, and reheating frosted rolls can make the topping melt into a greasy layer.
Storage and Reheating
- Refrigerator: Store baked rolls in an airtight container for up to 3 days. They’ll soften a little as they sit, which is normal for enriched bread.
- Freezer: Freeze baked rolls for up to 2 months. Wrap them well, then thaw at room temperature before warming so the inside doesn’t turn gummy.
- Reheating: Warm the rolls in a 300°F oven for 5 to 8 minutes, covered loosely with foil if they’re already browned. Microwaving works in a pinch, but it can make the crumb chewy instead of soft.
Answers to the Questions Worth Asking
Texas Roadhouse Rolls
Ingredients
Equipment
Method
- Combine whole milk, warm water, active dry yeast, and 1 tablespoon sugar in a bowl; let stand 5 minutes until foamy.
- Visual cue: the mixture should look creamy with bubbles on top before you continue.
- Add remaining sugar, egg, melted butter, salt, and all-purpose flour, then knead 8 minutes until soft and smooth.
- Visual cue: the dough should become elastic and no longer look shaggy.
- Cover the dough and let rise 1 hour until doubled in size.
- Visual cue: it should puff up and look noticeably larger and airy.
- Roll the dough into a 1/2-inch thick rectangle, fold in half, and cut into 2-inch squares.
- Visual cue: keep the squares even so they bake uniformly.
- Place the squares on a parchment-lined sheet, cover, and rise 1 hour until puffy.
- Visual cue: the tops should look swollen and soft, not flat.
- Preheat oven to 350F and bake 12-15 minutes until golden.
- Visual cue: edges will turn lightly brown while the centers stay tender.
- Brush the hot rolls with the remaining 2 tablespoons melted butter.
- Visual cue: the surface should look glossy as the butter soaks in.
- In a bowl, whip softened butter, powdered sugar, honey, and ground cinnamon until fluffy.
- Visual cue: the mixture should lighten in color and hold a light, spreadable texture.
- Serve the warm rolls with the whipped cinnamon honey butter.
- Visual cue: split rolls should show a fluffy interior where the butter melts.


