
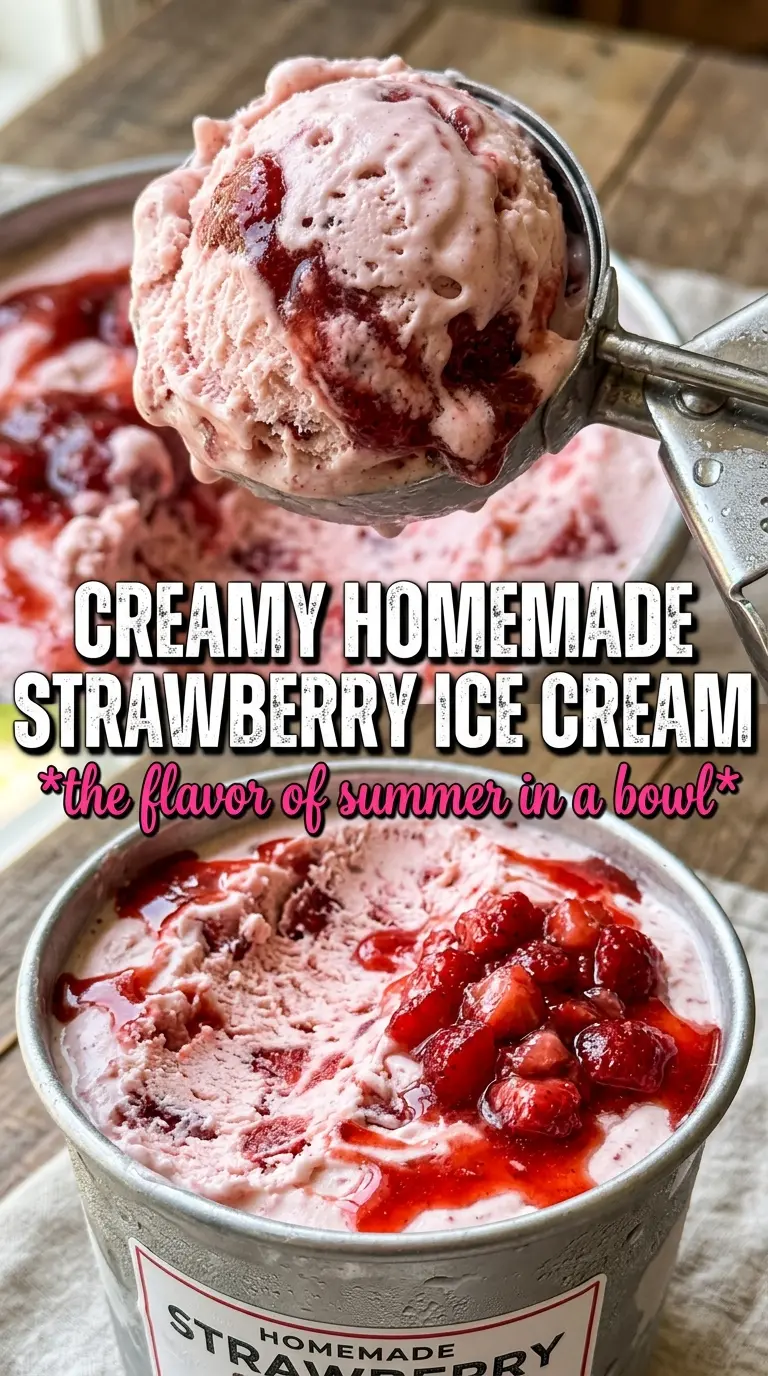
Scoops of homemade strawberry ice cream should taste like actual strawberries first and dessert second, with a clean, bright berry flavor and a creamy base that still lets the fruit stay front and center. The best versions don’t bury the strawberries under too much dairy or overcook the custard until it tastes heavy. What you want here is vibrant pink ice cream with little pieces of fruit throughout and a texture that turns silky in the freezer instead of icy.
The trick is splitting the strawberry work from the custard work. Macerating the berries with a little sugar and lemon juice draws out their juices and deepens the flavor, while the egg yolk base gives the ice cream body without making it dense. I also like adding the strawberries near the end of churning so the color stays fresh and the pieces stay visible instead of disappearing into the base.
Below, I’ve laid out the parts that matter most: how to keep the custard from scrambling, how to get strong strawberry flavor without making the mixture watery, and what to change if you want to work with frozen berries instead of fresh.
The strawberries stayed chunky and the custard thickened into the smoothest ice cream base. I loved that it tasted like fresh berries instead of candy, and it scooped beautifully after freezing overnight.
Save this homemade strawberry ice cream for the kind of dessert that needs real berry flavor, a silky custard base, and visible fruit in every scoop.
The Part That Keeps Strawberry Ice Cream Creamy Instead of Icy
Strawberry ice cream gets watery fast when the fruit is rushed or the custard is underdeveloped. The berries need time with sugar to release their juice, and that juice needs to be concentrated by taste, not diluted by adding too much extra liquid. On the other side, the custard has to cook enough to thicken, but not so long that the egg yolks turn grainy or the dairy tastes cooked.
The other mistake is mixing the strawberries into the base too early. That can mute the color and scatter the fruit so evenly that you lose the little pops of berry in the finished scoop. Folding them in near the end of churning keeps the texture lively and gives you those visible streaks and pieces that make homemade ice cream feel worth the effort.
What Each Ingredient Is Doing In This Strawberry Ice Cream
- Fresh strawberries — These carry the whole flavor of the ice cream, so ripe berries matter here more than in a baked dessert. If your berries are a little flat, the lemon juice helps wake them up, but it won’t fix bland fruit completely.
- Granulated sugar — Some goes with the strawberries to draw out juice, and the rest sweetens and softens the custard. Don’t cut it too far or the ice cream will freeze harder and taste sharper than it should.
- Lemon juice — This isn’t about making the ice cream taste lemony. It sharpens the strawberry flavor and keeps the fruit tasting bright after freezing.
- Heavy cream and whole milk — This balance gives you richness without turning the base into butterfat overload. Swapping in lower-fat milk will make the final texture icier.
- Egg yolks — They’re what turn the base into a true custard and give it that scoopable, velvet texture. Whisk them with sugar until pale before adding hot dairy, or they’re more likely to curdle when heated.
- Vanilla and salt — The vanilla rounds out the berry flavor, and the salt keeps the ice cream from tasting flat. Neither should dominate, but both matter more than people think in a fruit ice cream.
How to Build the Custard Without Scrambling the Yolks
Sweetening the Strawberries First
Toss the sliced strawberries with a quarter cup of sugar and the lemon juice, then let them sit until they look glossy and a little syrupy. That resting time pulls out flavor and gives you a puree that tastes like strawberries, not just cold fruit. Mash them for a chunkier finish or blend briefly if you want a smoother scoop, then chill the mixture so it doesn’t warm the custard later.
Tempering the Eggs the Safe Way
Whisk the yolks with the remaining sugar until the mixture looks lighter and thicker. Heat the cream and milk until steaming, not boiling, then pour it into the yolks in a slow stream while whisking constantly. If you dump it in all at once, the yolks can seize and you’ll end up with little bits of scrambled egg instead of a smooth base.
Cooking to the Right Thickness
Return the custard to the saucepan and cook it over medium-low heat, stirring constantly and scraping the bottom and corners of the pan. It’s done when it coats the back of a spoon and reaches 170-175°F. If it goes past that, the texture gets grainy fast, so pull it off the heat as soon as it thickens and don’t wait for it to look pudding-thick in the pan.
Chilling, Churning, and Finishing
Strain the custard, then stir in the vanilla and salt before cooling it completely. Chill it for at least two hours, because a cold base churns faster and freezes smoother. Add the strawberry puree during the last five minutes of churning so the fruit stays distinct, then transfer the ice cream to a container and freeze until firm.
How to Change the Fruit, the Dairy, or the Finish
Make It With Frozen Strawberries
Thaw the berries first and drain off any excess liquid before macerating them with sugar and lemon. Frozen fruit works, but it usually tastes a little softer and less bright than peak-season berries, so the lemon juice matters even more here.
Dairy-Free Version
Use full-fat coconut milk in place of the cream and whole milk, then expect a slight coconut note in the finished ice cream. The texture will still be rich, but it won’t be quite as clean and classic as the dairy version.
Strawberry Swirl Style
Blend the berries smoother and reserve a few spoonfuls to swirl in at the very end instead of fully mixing them through. You’ll get a more dramatic ribbon of fruit, but fewer berry pieces in every bite.
Storage and Reheating
- Refrigerator: This ice cream base keeps up to 2 days before churning, covered tightly. After churning, store the finished ice cream in the freezer instead of the fridge.
- Freezer: Store in an airtight container for up to 2 weeks for the best texture. Press parchment or plastic wrap directly on the surface to slow ice crystal formation.
- Reheating: Not needed here, but let the ice cream sit at room temperature for 5 to 10 minutes before scooping. If it’s rock hard, it was probably churned with a base that wasn’t fully chilled.
Answers to the Questions Worth Asking
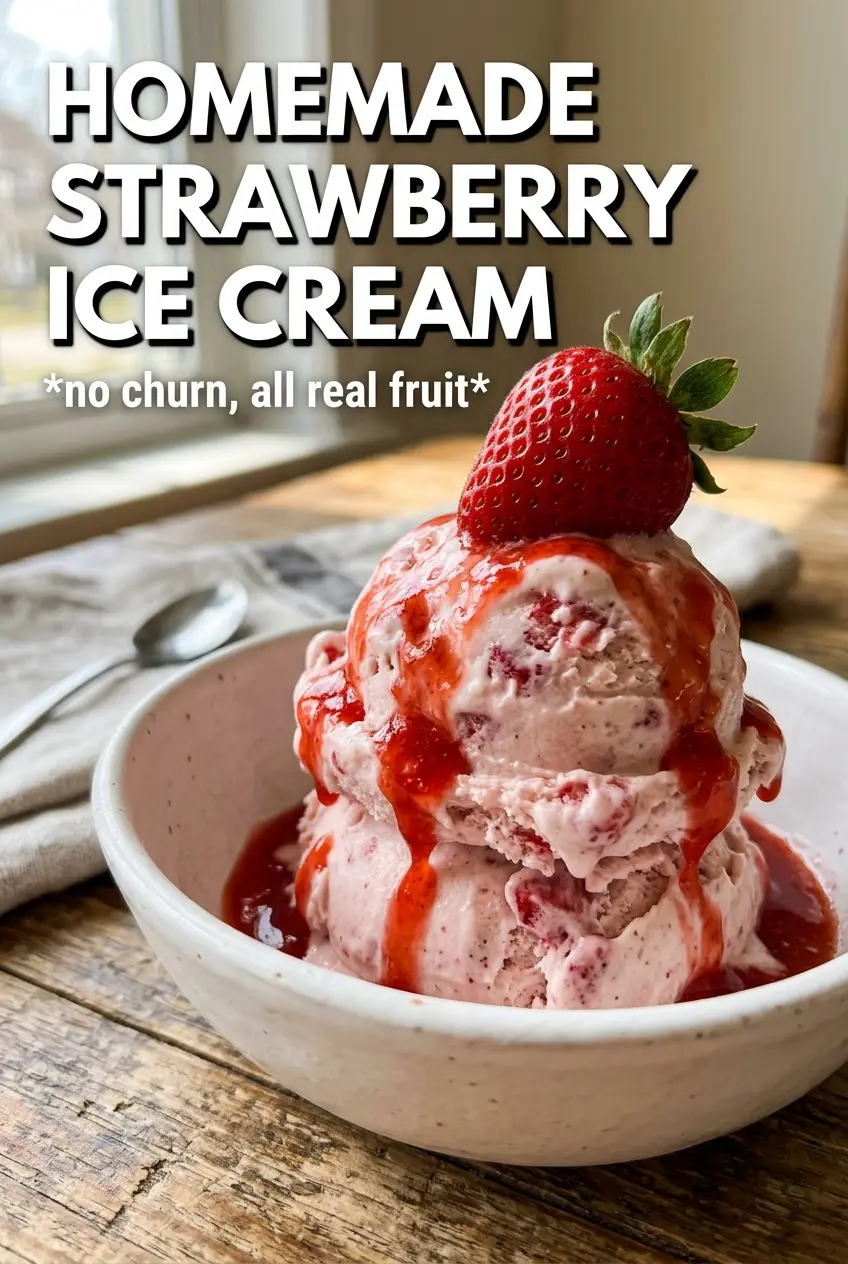
Homemade Strawberry Ice Cream
Ingredients
Equipment
Method
- Toss sliced strawberries with 1/4 cup sugar and lemon juice, then let sit for 30 minutes in the refrigerator until juicy. Visual cue: strawberries look glossy and release liquid.
- Mash or blend the strawberries into a chunky puree and refrigerate until chilled. Visual cue: puree stays visibly textured with small berry pieces.
- Whisk egg yolks with the remaining 1/2 cup sugar until pale and thick. Visual cue: mixture falls in ribbons and looks lighter in color.
- Heat heavy cream and whole milk in a saucepan over medium heat until steaming. Visual cue: you see steam rising but no hard boil.
- Slowly whisk the steaming dairy into the egg yolks to combine. Visual cue: the mixture thickens slightly as it warms from the center outward.
- Return to the saucepan and cook over medium-low heat, stirring constantly, until thick enough to coat the back of a spoon at 170-175F (about 10 minutes). Visual cue: a finger line on the spoon holds for a second before slowly filling in.
- Strain the custard, then stir in vanilla and salt. Visual cue: custard becomes smooth and uniform without lumps.
- Cool completely, then refrigerate at least 2 hours. Visual cue: custard is cold throughout and feels set when spooned.
- Churn in an ice cream maker according to the manufacturer’s instructions, adding the strawberry puree in the last 5 minutes. Visual cue: ice cream turns vibrant pink and thickens to soft-serve texture.
- Transfer to a container and freeze at least 2 hours until firm. Visual cue: scoop holds shape with sharp edges.


