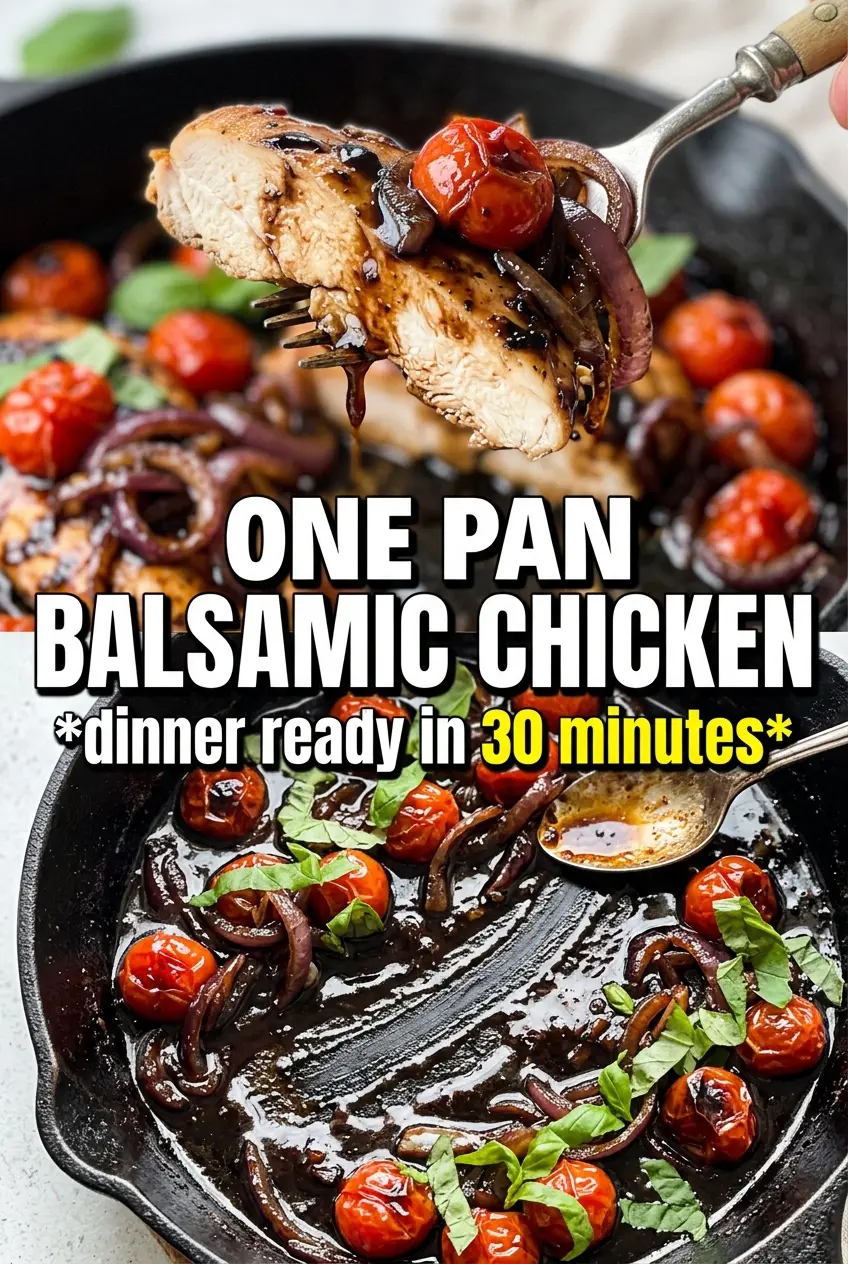

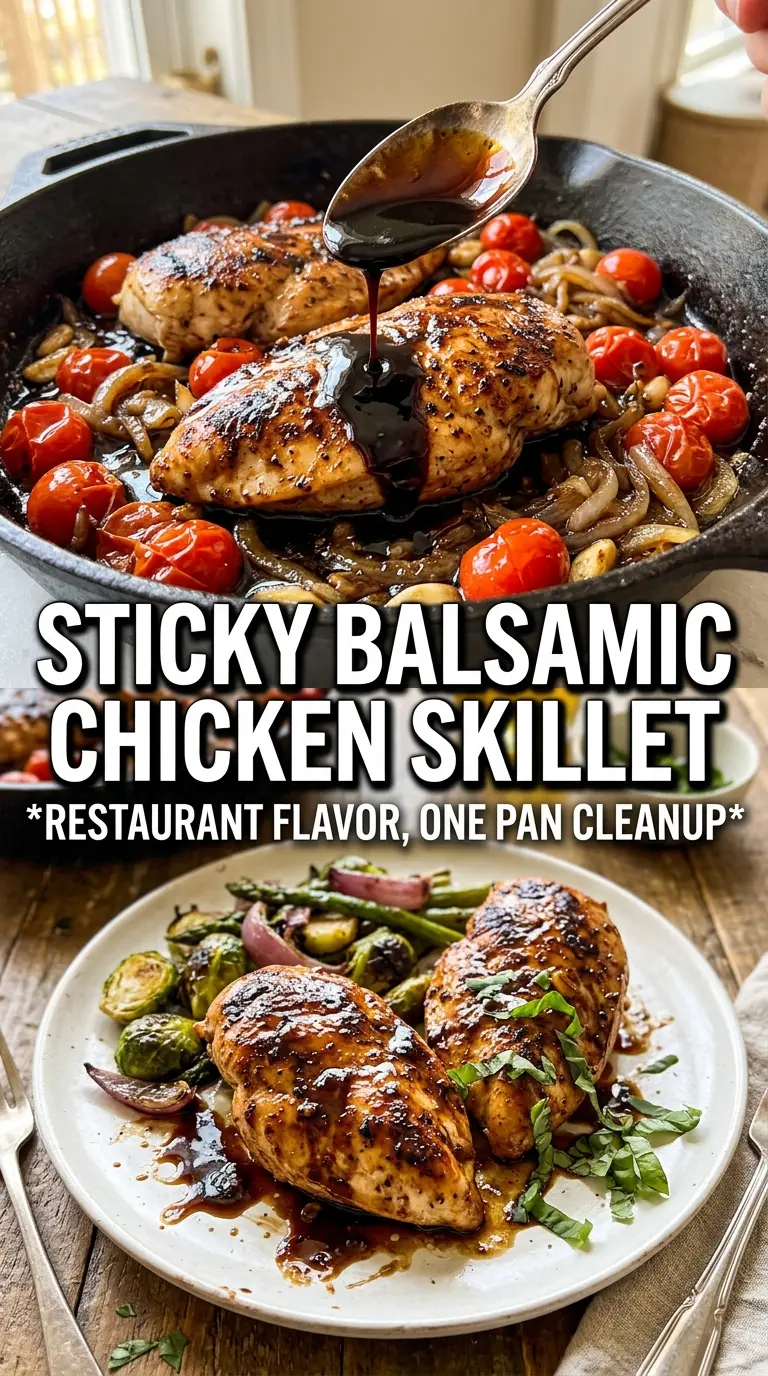
Golden chicken thighs, blistered tomatoes, and a glossy balsamic glaze make this skillet dinner feel a lot fancier than the work it takes to get it on the table. The skin stays crisp enough to give you a real bite of texture, and the sauce turns sticky and dark instead of thin and sharp, which is what makes this version worth making again.
The trick is building the sauce in the same pan after the chicken has been seared. Those browned bits left behind give the balsamic something deeper to cling to, and the honey balances the vinegar without making the whole thing taste sugary. Bone-in, skin-on thighs hold up best here because they stay juicy while the glaze reduces.
Below, I’ve included the small details that keep the sauce from tasting harsh, plus the one timing note that matters if you want the skin to stay crisp under the glaze.
The chicken skin stayed crisp even after the balsamic glaze reduced, and the tomatoes broke down just enough to make the sauce taste rich instead of tangy. My husband kept sneaking bites straight from the skillet.
Save this one pan balsamic chicken for the nights when you want glossy skillet chicken, blistered tomatoes, and a dark caramelized glaze with almost no cleanup.
The Sear Is What Keeps the Glaze from Turning Flat
If the chicken goes into the sauce without a hard sear, you lose the contrast that makes this dish work. The skin needs time in a hot skillet so it renders, tightens, and takes on a deep golden color before the liquid goes in. That browning is not decoration. It gives the balsamic sauce something savory to pull from instead of tasting like sweet vinegar with chicken in it.
Use medium-high heat for the first sear, then drop back once the sauce is in the pan. If the pan is screaming hot when the vinegar and honey hit it, the glaze can tighten too fast on the bottom before the chicken finishes. You want a steady simmer that reduces to a shiny coating, not a furious boil that burns the sugars.
- Chicken thighs — Bone-in, skin-on thighs hold up best here because they stay juicy while the sauce reduces. Breasts can work, but they need a shorter finish and they won’t give you the same richness or crisp skin.
- Balsamic vinegar — This is the backbone of the glaze, so use one that tastes clean and balanced. A bargain bottle is fine if it doesn’t taste harsh straight from the spoon; if it’s sharp and thin, the finished sauce will be too.
- Honey — It softens the vinegar and helps the glaze go glossy instead of aggressively tart. Maple syrup can stand in, but it changes the flavor and gives you a slightly looser finish.
- Chicken broth — Broth keeps the glaze from reducing into a sticky paste before the chicken is cooked through. Use a low-sodium version if possible so the sauce doesn’t end up salty once the butter goes in.
What Each Ingredient Is Actually Doing in This Recipe
- Primary ingredient (the star) — Quality matters most. Choose the best you can find.
- Cooking medium (oil, butter, or broth) — This carries flavors and prevents dryness.
- Seasonings (salt, pepper, spices, herbs) — Layer flavors so nothing overpowers. Build depth gradually.
- Aromatics (garlic, onion, herbs) — Cook with fat to bloom flavors. Become the foundation.
- Supporting ingredients — Complement the main ingredient without overpowering it.
- Sauce or liquid (if applicable) — Brings flavors together. Balance richness with acid.
- Acid (lemon, vinegar, wine, or other) — Brightens and prevents flat-tasting results.
- Final finish (garnish, glaze, or sauce) — Prevents one-dimensional taste and adds visual appeal.
Building the Glaze in the Same Skillet
Season and sear the chicken. Pat the thighs dry, season them well, and place them skin-side down in the hot oil. Don’t move them around; let the skin release on its own after 7 to 8 minutes so it turns deeply golden instead of tearing. Flip, sear the other side just long enough to pick up some color, then lift the chicken out while it finishes later in the sauce.
Wake up the garlic and tomatoes. Whole garlic cloves and cherry tomatoes go into the rendered fat after the chicken comes out. Cook them just until the tomatoes start to blister and the garlic smells sweet, not browned and bitter. If the pan looks dry, the chicken hasn’t given up enough fat and you can keep going without adding more oil yet.
Reduce until the spoon leaves a trail. Add balsamic vinegar, honey, and broth, then scrape the bottom hard to dissolve the browned bits. Once the chicken goes back in, keep the sauce at a steady simmer until it thickens enough to coat a spoon and cling to the skin. Stir in the butter at the end off the hottest part of the burner so the glaze turns silky instead of greasy.
How to Adjust This Skillet Chicken Without Losing the Point
Make It Dairy-Free
Leave out the butter and finish the glaze with an extra teaspoon of olive oil if you want a little more sheen. You’ll lose a touch of richness, but the balsamic will taste cleaner and the sauce will still cling nicely to the chicken.
Use Boneless Chicken Thighs
Boneless thighs cook faster and still stay juicy, but they won’t give you that crisp skin or the same depth from the sear. Cut the simmering time back and watch the internal temperature closely so they don’t overcook while the glaze finishes.
Swap in Chicken Breasts
Breasts work if that’s what you’ve got, but they dry out faster and need a gentler finish. Sear them briefly, then simmer only until they reach 165°F, pulling them off the heat as soon as they’re done so the sauce can reduce without toughening the meat.
Storage and Reheating
- Refrigerator: Store leftovers in an airtight container for up to 4 days. The skin softens in the fridge, but the flavor gets even deeper after a night in the sauce.
- Freezer: Freeze the chicken and sauce together for up to 2 months. The tomatoes will lose some texture, but the dish still reheats well if you accept a softer finish.
- Reheating: Reheat gently in a covered skillet over low heat with a splash of broth to loosen the glaze. High heat can scorch the balsamic and tighten the chicken before the center is warm.


