
Green bean bundles bring a crisp-tender bite, salty bacon, and a glossy brown sugar glaze into one side dish that disappears fast. The beans stay bright instead of going dull and stringy, and the bacon renders enough to crisp at the edges while still holding everything together. The glaze turns sticky in the oven and clings to every bundle, which is exactly what makes this dish feel a little special without asking for much extra work.
The part that makes these work is the blanching step. Three minutes in boiling water sets the beans before they go into the oven, so they finish tender instead of leathery, and the ice bath stops the cooking immediately so they keep that fresh green color. The bacon goes seam-side down in the baking dish so it stays put while it cooks, and the glaze is mixed separately so the sugar dissolves before it hits the heat.
Below you’ll find the small details that matter most: how tight to make each bundle, how to keep the bacon from steaming, and a few swaps that still give you a polished result when you need to adjust for what’s in the kitchen.
The beans stayed bright and just tender, and the bacon crisped up instead of turning rubbery. That brown sugar garlic glaze was sticky in the best way and made the whole pan taste like more work than it was.
Save these bacon-wrapped green bean bundles for the side dish that brings crisp beans, sticky glaze, and a little extra drama to the table.
The Trick to Keeping the Beans Bright Before the Bacon Goes On
The biggest mistake with green bean bundles is sending raw beans straight into the oven and hoping the bacon will save them. It won’t. By the time the bacon is crisp, the beans can still be tough in the middle or, worse, the bacon can overcook before the beans soften. Blanching fixes that balance: it gives the beans a head start, locks in the color, and keeps the final texture crisp-tender instead of limp.
The ice bath matters just as much as the boil. If you skip it, the beans keep cooking from residual heat and lose that bright snap. Drain them well after chilling, too, because extra water keeps the glaze from sticking and can make the bacon slip as it bakes.
What Each Ingredient Is Actually Doing in These Green Bean Bundles
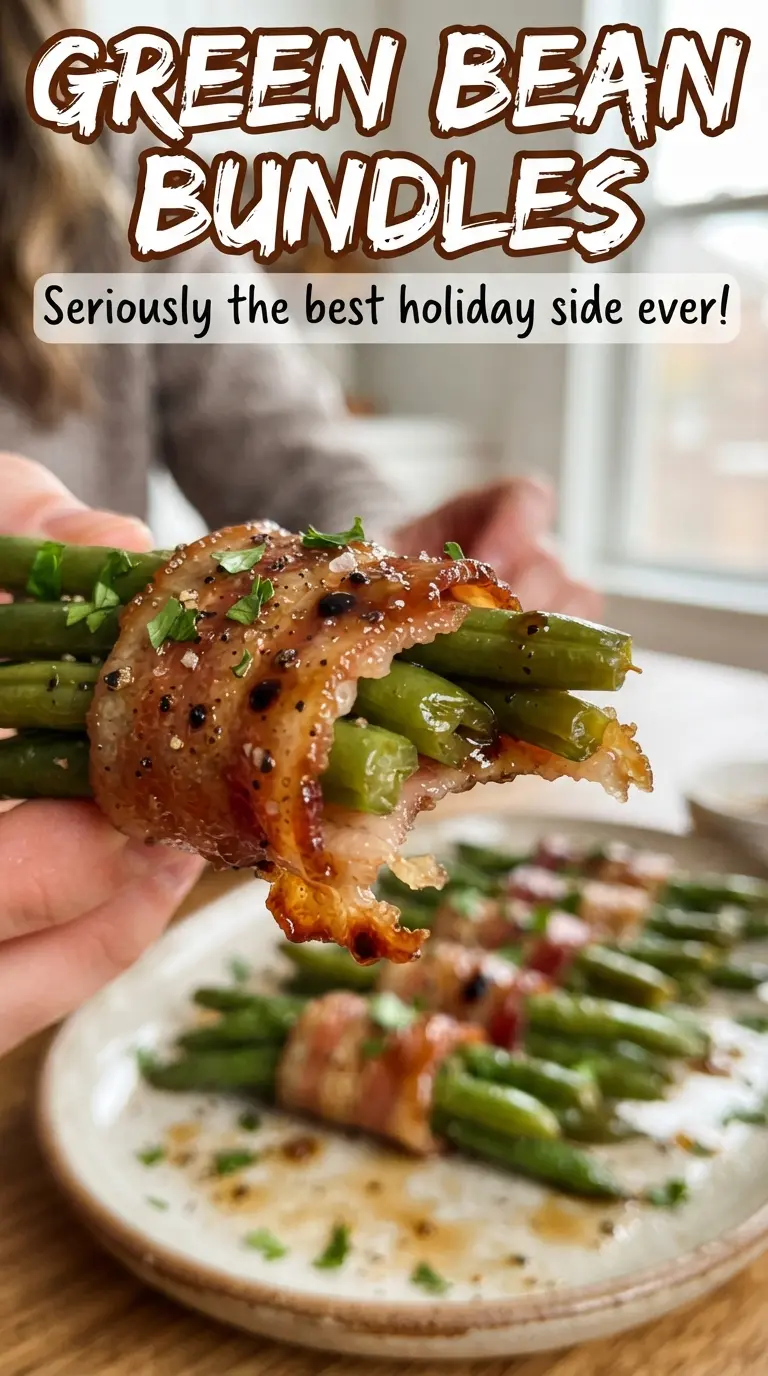
- Fresh green beans — Use fresh beans here, not canned. You need that snap after blanching and baking, and fresh beans hold their shape inside the bacon wrap. Trim the ends evenly so the bundles look neat and cook at the same pace.
- Bacon — Thin-to-standard bacon works best because it wraps cleanly and crisps in the same window the beans finish. Thick-cut bacon can stay chewy unless you pre-cook it, which changes the whole texture. If you need a swap, turkey bacon will cook faster and taste leaner, but it won’t render into the same sticky, salty wrap.
- Brown sugar — This is what gives you the glossy finish and that caramel-like stickiness on the pan. Light or dark brown sugar both work; dark brown sugar gives a deeper molasses note.
- Butter and garlic — Butter carries the glaze and helps it coat the bundles instead of pooling like syrup. Fresh garlic gives the glaze a sharper finish than garlic powder, and it mellows as it bakes.
- Soy sauce — A small amount deepens the glaze and keeps the sweetness from turning flat. Use low-sodium if that’s what you keep on hand, since the bacon already brings plenty of salt.
Building the Bundles So the Bacon Stays Put and the Glaze Sticks
Blanching and shocking the beans
Bring a pot of water to a full boil, drop in the trimmed beans, and time them for 3 minutes. They should turn bright green and just lose their raw edge, not go soft. Move them straight to ice water so the cooking stops immediately, then drain them well; wet beans steam under the bacon and dilute the glaze.
Wrapping the bundles evenly
Gather 8 to 10 beans for each bundle so the ends line up closely. Wrap each half slice of bacon around the middle and set it seam-side down in the baking dish. If the bundle looks loose, the bacon can shrink away from the beans as it cooks, so tuck it snugly without squeezing the beans flat.
Glazing and baking
Whisk the melted butter, brown sugar, garlic, soy sauce, and pepper until the sugar starts to dissolve. Pour the glaze over the bundles and bake at 400F until the bacon is crisp and the sauce is bubbling thickly around the edges, about 25 to 30 minutes. If the bacon is browning too fast before the beans are tender enough, tent the dish loosely with foil for the last part of the bake, then uncover it again to finish crisping.
Finishing with the pan glaze
Spoon the glaze from the baking dish over the bundles right before serving. That last coating gives you the sticky, shiny finish people notice first. Serve them warm, while the bacon still has a little snap and the glaze is glossy instead of fully set.
Three Ways to Adjust These Bacon-Wrapped Green Beans Without Losing the Point
Make it gluten-free
Swap the soy sauce for tamari or a certified gluten-free soy sauce. The glaze keeps the same savory depth, and the texture doesn’t change. Just use the same amount so the sauce still balances the brown sugar.
Use turkey bacon for a lighter side
Turkey bacon gives you a leaner version, but it browns differently and won’t render the same rich fat into the glaze. Brush the bundles lightly with a little extra melted butter before baking so they don’t dry out. Expect a less crisp finish and a cleaner, less smoky flavor.
Cut the sweetness back
If you want the glaze less sweet, reduce the brown sugar by 2 to 3 tablespoons and add an extra splash of soy sauce. You’ll get a more savory, bacon-forward finish with less syrup on the pan. Don’t drop the sugar entirely, or the glaze loses the sticky coating that makes these bundles work.
Storage and Reheating
- Refrigerator: Store leftovers in an airtight container for up to 3 days. The bacon softens a bit as it sits, but the flavor holds well.
- Freezer: These freeze, but the beans lose some of their snap after thawing. Freeze on a tray first, then pack into a container for up to 1 month if you need to make them ahead.
- Reheating: Reheat in a 375F oven until warmed through and the bacon tightens back up, about 10 to 12 minutes. The mistake to avoid is microwaving them, which turns the bacon chewy and pulls the glaze off the bundles.
Questions I Get Asked About This Recipe
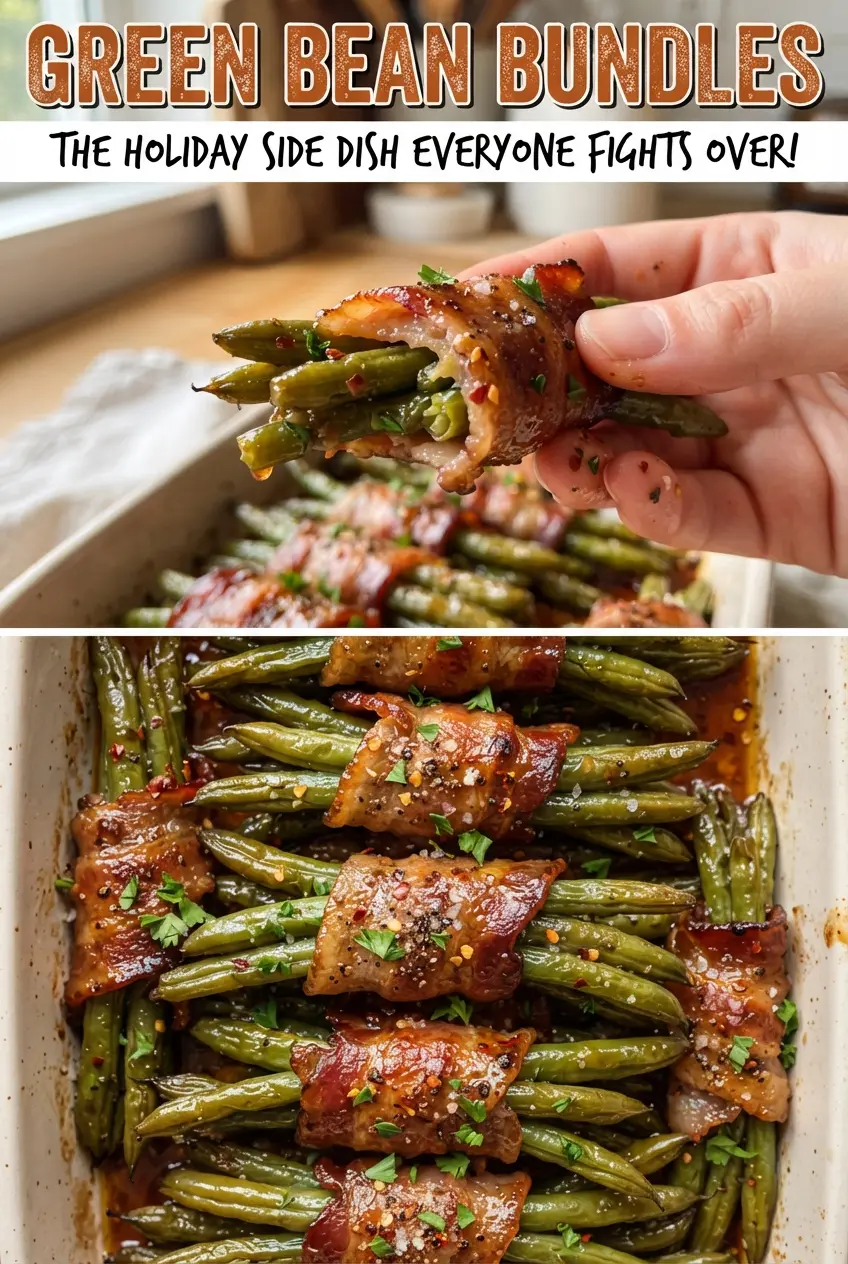
Green Bean Bundles
Ingredients
Equipment
Method
- Preheat oven to 400F. Blanch green beans in boiling water for 3 minutes, then plunge into ice water and drain.
- Gather 8-10 green beans into a bundle and wrap with a half slice of bacon, placing each bundle seam-side down in a baking dish.
- Whisk melted butter, brown sugar, garlic, soy sauce, and black pepper until smooth.
- Pour glaze evenly over the bundles so they look glossy and coated.
- Bake at 400F for 25-30 minutes until the bacon is crisp and the glaze is bubbling.
- Spoon pan glaze over the bundles right before serving, keeping them warm.


