
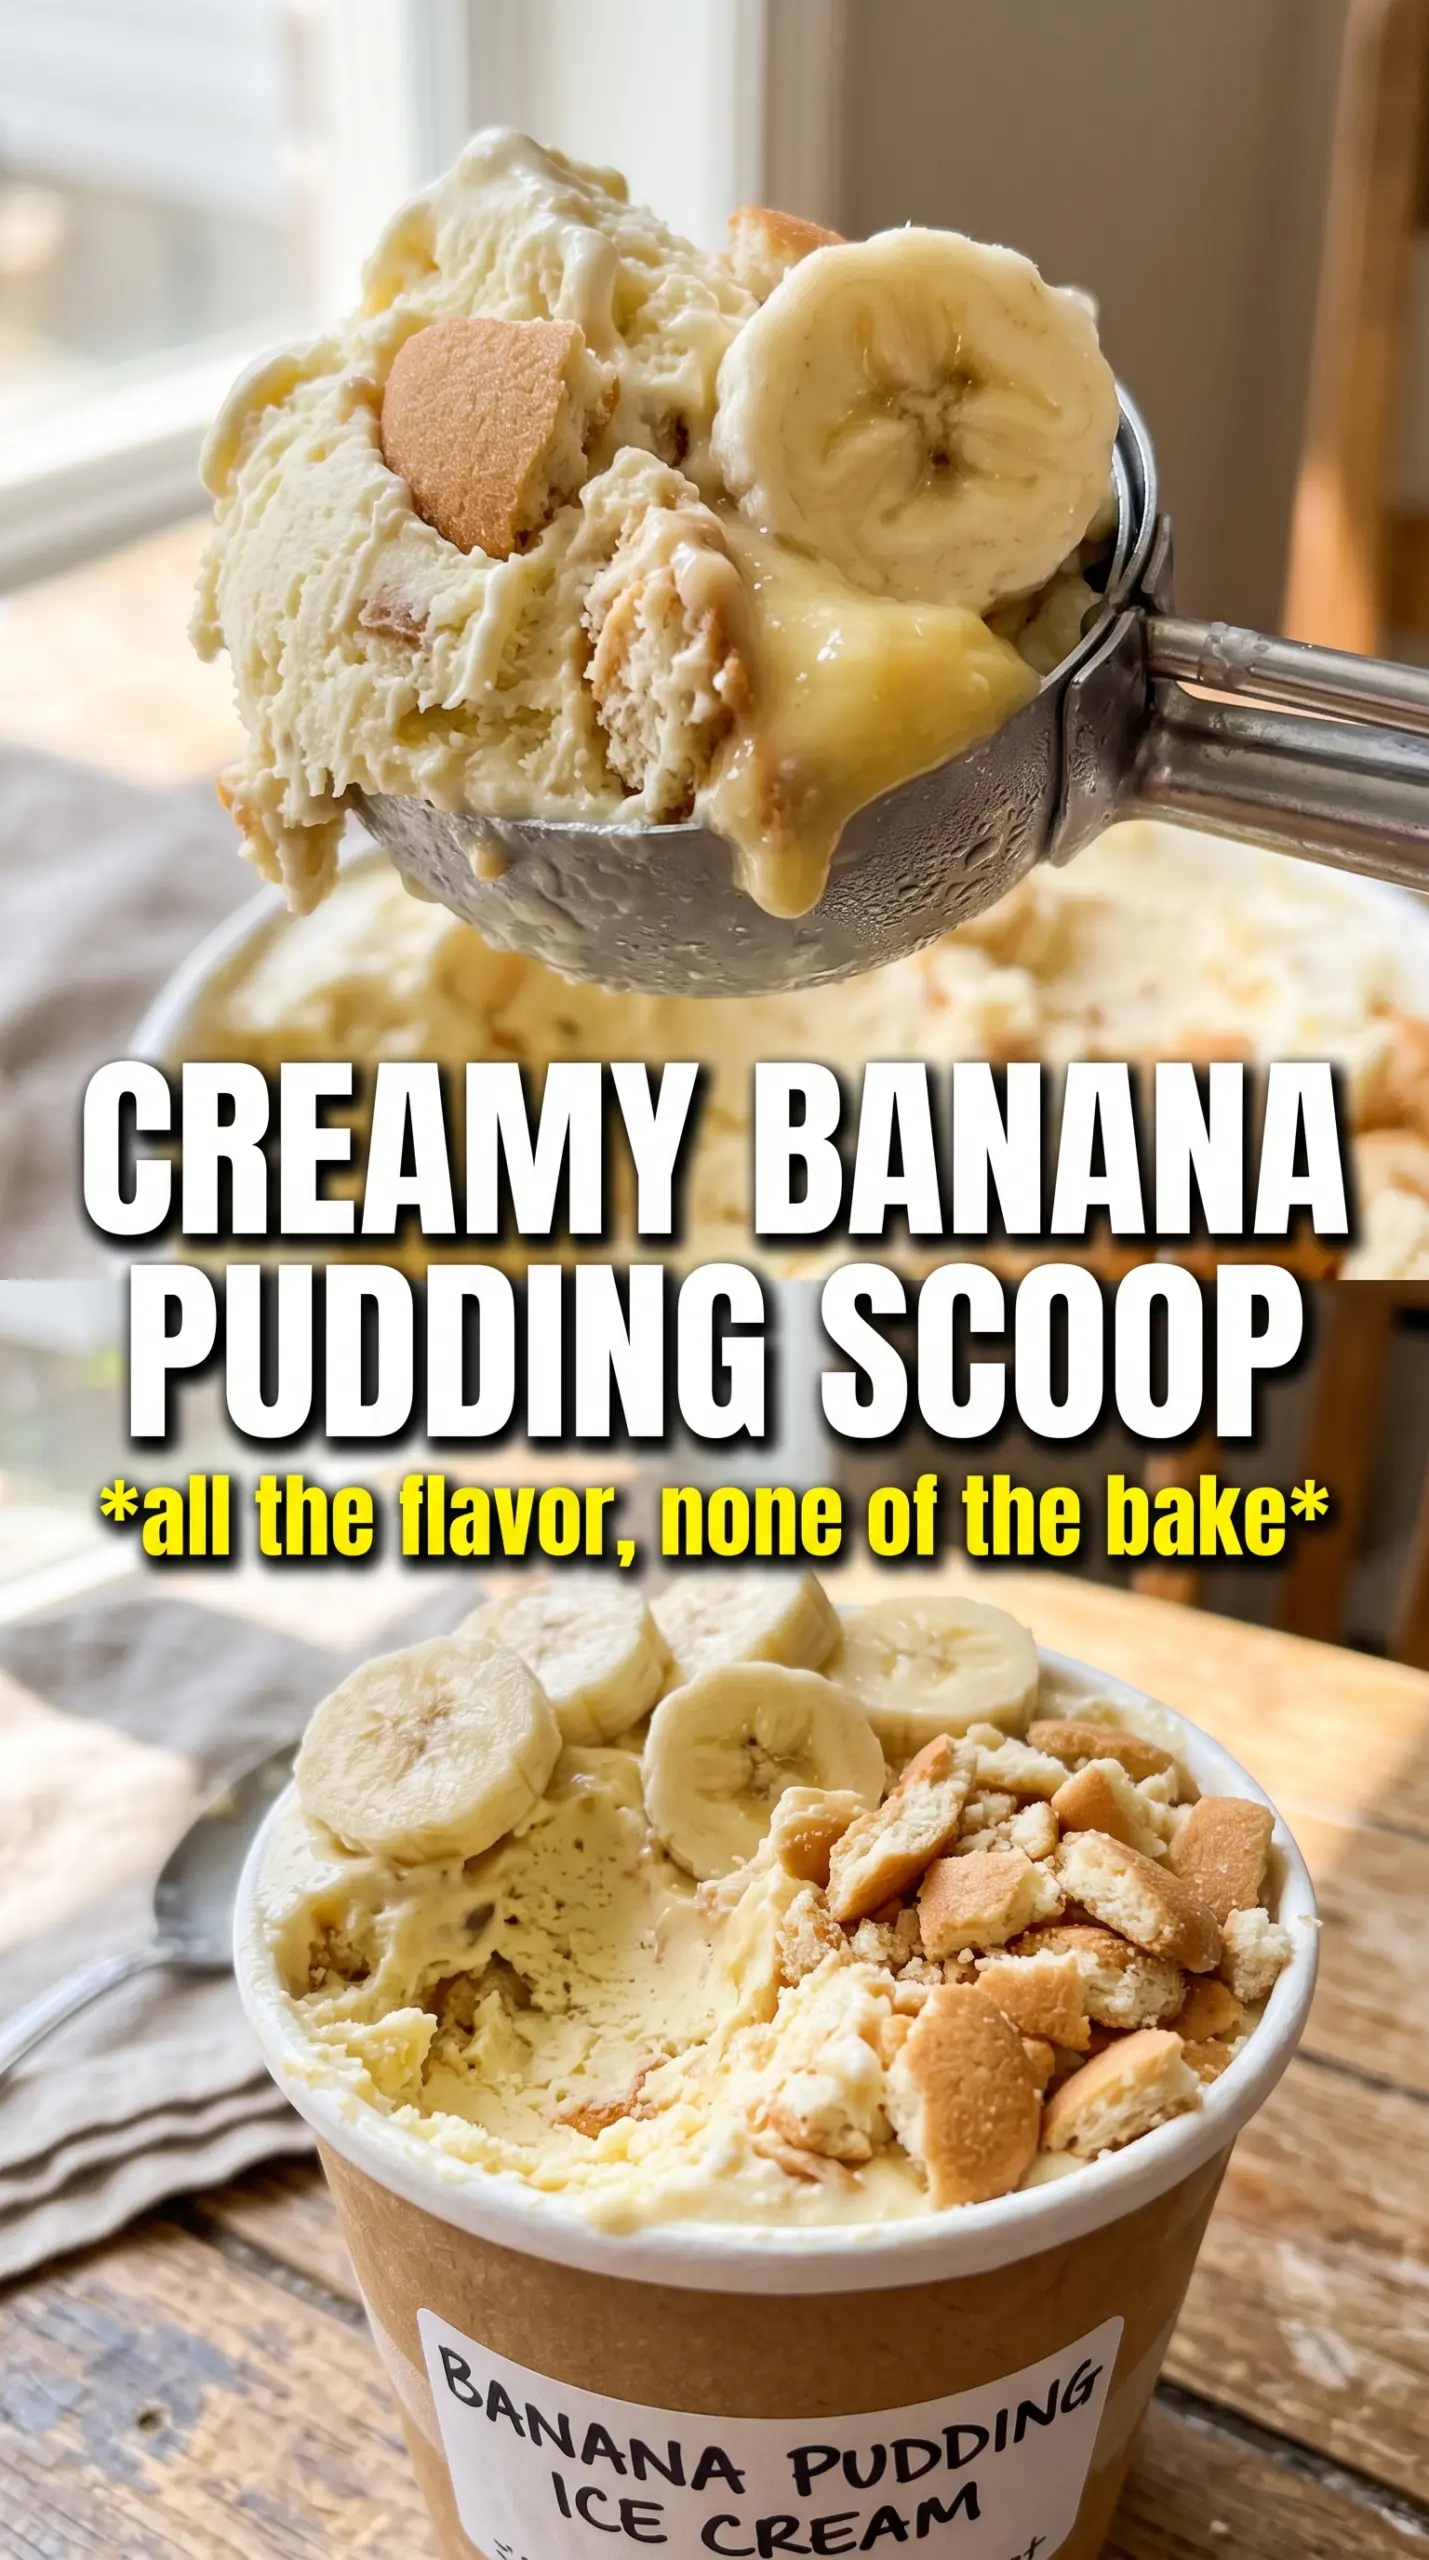
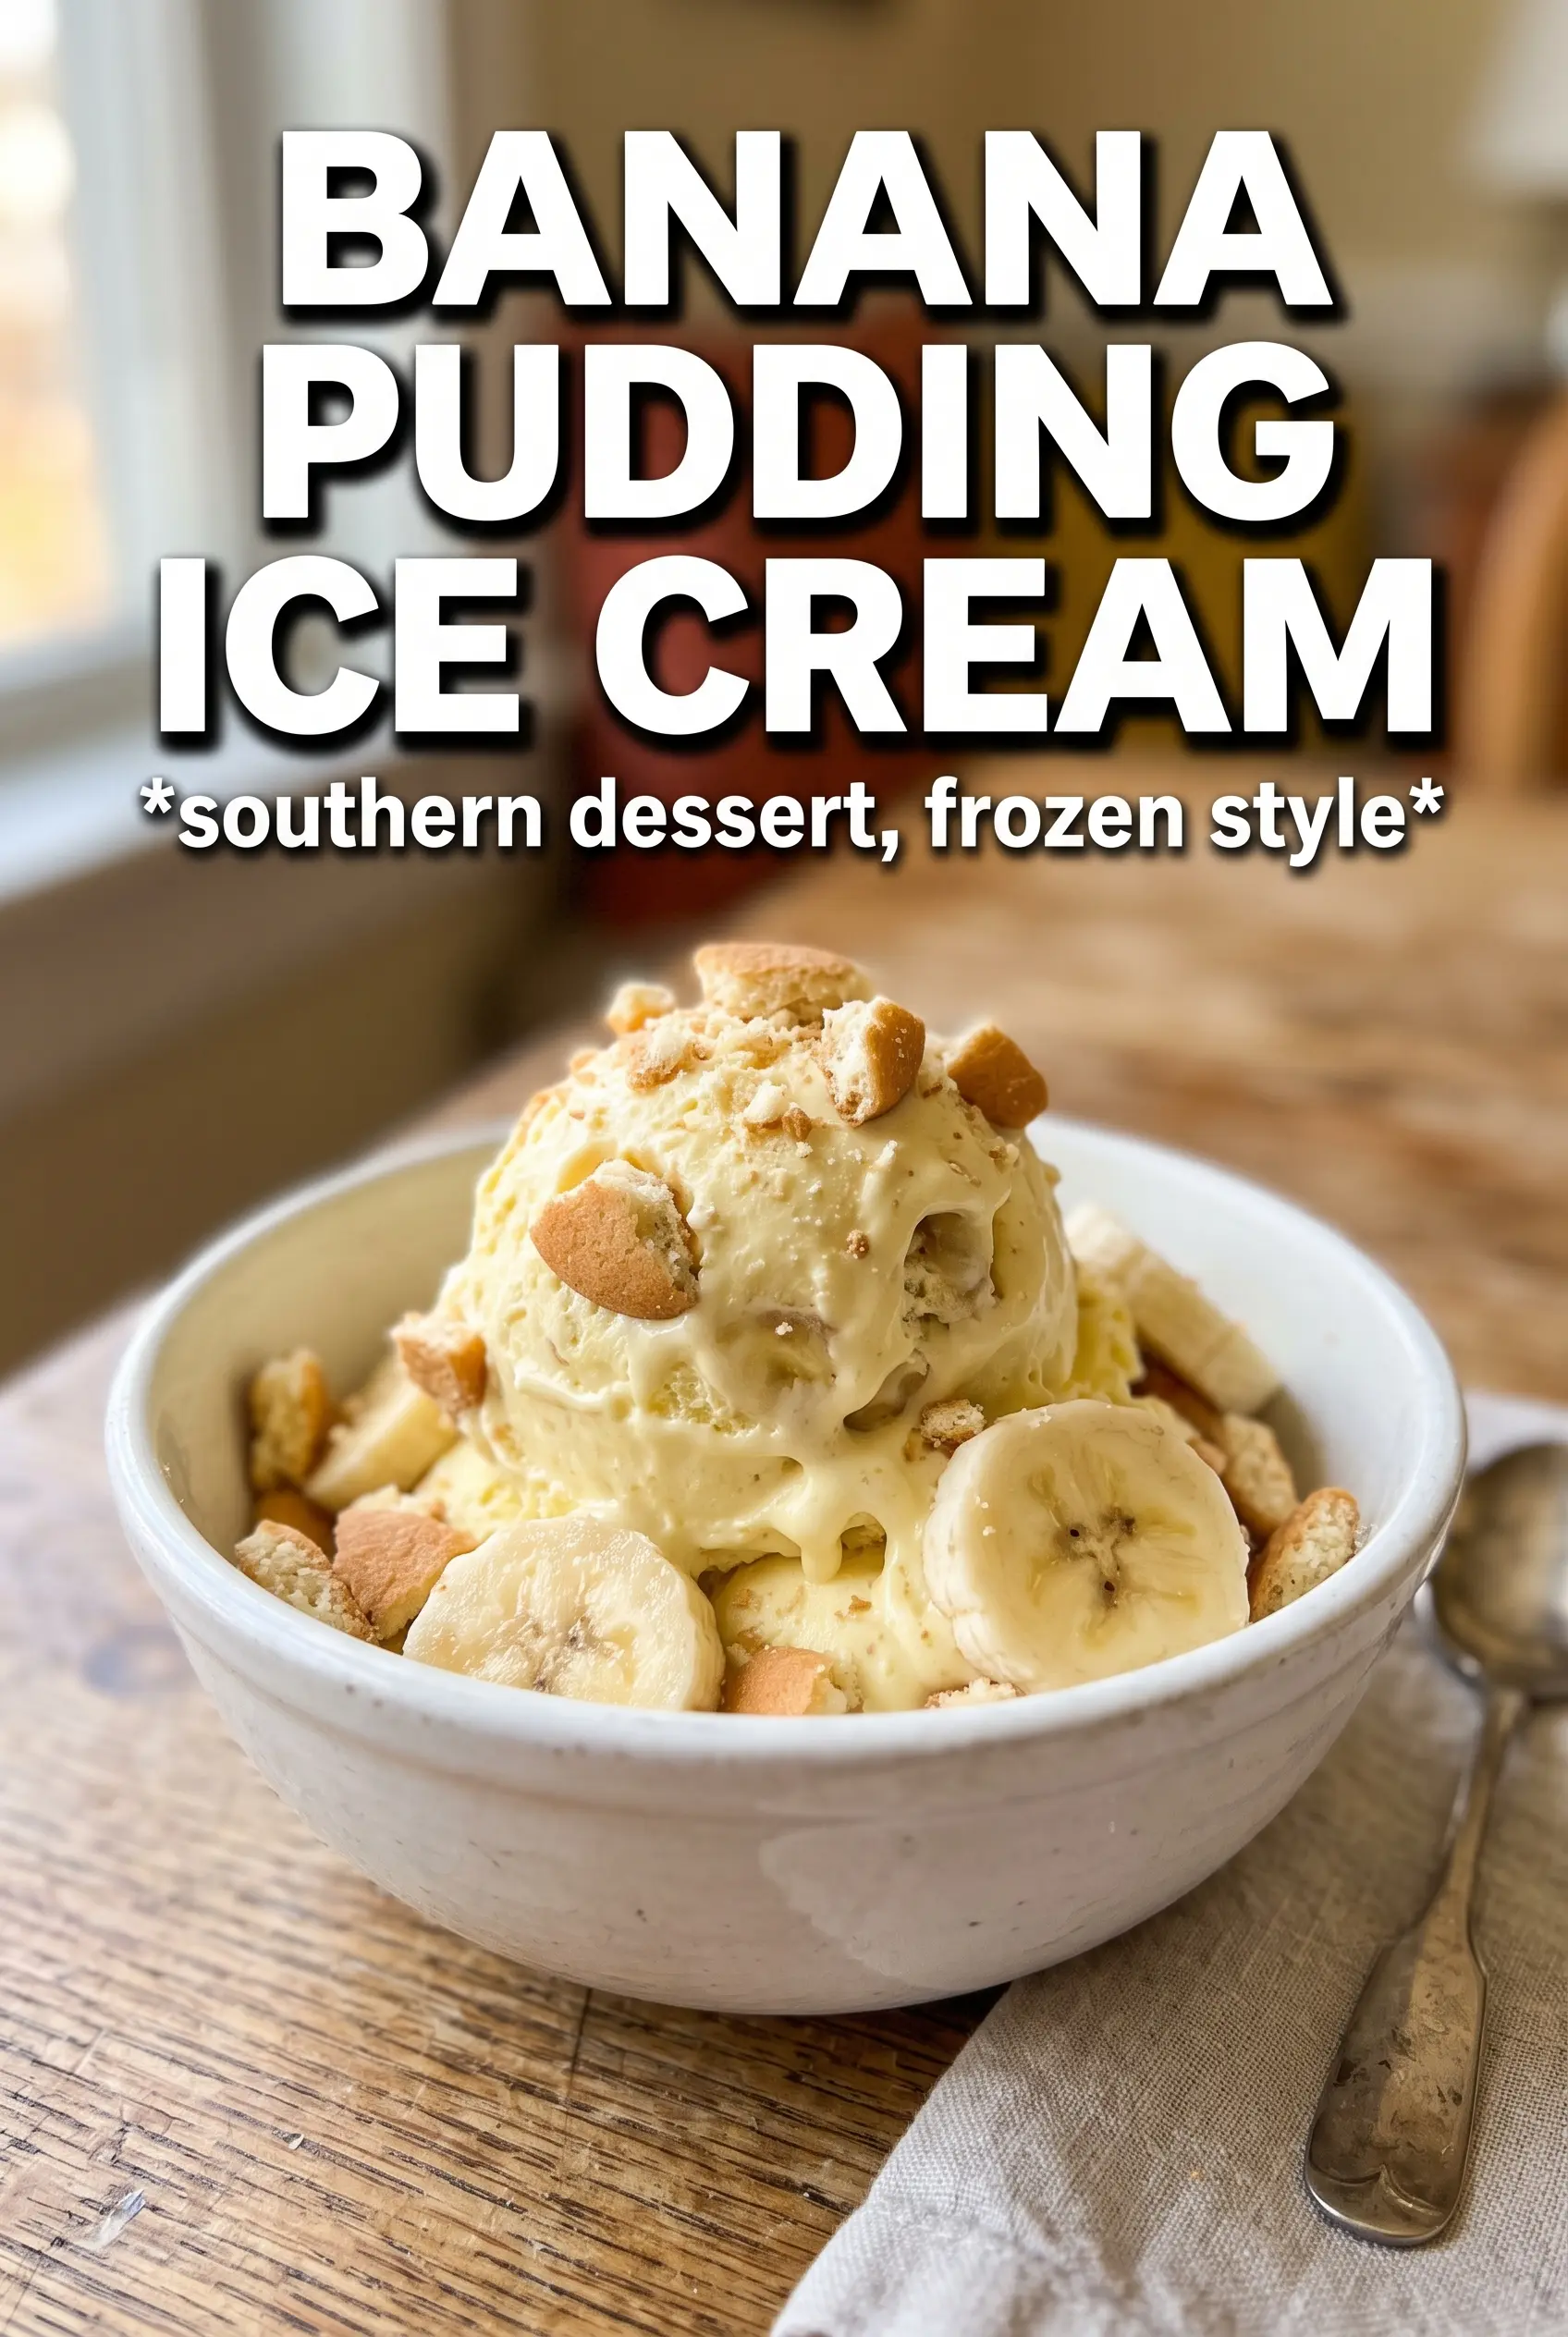
Creamy banana pudding ice cream hits the exact note people are chasing when they want something cold, nostalgic, and full of texture. The custard base stays smooth and rich, the banana flavor tastes round instead of artificial, and the crushed Nilla wafers keep their little pockets of crunch even after freezing. Each scoop lands somewhere between banana cream pie and old-fashioned banana pudding, which is exactly why it disappears fast.
The part that makes this version work is the banana-to-custard balance. The bananas are blended until completely smooth, then stirred into a cooked custard that’s taken just far enough for body without tipping into scrambled-egg territory. A touch of salt keeps the sweetness in check, and the wafers go in at the end so they stay distinct instead of dissolving into mush.
Below, you’ll find the timing that keeps the base silky, the best way to fold in the banana slices, and a few variations if you want to lean more custard-rich, dairy-free, or make it ahead for a crowd.
The custard turned out silky and the Nilla wafers stayed pleasantly soft with little crunchy bits. I froze it overnight and it scooped beautifully the next day, which never happens with homemade banana ice cream in my kitchen.
Save this banana pudding ice cream for the nights when you want frozen banana pudding with real custard richness and crunchy Nilla wafer bites.
The Custard Temperature That Keeps Banana Ice Cream Smooth
The biggest mistake in banana ice cream is rushing the custard. If the egg yolks hit heat too fast, they curdle before they can thicken the base, and the finished ice cream tastes grainy instead of plush. Whisk the hot dairy in slowly, then cook the mixture over medium-low heat until it reaches 175F and lightly coats the back of a spoon. That temperature is enough to set the yolks and build body without crossing into curdled territory.
Straining the custard matters here because banana puree adds fiber and small bits that can dull the texture. You want the ice cream base to feel smooth before it ever goes into the churn. Chill it completely, too. A warm base churns poorly and tends to freeze with a softer, less stable structure.
What Each Ingredient Is Actually Doing In This Banana Pudding Ice Cream
- Very ripe bananas — These bring the real banana flavor. Green-tinged bananas taste starchy and flat, while ripe ones blend into a sweet, fragrant puree that reads as banana pudding instead of banana candy.
- Heavy cream and whole milk — This is the fat-and-water balance that gives the ice cream a scoopable, creamy texture. Heavy cream is not optional if you want that lush mouthfeel; whole milk keeps it from becoming heavy and dense.
- Egg yolks — Yolks thicken the base and protect the texture in the freezer. Skip them and you’ll get a lighter frozen dessert, but not the custard-rich body that makes this taste like pudding in ice cream form.
- Nilla wafers — They’re the signature crunch and the reason this dessert tastes like banana pudding instead of plain banana ice cream. Crush them roughly so you get a mix of crumbs and larger pieces; if you pulverize them, they disappear.
- Frozen banana slices — These add little cold bursts of banana and a soft chew. Freeze them before folding in so they don’t melt into the base and stain it muddy.
Building The Base, Churning The Texture, Folding In The Crunch
Making The Banana Puree
Blend the ripe bananas until completely smooth, with no visible chunks left behind. The puree should look almost glossy and pourable. If the bananas are fibrous, blend a few seconds longer and scrape down the sides, because any stray bits will show up in the finished custard. Set it aside while you build the base so it stays ready to go once the custard is strained.
Cooking The Custard Slowly
Heat the cream and milk until steaming, not boiling. Whisk the hot dairy into the egg yolks and sugar in a slow stream so the yolks warm gradually instead of tightening into little bits. Return the mixture to the pan and cook, stirring constantly, until it thickens enough to coat a spoon and reaches 175F. If you see little egg curds starting to form, pull the pan off the heat immediately and strain right away.
Finishing And Freezing The Base
Stir in the vanilla, salt, and banana puree after straining. The vanilla rounds out the banana, and the salt keeps the sweetness from tasting one-note. Chill the base for at least 4 hours, or overnight if you have the time, because cold custard churns into a finer, creamier ice cream. Once it’s churned, fold in the crushed wafers and frozen banana slices during the last 2 minutes so they stay visible and textured.
Three Ways To Adjust This Ice Cream Without Losing The Banana Pudding Character
Dairy-Free Version With Coconut Cream
Swap the heavy cream and whole milk for full-fat coconut milk and coconut cream, and use a thickener like cornstarch if you’re skipping the egg yolks. The texture will be a little softer and the coconut note will sit behind the banana, but it still gives you a rich, scoopable frozen dessert.
Extra Custard-Rich Style
Use 5 egg yolks instead of 4 if you want a deeper custard flavor and an even denser scoop. The base will freeze a touch firmer, so give it a few minutes on the counter before serving. That little bit of extra yolk makes the pudding comparison even stronger.
Gluten-Free Version
Use certified gluten-free vanilla wafers in place of Nilla wafers. The method doesn’t change, and this is the easiest swap in the whole recipe. Just check that the wafers are sturdy enough to hold their shape after folding in, since softer gluten-free cookies can dissolve faster.
Storage and Reheating
- Refrigerator: Don’t store the churned ice cream in the fridge; it will melt and separate.
- Freezer: Keep it in an airtight container for up to 2 weeks. It’s best within the first few days, when the wafers still have the nicest texture.
- Reheating: Let it sit at room temperature for 5 to 10 minutes before scooping. If it’s frozen hard, don’t microwave it — that melts the edges and leaves the center icy.
Answers to the Questions Worth Asking
Banana Pudding Ice Cream
Ingredients
Equipment
Method
- Blend very ripe bananas until completely smooth, then set aside.
- Heat heavy cream and whole milk until steaming, not boiling.
- Whisk egg yolks with granulated sugar until smooth and slightly lighter in color.
- Slowly whisk the steaming cream mixture into the egg yolk mixture while whisking continuously.
- Cook over medium-low heat, stirring constantly, until the custard reaches 175F, with a thickened, custard-like consistency.
- Strain the custard, then stir in vanilla extract, salt, and banana puree until fully combined with no streaks.
- Cool completely to room temperature.
- Refrigerate for 4 hours to chill thoroughly.
- Churn the chilled custard in an ice cream maker until it reaches a soft-serve texture.
- Fold in crushed Nilla wafers and frozen banana slices during the last 2 minutes of churning, so you see banana pieces and wafer crumbs distributed throughout.
- Freeze until scoopable, with firm scoops that hold their shape.


