
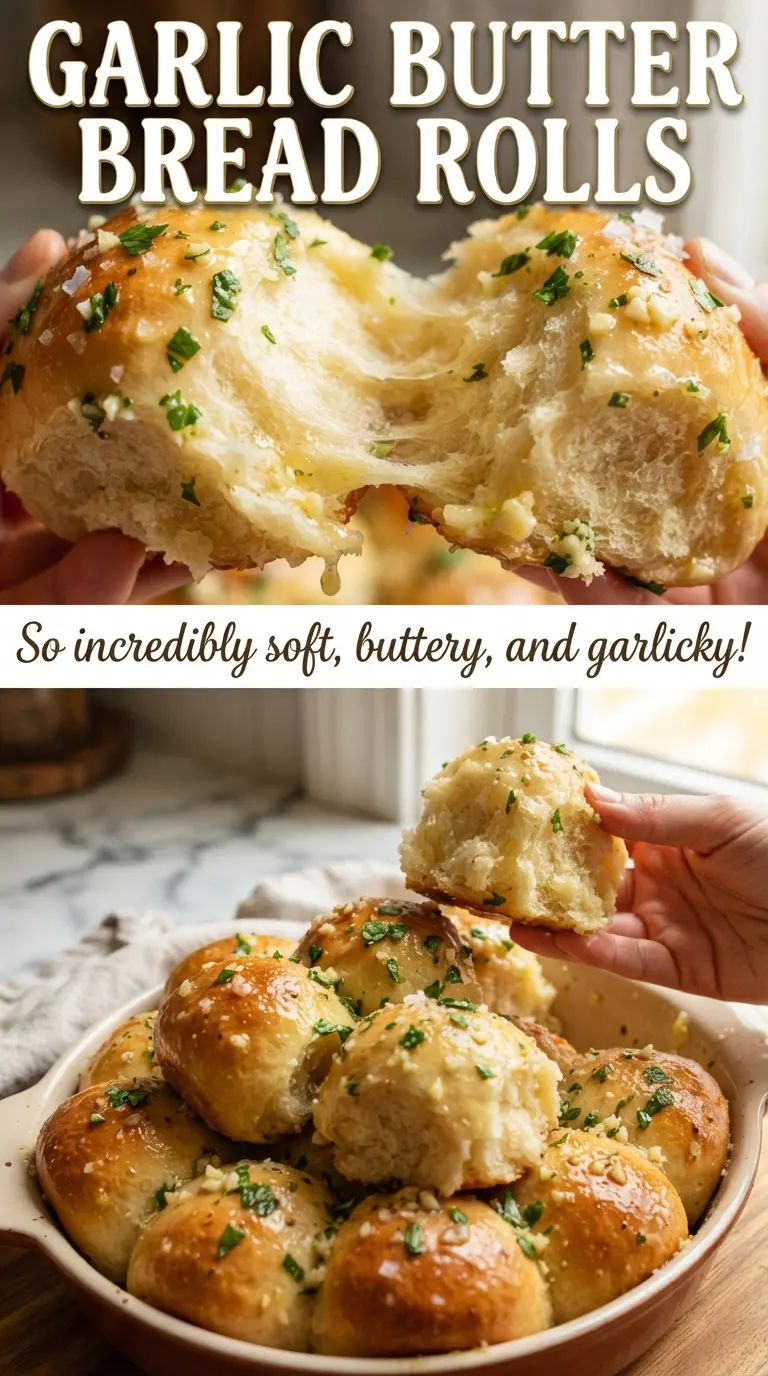
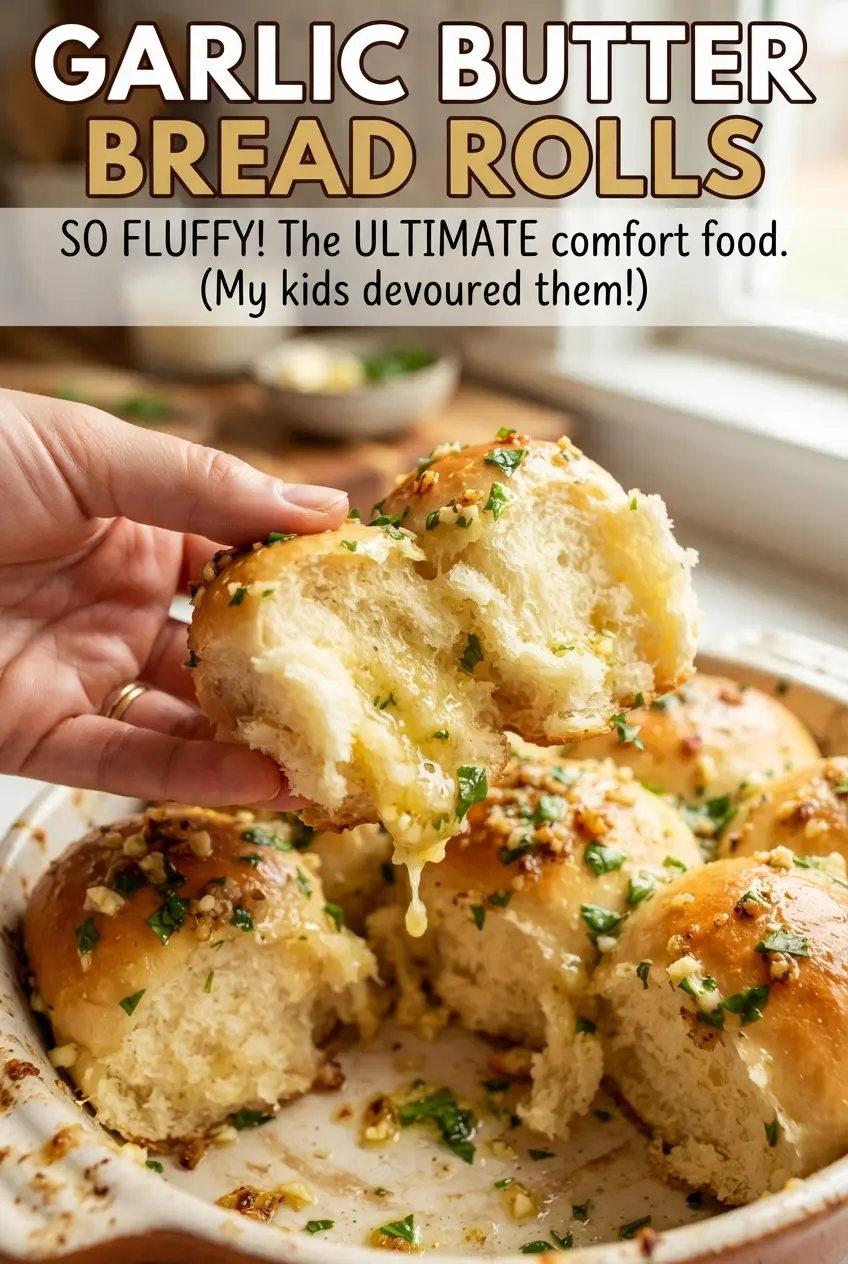
Garlic butter bread rolls bake up soft in the middle with golden tops that catch every bit of melted butter. The best part is the pull-apart texture: the rolls stay tender enough to tear apart by hand, but they still hold their shape on the plate, which makes them just as good alongside soup as they are next to roasted chicken or pasta. That first brush of garlic butter over the hot rolls sinks into the cracks and gives you a glossy finish, a little salt on top, and enough aroma to make everyone hover near the pan.
The dough here is straightforward, but the details matter. Warm milk feeds the yeast and keeps the crumb soft, while the egg and butter add richness without making the rolls heavy. A quick second rise in the pan gives you rolls that bake into each other just enough to pull apart cleanly, and brushing the garlic butter on after baking keeps the garlic from burning and the parsley fresh and bright.
Below, I’ll walk through the one rise that matters most, what to look for when the rolls are baked through, and how to change the topping if you want a little extra kick.
The rolls came out incredibly fluffy, and brushing the garlic butter on right after baking made the tops glossy and the bottoms stay soft instead of dry.
Save these garlic butter bread rolls for the dinner nights when you want a soft, pull-apart side with a glossy garlic finish.
The Rise That Decides Whether These Rolls Stay Light
These rolls look simple, but the first rise is where the texture gets decided. If the dough doesn’t double, the crumb stays tight and bready instead of soft and airy. If it goes too long, the dough can overproof and collapse in the oven, which leaves you with rolls that spread more than they spring. The sweet spot is a dough that feels noticeably fuller and slightly pillowy when you press it with a fingertip.
Using instant yeast keeps the process moving, but the milk still needs to be warm, not hot. Anything above lukewarm can start to damage the yeast and slow the rise instead of helping it. I also like shaping the rolls snugly in the pan so they rise upward and into each other, which gives you those soft sides and that classic pull-apart finish.
What the Dough, Butter, and Garlic Are Each Doing Here
- Warm milk — Milk gives the rolls a softer crumb than water would, and the warmth helps the yeast wake up fast. If the milk feels hot to the touch, let it cool down before mixing or the yeast can stall.
- Instant yeast — This is what gives you the quick rise and the light texture. Active dry yeast works too; just let it sit in the warm milk and sugar a few extra minutes until fully foamy before adding the rest of the dough.
- Butter in the dough — Melted butter makes the rolls tender and rich. You can use salted or unsalted butter, but if you use salted, keep the dough salt as written so the rolls don’t turn overly salty.
- Flour — All-purpose flour gives you enough structure to hold the rolls together without making them tough. Add only enough extra flour to keep the dough from sticking heavily; too much and the rolls bake up dense.
- Garlic and parsley topping — Fresh garlic gives the topping its punch, and parsley keeps it from tasting flat or greasy. Don’t bake the garlic into the rolls; brushing it on after baking keeps the flavor bright instead of bitter.
Building the Dough, Shaping the Rolls, and Finishing Them Hot
Waking Up the Yeast
Whisk the warm milk, yeast, and sugar together and give it five minutes. You’re looking for a foamy top and a slightly creamy smell, which tells you the yeast is active. If nothing happens, the milk was probably too hot, too cold, or the yeast is old, and it’s better to stop there than waste the whole batch.
Kneading Until the Dough Turns Smooth
Add the egg, melted butter, salt, and flour, then knead until the dough is smooth and elastic, about 6 to 8 minutes. It should feel soft and a little tacky, but it shouldn’t smear all over your hands or the counter. If you keep adding flour every time it sticks, the dough gets stiff; a lightly floured surface and a patient knead work better.
Shaping for a Pull-Apart Pan
Divide the dough into 12 even pieces and roll each one into a tight ball. Nestle them into a greased 9×13-inch pan so they have room to rise upward and meet each other. If they’re packed unevenly, some rolls will overbake before the others catch up, so aim for roughly the same size.
Baking to a Deep Golden Top
After the second rise, bake at 375F until the tops are deeply golden, 18 to 20 minutes. The rolls should sound lightly hollow when tapped and feel set on top, not squishy in the center. If they’re browning too fast, your oven runs hot; tent loosely with foil and keep baking until the center rolls finish.
Brushing on the Garlic Butter
Stir the melted butter with the garlic and parsley, then brush it generously over the hot rolls right out of the oven. Hot bread drinks in the butter, which is why this step matters more than adding the topping before baking. Finish with flaky salt while the surface is still warm so it sticks instead of bouncing off.
How to Change the Topping Without Losing the Soft, Buttery Finish
Make Them Cheesy
Add a light sprinkle of grated Parmesan over the hot rolls right after brushing on the garlic butter. Parmesan adds salt and a little nutty depth without weighing down the crumb, but don’t bury the tops in cheese or you’ll cover the soft crust instead of enhancing it.
Dairy-Free Version
Use a plain unsweetened non-dairy milk and a good vegan butter in both the dough and the topping. The rolls will still rise and brown nicely, but the flavor will be a little less rich, so the garlic and salt become even more important on top.
Extra Garlic, Less Mild
Add one extra minced clove to the topping if you want a stronger garlic bite. Keep it for the post-bake butter, not the dough, so the garlic stays fragrant instead of turning harsh in the oven.
Storage and Reheating
- Refrigerator: Store in an airtight container for up to 3 days. The rolls will lose a little of their just-baked softness, but they’ll still reheat well.
- Freezer: Freeze baked rolls tightly wrapped for up to 2 months. Thaw at room temperature before reheating so the centers warm through evenly.
- Reheating: Warm in a 300F oven for 8 to 10 minutes, covered loosely with foil so the tops don’t dry out. The biggest mistake is microwaving them too long, which turns the crumb rubbery fast.
Questions I Get Asked About This Recipe
Garlic Butter Bread Rolls
Ingredients
Equipment
Method
- Whisk warm milk (110F), instant yeast, and sugar together, then let sit for 5 minutes until foamy.
- Add the egg, melted butter, salt, and all-purpose flour, then knead for 6-8 minutes until smooth and elastic.
- Cover and let the dough rise for 1 hour until doubled in size.
- Divide the dough into 12 balls and place them in a greased 9x13-inch pan, cover, and let rise for 30 minutes until puffy.
- Preheat the oven to 375F, bake for 18-20 minutes until the tops are golden brown.
- Stir melted butter with minced garlic and chopped parsley, then brush generously over the hot rolls while they’re still warm.
- Sprinkle the rolls with flaky sea salt, then serve warm.


