
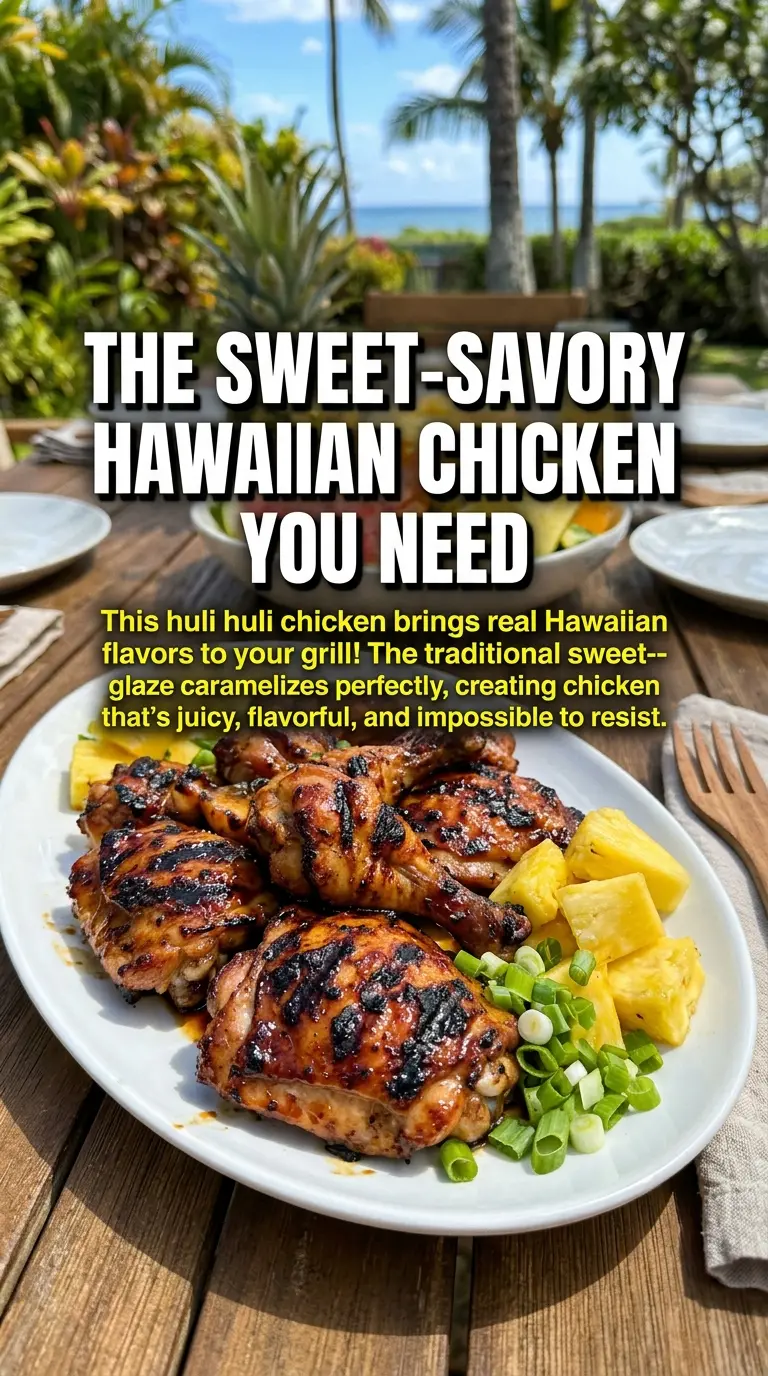
Grilled Huli Huli chicken earns its spot the first time the glaze hits the heat and turns sticky at the edges while the chicken stays juicy underneath. The flavor lands somewhere between teriyaki and island barbecue: sweet, salty, garlicky, and bright with pineapple. On the grill, it builds that glossy, caramelized coating that clings to the meat instead of sliding off into the flames.
The trick is balance. Brown sugar and ketchup give the sauce body, but pineapple juice and ginger keep it from tasting heavy. I also like reserving part of the marinade for basting, because it creates those layered lacquered spots that make Huli Huli chicken look and taste like it came straight off a backyard grill in Hawaii. The frequent turning matters, too. That steady flipping keeps the sugars from scorching before the chicken cooks through.
Below you’ll find the small details that make the biggest difference: how long to marinate, when to start basting, and what to watch for so the glaze turns sticky instead of burnt.
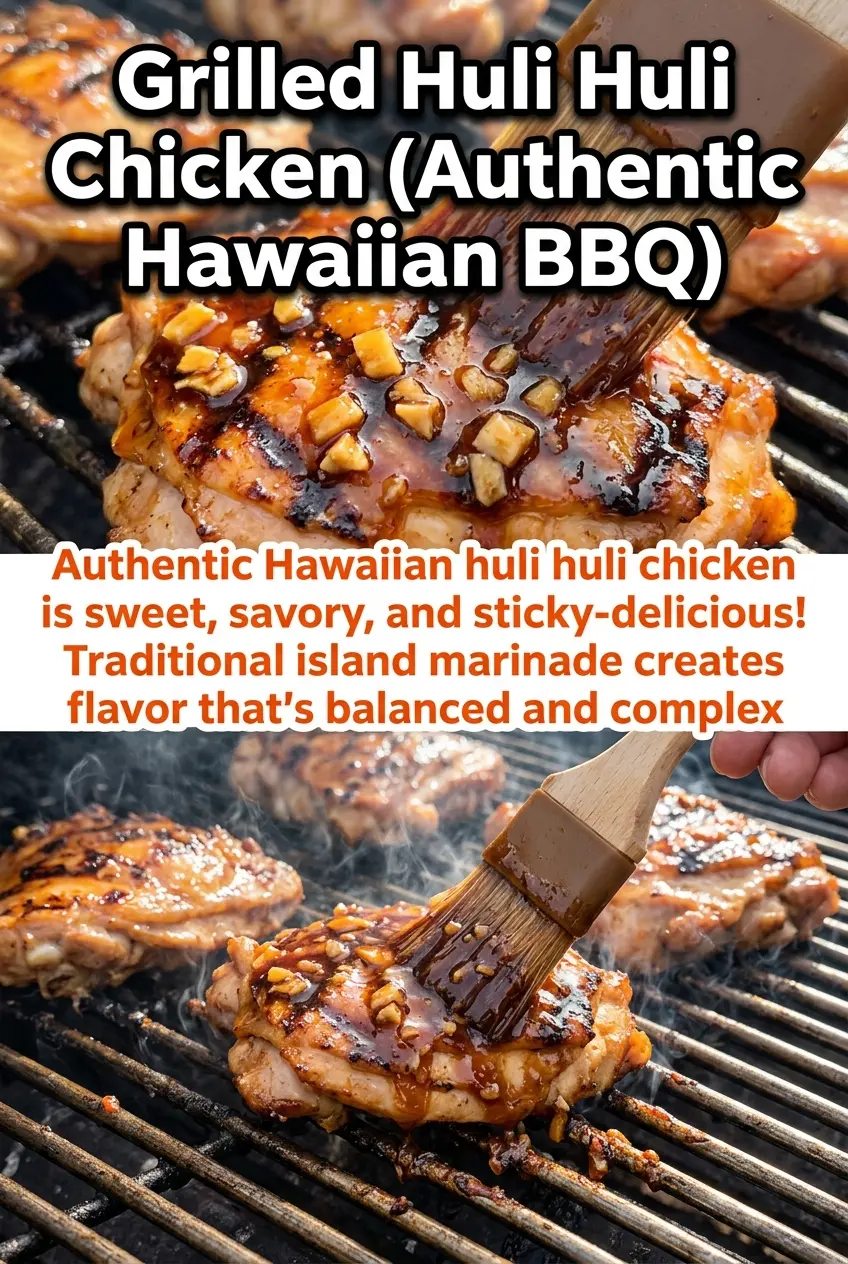
The marinade turned into the prettiest sticky glaze on the grill, and turning the chicken often kept it from burning. The thighs came out juicy with those charred edges I was hoping for.
Like this sticky-grilled Huli Huli chicken? Save it to Pinterest for your next backyard barbecue with charred glaze and juicy island-style chicken.
The Marinade Needs Sugar, Acid, and Patience in the Right Order
Huli Huli chicken can go from deeply caramelized to scorched fast, and the difference usually comes down to the marinade. Brown sugar and ketchup help create that sticky finish, but they also burn if the heat is too aggressive or the chicken is left untouched for too long. Medium heat and frequent turning are what keep the glaze glossy instead of blackened.
Marinating for at least 2 hours gives the salt and ginger time to season the meat all the way through. If you rush it, the sauce mostly sits on the surface and tastes flatter after grilling. The reserved marinade is important too, but only if you set it aside before it touches raw chicken. That extra portion is what gives you those shiny basting layers during the cook.
What the Pineapple Juice and Ginger Are Doing Here
- Chicken thighs or legs — Dark meat holds up best on the grill because it stays juicy while the glaze cooks down. You can use bone-in or boneless thighs, but legs and bone-in pieces give you a little more forgiveness if your grill runs hot.
- Soy sauce — This gives the marinade its salty backbone and helps the chicken color evenly. Regular soy sauce works fine; low-sodium is the better choice if you want more control over the final salt level.
- Brown sugar — This is what makes the coating sticky and lacquered once it hits the heat. Dark brown sugar adds a deeper molasses note, but light brown sugar is perfectly fine and often easier to keep balanced.
- Pineapple juice — It adds brightness and helps the marinade taste tropical instead of just sweet-salty. Fresh or canned both work, but use 100% juice, not a pineapple drink.
- Fresh ginger and garlic — These keep the sauce from tasting one-note. Grate the ginger and mince the garlic finely so they spread through the marinade instead of clumping and scorching on the grill.
- Sherry or chicken broth — Sherry adds a little depth, while broth keeps the marinade from becoming overly sweet. If you skip the sherry, broth is the easiest swap and still gives the glaze enough body for basting.
- Sesame oil — Just a small amount rounds out the sauce with nutty richness. Don’t overdo it; too much starts to push the marinade away from the bright, grilled flavor that makes this dish work.
Turning, Basting, and Waiting for the Glaze to Set
Mixing the marinade
Whisk the soy sauce, brown sugar, ketchup, pineapple juice, sherry, ginger, garlic, and sesame oil until the sugar dissolves as much as it can. The mixture will still look a little rustic because of the ginger and garlic, and that’s fine. Reserve half a cup before adding the chicken so you have clean marinade for basting later. If you forget and pour everything over raw chicken, you lose the best part of the finish.
Marinating the chicken
Coat the chicken well and chill it for 2 to 8 hours. The longer end of that window gives the best flavor, but even 2 hours makes a difference with thighs or legs. Don’t push it much beyond 8 hours, especially with more delicate pieces, or the texture can start to turn a little soft from the acid and pineapple juice.
Grilling over medium heat
Set the chicken over medium heat and turn it often instead of letting it sit in one place. That constant movement is the whole point of huli huli, and it keeps the sugar from burning before the inside is cooked. Baste after the chicken has started to color so the glaze has something to cling to. If the grill flare-ups get aggressive, move the chicken to a cooler spot for a minute rather than fighting the flames.
Finishing to a sticky, cooked-through glaze
Cook until the chicken reaches 165°F and the coating looks glossy, dark amber, and caramelized at the edges. The sauce should cling to the meat, not drip off in thin streaks. If it looks done on the outside but still needs time inside, lower the heat and keep turning; high heat at the end is how the sugars burn before the meat is safe. Let the chicken rest for a few minutes before serving so the juices settle back in.
How to Adapt Huli Huli Chicken Without Losing the Sticky Finish
Use boneless thighs for easier serving
Boneless thighs cook faster and slice cleanly for a crowd, but they need a closer eye on the grill because they can dry out sooner than bone-in pieces. Pull them as soon as they hit 165°F and the glaze is set.
Make it gluten-free
Swap in gluten-free soy sauce or tamari and keep everything else the same. The flavor stays balanced, and you still get the same sticky finish because the sugar and ketchup do the glazing work.
Use chicken broth instead of sherry
Chicken broth gives the marinade a little more savory depth and keeps the sauce from tasting too sweet. The finished chicken will be slightly less wine-like and a touch milder, which works well if you’re serving it with rice or grilled pineapple.
Cook it under the broiler when grilling isn’t an option
Broil the chicken on a lined sheet pan, turning and basting often just like you would on the grill. It won’t pick up the same smoky edge, but the glaze still caramelizes well if you watch it closely and keep the rack a few inches from the heat.
Storage and Reheating
- Refrigerator: Store leftovers in an airtight container for up to 4 days. The glaze will thicken and darken, which is normal.
- Freezer: This freezes well for up to 2 months. Wrap portions tightly and thaw in the refrigerator overnight so the sauce doesn’t separate.
- Reheating: Warm gently in a covered skillet over low heat or in a 300°F oven until heated through. High heat can harden the glaze and dry out the chicken before the center is warm.
Answers to the Questions Worth Asking
Grilled Huli Huli Chicken
Ingredients
Equipment
Method
- Whisk together soy sauce, brown sugar, ketchup, pineapple juice, sherry or chicken broth, grated ginger, minced garlic, and sesame oil until smooth.
- Reserve 1/2 cup of the marinade for basting so you have glaze ready for the grill.
- Add chicken thighs or legs to the remaining marinade and turn to coat thoroughly.
- Cover and marinate for 2-8 hours to let the flavors penetrate.
- Preheat the grill to medium heat and place the marinated chicken on the grates.
- Cook for about 25-30 minutes, turning frequently (huli) to encourage caramelization and char.
- Baste with the reserved marinade during grilling so the chicken develops a sweet-savory sticky glaze.
- Grill until the internal temperature reaches 165°F and the chicken is caramelized.


