
Grilled salmon is at its best when the skin turns crisp, the flesh stays tender, and the fillet lifts off the grates in one clean piece. The trick is not chasing a heavy marinade or a long cook time. It is starting with dry fish, a hot oiled grate, and enough patience to let the first side set before you touch it.
This version keeps the seasoning simple on purpose. Olive oil helps the surface brown, lemon juice adds brightness without overpowering the fish, and garlic perfumes the fillet without burning on the grill. A short 15-minute rest gives the salt time to season the salmon all the way through while still keeping the texture fresh and juicy.
Below, I’ll show you how to keep salmon from sticking, how to judge doneness without guessing, and what to change if you want to cook it on cedar planks or finish it with a different herb.
The salmon released from the grill cleanly after about 7 minutes, and the skin stayed crisp instead of sticking. I used the lemon and dill at the end like you suggested, and the fillets came out flaky but still juicy.
Save this grilled salmon for the nights when you want crisp skin, flaky flesh, and a fast dinner that still feels special.
The Reason Salmon Sticks to the Grill Before It’s Even Cooked
Most grilled salmon failures start before the fish ever hits the grates. Wet surface, cold grill grates, and too much moving around all work against you. Salmon needs a dry exterior and a hot, clean grate so the proteins can set into a crust before the fish gives up and tears.
The skin-side-down start matters more than people think. Skin acts like a built-in shield, and it helps hold the fillet together while the first side cooks. If you try to flip too early, the salmon will cling to the grill. If you leave it alone long enough, it releases on its own when the skin is crisp and the flesh has turned opaque about two-thirds of the way up the fillet.
- Drying the salmon — Paper towels remove surface moisture, which is the biggest reason fish sticks and steams instead of searing.
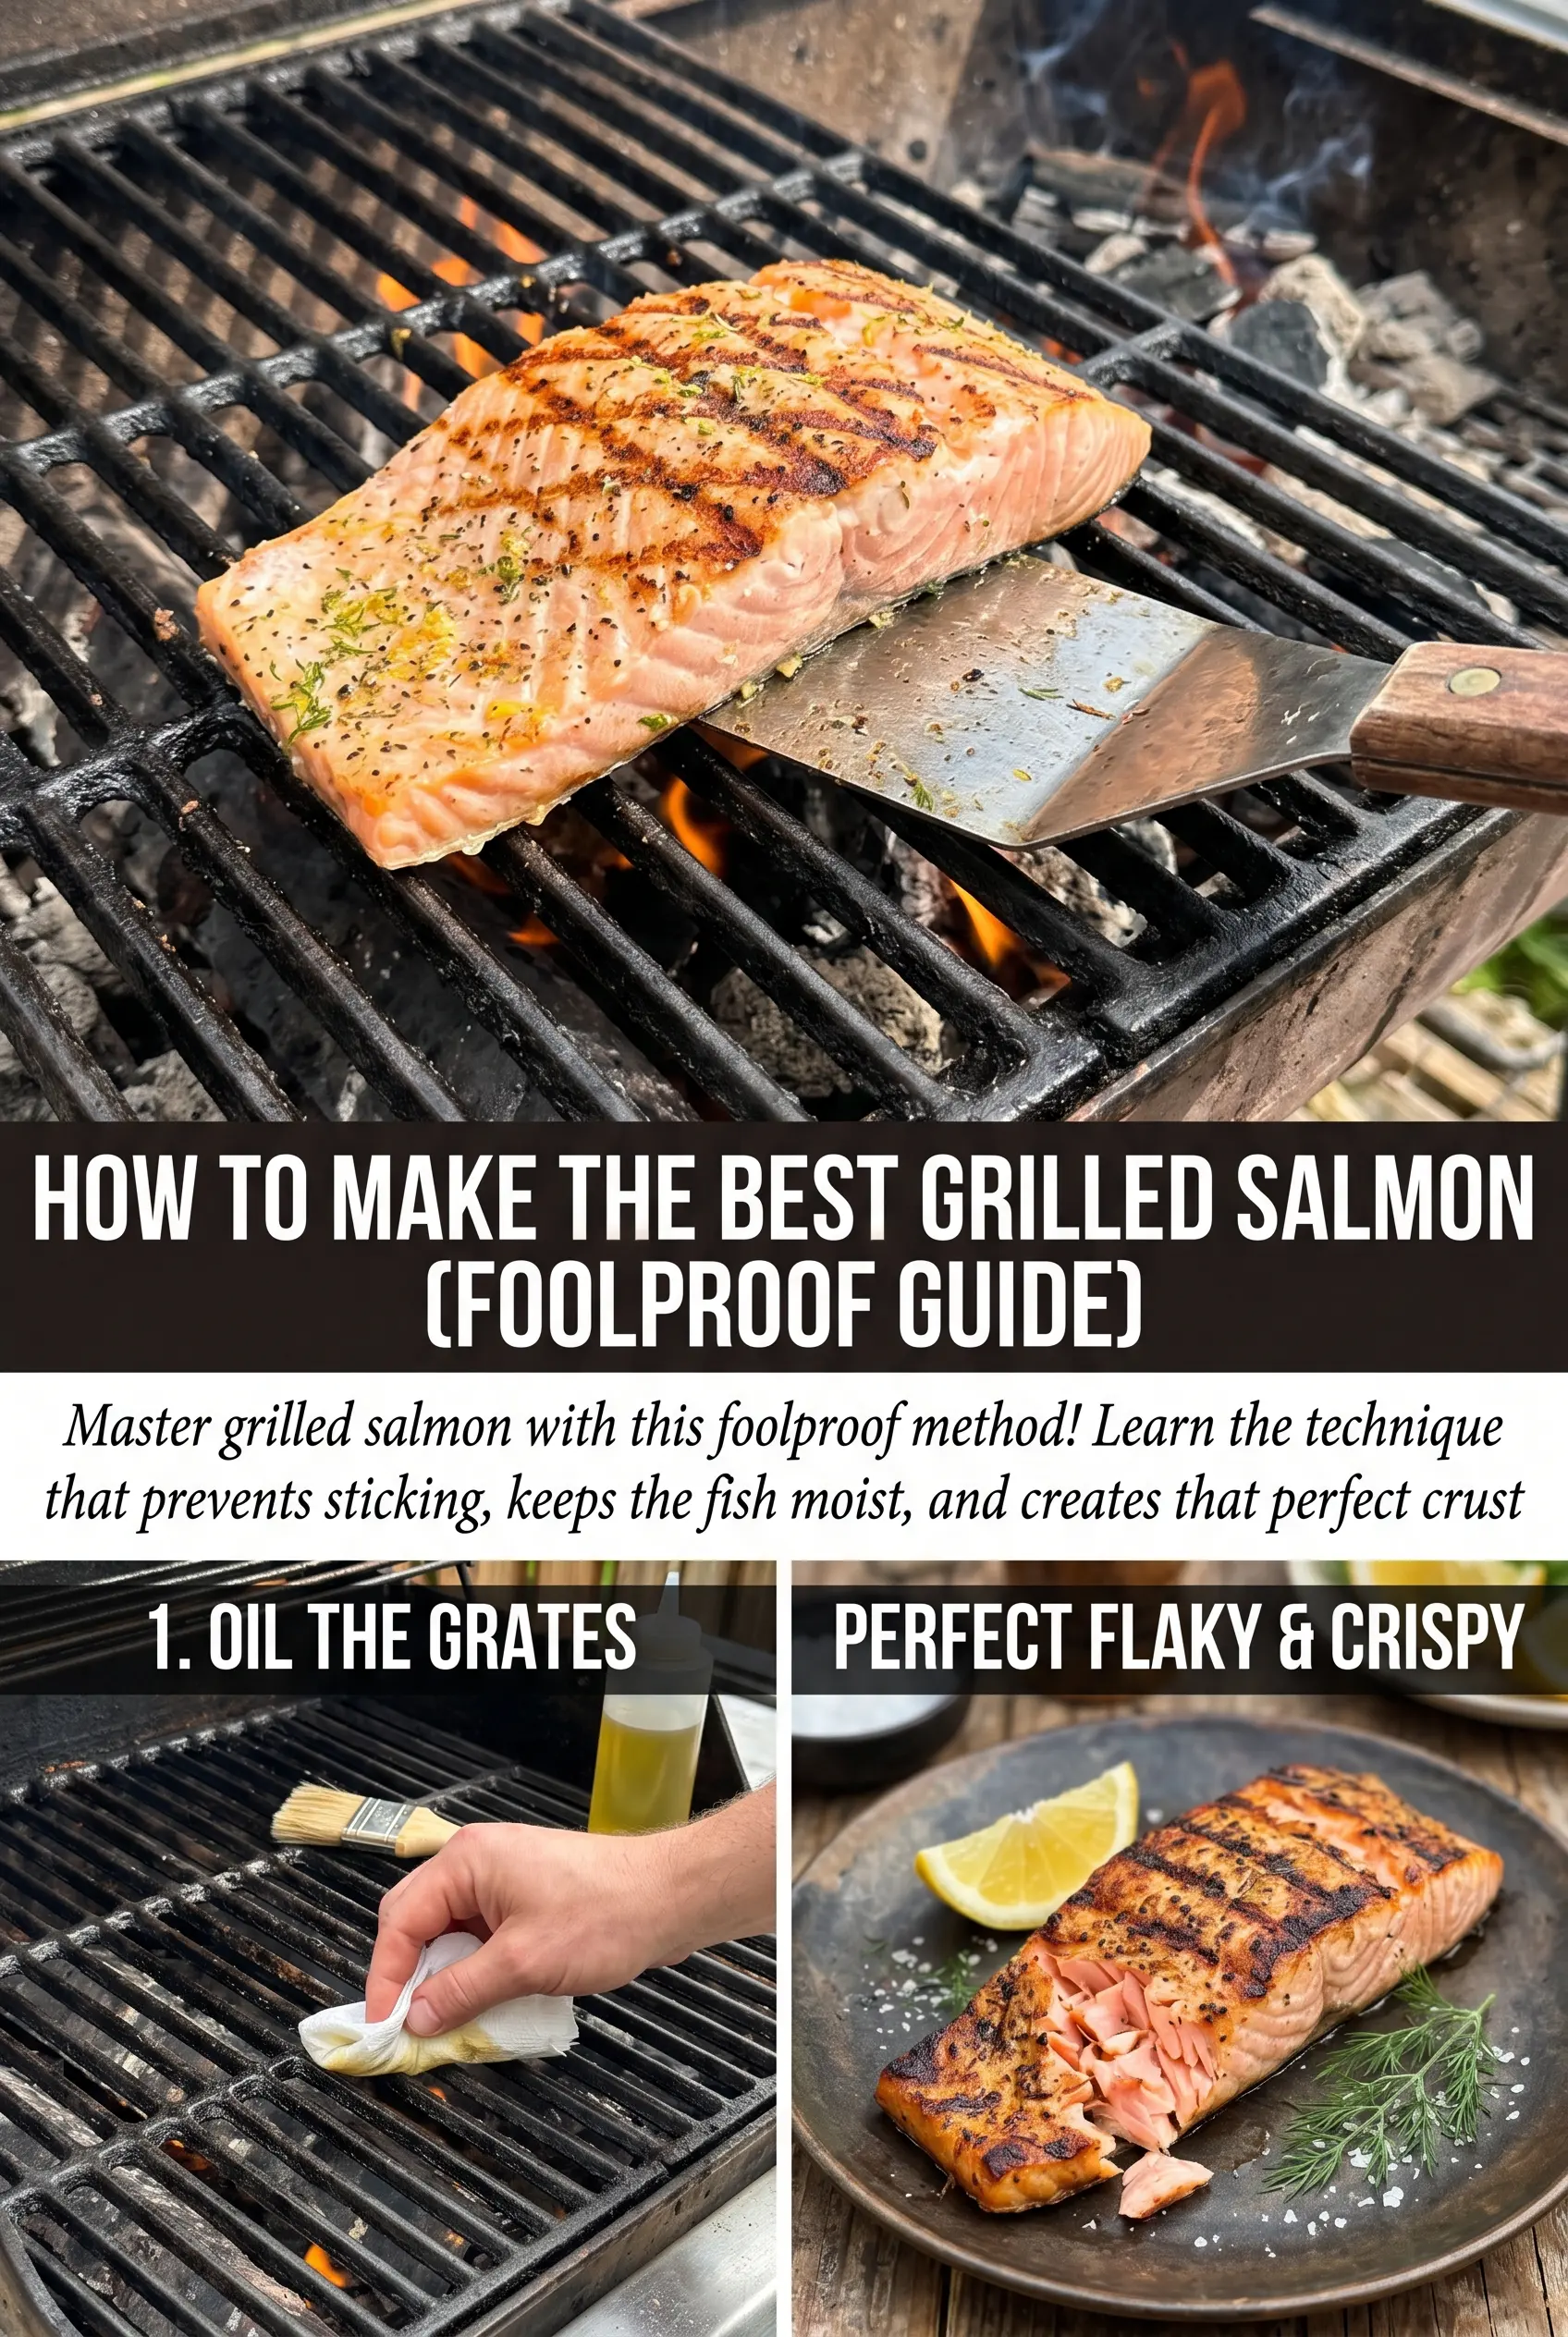
- Oiling the grates — Brush the grates, not just the fish. That thin film keeps the skin from welding itself to the metal.
- Starting skin-side down — This gives the fillet structure and protects the delicate flesh from direct flare-ups.
What Each Ingredient Is Actually Doing Here
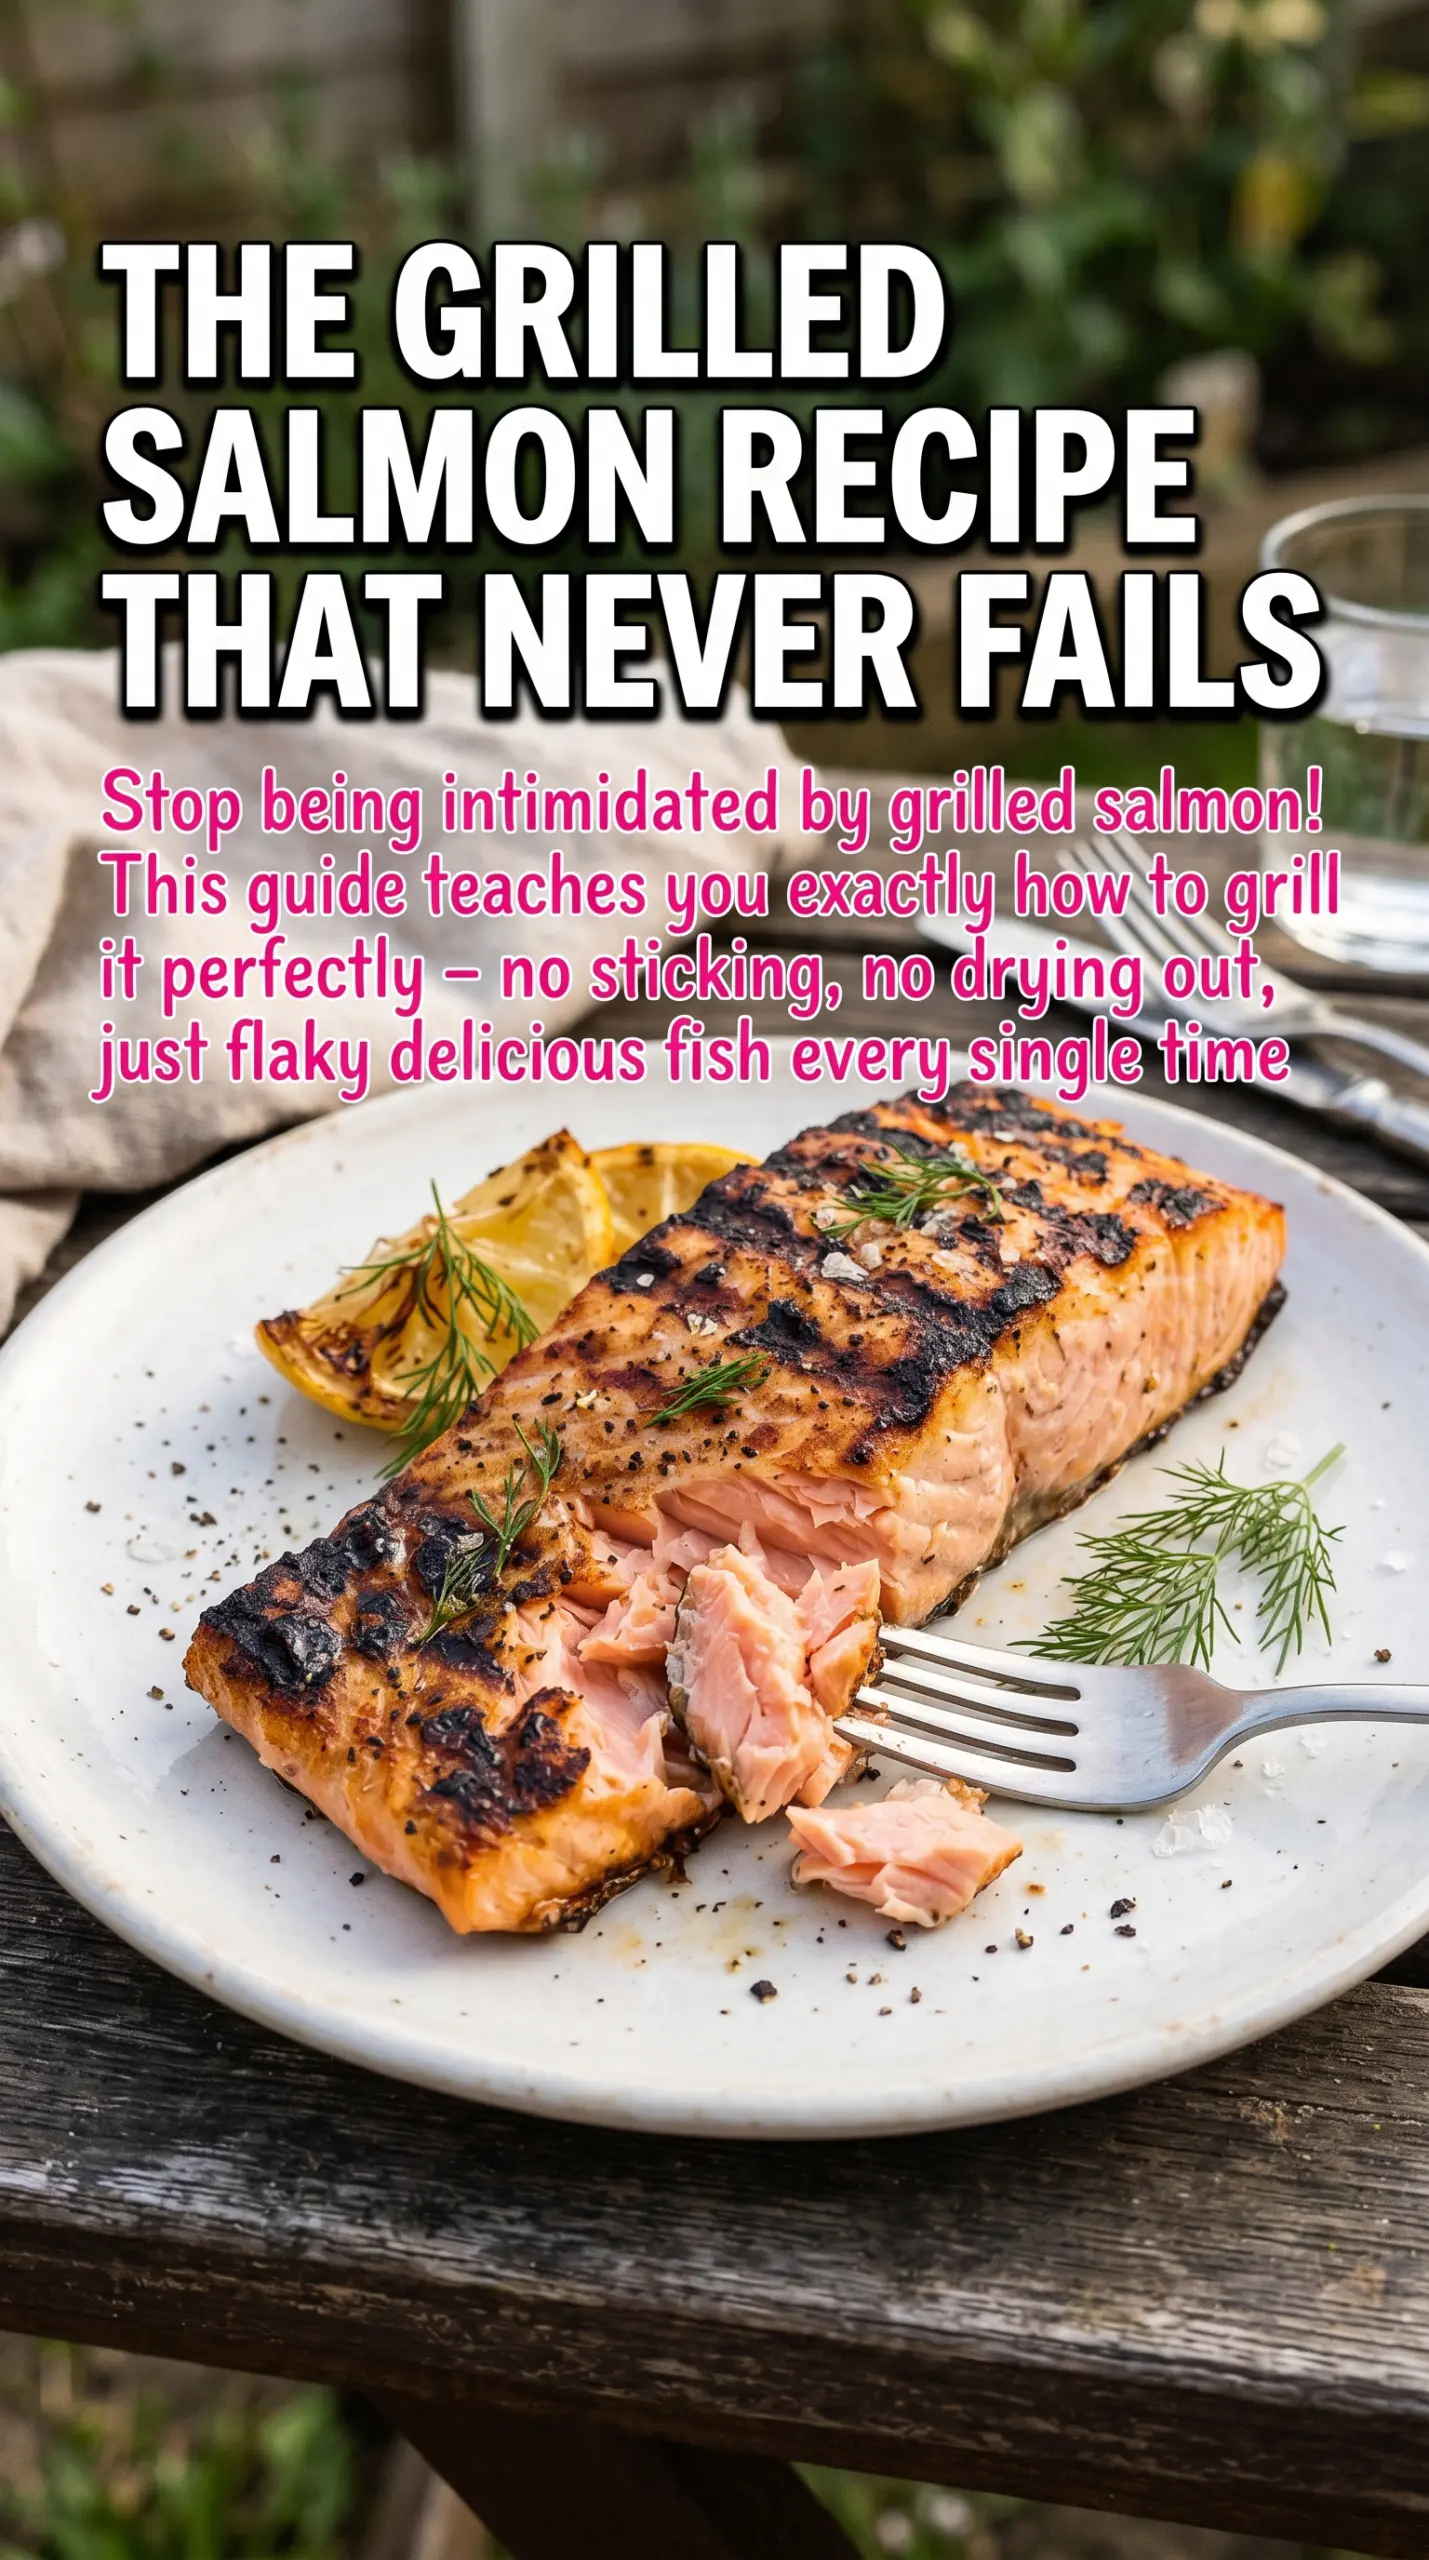
- Skin-on salmon fillets — Skin-on fillets hold together better on the grill and give you that crisp, almost crackly underside when the heat is right. Skinless salmon can work, but it needs a gentler touch and is much easier to overcook.
- Olive oil — This helps the seasonings spread evenly and keeps the fish from drying out. Use a good everyday oil here; you don’t need anything fancy.
- Lemon juice — A little acid brightens the salmon, but too much will start to cure the surface if it sits too long. Fifteen minutes is enough to season without turning the flesh mushy.
- Garlic — Minced garlic gives the salmon a savory edge, but it can burn fast on the grill if any pieces are left clumped on the surface. Rub it into the oil so it’s distributed thinly.
- Fresh dill and lemon wedges — Dill gives the finished fish a fresh, clean finish that matches salmon well, and lemon wedges let each person add brightness at the table instead of flooding the fillet before grilling.
Getting the Timing Right So the Fish Stays Juicy
Seasoning the Fillets
Pat the salmon dry first, then brush it with the olive oil, lemon juice, and garlic mixture. Season it generously with salt and pepper and let it sit for 15 minutes while the grill heats. That short rest is enough to pull the seasoning into the fish without making the surface wet again. If you leave it much longer, the lemon starts doing more curing than seasoning.
Building a Hot, Oiled Grate
Preheat the grill to medium-high and brush the grates with oil once they’re hot. You want the grill ready before the salmon goes on, because fish needs immediate contact with heat to set the skin. If the grates are only warm, the skin softens and sticks. A quick test is to hold your hand above the grate; it should feel aggressively hot within a second or two.
Letting the First Side Do the Work
Place the salmon skin-side down and don’t move it for 6 to 8 minutes. That stillness is what creates the crust and keeps the fillet intact. Watch for the color change climbing up the sides of the fish; when the flesh has turned mostly opaque and the skin pulls away easily, it’s ready to turn. If you force it early, the skin tears and the top can dry out before the center is cooked.
The Quick Finish and Rest
Flip the salmon carefully and grill it for 2 to 3 minutes more, just until it reaches your preferred doneness. For medium, 145°F is the target, but you can pull it a little sooner if you want it just barely opaque in the center. Transfer it to a plate and let it rest for a minute or two before serving. That rest keeps the juices where they belong instead of running onto the platter.
How to Change This Up Without Losing the Grill Marks
Cedar Plank Salmon
Cook the salmon on a soaked cedar plank if you want gentler heat and a smoky wood note. The plank buffers the direct flame, which makes sticking less of an issue, but you’ll lose some of the crisp skin you get straight on the grates. It’s a great swap when you want a softer texture and a little extra aroma.
Dairy-Free, Naturally
This recipe is already dairy-free, so there’s nothing to remove. The clean ingredient list keeps the salmon front and center, which is exactly what you want with a fish this good. If you want a richer finish without dairy, add a drizzle of good olive oil right before serving.
Herb Swaps That Still Fit
Dill is classic, but parsley, chives, or thinly sliced basil all work if that’s what you have. Keep the herbs fresh and add them at the end so they stay bright. Dried herbs won’t give you the same fresh finish, and they can taste dusty against grilled fish.
Storage and Reheating
- Refrigerator: Store leftovers in an airtight container for up to 2 days. The skin will soften, but the salmon will still be good cold or gently reheated.
- Freezer: Grilled salmon freezes, but the texture gets a little softer after thawing. Wrap portions tightly and freeze for up to 2 months for best quality.
- Reheating: Warm it low and slow in a covered skillet over low heat or in a 275°F oven just until heated through. High heat dries out salmon fast and makes the edges tough before the center is warm.
Answers to the Questions Worth Asking
How To Make The Best Grilled Salmon
Ingredients
Method
- Pat the salmon dry and brush it all over with the mixture of olive oil, lemon juice, and minced garlic.
- Season the salmon generously with salt and pepper, then let it sit at room temperature for 15 minutes.
- Preheat the grill to medium-high and oil the grates well.
- Place the salmon on the grill skin-side down and grill for 6-8 minutes without moving.
- Carefully flip the salmon and grill for 2-3 minutes more until the thickest part reaches 145°F for medium doneness.
- Serve the grilled salmon immediately with fresh dill and lemon wedges.


