
Silky turkey gravy makes the whole plate feel finished. It should cling to mashed potatoes, settle into the edges of sliced turkey, and taste like the best part of the roast all by itself. The difference between gravy that tastes thin and gravy that tastes deep usually comes down to what you do with the pan drippings and how patiently you build the roux.
This version leans on those browned bits from the roasting pan, then adds warm stock so the flour cooks out without turning lumpy or pasty. A little thyme keeps it tasting like Thanksgiving, and a small splash of soy sauce boosts the savory depth without making it taste like soy sauce. The goal here is a gravy that pours smoothly, thickens on its own, and still tastes balanced after it sits on the table for a few minutes.
Below, I’m walking through the part that matters most: how to separate the fat from the juices, when the roux is ready, and how to fix gravy that turns out too thick or a little grainy.
The gravy turned out smooth and glossy, and whisking in the warm stock kept it from getting lumpy. I loved that it thickened just enough to coat the spoon without turning paste-like.
Save this turkey gravy for the spoon-coating texture and rich pan-dripping flavor that makes roast dinners taste finished.
The Reason This Gravy Stays Smooth Instead of Going Lumpy
The roux and the liquid need to meet on friendly terms. If cold stock hits a hot flour-and-fat paste too fast, the starch tightens in clumps before it can disperse, and you spend the next few minutes chasing lumps around the pan. Warm stock goes in more evenly, so the gravy thickens gradually and stays glossy instead of turning grainy.
The other mistake is stopping the roux too soon. Pale roux gives you thickness, but a little color adds flavor and takes away that raw flour taste. Three to four minutes over medium heat is enough for a light golden base that still thickens well without tasting heavy.
What the Drippings, Stock, and Soy Sauce Are Each Doing
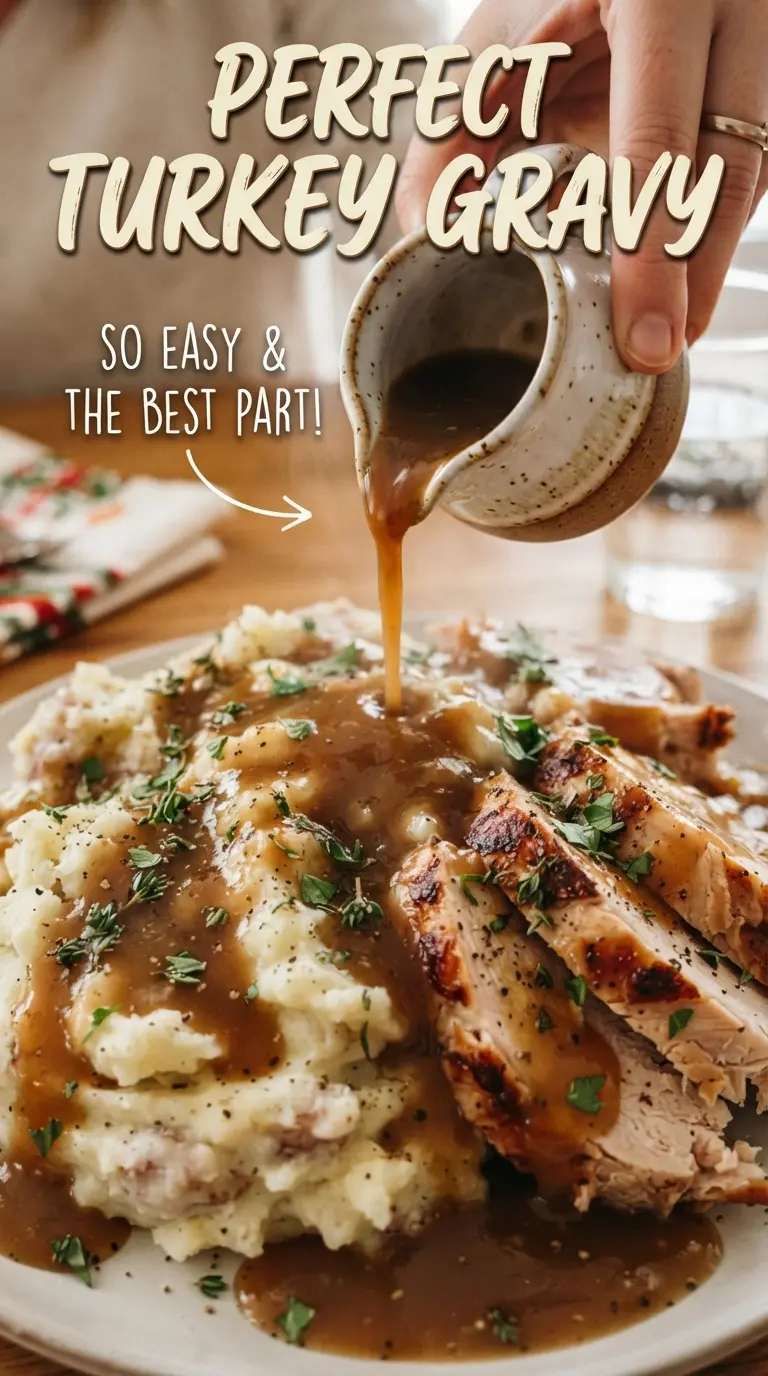
- Turkey pan drippings — This is the backbone of the gravy. The fat gives the roux flavor and body, while the browned juices bring the roasted turkey taste that plain butter can’t fully copy. If you don’t have enough drippings, use butter for the fat and add every bit of defatted pan juice you can scrape up.
- Warm turkey or chicken stock — Warm liquid blends into the roux cleanly and helps the gravy thicken without seizing. Chicken stock works fine when turkey stock isn’t available, but use one you actually like drinking because a bland stock makes a bland gravy.
- Fresh thyme — Fresh thyme perfumes the gravy without stealing the spotlight. Dried thyme works in a pinch, but use less and crush it lightly between your fingers so it doesn’t taste dusty.
- Soy sauce — Just a teaspoon deepens the color and savory taste. It doesn’t make the gravy taste Asian; it just fills in the missing bass notes that good gravy needs.
Building the Gravy So It Coats the Spoon
Separating the Fat From the Juices
Pour the drippings into a measuring cup and let them sit for a minute or two so the fat rises to the top. Skim off the amount you need for the roux, then keep the defatted juices for the stock mixture. If the roasting pan has burnt bits instead of browned bits, stop and use less of those drippings; bitter pan juices will carry straight into the gravy.
Cooking the Roux
Whisk the flour into the hot fat and keep it moving until the mixture smells nutty and turns light gold. That cooked color matters because it takes the raw edge off the flour. If the roux looks dry or paste-like, the heat is too high or the ratio is off; lower the heat and whisk in the fat until it loosens.
Whisking in the Liquid
Add the warm stock slowly at first, whisking after each splash until the mixture turns smooth, then pour in the rest in a steady stream. The gravy will look thin before it thickens, so give it a minute before deciding it needs more flour. If a few lumps do form, keep whisking over low heat; most of them will melt out as the starch hydrates.
Finishing and Seasoning
Let the gravy simmer until it lightly coats the back of a spoon, then add the thyme and soy sauce. Taste only after it has simmered, because gravy that seems underseasoned early on often finishes right on target once the liquid reduces. Strain it if you want a cleaner, silkier texture, especially if you’re serving it over mashed potatoes and want every spoonful smooth.
Use Butter When the Pan Drippings Are Light
If your roast didn’t leave much fat behind, butter works well as the base. You’ll lose a little of the roasted turkey flavor, so lean harder on the pan juices and stock for depth. The texture stays the same, and the gravy still comes out smooth.
Gluten-Free Gravy With a Cornstarch Slurry
Replace the flour with cornstarch mixed into cold stock instead of making a roux. The gravy will turn glossier and a little more translucent, and it won’t hold heat quite as long on the table. Stir constantly as it simmers so the starch thickens evenly instead of turning slick.
Extra-Deep Flavor for Make-Ahead Holiday Meals
Swap part of the stock for unsalted turkey drippings from the roasting pan and simmer the finished gravy a few minutes longer. That concentrates the flavor and gives you a darker, more savory sauce that tastes like it came from the bird itself. Add a splash of stock when reheating if it thickens too much in the fridge.
Dairy-Free Version That Still Tastes Rich
Use turkey fat or a neutral oil instead of butter if you need a dairy-free gravy. You won’t lose the silky texture as long as the fat-to-flour ratio stays the same, but the flavor depends more heavily on the drippings and stock. Taste carefully at the end and season in small pinches so the gravy stays balanced.
Storage and Reheating
- Refrigerator: Keeps for 3 to 4 days in a sealed container. It will thicken as it chills, which is normal.
- Freezer: Freezes well for about 2 months. Freeze in a flat, airtight container and leave a little room for expansion.
- Reheating: Warm it gently over low heat with a splash of stock or water, whisking often. The common mistake is boiling it hard, which can make it separate or turn gluey before it loosens.
Answers to the Questions Worth Asking
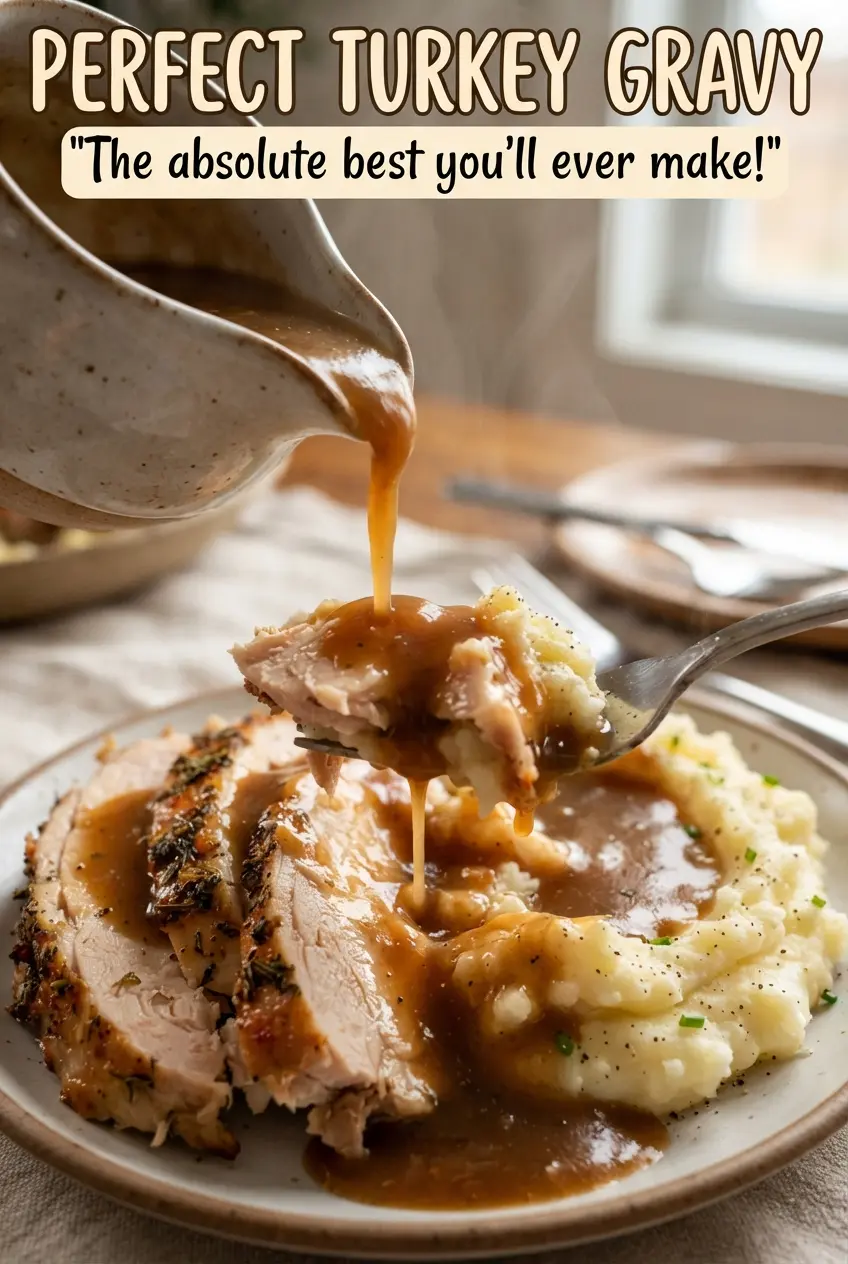
Perfect Turkey Gravy
Ingredients
Equipment
Method
- Pour the roasting pan drippings into a measuring cup and let the fat rise to the top, watching for clear separation between fat and juices.
- Spoon 1/4 cup of the fat into a saucepan over medium heat, then whisk in the all-purpose flour until it forms a thick paste.
- Cook the roux for 3-4 minutes over medium heat, whisking constantly until golden brown with a nutty aroma.
- Gradually whisk in the warm turkey or chicken stock along with the defatted pan juices until smooth, with no visible lumps.
- Add the fresh thyme leaves and soy sauce, then simmer for 8-10 minutes until the gravy is thick enough to coat a spoon and looks glossy.
- Season with salt and pepper to taste, tasting and adjusting as needed.
- Strain if desired, then serve hot with sliced turkey and mashed potatoes.


