Rich peanut butter ice cream with a dense, silky body is exactly what the Ninja Creami does best, and this protein version earns its place because it eats like dessert instead of a compromise. The base turns pale tan, thick, and nutty after freezing, then spins into something smooth enough to scoop cleanly and heavy enough to feel satisfying after a small bowl.
What makes this one work is the balance between fat, protein, and a little sweetness. Peanut butter brings flavor and body, while the protein powder gives the ice cream its firm, spoonable structure after freezing. The key is whisking the base until it’s completely smooth before it goes into the pint; any dry pockets of protein powder will show up later as chalky bits after spinning.
Below, I’ve included the exact fix for a grainy first spin, the best milk choice if you want a creamier finish, and a few swaps that still keep the texture in the right zone.
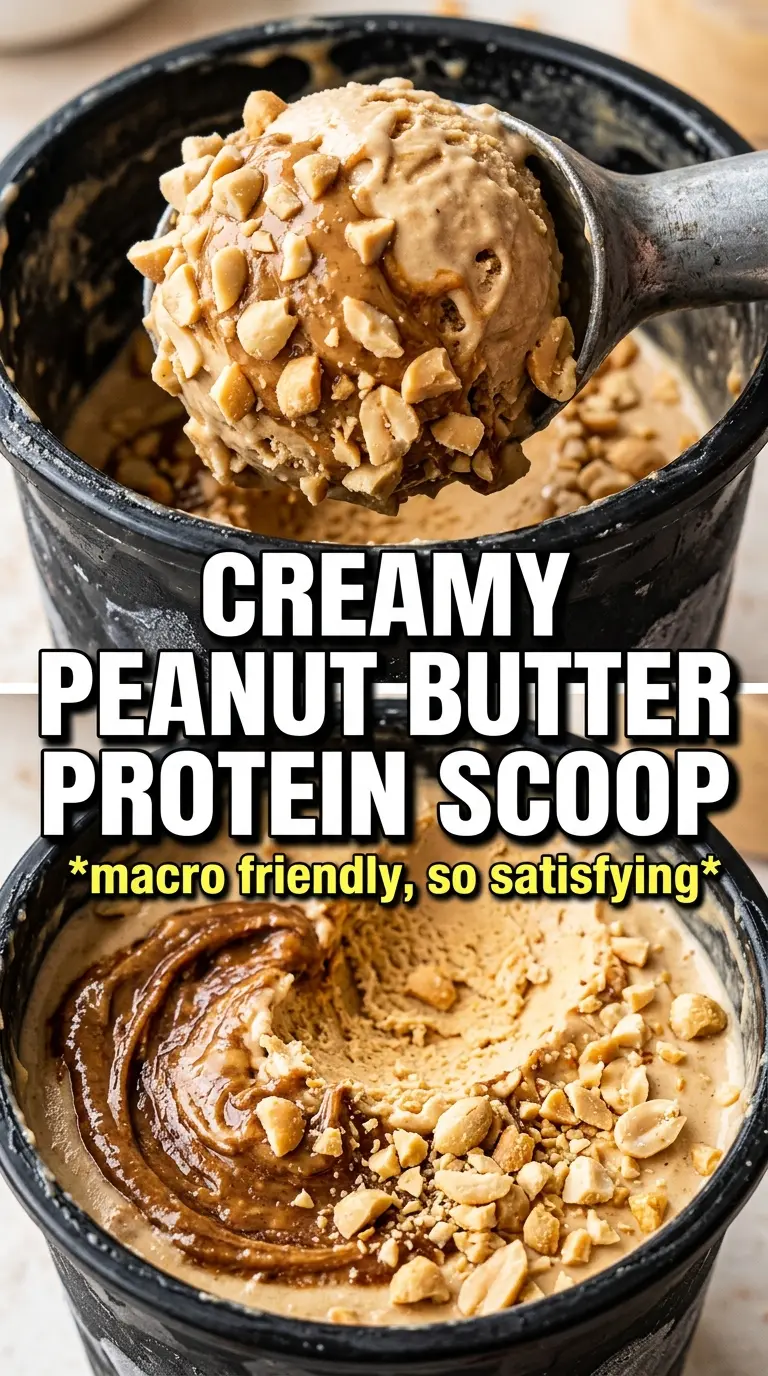
The first spin looked a little icy, but after the re-spin with a splash of milk it turned thick and creamy, and the peanut butter chips stayed crunchy instead of disappearing.
Save this Ninja Creami peanut butter protein ice cream for the nights when you want a thick, high-protein treat with peanut butter chips in every bite.
The Grainy First Spin Happens for a Reason
A Ninja Creami base that looks icy after the first spin usually isn’t ruined. It’s just underworked, which is normal for protein-heavy mixtures because protein powder tightens as it freezes. The fix is a small splash of milk and a re-spin, not a bigger pour of liquid from the start. Too much liquid before freezing gives you soft-serve soup instead of the dense, scoopable texture that makes this recipe worth making.
The other thing that matters here is how completely you dissolve the protein powder before freezing. If the base looks even slightly speckled or sandy in the pint, those dry bits won’t magically disappear later. Whisk until the mixture looks glossy and uniform, then give it another few stirs around the edges before it goes in the freezer.
- Protein powder — This is the structure builder. Whey tends to spin smoother than a lot of plant-based powders, which can turn a little chalky, but either one works if you blend thoroughly and don’t overload the base with extra dry mix-ins.
- Peanut butter — Creamy peanut butter gives the ice cream body and that deep roasted flavor. Natural peanut butter can work, but stir it well first so the oils are evenly distributed; separated peanut butter can freeze unevenly.
- Milk — Whole milk makes a richer pint, while unsweetened almond milk keeps it lighter and lower calorie. Almond milk works fine here because the peanut butter and protein powder already bring plenty of body, but the finished texture will be a little less plush than with dairy.
- Sweetener — Sugar gives the cleanest flavor and helps keep the base from freezing too hard. Monk fruit sweetener works if you want a lower-sugar version, though the result can freeze firmer, so the re-spin matters even more.
- Peanut butter chips or mini peanut butter cups — These belong in the Mix-In stage, not the base. If they go in too early, they get lost in the freeze and turn the whole pint clunky instead of giving you distinct bites.
What Each Ingredient Is Actually Doing in This Ice Cream
- Base ingredient (cream, milk, or custard) — This provides the foundation and richness. Quality matters.
- Sweetener (sugar, honey, or condensed milk) — This sweetens and prevents ice crystals. The ratio is critical.
- Flavor element (vanilla, fruit, chocolate, or other) — This defines the ice cream personality. Use quality ingredients.
- Egg yolks (if making custard base) — These create richness and silky texture. Optional but elevates ice cream.
- Churning (if using ice cream maker) — This incorporates air and prevents ice crystals. Critical for smooth texture.
- Freezing temperature and time — Proper freezing prevents rock-hard texture. Store at 0°F or below.
- Mix-ins (chocolate, cookies, fruit, or swirls) — These add texture and prevent one-dimensional flavor. Add near end of churning.
- Serving temperature (slightly soft, not rock hard) — This provides creamy mouthfeel. Remove from freezer 5 minutes before serving.
Freezing the Base, Then Letting the Machine Do the Work
Mix Until the Base Looks Glossy
Whisk the milk, protein powder, peanut butter, sweetener, vanilla, and salt until the mixture looks smooth and a little glossy. Scrape the bottom of the bowl because dry protein powder loves to hide there. If you still see tiny flecks, keep whisking; those specks turn into gritty pockets later.
Freeze the Pint Flat and Unbothered
Pour the mixture into the Ninja Creami pint container and freeze it level for a full 24 hours. If the top freezes slanted or the container gets bumped around in the freezer, the blade can catch unevenly and leave one side softer than the other. A flat, solid freeze gives the cleanest spin.
Spin, Check, and Re-Spin Only If Needed
Run the Lite Ice Cream setting first. If the texture comes out powdery or crumbly, add 1 tablespoon milk and hit Re-spin. That tiny amount is enough to loosen the edges without melting the whole pint into a slush, which is the mistake that ruins the dense texture.
Fold in the Peanut Butter Pieces at the End
Use the Mix-In setting for the peanut butter chips or mini peanut butter cups. That keeps the mix-ins chunky and gives you little pockets of crunch instead of streaks of candy lost inside the base. Serve it right away while the texture is at its best.
How to Tweak This Pint Without Losing the Creamy Texture
Use whole milk for a richer finish
Whole milk makes this pint creamier and slightly less icy, especially if your protein powder tends to freeze firm. It’s the best swap if you want a dessert-like texture over a lighter result.
Make it dairy-free without changing the method
Use unsweetened almond milk and a dairy-free protein powder. The texture stays close, though the pint may need the re-spin a little more often because plant-based powders can freeze drier than whey.
Lower the sugar without losing scoopability
Monk fruit sweetener keeps the recipe lower in sugar, but it won’t soften the freeze the way sugar does. If you go this route, expect a firmer first spin and plan on the re-spin with milk.
Swap the mix-ins for a different crunch
Chopped roasted peanuts, chocolate chunks, or crushed pretzels all work here. Just keep the pieces small enough for the Mix-In cycle so the blade doesn’t smear them into the base.
Storage and Reheating
- Refrigerator: Not recommended. This is meant to be frozen and spun; in the fridge it turns into a loose, melted base.
- Freezer: The unfrozen base can sit in the pint for 24 hours before spinning. After spinning, leftovers can be refrozen, but the texture gets harder and more crumbly on the second round.
- Reheating: There’s no reheating here. If the finished ice cream firms up too much after sitting, let the pint rest on the counter for 5 to 10 minutes, then respin with a small splash of milk.
Answers to the Questions Worth Asking
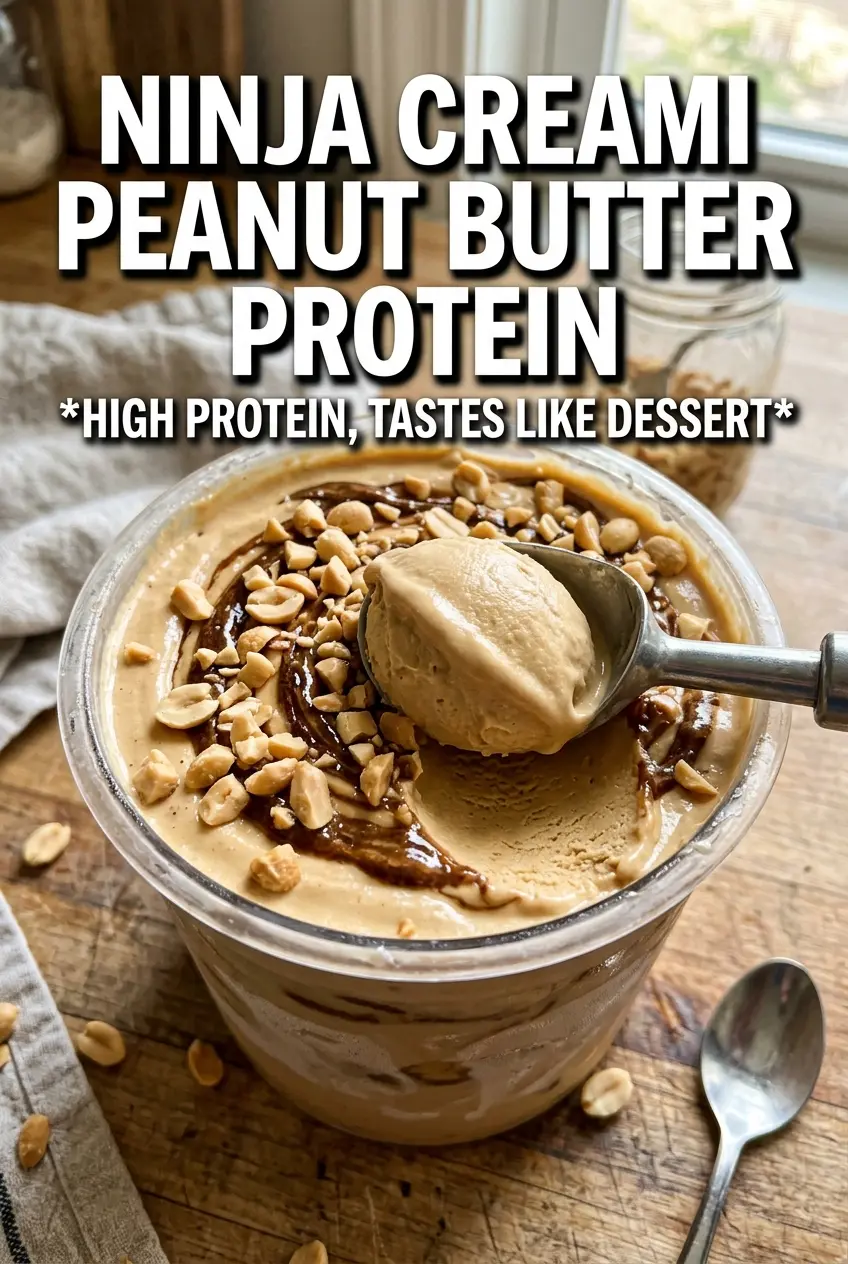
Ninja Creami Peanut Butter Protein Ice Cream
Ingredients
Equipment
Method
- Whisk the milk, protein powder, peanut butter, sweetener, vanilla extract, and salt until very smooth, ensuring no protein powder clumps remain (visual cue: completely uniform, lump-free pale tan mixture).
- Pour the mixture into the Ninja Creami pint container and freeze for 24 hours until solid (visual cue: a firm, spoon-resistant frozen block).
- Process on the Lite Ice Cream setting first; if it turns out grainy, add 1 tbsp milk and re-spin (visual cue: graininess disappears and the texture becomes creamy).
- Use the Mix-In setting to fold in peanut butter chips or mini peanut butter cup pieces (visual cue: mix-ins evenly distributed throughout without streaks).
- Serve immediately for the thick, dense texture straight from the Ninja Creami (visual cue: holds soft peaks and looks glossy).