
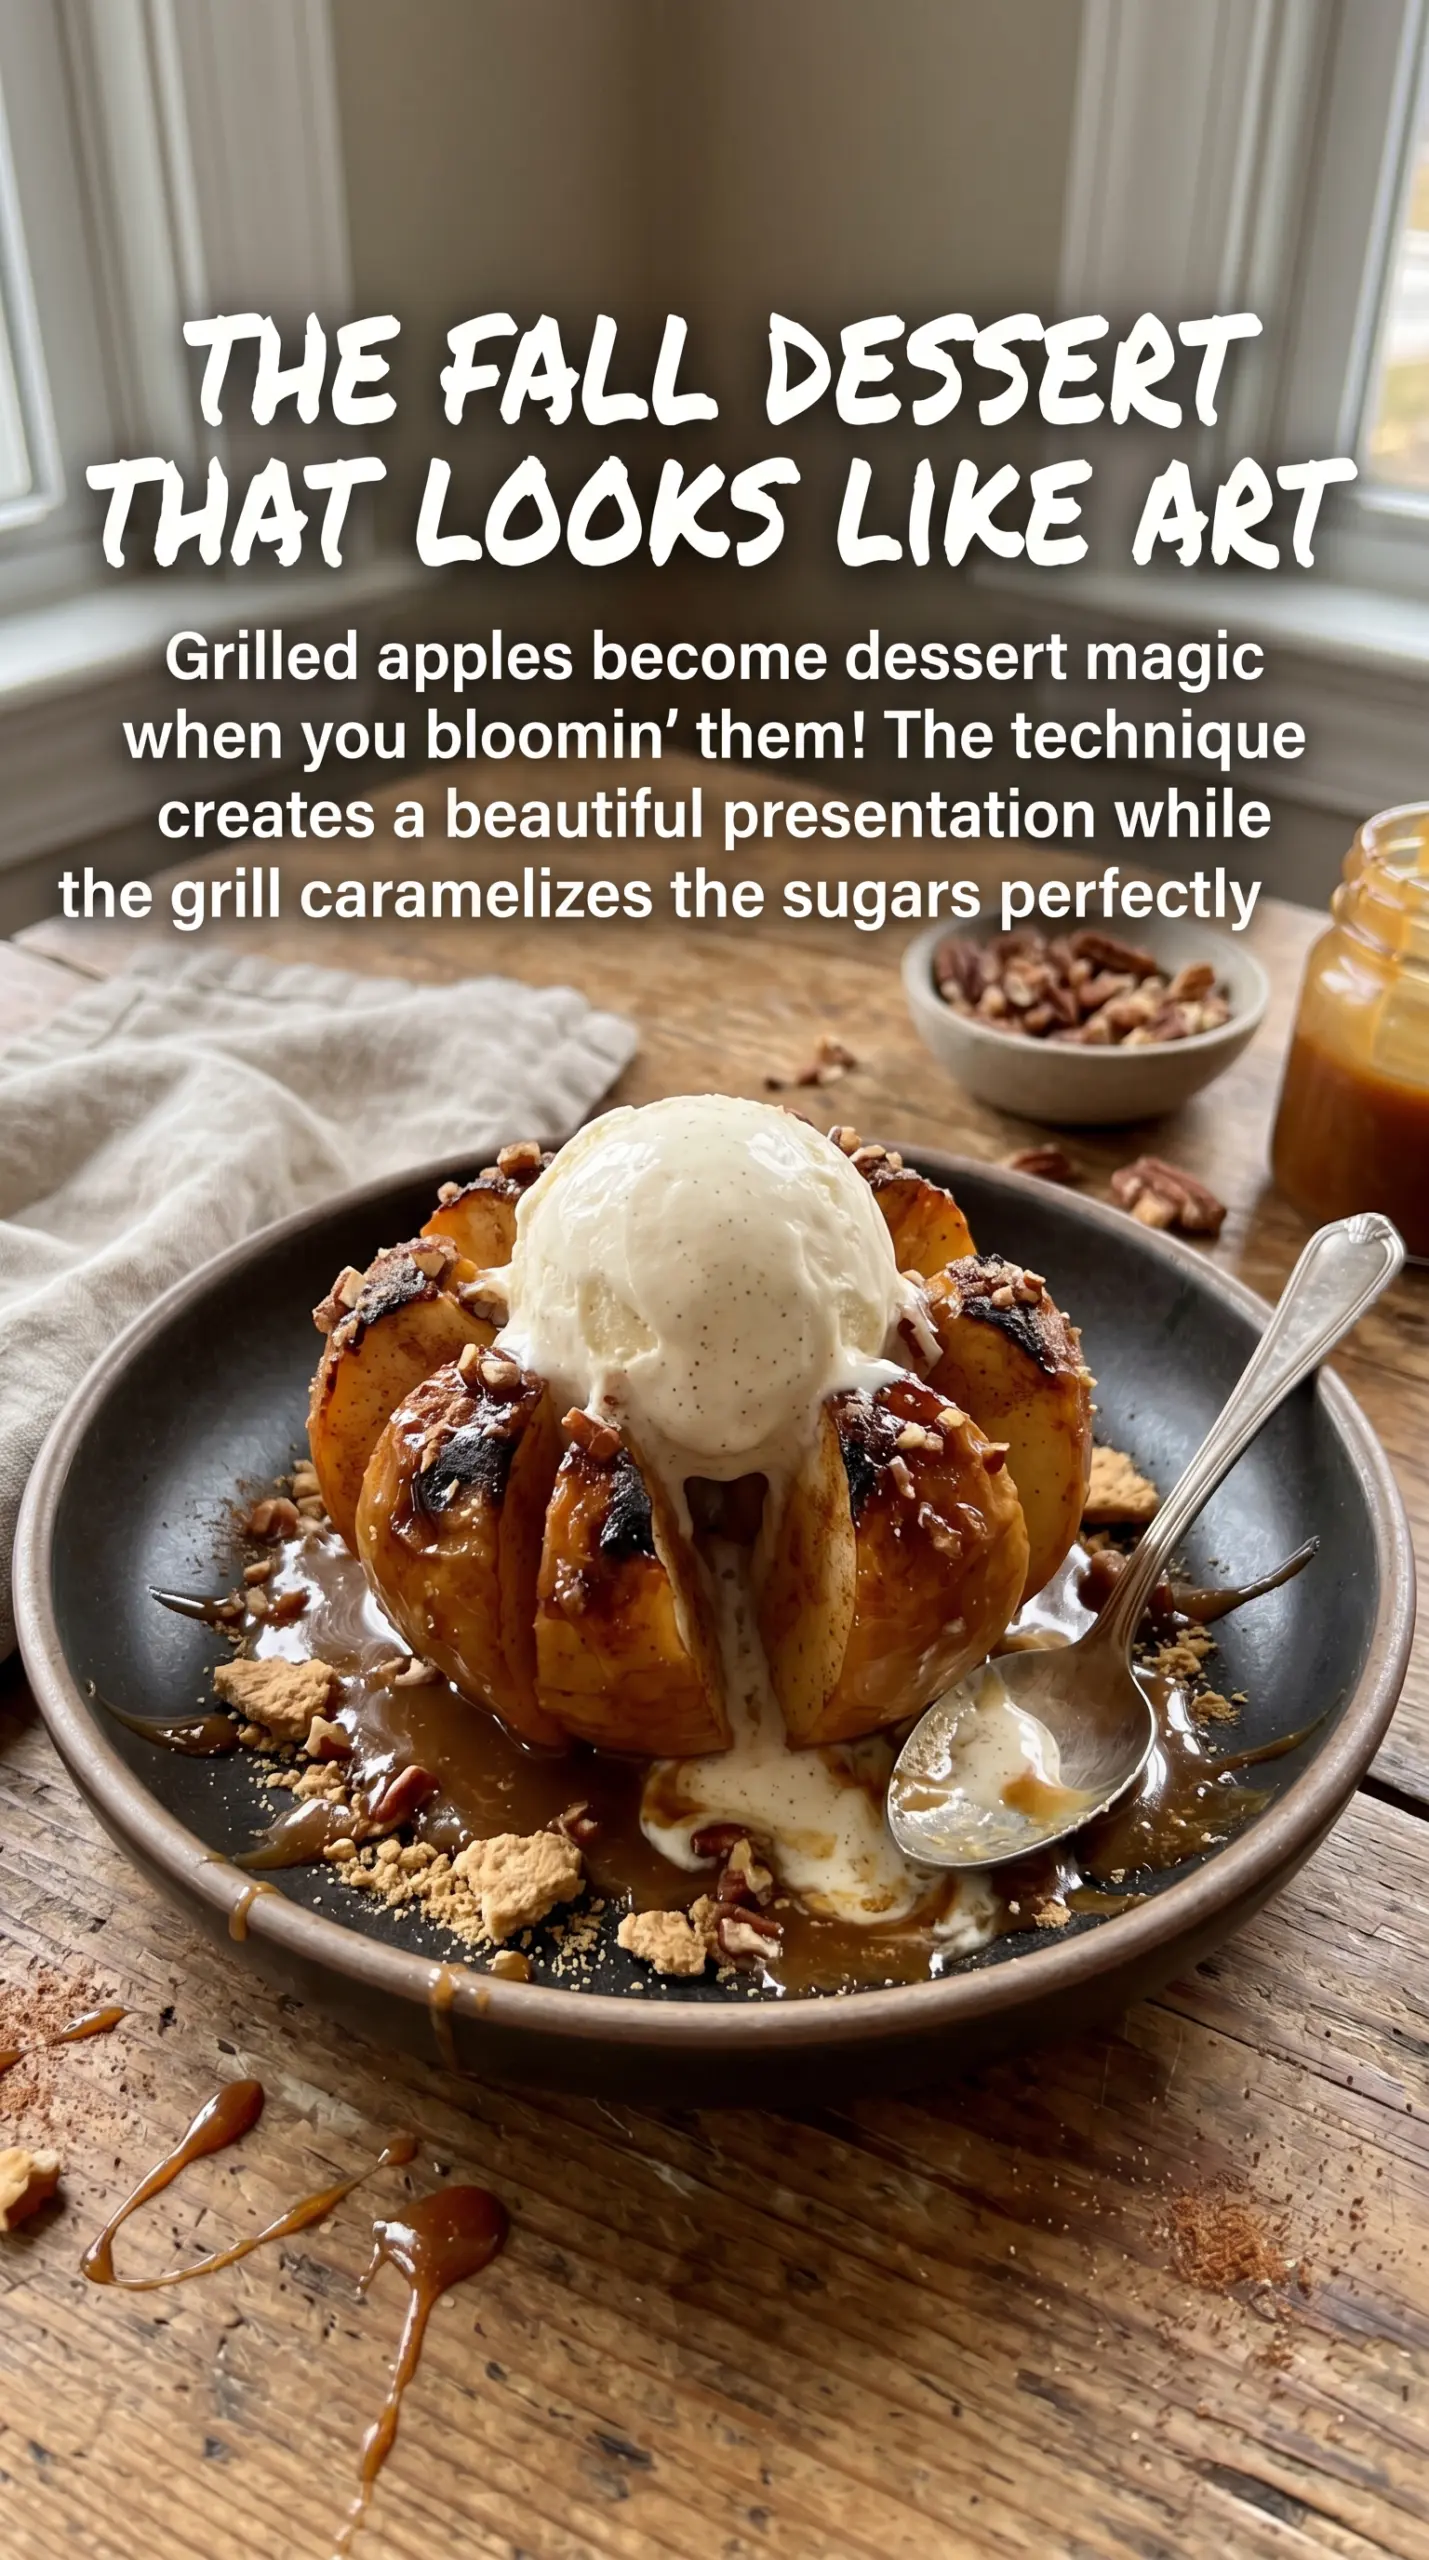
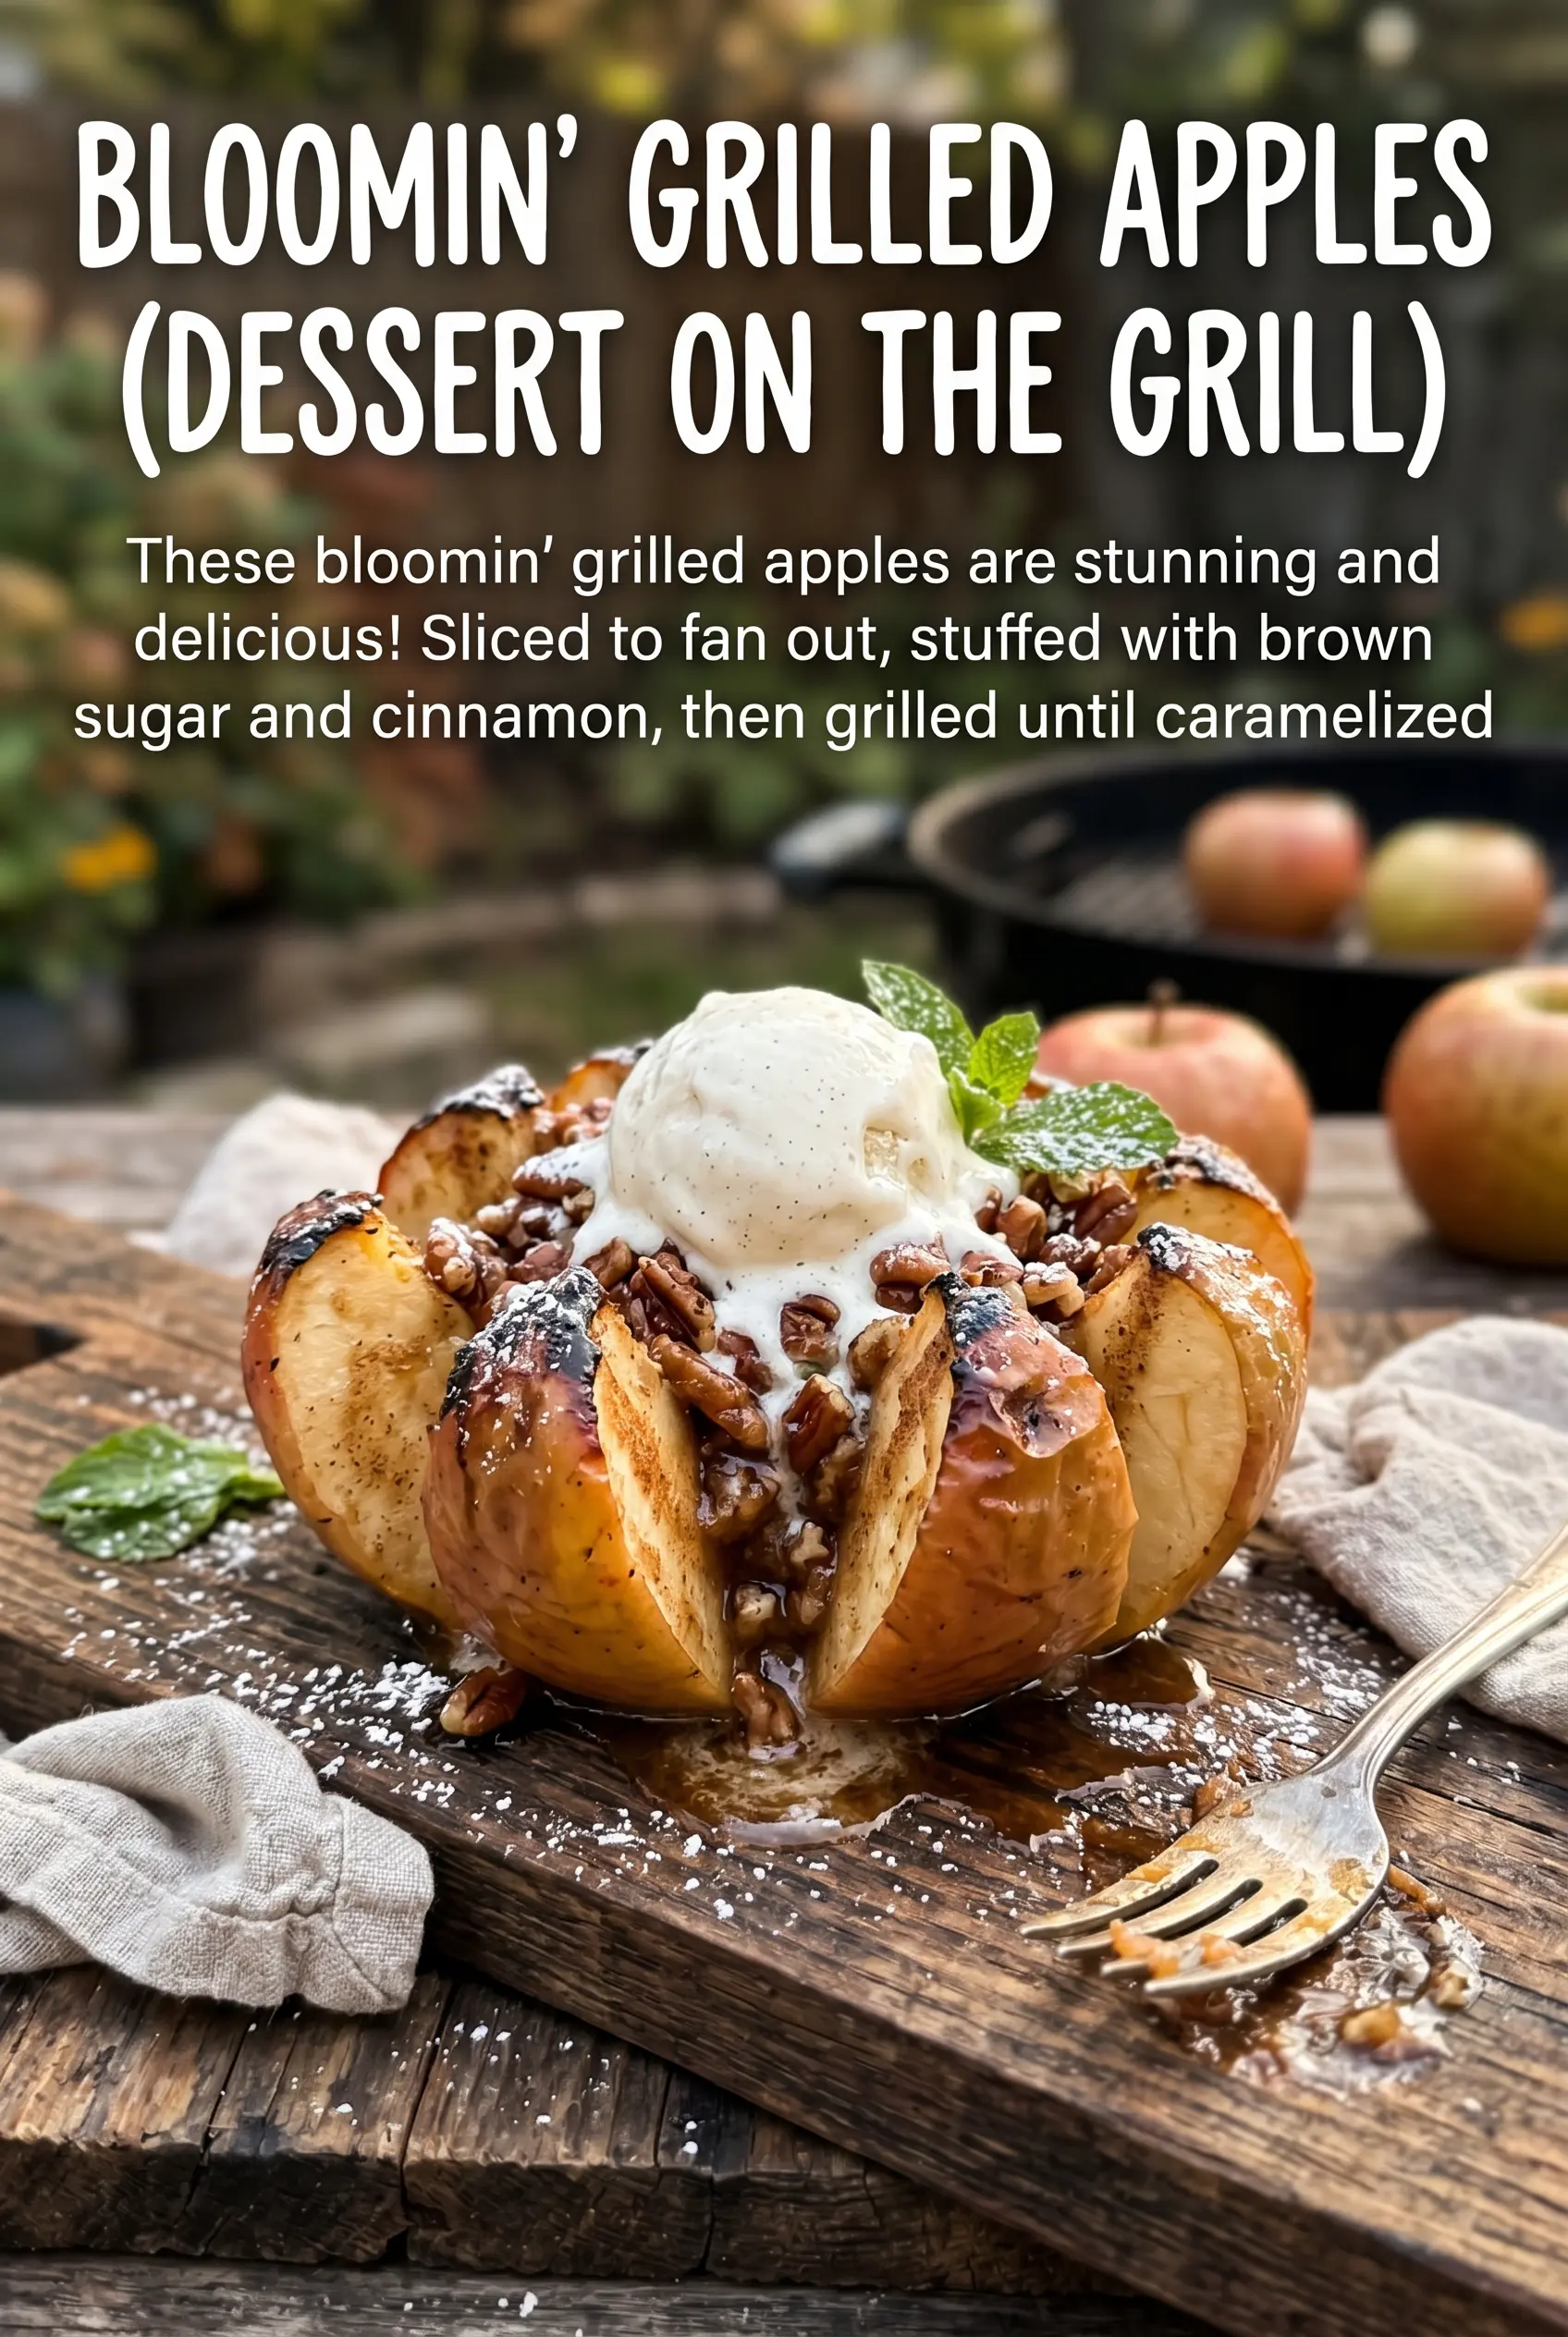
Bloomin’ grilled apples come off the grill soft at the center, caramelized at the edges, and glossy with cinnamon butter that seeps down between every slice. The apples hold their shape just enough to fan open on the plate, then collapse into warm, spoonable layers once you cut into them. Paired with cold vanilla ice cream, they land somewhere between a baked apple and a grill-marked dessert, which is exactly why they disappear fast.
The trick is slicing the apples deeply enough to fan, but not all the way through. That keeps the apple intact while creating all those little edges for the butter and sugar to cling to. Wrapping the base in foil helps the fruit steam and soften without losing its shape, while the exposed top gets direct heat so the sugars caramelize instead of just melting away.
Below, I’ve included the small details that matter most here: which apples hold up best, how to keep the slices from separating too much on the grill, and a few variations if you want to lean sweeter, spicier, or dairy-free.
The apples kept their shape, but the centers turned tender and buttery just like I hoped. I served them with vanilla ice cream and the cinnamon sauce pooled into the dish perfectly.
Save these cinnamon-brushed Bloomin’ Grilled Apples for the nights when you want a warm dessert with crisp edges and melted ice cream.
The Slice Depth That Keeps Bloomin’ Apples from Falling Apart
The biggest mistake with bloomin’ apples is cutting too far down the fruit. Once the knife goes through the bottom, the apple opens up into loose wedges instead of staying in one piece, and the grill turns it into a mess. Stop about 1/4 inch from the base so the slices stay anchored while the heat can still work between them.
Granny Smith apples stay firmer and bring a sharp edge that balances the sweet butter topping. Honeycrisp works too and gives a juicier bite, but it softens a little faster, so pull it as soon as the slices look tender when pierced with a knife. If the apples are very large, add a minute or two; if they’re smaller, start checking early so the edges don’t overcook before the center softens.
What the Butter, Sugar, and Cinnamon Each Do Here
- Apples — Granny Smith gives you the best structure and a tart bite, while Honeycrisp turns sweeter and softer. Both hold up on the grill better than very tender apples like McIntosh.
- Butter — Melted butter carries the cinnamon sugar into the cuts and helps the top caramelize. I wouldn’t swap in oil here unless you’re only after shine and not that rich dessert flavor.
- Brown sugar — This melts into the butter and gives the topping that sticky, caramel note. Light or dark brown sugar both work; dark brown sugar just tastes a little deeper.
- Cinnamon — It’s the main spice, so use a fresh jar if yours has been sitting around a while. A stale cinnamon blend can make the whole dessert taste flat.
- Vanilla ice cream — The cold creaminess is part of the finish, not an optional extra. The heat from the apple softens it into a sauce that catches in all the slices.
The Grill Time That Builds the Caramel Without Burning the Edges
Cutting the Bloom
Set each apple on a cutting board and slice straight down from top to bottom, stopping before you reach the base. Thin, even cuts fan more cleanly than a few thick ones, and that extra surface area is what gives you the caramelized ridges later. If the apple starts tipping over, trim a tiny bit from the bottom so it sits flat, but don’t cut into the core.
Brushing in the Cinnamon Butter
Stir the melted butter, brown sugar, and cinnamon until it looks like a loose, grainy syrup. Brush it generously between the slices and over the top, working it into the gaps instead of just coating the outside. If the sugar settles in the bowl, give it another stir before each apple so the last one gets the same amount of spice and sweetness as the first.
Wrapping and Grilling
Wrap the lower half of each apple in foil so the base steams and softens while the exposed top gets the direct heat. Set them over medium heat, close the lid, and let them go for about 12 to 15 minutes until the flesh yields when pierced and the top looks glossy and browned at the edges. If the grill is too hot, the sugar will darken before the apple softens, so keep the heat moderate and move the apples if you see the topping sizzling hard.
Serving Warm
Let the apples sit for a minute or two after they come off the grill so the juices settle and the slices hold together better on the plate. Serve them while they’re still warm enough to melt the ice cream into the grooves. If you wait too long, the caramel tightens up and you lose that sauce-like finish.
Three Ways to Make Bloomin’ Grilled Apples Fit What You Have
Dairy-Free Grilled Apples
Swap the butter for melted coconut oil or a plant-based butter. Coconut oil gives the glaze a faint tropical note, while vegan butter keeps the flavor closer to the original. The texture stays the same as long as you brush it on while the apples are still cold enough to hold their shape.
Extra-Caramel Version
Use dark brown sugar instead of light brown sugar and add a pinch of salt to the butter mixture. That gives the topping a deeper caramel taste and keeps the sweetness from feeling one-note. It’s the version I’d use if you’re serving these after a simple grilled dinner and want the dessert to taste a little more dramatic.
Spice-Forward Apples
Add a small pinch of nutmeg or apple pie spice to the cinnamon butter if you want the warm spice notes to stand out more. Don’t overdo it, because the apples themselves should still taste fresh and bright, not like pie filling. This version works especially well with tart apples.
Storage and Reheating
- Refrigerator: Store leftovers in an airtight container for up to 3 days. The apples will soften a bit more and the caramel will thicken as they chill.
- Freezer: I don’t recommend freezing these. The texture turns mushy once thawed, and the fanned slices lose the shape that makes the dessert special.
- Reheating: Warm them in a 300°F oven until heated through, about 8 to 10 minutes. The microwave works in a pinch, but it tends to collapse the slices and make the topping watery.
Answers to the Questions Worth Asking
Bloomin' Grilled Apples
Ingredients
Equipment
Method
- Cut each apple into thin slices from top to bottom, leaving the base intact so the slices fan but the apple holds together.
- Mix the melted butter, brown sugar, and cinnamon until evenly combined.
- Fan the apple slices open slightly and brush the cinnamon butter mixture into the gaps.
- Wrap the bottom of each apple in aluminum foil, leaving the top exposed so it can grill and caramelize.
- Grill over medium heat for 12-15 minutes, until the apples are tender and caramelized, with visible glossy syrup on the surface.
- Serve the bloomin' grilled apples warm with vanilla ice cream.


