
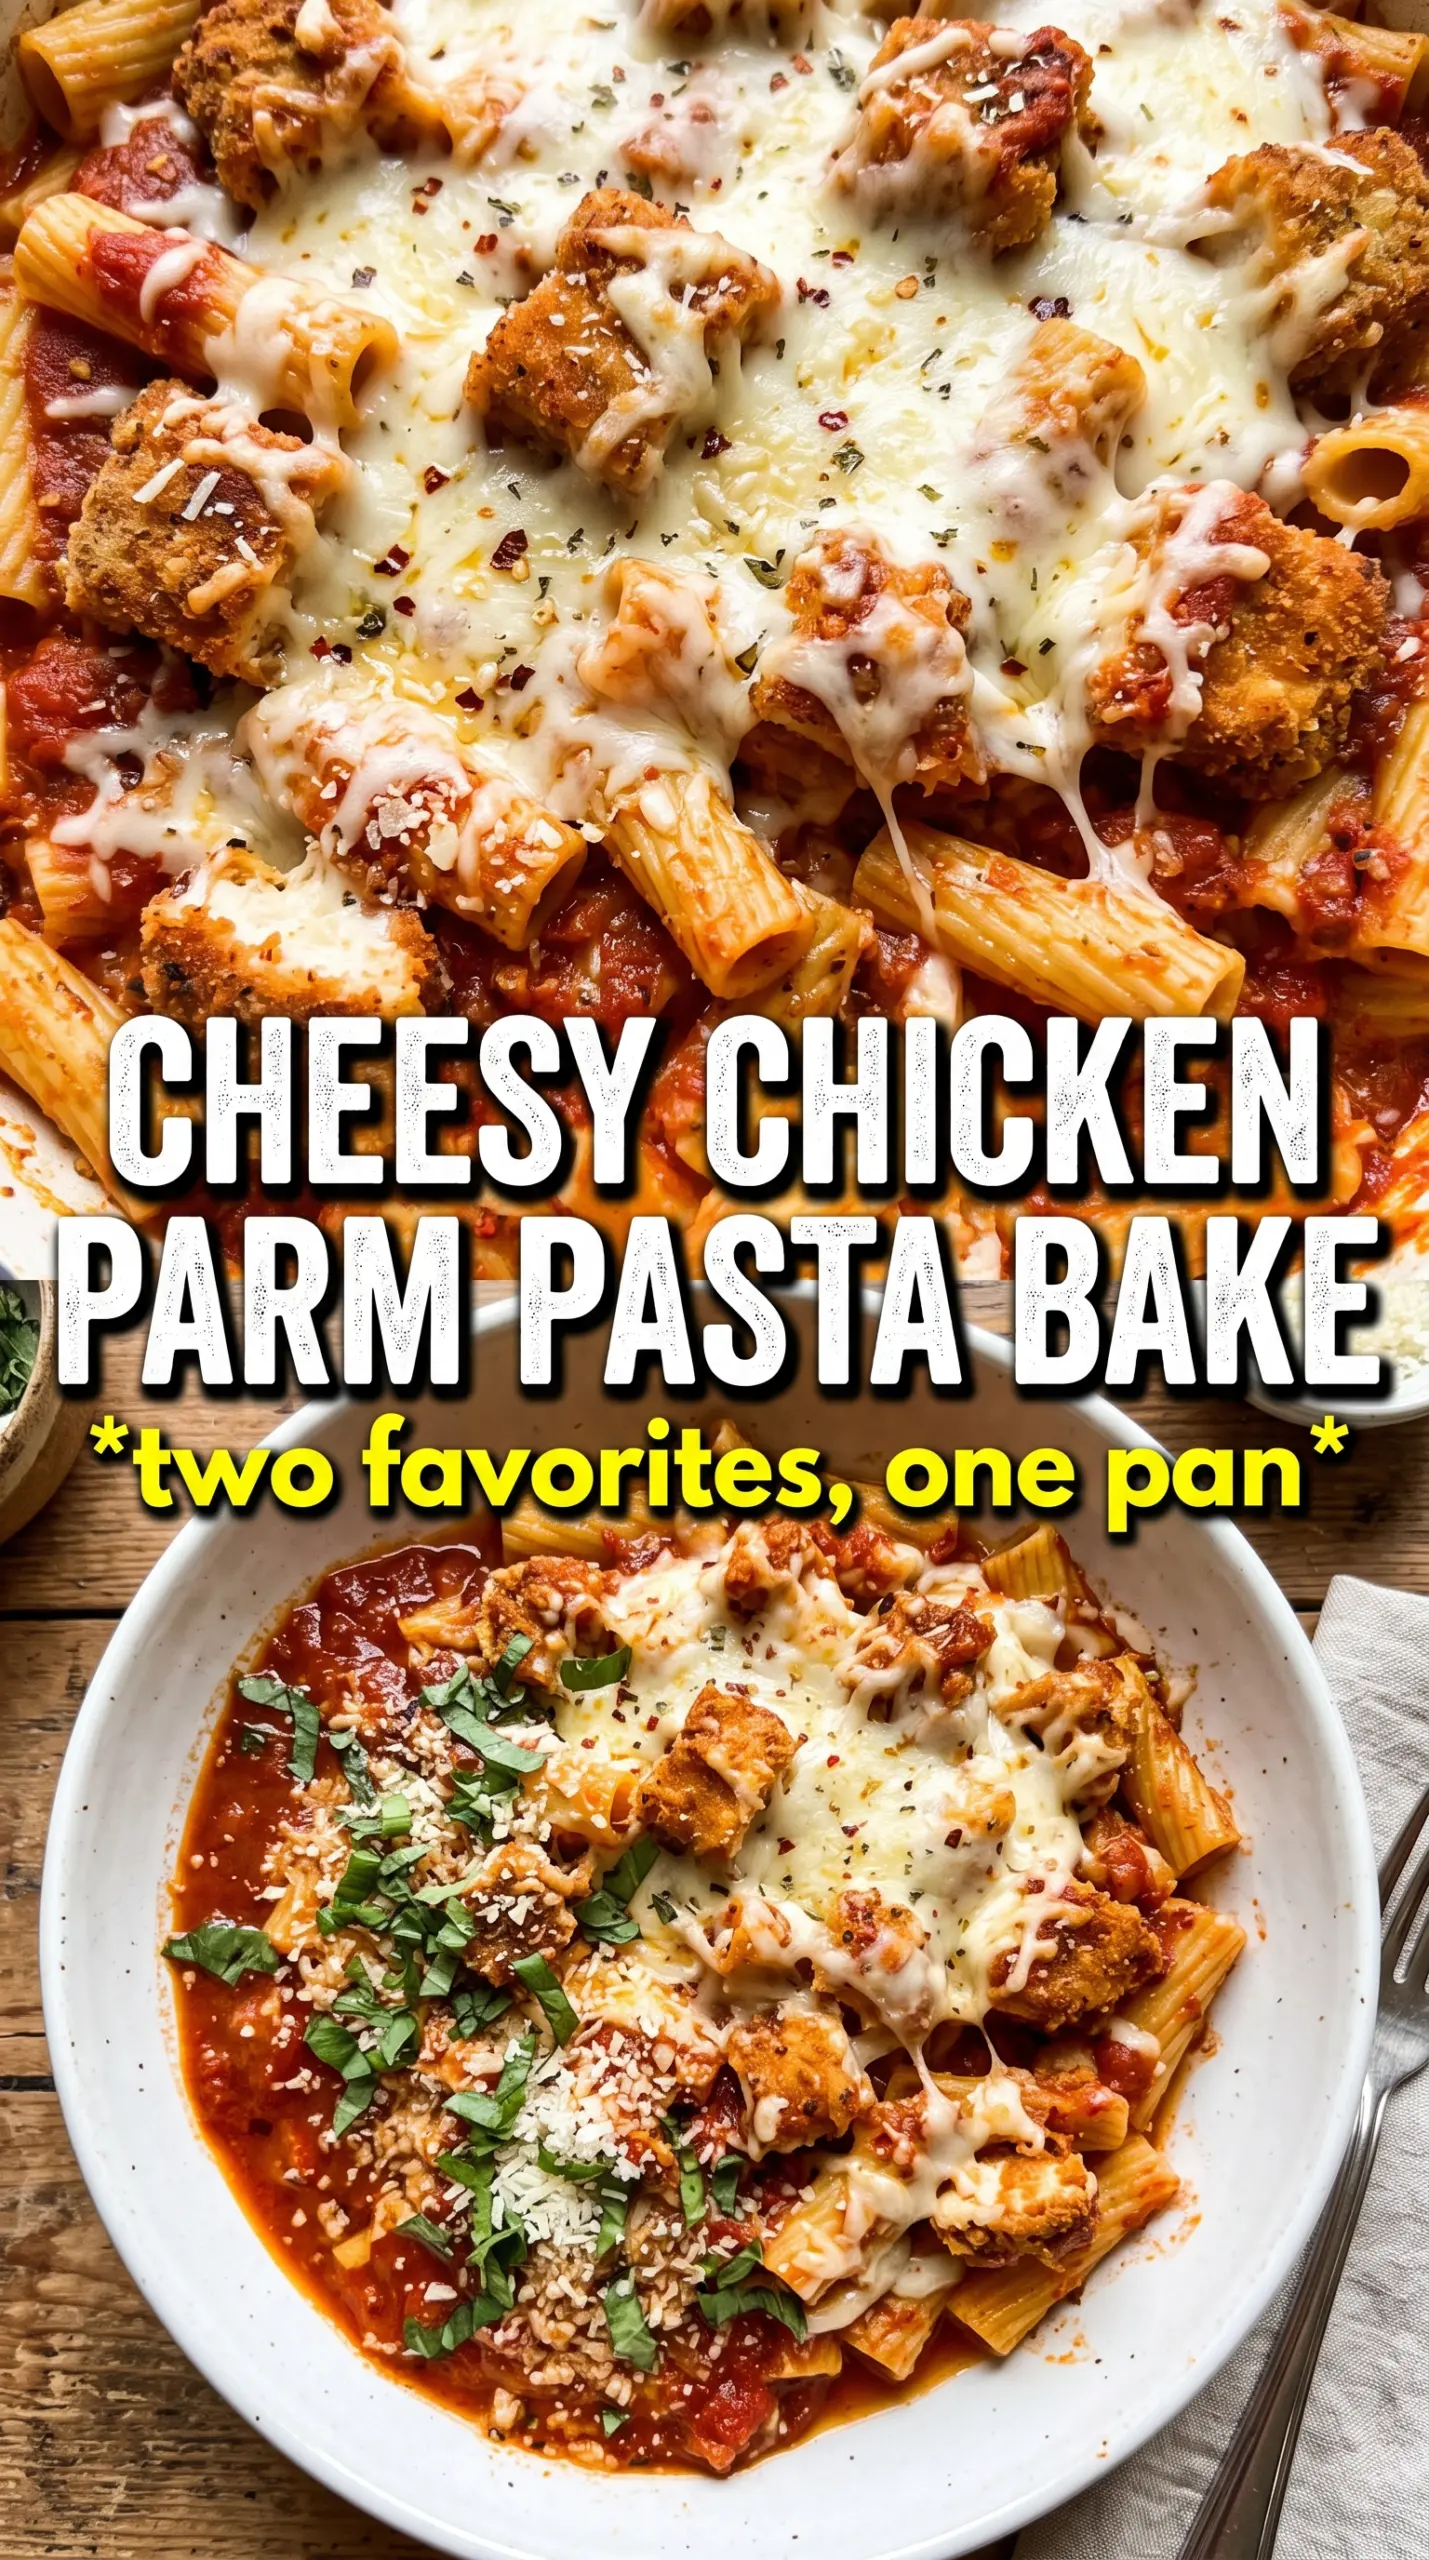
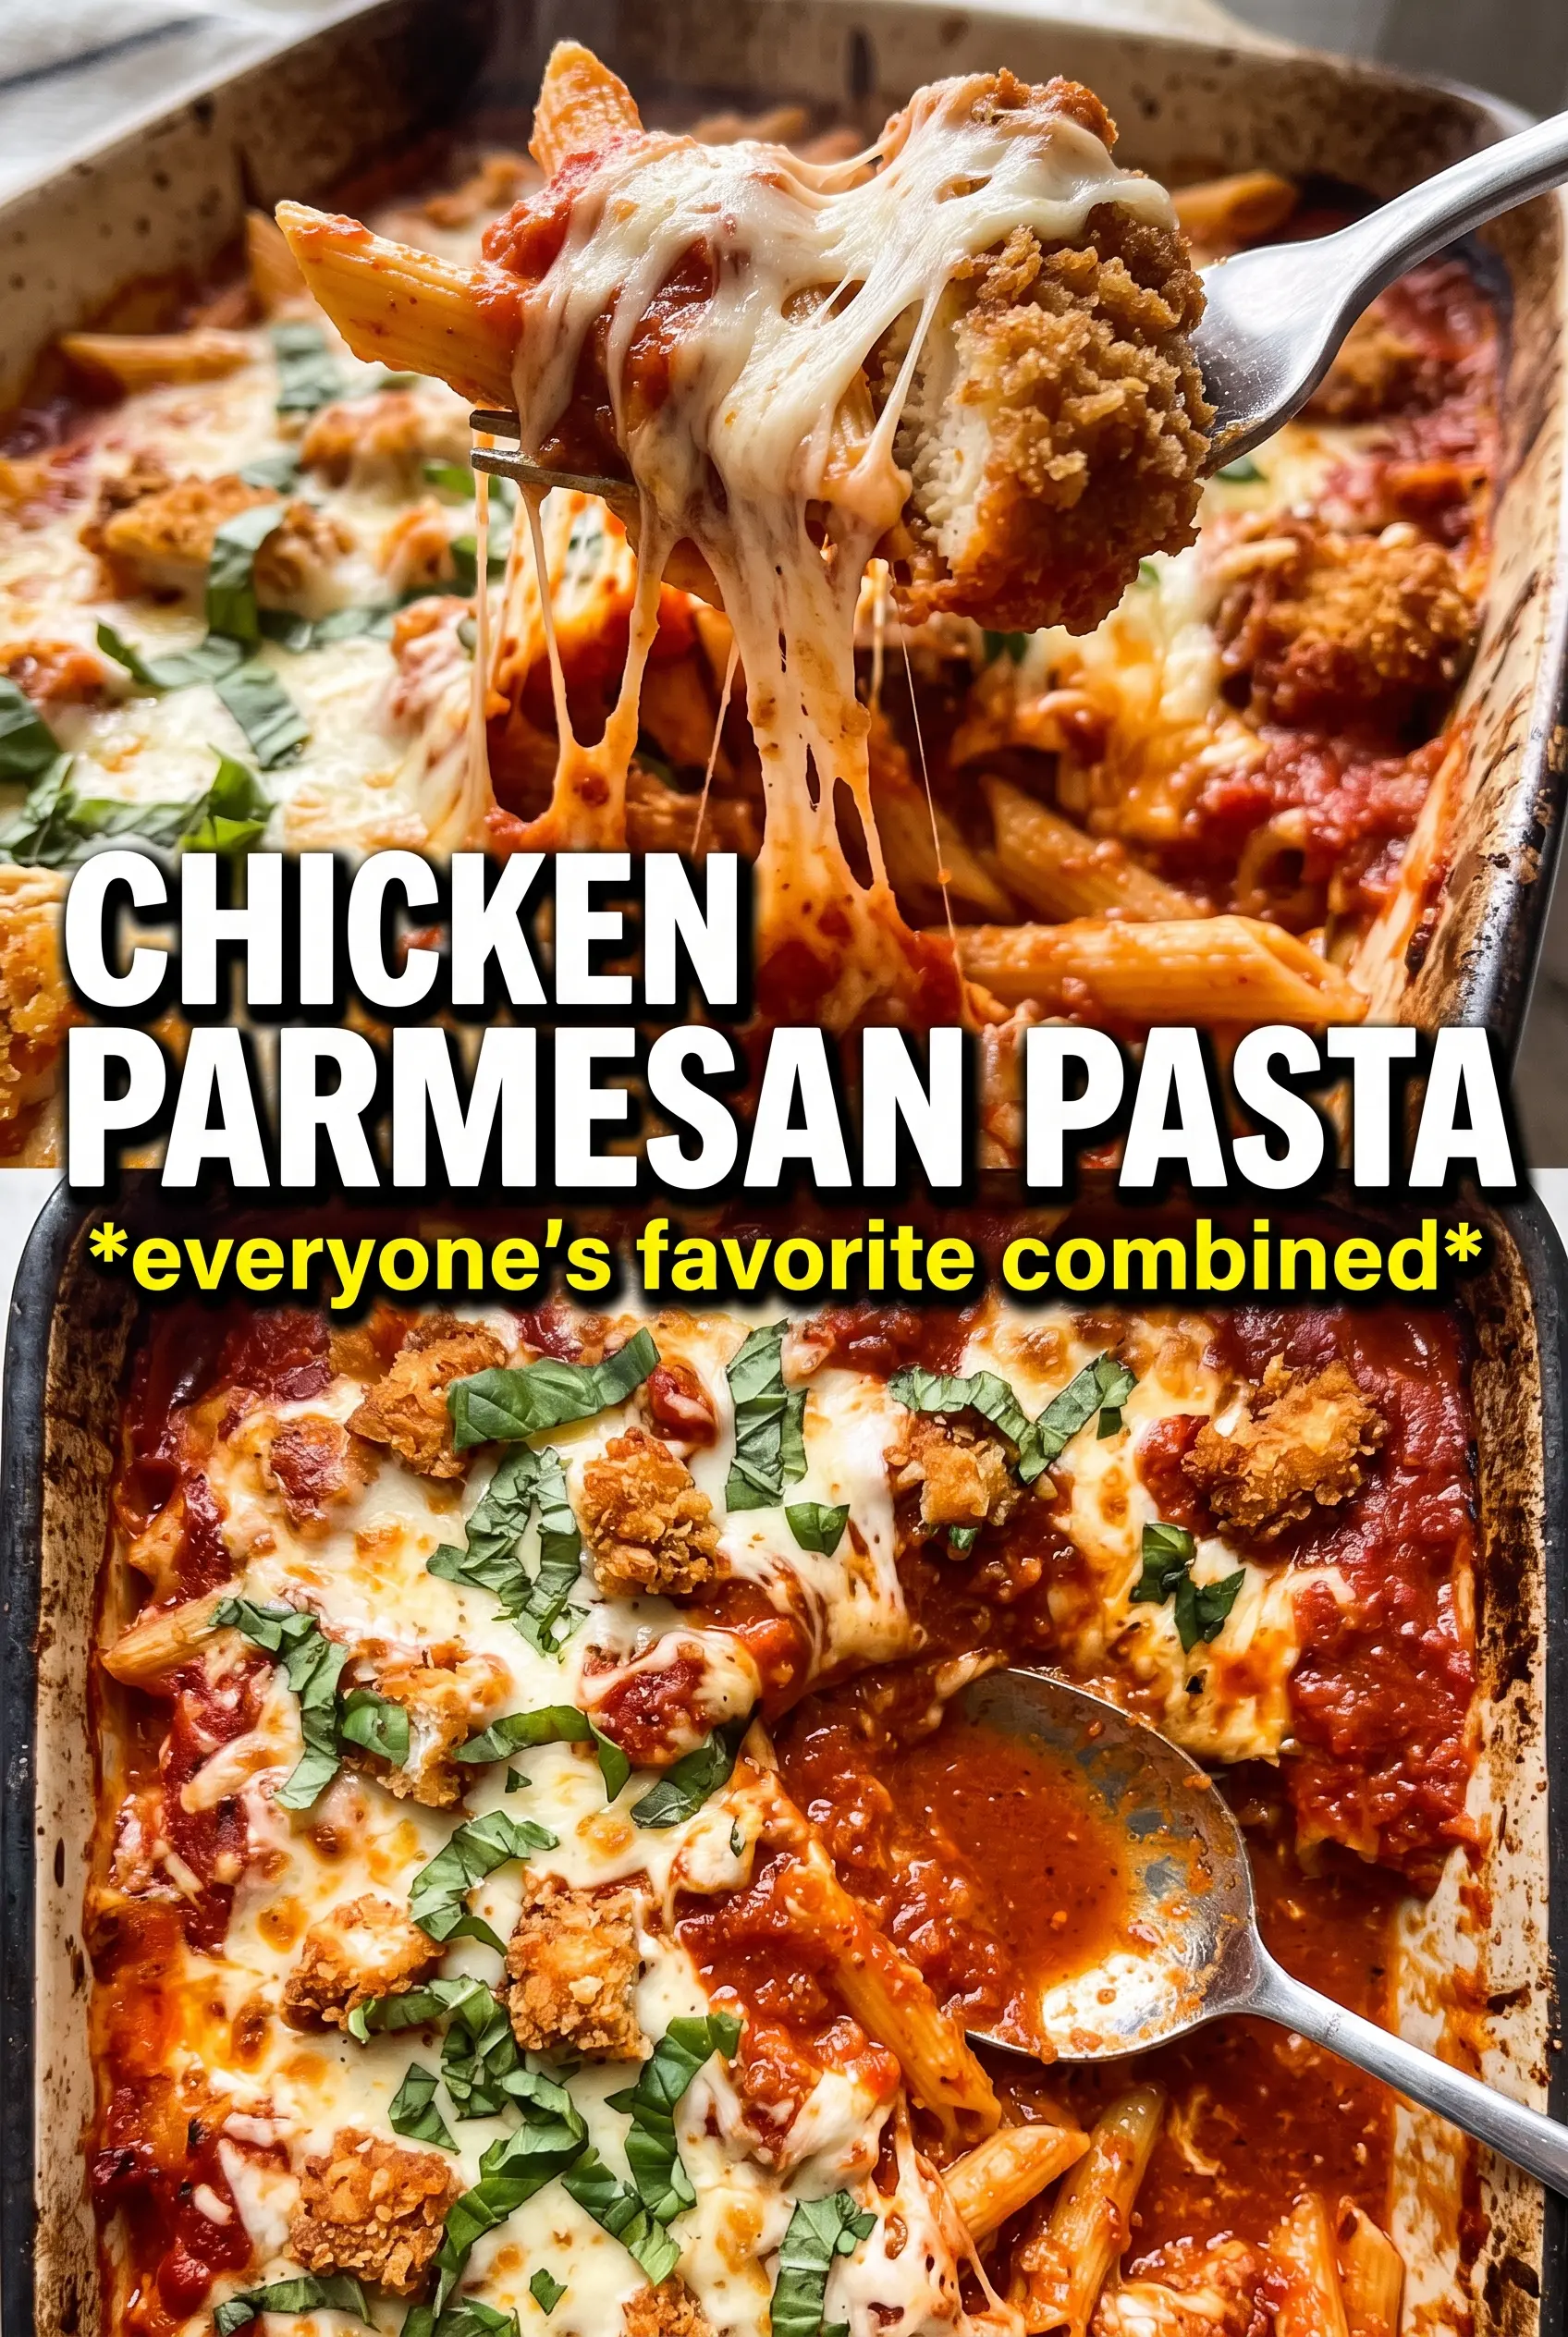
Golden breaded chicken, bubbling mozzarella, and marinara clinging to every ridge of penne make this Chicken Parmesan Pasta the kind of dinner that disappears fast. It has all the comfort of classic chicken parm, but it lands on the table in a bigger, cozier, more spoonable form. The chicken stays crisp on top, the pasta underneath soaks up the sauce, and every forkful gives you a little of everything.
What makes this version work is the layering. The chicken gets browned in oil before it ever meets the oven, so it starts with real color and crunch instead of turning soft under the cheese. The pasta is tossed with marinara before baking, which keeps the whole dish from drying out and gives the sauce a chance to settle into the noodles instead of sitting on top of them.
Below, I’ll walk through the exact point where the breading stays crisp, the sauce stays balanced, and the cheese melts without turning greasy. I’ve also added a few smart swaps for making it work with what’s in your kitchen.
The chicken stayed crispy even after baking, and the pasta soaked up the marinara instead of getting watery. My kids asked for seconds before I even sat down.
Save this Chicken Parmesan Pasta for nights when you want crispy chicken, melty cheese, and a baked pasta dinner that feels like comfort food without extra fuss.
The Step That Keeps the Chicken Crispy Under All That Cheese
The biggest mistake in chicken Parmesan pasta is treating the chicken like it only needs to be cooked once. If it goes into the oven pale and soft, the cheese and sauce will finish the job by making it soggy. Browning the breaded chicken first gives you a firm coating that can survive the bake and still taste like chicken parm instead of plain baked pasta.
The other thing that matters here is the sauce-to-pasta ratio. Too little marinara and the pasta bakes up dry around the edges. Too much and the whole dish turns loose and slippery. You want every piece of penne coated before it goes into the pan, with just enough extra sauce left to keep everything glossy under the cheese.
- Italian breadcrumbs — These bring the seasoning and the rough texture that gives the chicken its crust. Plain breadcrumbs work in a pinch, but you’ll need to add Italian seasoning, garlic powder, and a little salt to match the flavor.
- Parmesan — The Parmesan in the breading helps the crust brown and adds a salty, nutty finish. Use the grated kind here, not a big shaved chunk, so it blends into the crumbs instead of falling off in the pan.
- Marinara sauce — A thicker sauce holds up best because it clings to the pasta and doesn’t pool in the baking dish. If yours is thin, simmer it for a few minutes first so it coats the penne instead of turning the casserole watery.
- Mozzarella — Shredded mozzarella gives you that stretchy, bubbling top. Pre-shredded is fine, but if you grate it yourself, it melts a little smoother and less grainy.
What Each Ingredient Is Actually Doing in This Recipe
- Primary ingredient (the star) — Quality matters most. Choose the best you can find.
- Cooking medium (oil, butter, or broth) — This carries flavors and prevents dryness.
- Seasonings (salt, pepper, spices, herbs) — Layer flavors so nothing overpowers. Build depth gradually.
- Aromatics (garlic, onion, herbs) — Cook with fat to bloom flavors. Become the foundation.
- Supporting ingredients — Complement the main ingredient without overpowering it.
- Sauce or liquid (if applicable) — Brings flavors together. Balance richness with acid.
- Acid (lemon, vinegar, wine, or other) — Brightens and prevents flat-tasting results.
- Final finish (garnish, glaze, or sauce) — Prevents one-dimensional taste and adds visual appeal.
Building the Crunch, Then Letting the Oven Finish the Job
Bread the Chicken in the Right Order
Start with flour, then egg, then the breadcrumb-Parmesan mixture. The flour gives the egg something to grab onto, and the egg gives the crumbs a wet surface to cling to. If you skip the flour or rush the coating, the breading slides off in the pan and leaves you with patchy, bare chicken.
Brown It Before It Bakes
Cook the chicken in olive oil over medium-high heat until the outside turns deep golden and the pieces are cooked through, about 3 to 4 minutes per side depending on size. The crust should sound crisp when it hits the pan and look set before you flip it. If the pan is crowded, the coating steams instead of browning, so cook in batches if you need to.
Layer the Pasta Before the Cheese
Toss the cooked penne with marinara before it goes into the baking dish. That coats every piece and keeps the pasta from drying out under the topping. Spread it into a greased 9×13 dish in an even layer, then arrange the chicken on top so the crust stays above the sauce as long as possible.
Finish Until the Cheese Melts and Spots
Bake at 375°F until the mozzarella is fully melted and you see a few golden spots on top, about 20 to 22 minutes. You’re not trying to cook the chicken again; you’re warming everything through and getting the cheese to settle into the pasta. If the top browns too fast before the middle is hot, lay a loose piece of foil over the dish for the last few minutes.
Three Smart Ways to Adjust This Chicken Parmesan Pasta
Gluten-Free Version
Use a gluten-free flour blend for dredging and gluten-free breadcrumbs for the coating. The texture will still be crisp, but the crumbs can brown a little faster, so keep an eye on the skillet and turn the heat down if they darken too quickly. Pair it with a gluten-free penne that holds its shape after baking.
Lighter, Less Cheesy Finish
Cut the mozzarella back to 1 1/2 cups if you want a less heavy top while keeping the dish creamy. You’ll lose some of that dramatic cheese pull, but the pasta and marinara still carry the dish. Add a little extra Parmesan on top for more flavor without making it greasy.
Make It With Chicken Thighs
Boneless thighs work if that’s what you have, and they stay juicy even after baking. Cut them into even pieces so they cook at the same pace as the breasts, and don’t skip the browning step or the crust won’t set firmly enough under the sauce and cheese.
Storage and Reheating
- Refrigerator: Store covered for up to 3 days. The chicken coating softens a little, but the flavor stays strong.
- Freezer: It freezes best before baking. Assemble it in a freezer-safe dish, wrap it well, and bake from thawed for the best texture. Fully baked leftovers can be frozen, but the crust loses most of its crunch.
- Reheating: Reheat covered in a 350°F oven until hot in the center, then uncover for the last few minutes so the cheese loosens back up. The common mistake is blasting it in the microwave, which turns the breading limp and the pasta unevenly hot.
Answers to the Questions Worth Asking
Chicken Parmesan Pasta
Ingredients
Equipment
Method
- Dredge the chicken pieces in flour, then dip them in the beaten eggs.
- Coat the chicken in the breadcrumbs mixed with 1/2 cup Parmesan so each piece is evenly covered.
- Pan-fry the coated chicken in olive oil over medium-high heat for 3-4 minutes per side until golden and cooked through; drain on paper towels.
- Toss the cooked penne with the marinara sauce, then pour into a greased baking dish.
- Arrange the crispy chicken pieces over the pasta in an even layer.
- Top with shredded mozzarella and Parmesan cheese so the surface is fully covered.
- Bake at 375°F for 20-22 minutes until the cheese is melted and golden; garnish with fresh basil after baking.


