
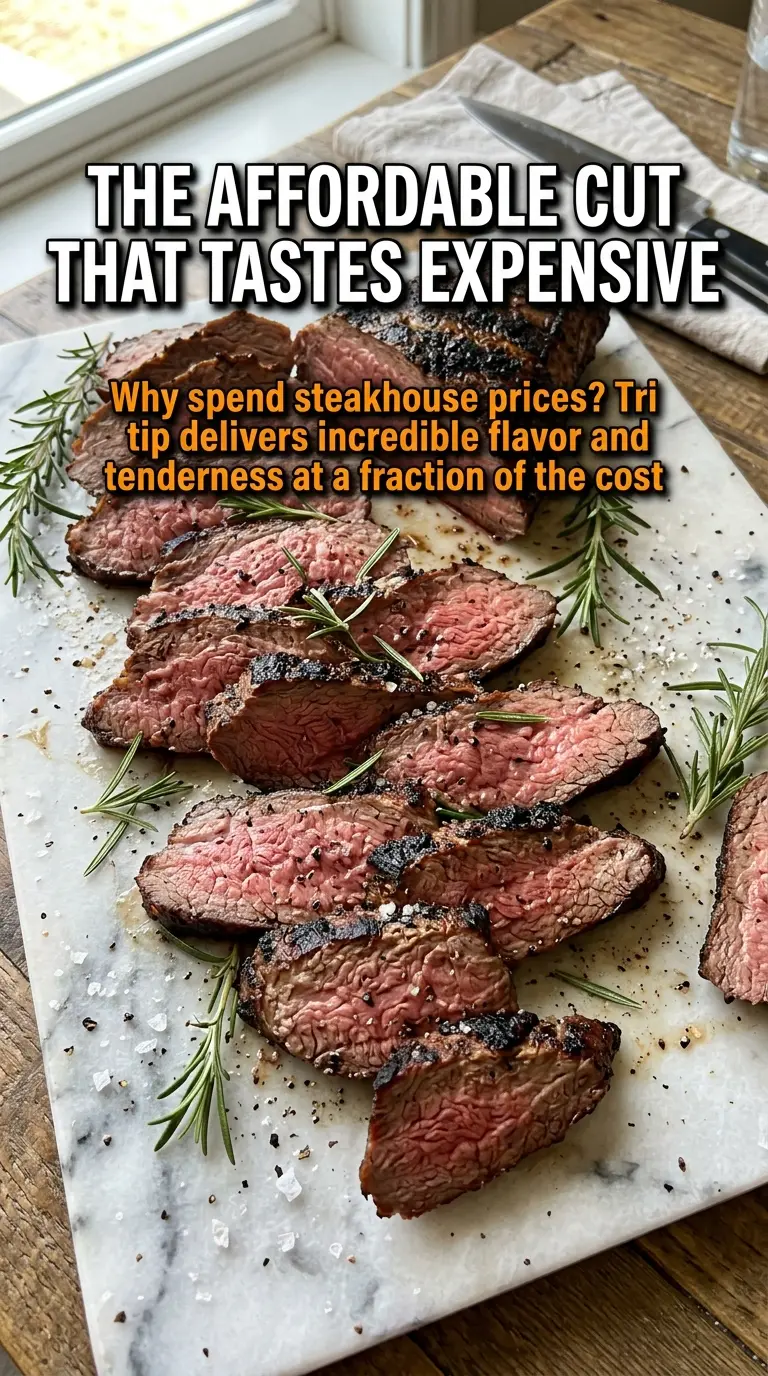
Tri-tip earns its place in the rotation because it gives you a deep, peppery crust and a pink, juicy center without needing a complicated marinade or a full day of prep. It tastes like something you planned ahead for, but it comes together with a straightforward spice rub and a hot cooking surface. The key is treating it like the lean, flavorful roast it is instead of cooking it like a brisket or a steak.
This cut cooks fast, and that’s exactly why it works. A simple rub of salt, pepper, garlic, paprika, onion powder, and oregano builds a dry, savory bark while olive oil helps the seasonings cling and browns the surface evenly. Whether you grill it or finish it in the oven, the goal is the same: hard heat at the start, then a quick move to gentler cooking so the center lands in that medium-rare range before the outside dries out.
Below you’ll find the timing that keeps tri-tip tender, the one slicing mistake that ruins the texture, and a few easy swaps if you want to lean into Santa Maria-style grilling or make it work on a weeknight in the oven.
The crust got beautifully seasoned and the center stayed pink all the way through. I used the oven method and it sliced up tender after the full rest.
Save this tri-tip recipe for the night you want a crusty, medium-rare roast with either grill smoke or oven heat.
The Part Most People Get Wrong: Slicing Tri-Tip Before It Rests
Tri-tip has a grain that changes direction across the roast, and that’s where a lot of good cooking gets undone. If you slice it too early, the juices run out onto the board. If you slice it with the grain, even a perfectly cooked roast can eat chewy. The rest matters because the center keeps cooking gently while the juices settle back into the meat.
The other trap is trying to cook it to “done” instead of stopping at medium-rare. Tri-tip is lean enough that pushing it much past 135°F starts to dry the edges before the center catches up. Pull it a few degrees early, then let carryover heat finish the job while it rests.
What the Rub Is Doing Before the Meat Even Hits the Heat
- Olive oil — This gives the spices something to cling to and helps the exterior brown instead of drying out. You don’t need an expensive bottle here, but don’t skip it or the rub will fall off in patches.
- Kosher salt — It seasons deeper than table salt and helps the roast hold onto moisture while it sits at room temperature. If you substitute table salt, use less by volume because it packs more tightly.
- Black pepper and garlic powder — These are the backbone of the crust. Freshly cracked pepper gives the biggest payoff, while garlic powder gives you a more even savory flavor than fresh garlic, which can burn during the high-heat sear.
- Paprika, onion powder, and oregano — Paprika adds color and a mild smoky-sweet note, onion powder rounds out the seasoning, and oregano pushes the roast toward that Santa Maria-style profile. Dried oregano works better than fresh here because it survives the heat without turning bitter.
The Sear, the Switch, and the Rest That Keep Tri-Tip Tender
Building the seasoning crust
Mix the rub first, then coat the roast with olive oil before applying it generously on all sides. The oil keeps the surface from looking dusty and helps the seasoning bloom into a real crust instead of a loose layer that falls away when sliced. Let the roast sit at room temperature for about 30 minutes so it loses the chill from the fridge and cooks more evenly. If you rush that part, the outside overcooks before the center gets where it needs to be.
Grilling over high heat first
On the grill, start over direct high heat and sear each side for about 5 minutes. You’re looking for a dark, well-marked crust, not a charred surface that tastes bitter. Once both sides are seared, move the roast to indirect heat and cook until the center reaches 130-135°F. If you leave it over direct flame the whole time, the outside will be done long before the middle has any chance to catch up.
Using the oven without losing the crust
For the oven method, sear the tri-tip in a very hot skillet first so you lock in color before the roast goes into the oven. Then roast at 425°F until it reaches 130-135°F in the center, usually 20-25 minutes depending on thickness. If the pan isn’t hot enough at the start, you won’t get the same browned exterior, and the roast can look gray instead of deeply seasoned.
Resting and slicing against the grain
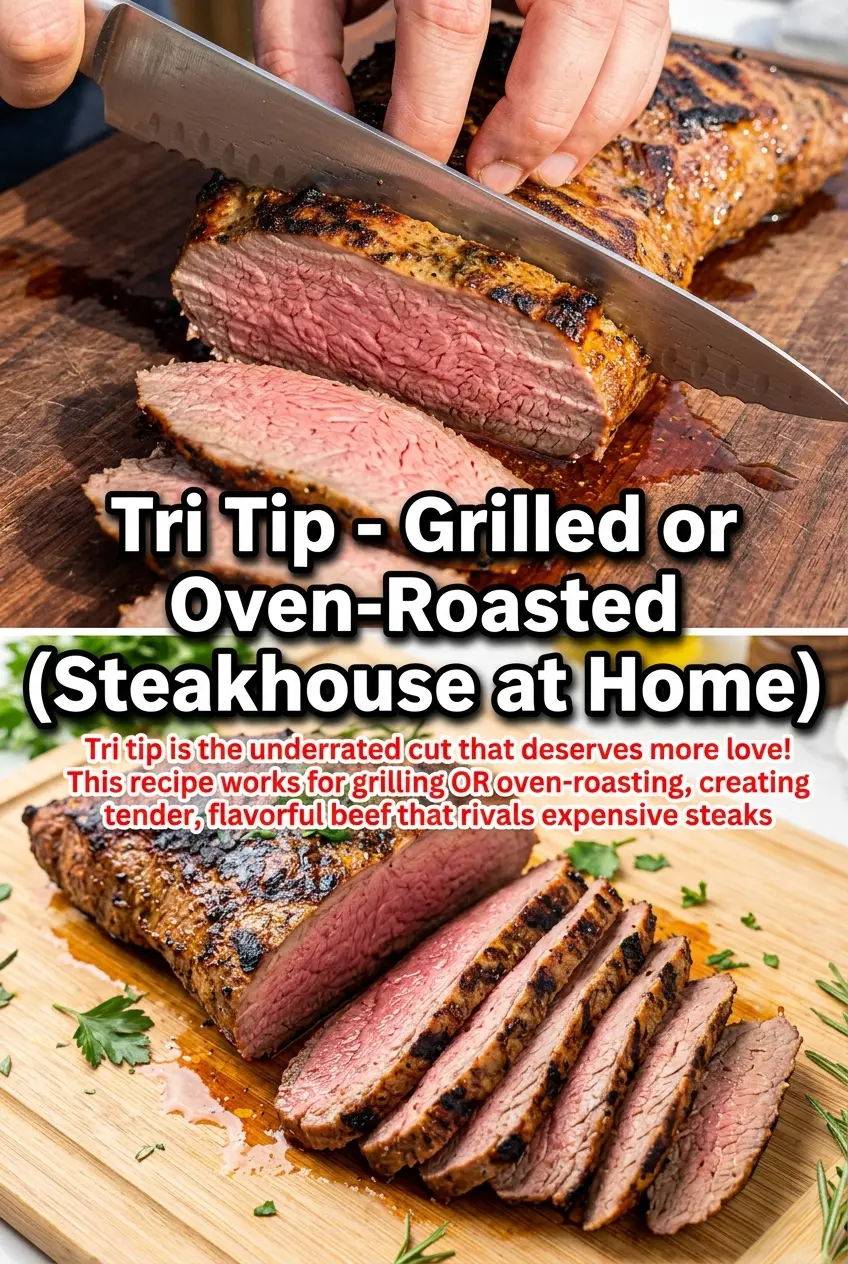
Let the tri-tip rest for a full 15 minutes before slicing. This is where the juices settle, and it’s the difference between clean slices and a puddle on the cutting board. Look closely at the grain before you cut, then slice across it into thin strips. If the roast feels a little firmer after resting, that’s a good sign — it means the interior has had time to relax and stay juicy.
How to Adapt Tri-Tip for the Grill, the Oven, or a Simpler Pantry
Santa Maria-style grilling
Keep the rub exactly as written and grill over hot coals or a hot gas grill for the most classic result. The high heat gives you the bark you want, and the indirect finish keeps the center from overcooking. Serve it sliced with the crust intact so every piece carries that peppery edge.
Oven-only weeknight version
If you don’t want to grill, the skillet-to-oven method gives you nearly the same crust with less effort. Use a cast-iron pan if you have one, because it holds heat better and browns the exterior more evenly. The tradeoff is less smoky flavor, but the seasoning still carries the dish.
Gluten-free and dairy-free as written
This tri-tip is naturally gluten-free and dairy-free, which makes it an easy main dish when you’re feeding a mixed crowd. Just double-check your spice blends if you’re using pre-mixed versions, because some add anti-caking agents or hidden fillers. The result stays the same: seasoned beef with a clean, beef-forward finish.
A little more smoke without a smoker
Swap half the paprika for smoked paprika if you want a deeper barbecue-style note. It won’t make the roast taste like it came off a smoker, but it does add a warmer edge that works especially well in the oven. Keep the rest of the rub the same so the meat still tastes balanced, not smoky for the sake of it.
Storage and Reheating
- Refrigerator: Store sliced tri-tip in an airtight container for up to 4 days. It stays juicy if you keep it in its own juices or a small spoonful of pan drippings.
- Freezer: It freezes well for up to 2 months if you wrap it tightly and thaw it in the fridge. Slice before freezing if you plan to use it for sandwiches or bowls later.
- Reheating: Rewarm gently in a covered skillet with a splash of broth or in a low oven until just heated through. High heat dries tri-tip fast, so don’t blast it in the microwave unless you’re fine with the edges turning tough.
Answers to the Questions Worth Asking
Tri Tip - Grilled or Oven-Roasted
Ingredients
Equipment
Method
- In a mixing bowl, combine kosher salt, black pepper, garlic powder, paprika, onion powder, and dried oregano until evenly distributed (visual cue: the mix looks uniform and speckled).
- Rub the tri-tip with olive oil, then press the spice rub all over the surface so it clings thickly (visual cue: a dark, even crust begins to form).
- Let the seasoned tri-tip sit at room temperature for 30 minutes to tighten the rub (visual cue: the seasoning looks slightly set, not wet).
- Sear the tri-tip over high heat for 5 minutes per side (visual cue: a deep, crusty exterior develops).
- Move to indirect heat and cook until the internal temperature reaches 130-135°F for medium-rare (visual cue: the center stays pink and the surface crust remains dark).
- Sear the tri-tip in a hot skillet until browned (visual cue: strong surface color and crusty edges).
- Transfer to a sheet pan and roast at 425°F for 20-25 minutes until the internal temperature reaches 130-135°F (visual cue: the center will be pink when sliced).
- Rest the tri-tip for 15 minutes before slicing against the grain (visual cue: juices redistribute and the crust stays intact).


